Showing posts with label Honey Bees. Show all posts

Friday, February 27, 2026

Happy Bee-Day! by Tasha

 Happy Friday Art Impressions Friends!

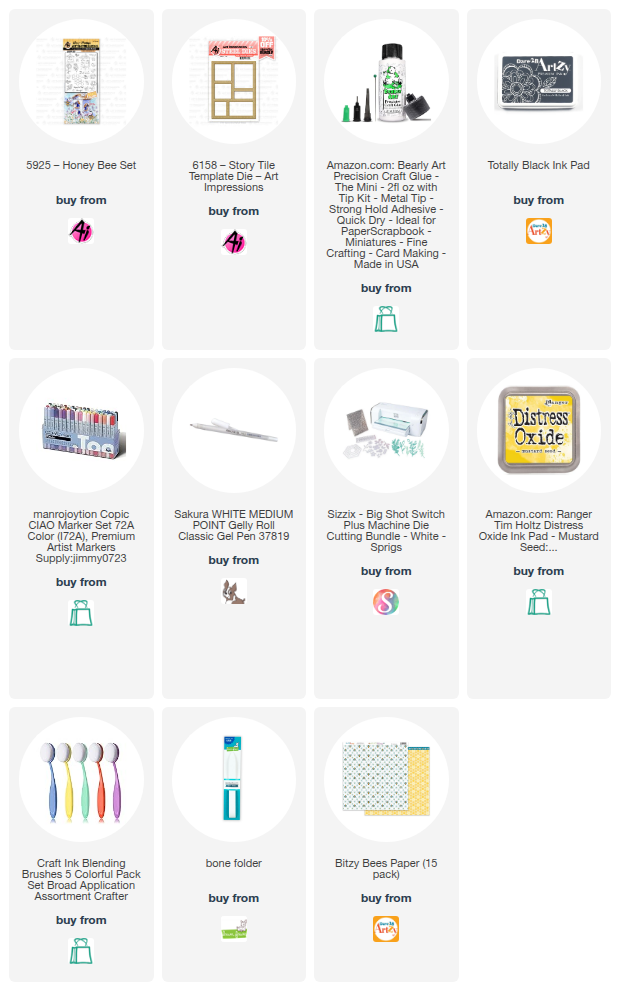
Tasha here sharing a bee-themed birthday card featuring the sweet little Honey Bear Freebie Stamp along with the new 6158-Story Tile Template Die, which has quickly become my new favorite die.

This whole card was inspired by the honey bear. I love all bee-themed items, and once I stamped the little bear image, I thought it would be fun to create a tile card filled with bee-themed elements. The 5925-Honey Bee Set was perfect for this design, and the stamps fit into the tiles beautifully.


To fill the tiles, I stamped honeycomb images to tie everything together and used Distress Oxide Ink to add extra yellow color. The bright yellow really gives the card a cheerful feel.

To finish the design, I added the tile frame cut from honeycomb pattern paper along with layers of gold glitter paper and black cardstock before adhering everything to a white card base.


For the greeting, I stamped "Happy Bee-Day!" and blended yellow ink around the edges to create a soft glow effect on the panel. This set includes several bee-themed greetings, but this one fit nicely into the smaller tile and I really like the script front style.


Lastly, I added the tile frame cut from a honeycomb pattern paper, layers of gold glitter paper, and black card stock to complete the design before adhering it to a white card base.

Thank you for checking out my card today and I hope you are inspired to create a tile card.


Sunday, February 22, 2026

Spring Bee Cards by Jami Steiger


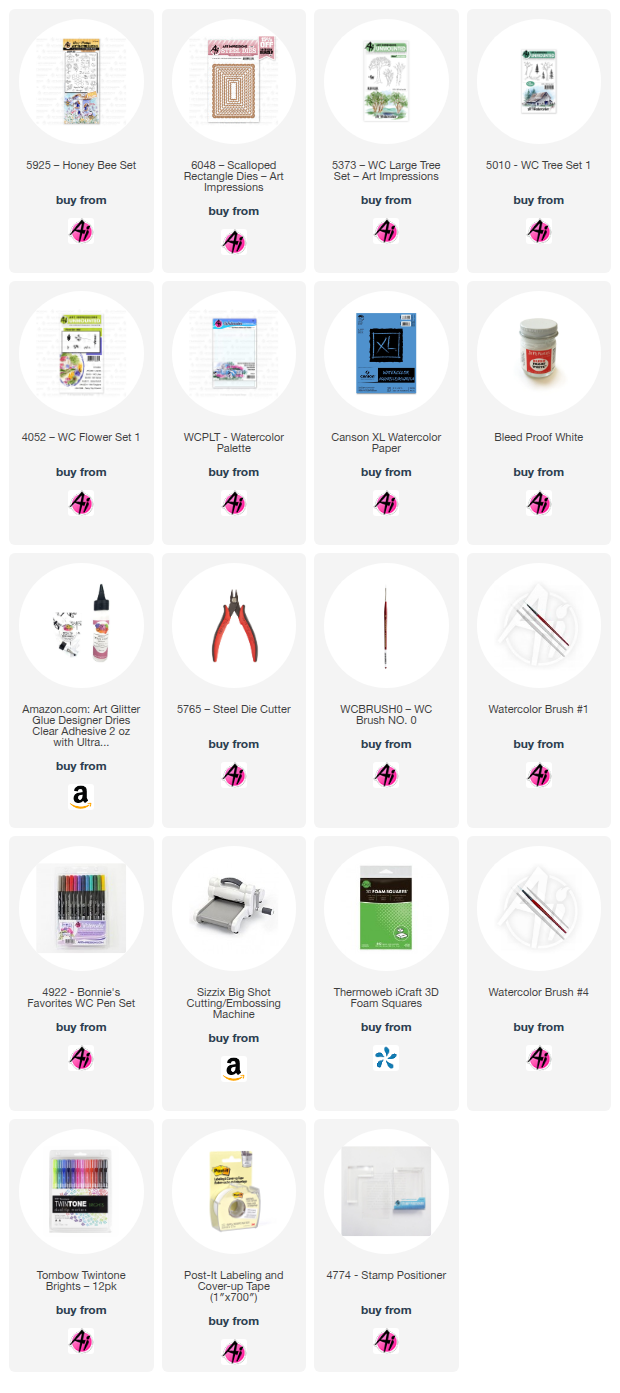
Welcome, Watercolor Weekend friends! We have had so much snow here in Ohio that I am thinking of bees and spring flowers. The same stamp set, 5925-Honey Bee, was used to create the next two cards.

For the flying bees card, I started by punching out 1-inch hexagons from the 6012-Basic Yellow Paper pack and a "bee" paper pack I had on hand. I used a round paper punch to cut out the leaves for the flower. Next, I stamped the adorable bees onto watercolor paper using an Archival Ground Espresso stamp pad. I painted the bees with the following Tombow markers: N25, N45, N55, N65, 772, 025, 933, and 993. Next, I die-cut the bees using the coordinating dies in the stamp set. I hand-cut the "grass" for the bottom of the card, then glued down the paper pieces to make the flower. I stamped the sentiment onto yellow paper from the yellow paper pack and attached it to the card with foam dots. Before adding the bees, I stamped the honeycomb onto the gray paper with Versamark to give the card a tone-on-tone look. I also added the bees using foam dots. I drew the stem and leaf veins with a Micron Black 005 pen.


____________________


For my next card, the first step was to mask off the watercolor paper with Post-It removable tape to create a 2 3/4 x 3 1/2 rectangle. I used the branch from set 5010-WC Tree 1 and stamped it upside down to create a place to hang the beehive birdhouse from set 5925-Honey Bee, using Archival Ground Espresso. I stamped the tree's foliage with the foliage stamp from 5373-WC Lg Tree. I stamped the bees and painted them flying around the birdhouse. I then cut out the 3 pieces of paper with the 6048-Scalloped Rectangle Dies. I also used the smallest die to cut out my stamped sentiment. I attached the layers to a yellow card base and added a dark gray bow. The sentiment was popped up with foam dots for added dimension.


I hope everyone is staying warm, and that spring will be here before we know it!