The current challenge is YELLOW and I couldn't be happier about that.
Yellow isn't my favorite color, however, I do feel it's the most CHEERFUL color there is.
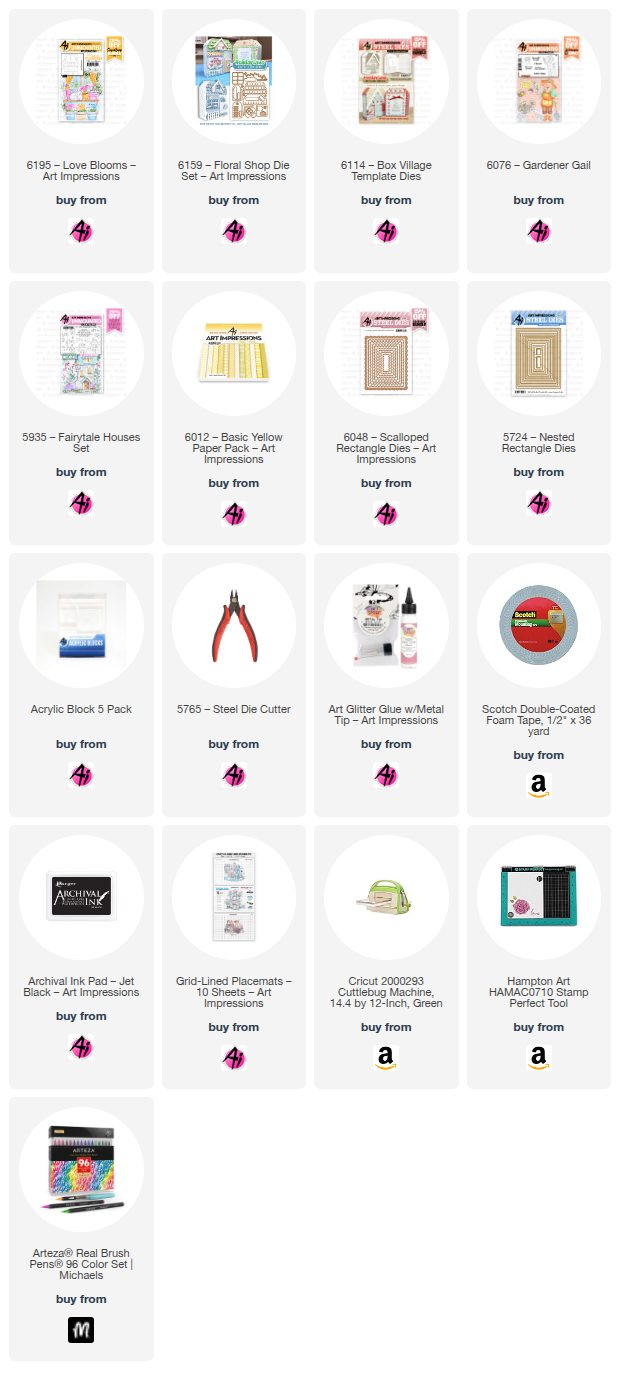
Today I'm sharing a card with a cat sunning himself amongst some beautiful flowers. This is a new release, 6195 – Love Blooms, and part of the Holiday Lane series. These little scenes make putting a card together so easy. No figuring out placement or perspective. The work is done for you. You just fill in the blanks and personalize it.
Be sure to enter your project using yellow and you just might win a free stamp set. Click the photo below to be taken to the challenge.
✻ Please make a new card or handmade crafty creation using either stamps, dies and or designer paper from Art Impressions. You can make any item you wish; this is not limited to cards! (unless specified)
✻ Limit two submissions per person.
✻Top Spot Winner and Lucky Random Winner each receive a free stamp set from Art Impressions
✻Please include your first name and last initial on your submission. You may include your entire last name, but it's not necessary.
✻We love to comment on your entries, but keep in mind if you use a private group or a platform that you need to sign up for, we probably won't be able to.
✻ The Ai Challenge is open to everyone, international submissions are welcome!
✻ Include a link back to the Ai Blog or grab our button on the top right of our sidebar!
✻ Share the Ai love if you can, by clicking and commenting on your fellow crafters.
✻ Make sure to get your link up by the deadline to enter your creations.
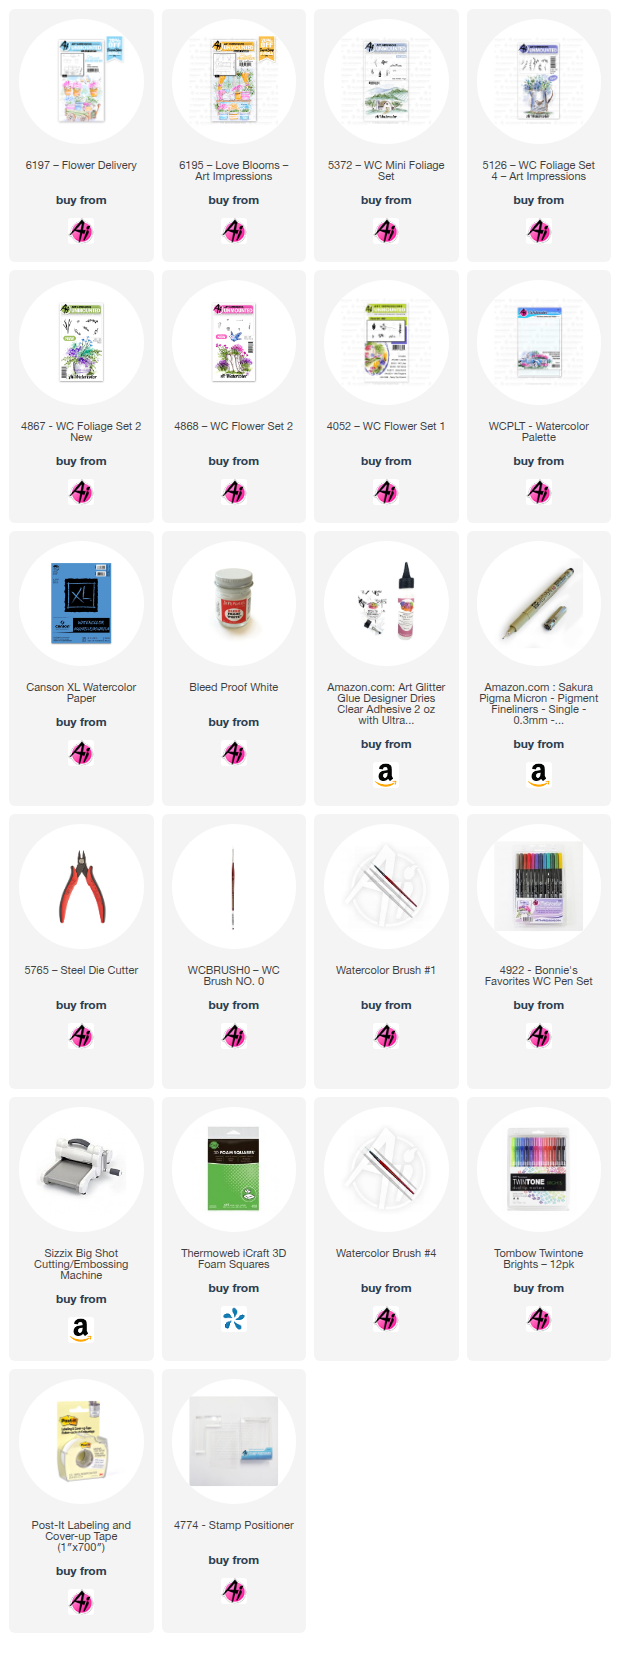
Good morning, Watercolor friends! Spring has finally arrived here in Ohio! The new Spring Foundations stamp sets are perfect for creating spring-themed cards. Six new foundation sets are available, and they are fantastic because they provide a complete scene for you. Just add a few flower and foliage sets to craft a beautiful scene. For my first card, I used 6197-Flower Delivery, and for the second, 6195-Love Blooms. I used the same flowers and foliage on both cards, which are listed in the Linkdeli listing below. I began by coloring the stamps for the cards with Tombow 969 and 565, stamping off once.
Now, for the fun part! I painted both images with the following Tombow markers: 228, 679, 757, 177, 817, 925, 312, 947, 192, 993, 969, N65, N75, 528, 977, 606, 837, 565, 228, and 772.
After completing the painting, I used Dr. Ph. Martin's to add white details to both images. The picture of the flower cart is deceiving because the color is actually purple, and the papers used came from the 5955-Encouragement Paper Pack.
____________________
The teal paper for the background came from the 6011-Basic Teal Paper Pack.
I hope everyone is enjoying a wonderful weekend and finding some time for creativity! Looking forward to seeing you all soon.
There's something so therapeutic about sitting down with a fresh stamp and a palette of colors. Today’s project features a charming garden scene using stamps from Art Impressions, brought to life with a mix of watercolors and colored pencils for a rich, textured look.
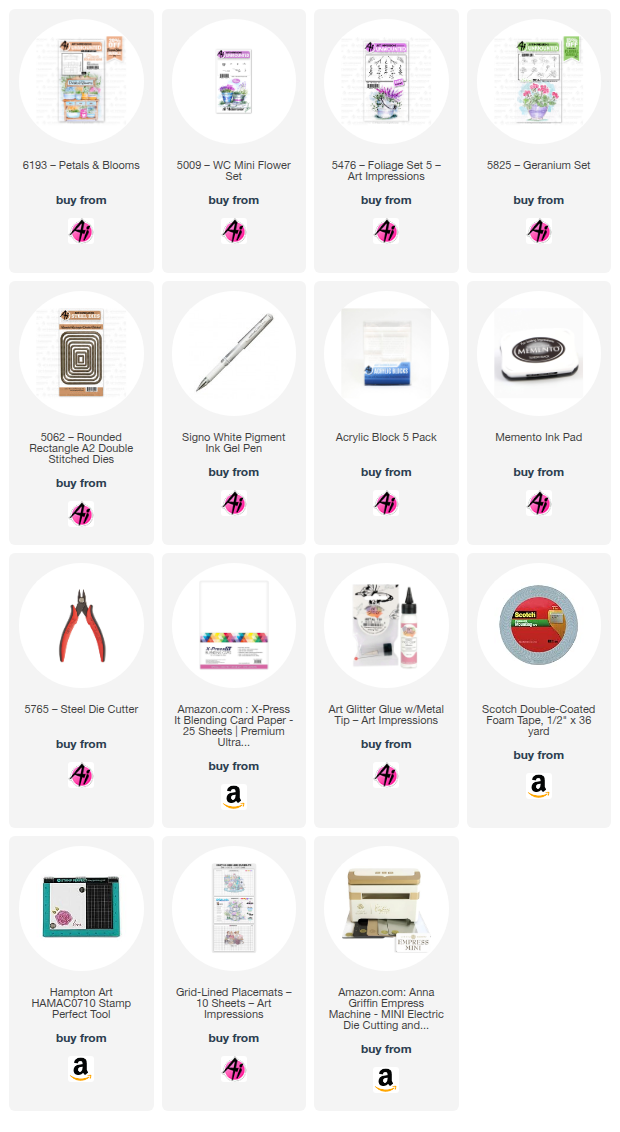
I started by stamping the image from 6193-Petals and Blooms. It's a lovely cabinet that I stamped onto watercolor paper. I started by coloring the cabinet itself with colored pencils. I love the depth and deep color achieved with them. The oranges and blues work nicely together and they are a great backdrop to the flowers and fauna I added into the pots. I stamped those in with Tombo Duel Brush Pens and softened and blended the Art Impression way! I used three flower sets: 5009-WC Mini Flower Set, 5476-Foliage Set 5, and 5825-Geranium Set.
After coloring the image, I added a watercolor blue and lavender halo around the entire cabinet. Adding a background wash is a personal decision by each crafter. To me it elevates the image and makes it look finished.
To finish the look, I added white gel pen to add highlights on the pots and to draw in the drawer pulls. It's a small detail but can make a big difference in the final result.
To frame the floral scene, I used a multi-layered approach. I used 5062-Rounded Rectangle A2 Double Stitched Dies to cut a soft rectangle shape with a charming stitched border all around. Behind that, I cut a piece of pink vellum with lavender metallic polka dots. The dots add just the right of shine to the card. The two stacked pieces were then centered on a preprinted A2 card base with a fun, geometric hexagon pattern. All the patterns and colors add a modern touch to a classic floral theme.
What are your favorite colors to use for spring cards? I’m currently leaning heavily into these purples and pinks! Happy spring!
Thanks for joining me on the blog today. As always, find your favorite stamps, dies, papers, and accessories at the Ai Store!
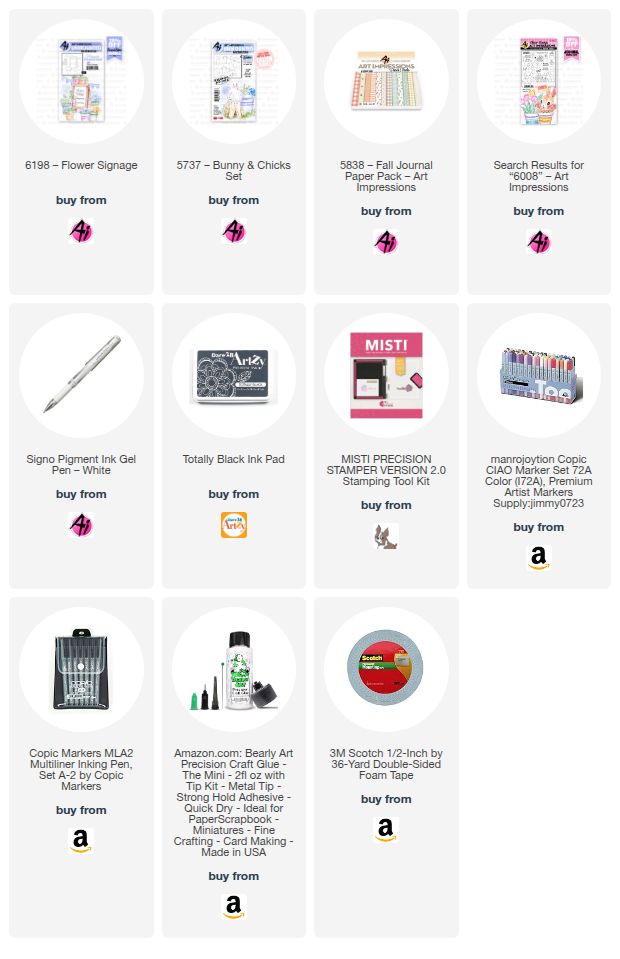
Tasha here sharing an egg-stra cute card created with the 5737-Bunny & Chicks Set, 6198-Flower Signage Set, and 6008-Bunny Hugs Set.
To create this project, I started by stamping the center card with the Flower Signage stamp and added the "Egg-tremely Cute," greeting from the 6008-Bunny Hugs Set to the center of the sign. It fit perfectly!
After, I drew in flowers and colored everything with Copic Markers. I used a black liner pen and white gel pen to add more details to the flowers.
I love little chicks, and this trio is just too adorable. To coordinate with the sentiment, I also added three eggs using the egg stamp from the Bunny Hugs Set. They work great to bring the whole scene together!
Lastly, I added layers of blue, yellow, and white cardstock, gold glitter paper for sparkle, and a piece of plaid pattern paper that I thought went well with the design.
I hope you enjoyed today's card and are having a wonderful day!
Today I have a fun fold card with two images from the newest Art Impressions release. If you haven't seen the release yet, make sure to pop on over to the Art Impressions website to see the six floral stamp sets, Flower Shop book template and two paper packs. What a fun and adorable bundle!
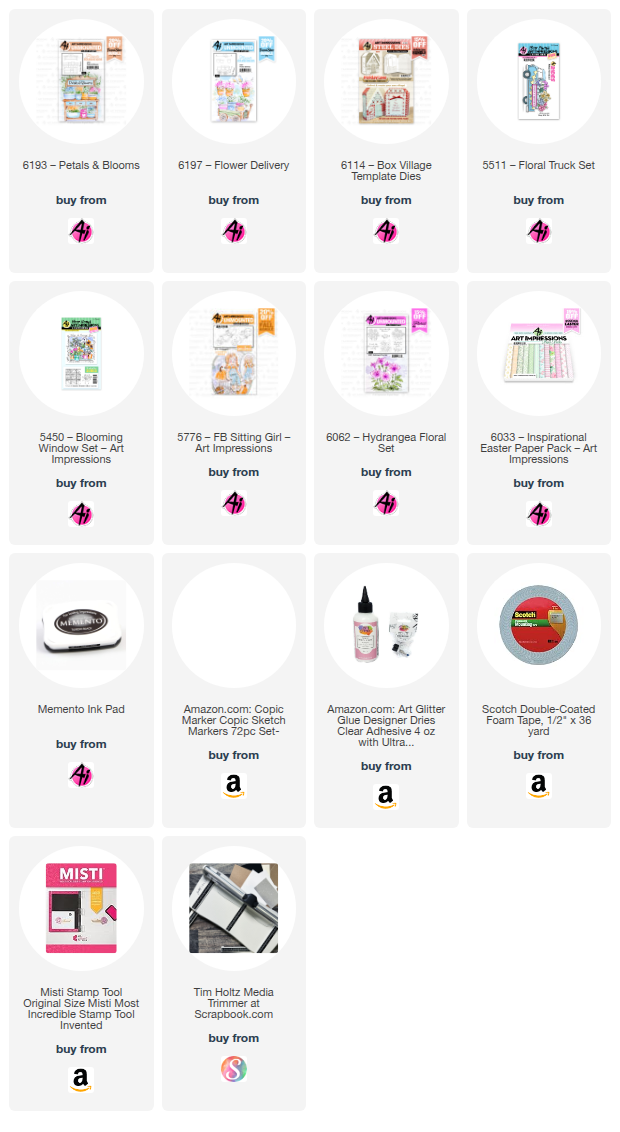
I used two of the stamp sets for my card. #6193 - Petals and Blooms and #6197 - Flower Delivery along with some flower images from the #5511 - Floral Truck. I also used the #6114 - Holiday Lane Village Template for the image panels.
I stamped the images onto copic friendly paper with Memento black ink and colored with my copic markers listed below. I die cut the florals with the corresponding dies. I cut slits into the pots and trimmed off part of each floral base so that it tucks into the pots with the flowers peeking out the tops.
I also added some foam tape behind the flowers for dimension.
The fun fold is an A2 Z-fold card. I cut a piece of heavy cardstock at 8 1/2" by 5 1/2". Fold and score at 2 1/8" (mountain) and 4 1/4" (valley) along the 8 1/2" side. For the inside, you will need one piece of cardstock measuring 3 1/2" x 2 1/4". Score along the 2 1/4" side and mountain fold at 1/2, 1, 1 1/2 and 2". This inside piece will create a square tube. Adhere the 1/4" tab to the opposite side creating the tube (see below). After adhering your matted panels on the inside of the card, adhere this tube to the inside back and left side of fold.
For the inside image panel I colored and fussy cut the wagon part of the #6197 - Flower Delivery stamp set. I tucked the flowers into the pots like above. I used the #5776 - FB Sitting Girl as the delivery girl taking a break with her wagon full of flowers. 😀 She fits so perfectly with the wagon.
I adhered this panel to the top level of the tube. When the card is shut, the card will lay flat for mailing but yet stand up on display when opened.
That's it for me today. Thanks for joining me!
I hope you have a wonderful day and keep creating!
Today we will be using the brand-new Ai Love Blooms (6195) Set. This new set is part of the wonderful watercolor "Foundation Sets" series; however, I want to show you how you can modify these sets to fit your style and comfort level. The best part is that there are 5 more sets in this brand-new "Floral Shop" series.
For today's card, we will stamp the little front window scene, however, we will only stamp the top portion of the image (not including the 3 pots at the bottom). Let's also stamp a few items from the Ai Front Porch Garden Set (5486), to include the floral vine and potted flowers. This way we can easily fill the containers with the flowers from the Front Porch Set and easily add the floral vine around the window.
Now we can color, fussy cut and die cut the images. All of the coloring will be done using the Zig Clean Color Real Brush Pens in the following colors: Blender, Sugared Almond Pink, Pink, Lilac, Ice Blue, Lt Green, Dk Green, Orange, Yellow, Lt Gray, Beige, Platinum Brown.
Next, let's assemble the little scene and add a few bits of interest using our white gel pen! This scene will now get popped up on the card front.
But first, we need to cut some pretty patterned papers from the Ai Mother's Day PP (6051) using the Ai Nested Square Dies (5725) for the pink polka dotted paper and the multi-colored plaid paper. For the back layer of gingham paper, we will cut a simple rectangle to the full length of the square card base. On this rectangle we will stamp the "Love Blooms Here" sentiment from this same set.
Let's again add some more dimension by popping up the entire rectangle panel, but before we do that, we will need to wrap some pretty pink twine around this panel and tie a bow!
And for a finishing touch, we will add some sparkly gems in clear, pink and green!
These new sets will be a wonderful addition to your watercolor collection; however, you can see how easily you can use them is a brand-new way! Just have fun!
Thank you so much for joining me today! Have a fun and crafty day!
Embossing folders, stamps, dies, embellishments, snowbanks, spattered snow. Etc. For my card, I chose to use 6086 – Woodland Barn Scene. I absolutely love old barns so I fell in love with this image the second I saw it.



%20-%20Copy.jpg)