Hi everyone! Janet here to show off the brand new Simon Says Stamp Art Impressions Christmas Exclusive Stamp Set. It's called SSE22C - Fab-yule-ous Friends. This is a special edition and once it's gone, it's gone so make sure you hop over and pick this one up for your collection.
My card was included with all the wonderful Design Team's work with this stamp on Thursday's blog post, but I thought I would take the opportunity to share a little more detail on this one.
You know how sometimes, stamps can speak to you? When I saw this one, I knew I wanted to put these ladies in a snow globe. I searched my stash and found a die that made a basic snow globe. You can make one also using a Cricut machine or you can use a large circle die glued to a hand cut base. Once you have the front done, you can use it to trace another globe shape to use as the back. Then score the top 3/4" of the back piece, score and glue the front piece to it the area above the score line. This will create a shaped card like the one I made that will stand nicely.
Before I glued the front globe piece, I stamped it and colored it up using Copic markers. When I was done, I used my lightest two blue markers to trace around the edges of the image and also around the edge of the globe. I used colorless blender to further fade out the blue. I really like the effect this creates. It give it a feeling that it's glowing inside. To finish it, I dabbed Dr. Phil Martin's Bleed Proof White ink all over it. It makes it look snowy inside.
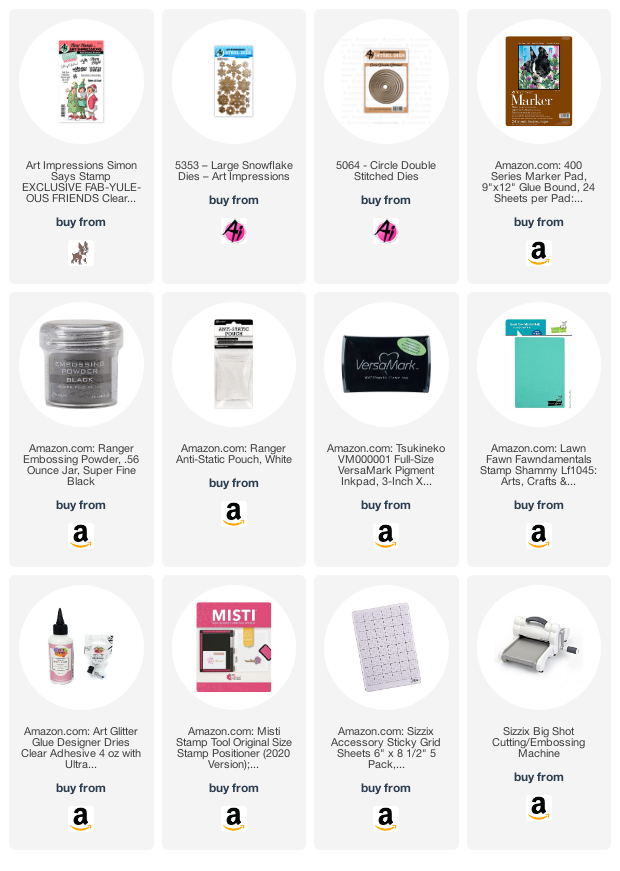
Then I stamped the music notes and sentiment included in the set with watermark ink and heat embossed them in black. I added some star sequins and the cheerful red and white bow. I also cut several snowflakes using white glitter cardstock using 5353 - Large Snowflake Dies.
Thanks for stopping by today for a little creative fun. Be sure to visit the Ai Store for lots of additional inspiration and don't forget to get this fabulous stamp set before it's too late!
Wishing you a very crafty day!
Janet - Facebook - Instagram - YouTube - Pinterest