Showing posts with label Large Snowflake Dies. Show all posts

Thursday, December 7, 2023

Clean and Simple Snowflake cards by Reneé Matarese

Are you as busy as I am this time of year?
I still love to create though so a quick card is sometimes called for.

I created two simple cards for the Clean and Simple challenge going on right now,
here on the Art Impressions blog.


Including the planning, I had these two cards done in just over 30 minutes.  That's
probably a record for me.


I love rustic Christmas cards and in some cases I feel like Kraft paper looks a little like leather.
When you add the twine it gives a nice look.


After die cutting the snowflakes I simply left them in place and glued them
to the designer paper.


Metal also says rustic Christmas to me so I added a metal dot
on a smaller snowflake in the center.


All Ai products used are linked below.  Enjoy this holiday season!


Saturday, December 2, 2023

It's a Winter Wonderland by Janet


Happy Saturday Ai fans! I know you all have been busy making cards. I really enjoy interactive cards. Today I have a fun little shutter card featuring 5802 - Joyful Snowman Set. The front of the card shows off the cute snowman and rabbit. I think the two of these little stamps work so beautifully together! For this card I used the 5853 - Christmas Magic Paper Pack for the front and interior mats. I colored the two stamps with Copic markers and then cut them out using the included dies. I created mats out of this paper plus some white glitter paper. I so love this set. The images are just so adorable.
 
As cute as the outside of the card it, I think the inside is very cute as well. This is a shutter card so as the card is opened, the image of the little snowman is revealed. He's from the 5846 - Mini Christmas Set. He fits so perfectly in the shutter. 

Here's a close up of the shutter when it's opened. It's so fun to open the card and see the image revealed in the window.

Thanks for stopping by today. I hope you'll stop by the store to see all the things you need for your card, journal, and tag making projects. 


Janet YouTube - Blog - Facebook - Instagram - Pinterest  


Thursday, November 16, 2023

Making Spirits Bright Challenge #364 week 2

 Hello everyone and welcome to week two of our Making Spirits Bright challenge!

As promised last week, we have Janet's feature tutorial for you.  Her card is so full of sparkle and cheer that it's sure to make everyone's spirits bright!  Let's see what Janet has prepared for you!

Hello everyone! It's week 2 of our Making Spirits Bright challenge. To participate and possibly win free stamps from Ai, you just need to make an upload a holiday themed card to our challenge post.

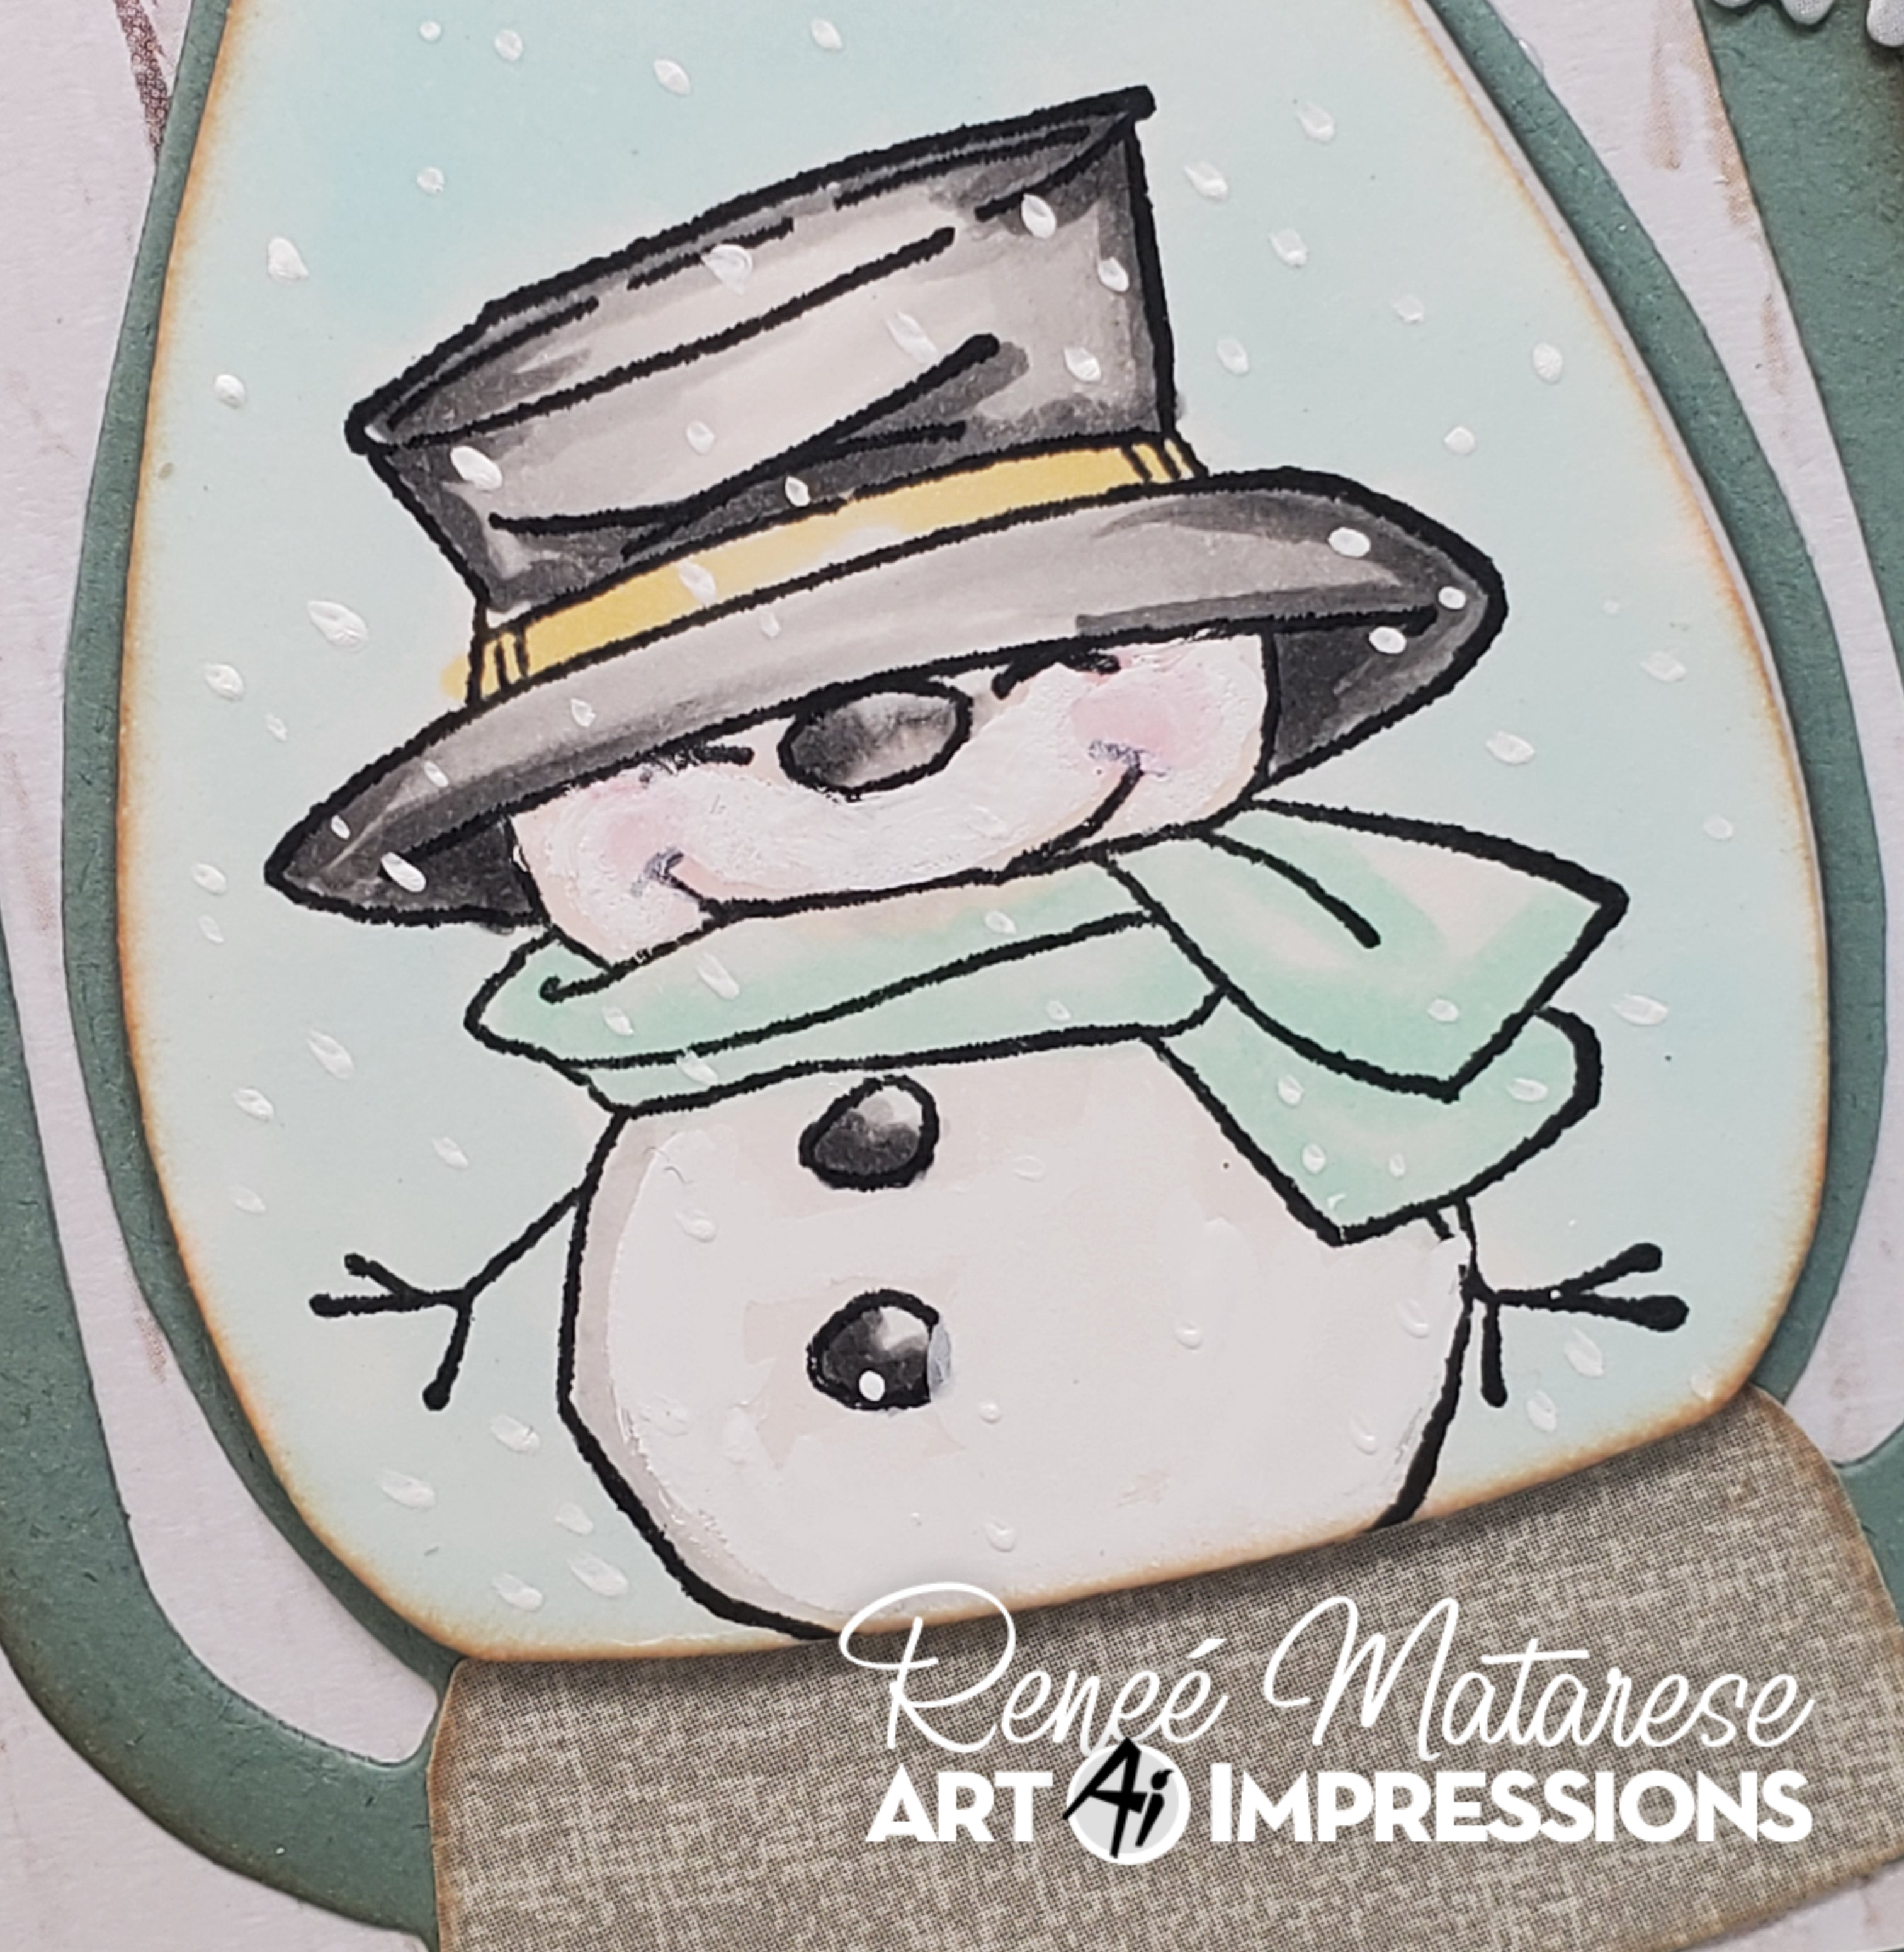
Today I'm showcasing the 5779 - FB Snowman stamp and die set. To begin this project, I stamped the front and back of the snowman, colored them with Copic markers, and cut them out with the dies included in this set. I glued them together. Because they are a Front Back set, they match up perfectly when glued glued with wrong sides together.

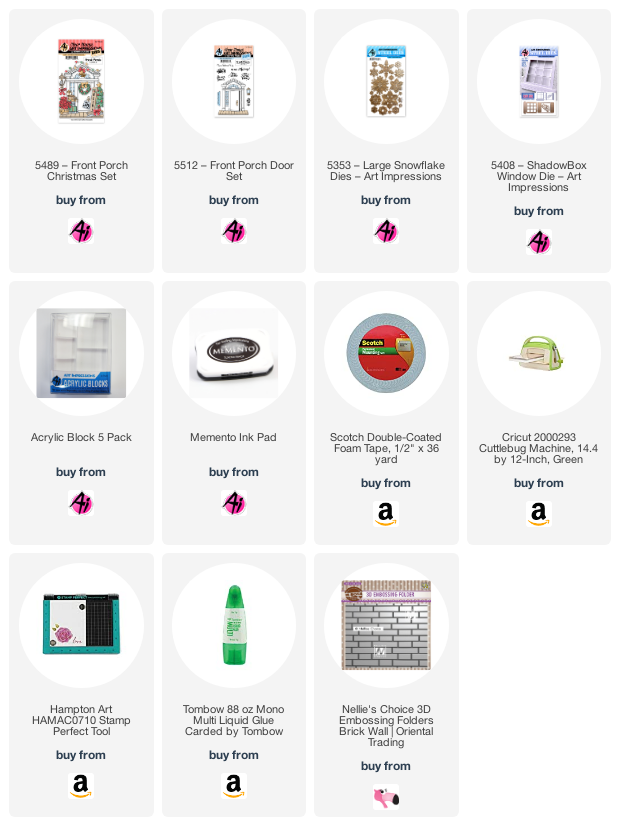
To make the front of the card, I started with a white glitter A2 sized card. I cut a piece of holly cardstock from the 5812 - Christmas S2 PP with the 3rd largest rectangle die from the 5724 - Nested Rectangle Dies set. I cut another piece of green cardstock with the largest rectangle die. I glued these on top of each other and then glued the stack to the top of the card. I used the rectangle die in the 5719 - FB Fence & Window Dies to cut a rectangle in the three layers of cardstock. This die is exactly the correct size so that the fence die in this set fits around the rectangle. After cutting the rectangle, I cut two fence pieces and glued one on the front of the car and the other on the inside.


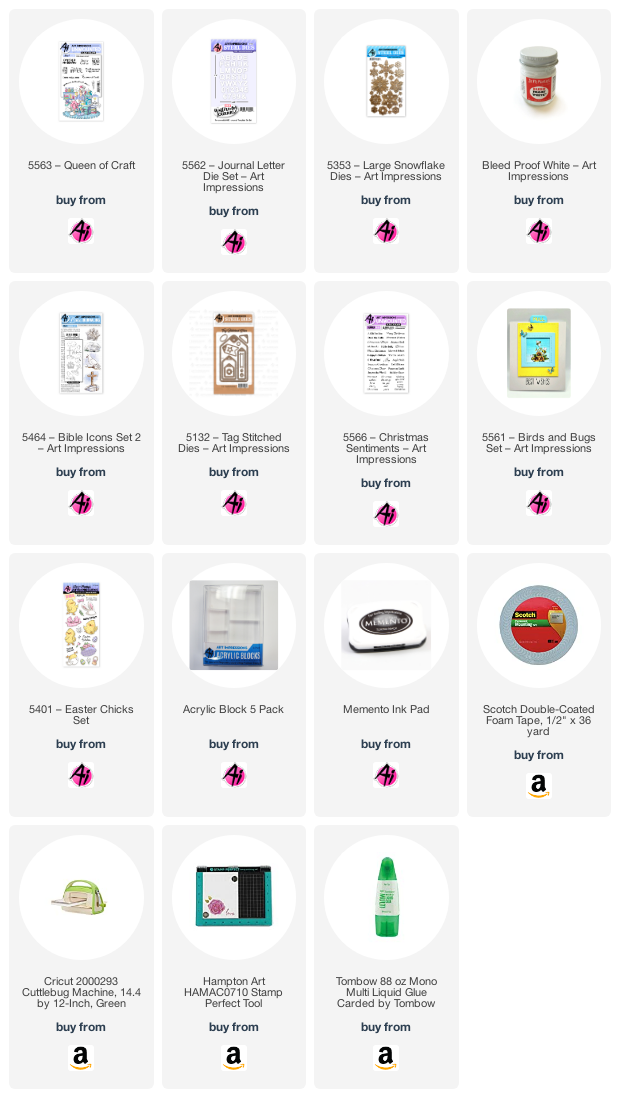
The next step was to cut the word Happy twice with green and gold cardstock and I glued them together slightly staggered. Then I stamped the phrase Holiday Cheer from the 5566 - Christmas Sentiments in red ink and then I glued the Happy phrase from 5103 - Flip Card Die to the sentiment. I glued the finished sentiment to the top of the card. With this done, I adhered the finished snowman at the edge of the fence so that part of him shows when the card is opened.

Inside I added a rectangle covered in winter glitter washi tape. When the card is shut, the glittered trees and snow show through the window cut with the fence die.  


Last but not least, I used the 5353 - Large Snowflake Dies to cut 3 snowflakes in silver cardstock. I arranged them on the front of the card as the finishing touch.


Thanks for stopping by today. I hope you'll stop by the store to see all the things you need for your card, journal, and tag making projects. 


Janet YouTube - Blog - Facebook - Instagram - Pinterest  

What a gorgeous card Janet!! Thank you for such amazing holiday inspiration!

Now for the rest of the Design Team.


You saw my card last week and can find all of the details here.

Next we have Tasha who used:

4936 – Christmas Wonder Set
5782 – Snowflake Frame Die
5566 – Christmas Sentiments

Sharon made this darling card.


Lynn has a YouTube tutorial on how to emboss with your Art Impressions dies.


Nina has an adorable trio of shaker tags.


One of my favorite things about our Design Teams is how they can all be given the same challenge and yet all of their projects turn out so different!  Thank you all for all of your hard work and to Janet for the wonderful tutorial.
Now, let's see what you create and enter, so that you might win a wonderful new stamp set!

You are invited to the Inlinkz link party!

Click here to enter


Monday, December 12, 2022

Joy of Christmas by Sharon Caudle

Hello AI Fans!


I love this card I'm showing you today.  This snowman exudes such joy that I can't help but smile every time I see him.  Bonnie is so talented in conveying emotions through her wonderful characters! This adorable cutie pie and sentiment are from #5041 Snow Friend Set. I can't help it, I adore him!!  I stamped him onto some Cryogen White paper which has a little sparkle to it, and then colored him with Copic markers. I cut the image out using the #5062 Rounded Rectangle A2 Double Stitched Die Set. For the mat behind him, I cut out another piece the same size in the gray paper and just offset it from the image panel. To balance out the card, I used three different beautiful snowflakes from 5353 Large Snowflake Dies and topped them off with some Diamond Stickles. 


Thank you so much for taking the time out of your busy schedule to stop in and take a peek at my card! Until next time my crafty friends!! 

Copics used:
Y08, Y35, Y38
YR12, YR14
C1, C2, C3, C4, C5, C6
R12, R22, R24, R27
T1, T2
B000, B04
YG07


Sunday, December 11, 2022

Queen Bee door hanger by Reneé Matarese

 Hello Ai fans!

Today I've created a door hanger featuring several Ai sets.


I don't know about you but in my house, I get interrupted a lot.  I thought, maybe this would solve
that problem!  When I'm working, I'll put this side out.


When I'm just "goofing" around or cleaning,  this side will show.


These sentiments couldn't be more true!


I also made a card for a basket of cards I donated. 
I used an a retired Simon Says Stamp exclusive snowman. 


All Art Impressions products I used on my cards are linked below.


This little guy is just the sweetest!


Saturday, November 19, 2022

You're Fab-yule-ous!


Hi everyone! Janet here to show off the brand new Simon Says Stamp Art Impressions Christmas Exclusive Stamp Set. It's called SSE22C - Fab-yule-ous Friends. This is a special edition and once it's gone, it's gone so make sure you hop over and pick this one up for your collection.

My card was included with all the wonderful Design Team's work with this stamp on Thursday's blog post, but I thought I would take the opportunity to share a little more detail on this one.

You know how sometimes, stamps can speak to you? When I saw this one, I knew I wanted to put these ladies in a snow globe. I searched my stash and found a die that made a basic snow globe. You can make one also using a Cricut machine or you can use a large circle die glued to a hand cut base. Once you have the front done, you can use it to trace another globe shape to use as the back. Then score the top 3/4" of the back piece, score and glue the front piece to it the area above the score line. This will create a shaped card like the one I made that will stand nicely.

Before I glued the front globe piece, I stamped it and colored it up using Copic markers. When I was done, I used my lightest two blue markers to trace around the edges of the image and also around the edge of the globe. I used colorless blender to further fade out the blue. I really like the effect this creates. It give it a feeling that it's glowing inside. To finish it, I dabbed Dr. Phil Martin's Bleed Proof White ink all over it. It makes it look snowy inside.

Then I stamped the music notes and sentiment included in the set with watermark ink and heat embossed them in black. I added some star sequins and the cheerful red and white bow. I also cut several snowflakes using white glitter cardstock using 5353 - Large Snowflake Dies.

 Thanks for stopping by today for a little creative fun. Be sure to visit the Ai Store for lots of additional inspiration and don't forget to get this fabulous stamp set before it's too late!

Wishing you a very crafty day!

Janet Facebook Instagram - YouTube - Pinterest 


Sunday, October 9, 2022

Christmas Front Porch by Reneé Matarese

 Hello Ai fans!

I have a 5489 – Front Porch Christmas Set easel card to share with you today.

This is an add on set to the 5512 – Front Porch Door Set series.


Most everything on this card is from the Front Door set or the Christmas Door set.
The snowy yard was made using heavily textured white paper and adding some Diamond Dust to it.


This is a fun, interactive set and the door opens and closes if you want it to so you can hide a little surprise behind it.

The window was made using the 5408 – ShadowBox Window Die that I trimmed down and just hid the seems behind other elements.


The snowflakes are from 5353 – Large Snowflake Dies set and I used real fabric for the curtains.


I used my Glistening Snow Writer to add snow to the sills and ledges and some stickles on other elements to make them sparkle.  The snowflakes were cut from glitter paper.
The house front was embossed with a folder called M-Boss 3D Embossing Folder EF3D023 from Nellie's Choice. (Brick Wall)