Hello, Ai Fans! Who is ready for spring?? We sure are! Let's take a look at some wonderful springtime inspiration from our lovely Watercolor Design Team!
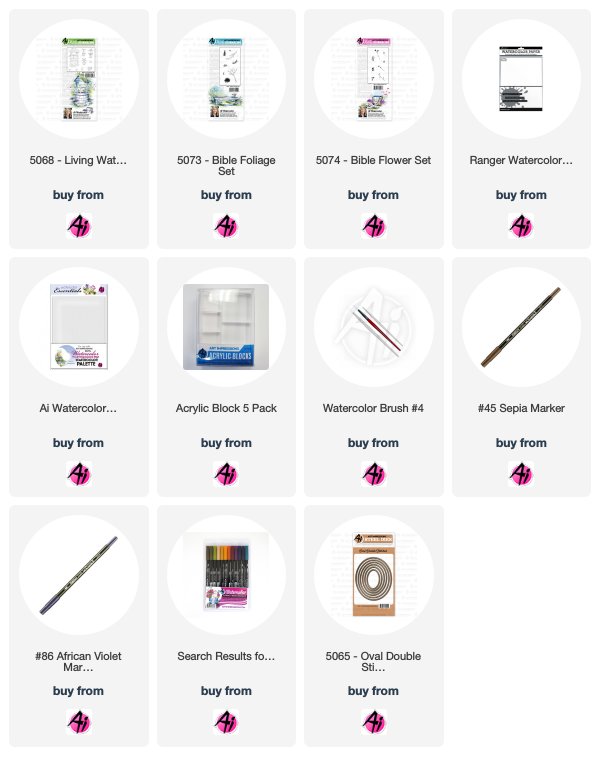
Hello, I made this card for the Art Impressions Watercolor Weekend using stamps from the Bible Journaling line. I stamped the well from the 5068 - Living Water Set using sepia then African violet. I did stamp it off on paper first. I pulled the color out of the lines. Next I stamped the little pot from the 5067 - Gates of Righteousness Set in the sepia and African violet. I used Tombow markers 947 and 977 to color in the pot from the palette. I added the leaves by stamping the ivy from the 5073 - Bible Foliage Set in 177 and the flowers from the 5074 - Bible Flower Set in English red and then added water to them. I added the large and small grass stamps from the 5073 - Bible Foliage Set and pulled the color up and out. I stamped the bird in sepia from the 5068 Living Water Set, then added more sepia and English red from the palette. I painted the roof of the well in 249 and the rope in 977 from the palette. I painted the ground in the 249 also. I used the sepia and African violet mixed to add the shadows to the well bottom. I used 528 and a lot of water to paint in the sky. The last thing I did was sign it and add that little heart graffiti with the letters TF (for my husband Tad) in it because today just happens to be our 39th wedding anniversary.
Have a great weekend, I know I'm going to have a fun one!
Tricia Kennedy - Instagram
My project for today’s Art Impressions Watercolor Weekend is a lovely floral card. Using just two stamps and a few markers, you can quickly make several for your Valentine’s Day card giving.
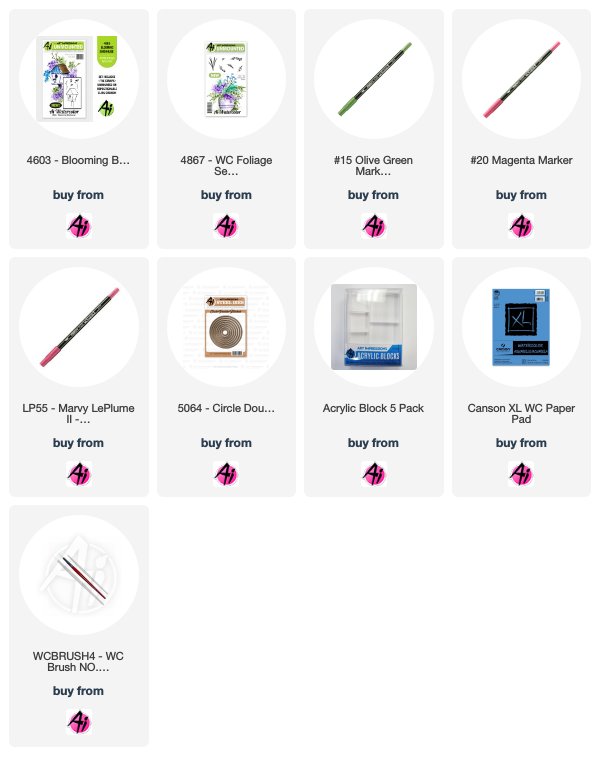
Begin by inking up the tiny flowers from 4603 WC Blooming Birdhouse in 55 Iris Purple and then in 20 Magenta in bunches in a circle. Fill in between the flowers with foliage from 4867 WC Foliage Set 2 in 15 Olive Green. Watercolor the Art Impressions way by pulling the color from the lines with water and your watercolor brush. Add dot detail around the wreath with the fine tip of 20 Magenta. Cut out the wreath with your die cutting machine using the largest circle from the 5064 Circle Double Stitched Die Set. Embellish with Swarovski Crystal Rhinestones with a dab of your favorite glue into the floral area. Attach your watercolor piece to a doily with Glue Dots Pop-Up Dots, attach the doily to the card panel with spray adhesive.
Hello watercolor fans! I am back again today with my project for Art Impressions watercolor weekend. With Valentine's Day coming, I know we all need to make some cards for the sweet people in our lives. I wanted to create a simple Valentine Love card to share with you.
Step 1
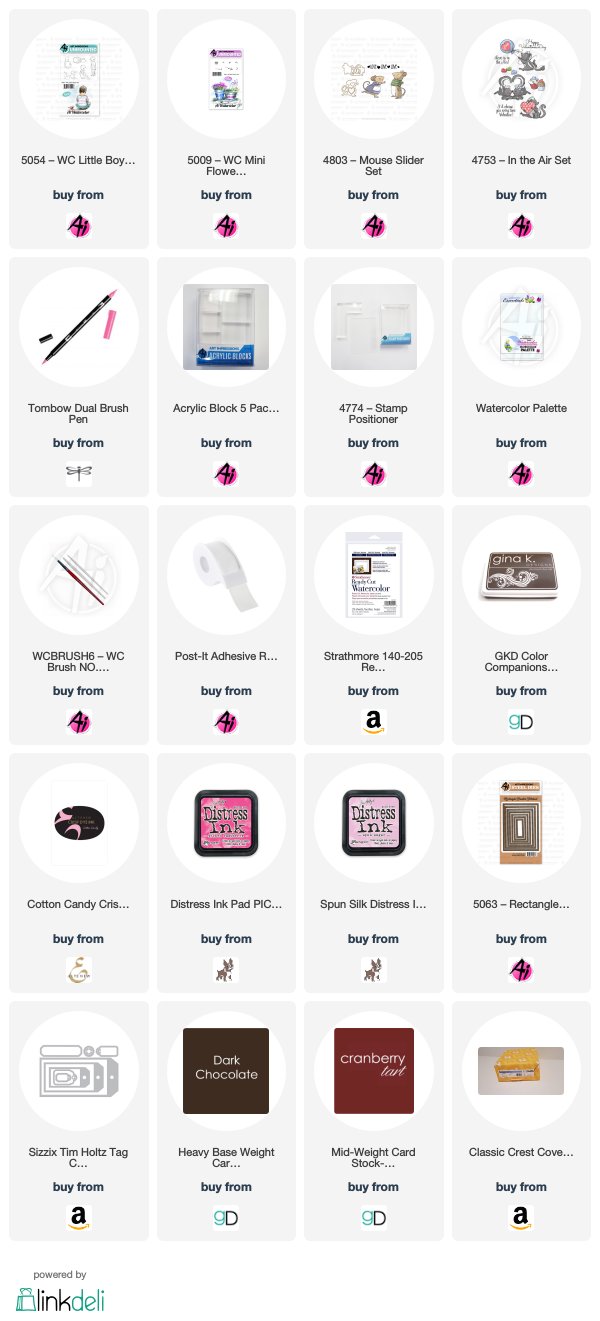
To start the project, I stamped the boy from the 5054-WC Little Boys Set inked in Pale Cherry (912). I wanted to keep the color light, however, I was doing this in a Sepia type color scheme, so I could have just inked it up with Chocolate (969). In order to keep this on the lighter side, I stamped it off prior to stamping on my watercolor paper.
As with all projects, we start off by pulling the color out of the lines. Because he is pointing towards the left of the paper, that is where I imagine my light source to be. Therefore, everything to the right of him will be darkest (right side of hat, right side of sleeve and pants. Using the palette, you can add more color (slowly).
Step 2
Next, I wanted to make it seem like he had a bouquet of flowers behind his back so I left off the right side of the stamp (between the top and bottom of his shirt). I masked off a portion of the bottom of his shirt so it would protect any rogue stems. Using the small stem from the 5009-WC Mini Flower Set, inked in Rubine Red (755) and Dark Jade (177).
In order to get it in the right place, I used the stamp positioner. Once I stamp down the first flower, I added additional flowers without re-inking. I added water to the blooms and a very small amount to the stems. I also added some additional Chocolate (969) below the flowers to make it look like the bottom of his hand.
Step 3
To create a little depth, I added some Chocolate (969) to my palette and added a little bit to the background behind him.
Want to learn how to make the background for the card, check out my blog!
Thank you so much for spending some time with me on your weekend. I hope you have some time to watercolor. Make sure you share your projects with us on Instagram using #AIWatercolor and tag us so we can see!
Enjoy your weekend and see you next month!!

Thanks, team! Super cute projects! We love the ideas you come up with, and this is a great selection of different watercolor paintings to try! If you like these projects, be sure to give us a comment below! Don't forget you can always pin these images to your Pinterest board!
Happy Stamping!
Happy Stamping!


No comments:
Post a Comment