Showing posts with label Blooming Birdhouse. Show all posts

Wednesday, January 15, 2020

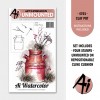
NEW VIDEO! Floral Framed Containers Watercolor

Hello Ai Fans!

Welcome back, Watercolor Wednesday fans!

Today we have a new video from our sole artist, Bonnie Krebs! She created two blooming containers with a decorative floral frame using our A2 Rectangle Dies. This unique idea is great for creating frames for images, like shown, or to frame a sentiment or photo! Watch the full video below for the tutorial!


View on YouTube: https://youtu.be/z0KIR7uESL4


Saturday, January 19, 2019

Watercolor Weekend Roundup - Dreaming of Spring!

Hello, Ai Fans! Who is ready for spring?? We sure are! Let's take a look at some wonderful springtime inspiration from our lovely Watercolor Design Team!

Dot Freel - Instagram - Blog - Pinterest
Hello, I made this card for the Art Impressions Watercolor Weekend using stamps from the Bible Journaling line. I stamped the well from the 5068 - Living Water Set using sepia then African violet. I did stamp it off on paper first. I pulled the color out of the lines. Next I stamped the little pot from the 5067 - Gates of Righteousness Set in the sepia and African violet. I used Tombow markers 947 and 977 to color in the pot from the palette. I added the leaves by stamping the ivy from the 5073 - Bible Foliage Set in 177 and the flowers from the 5074 - Bible Flower Set in English red and then added water to them. I added the large and small grass stamps from the 5073 - Bible Foliage Set and pulled the color up and out. I stamped the bird in sepia from the 5068 Living Water Set, then added more sepia and English red from the palette. I painted the roof of the well in 249 and the rope in 977 from the palette. I painted the ground in the 249 also. I used the sepia and African violet mixed to add the shadows to the well bottom. I used 528 and a lot of water to paint in the sky. The last thing I did was sign it and add that little heart graffiti with the letters TF (for my husband Tad) in it because today just happens to be our 39th wedding anniversary.

Have a great weekend, I know I'm going to have a fun one!

Tricia Kennedy - Instagram
My project for today’s Art Impressions Watercolor Weekend is a lovely floral card. Using just two stamps and a few markers, you can quickly make several for your Valentine’s Day card giving.

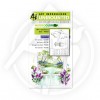
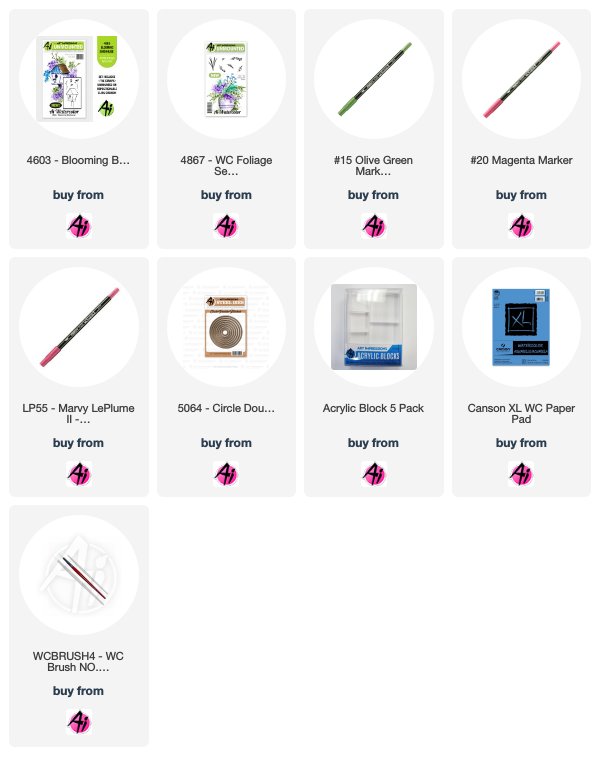
Begin by inking up the tiny flowers from 4603 WC Blooming Birdhouse in 55 Iris Purple and then in 20 Magenta in bunches in a circle. Fill in between the flowers with foliage from 4867 WC Foliage Set 2 in 15 Olive Green. Watercolor the Art Impressions way by pulling the color from the lines with water and your watercolor brush. Add dot detail around the wreath with the fine tip of 20 Magenta. Cut out the wreath with your die cutting machine using the largest circle from the 5064 Circle Double Stitched Die Set. Embellish with Swarovski Crystal Rhinestones with a dab of your favorite glue into the floral area. Attach your watercolor piece to a doily with Glue Dots Pop-Up Dots, attach the doily to the card panel with spray adhesive.
Tricia O'Bin - Blog - Instagram - YouTube - Pinterest - Facebook
Hello watercolor fans! I am back again today with my project for Art Impressions watercolor weekend. With Valentine's Day coming, I know we all need to make some cards for the sweet people in our lives. I wanted to create a simple Valentine Love card to share with you.

Step 1
To start the project, I stamped the boy from the 5054-WC Little Boys Set inked in Pale Cherry (912). I wanted to keep the color light, however, I was doing this in a Sepia type color scheme, so I could have just inked it up with Chocolate (969). In order to keep this on the lighter side, I stamped it off prior to stamping on my watercolor paper.

As with all projects, we start off by pulling the color out of the lines. Because he is pointing towards the left of the paper, that is where I imagine my light source to be. Therefore, everything to the right of him will be darkest (right side of hat, right side of sleeve and pants. Using the palette, you can add more color (slowly).

Step 2
Next, I wanted to make it seem like he had a bouquet of flowers behind his back so I left off the right side of the stamp (between the top and bottom of his shirt). I masked off a portion of the bottom of his shirt so it would protect any rogue stems. Using the small stem from the 5009-WC Mini Flower Set, inked in Rubine Red (755) and Dark Jade (177).

In order to get it in the right place, I used the stamp positioner. Once I stamp down the first flower, I added additional flowers without re-inking. I added water to the blooms and a very small amount to the stems. I also added some additional Chocolate (969) below the flowers to make it look like the bottom of his hand.

Step 3
To create a little depth, I added some Chocolate (969) to my palette and added a little bit to the background behind him.

Want to learn how to make the background for the card, check out my blog!

Thank you so much for spending some time with me on your weekend. I hope you have some time to watercolor. Make sure you share your projects with us on Instagram using #AIWatercolor and tag us so we can see!

Enjoy your weekend and see you next month!!
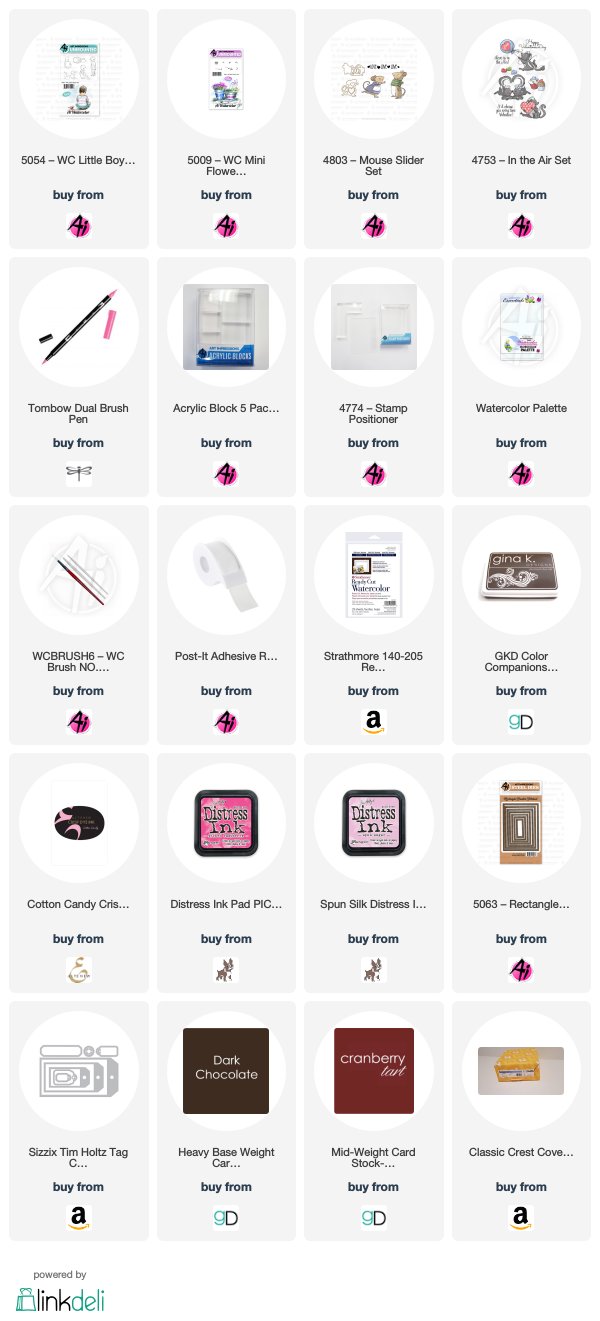
Thanks, team! Super cute projects! We love the ideas you come up with, and this is a great selection of different watercolor paintings to try! If you like these projects, be sure to give us a comment below! Don't forget you can always pin these images to your Pinterest board!

Happy Stamping!

Saturday, June 2, 2018

Watercolor Weekend Roundup - Happy June!

Happy June, Ai Watercolor Fans! With summer on the way, we are dreaming of blooming flowers and sunshine! Today we have three gorgeous projects from the Watercolor Guest Design Team that we hope will inspire some summery cards! Perhaps you'll find a few ideas to use your stamps a little differently!

Dot Freel Instagram - Blog - Pinterest
Hello Watercolor Friends,

I made this card during the Memorial weekend for this week's roundup and I guess I was feeling patriotic. I needed to make the log base bigger than it was so I used the stamp positioner to make it wider which made the larger birdhouse fit better. I used eight stamp sets and nine markers to create it, and a white gelly pen for stars on the flag. See my list of supplies below:

Other Supplies: Sakura Gelly Roll, Tim Holtz Distress Watercolor Cardstock

Tricia Kennedy - Instagram
Take a look “Through the Porthole” for today’s Watercolor Weekend project. Watercolor the Art Impressions Way by inking up the round door from the WC Hobbit Door Set (omitting the cobblestones and the little window) in Sepia. Draw in the bottom of the circle with the fine tip of Sepia to achieve the porthole. Stamp the same round door onto a post-it note and cut out a mask. Next stamp the siding from the WC Wall Texture Set in Sepia on both sides of the porthole. To get the wooden plank look, draw in lines, squiggles and knots with the fine tip of Sepia. Scribble a little Manganese Blue, African Violet, Olive Green and Salvia Blue onto your Watercolor Palette. Mix Manganese Blue with African Violet and brush into the porthole for the sea. Take Olive Green and brush in for the land and finally Salvia Blue for the sky.


Marvy Le Plume II Markers: 15 Olive Green, 36 Manganese Blue, 45 Sepia, 60 Salvia Blue, 86 African Violet
Other Supplies: Darice Wave Embossing Folder, Post-It Notes

Tricia O'Bin - Blog - Instagram - YouTube - Pinterest - Facebook
I really loved using this bird bath as a container for some spring flowers. I was inspired by one of my neighbor’s bird bath that was turned into a flower pot. I love using the AI Stamps in unique ways. I am hooked on the flowers in the Flower Set 3 along with the original foliage set. We would love for you to join us for Watercolor Weekend. Tag us on Instagram with #AIWatercolor!!

Marvy Le Plume II Markers: 15 Olive Green7 Orange8 Violet3 Blue20 Magenta45 Sepia

Aren't these projects so fun? Each projects offers ideas on how to stretch your stamps! Whether you are "extending" a stamp like Dot's larger tree stump, transforming a door into a porthole like Tricia K, or filling your bird bath with lovely flowers, there is something for everyone!

Do you ever save these projects to your Pinterest board? Every single one of our blog posts has a small Pinterest icon at the bottom so you can easily pin your favorite posts! While you're at it, be sure to visit our Wonderful Watercolor board on Pinterest to find more of your favorites! Also, check out Dot and Tricia O's boards while you're at it! They are seriously jam-packed with beautiful cards!

Dot Freel - 
Pinterest
Tricia O'Bin - Pinterest

Happy Stamping!

Wednesday, April 11, 2018

Watercolor Throwback - Old Barn Set

Hello Ai Fans!

Everyone once in a while we like to throwback to one of our most popular videos, and as spring sneaks up on us, we wanted to share our Old Barn! We're going back to August 2016 to this "top five" video, since we launched Watercolor Wednesdays in November of 2015!

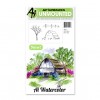
In this video, Bonnie demonstrates how to create a beautiful, rustic scene with our Old Barn set. This set comes with a beautiful large tree and a natural roving fence. Bonnie uses beautiful greens, browns and blues from our Marvy Marker collection to bring this out the beauty in this outdoor image. 

We hope you enjoy this throwback video! Leave a comment on the video if this is the first time you've seen it! Make sure to hop over to subscribe and give this video a thumbs up!

Take care and have a WONDERFUL Wednesday!


View on YouTube: https://youtu.be/lSmMlpKKIRo


Wednesday, February 22, 2017

NEW VIDEO - Beach Cottage Watercolor

Hello Ai Fans!

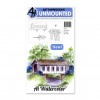
Welcome to a new Watercolor Wednesday! Are you ready for a new challenge? This week, Bonnie created a beautiful Beach Cottage next to a rock cliff. Bonnie uses her Stamp Positioner and the rocks from WC Series 2 set to create an angled slope going down from the house. Next, she uses a sticky note and branches from the Clay Pot set and the flowers from the Blooming Birdhouse to create overgrown flowering bushes growing behind the cottage. Bonnie then uses a pencil to create steps coming down from the front porch. To add to the slope, she adds grass from the WC Foliage Set and blooms from the Covered Bridge set. Finally, she brushes in the water around the house and colors the cottage, all from the WC Palette!

We hope you enjoy this week's video! Make sure to subscribe to our channel for all our latest videos. If you liked this video, please give it a "thumbs up" on YouTube to let us know you like them! We're gearing up for new Watercolors coming the beginning of March and can't wait to share them with you!

Happy Watercolor Wednesday!


View in HD on YouTube: https://youtu.be/gayFg4ydgZ8