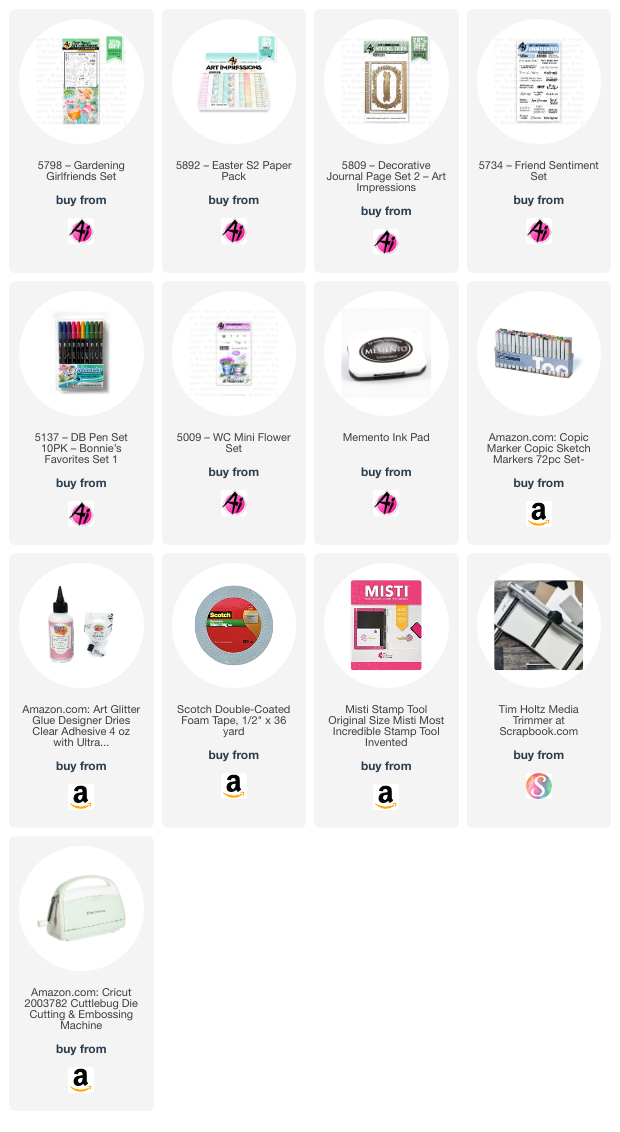
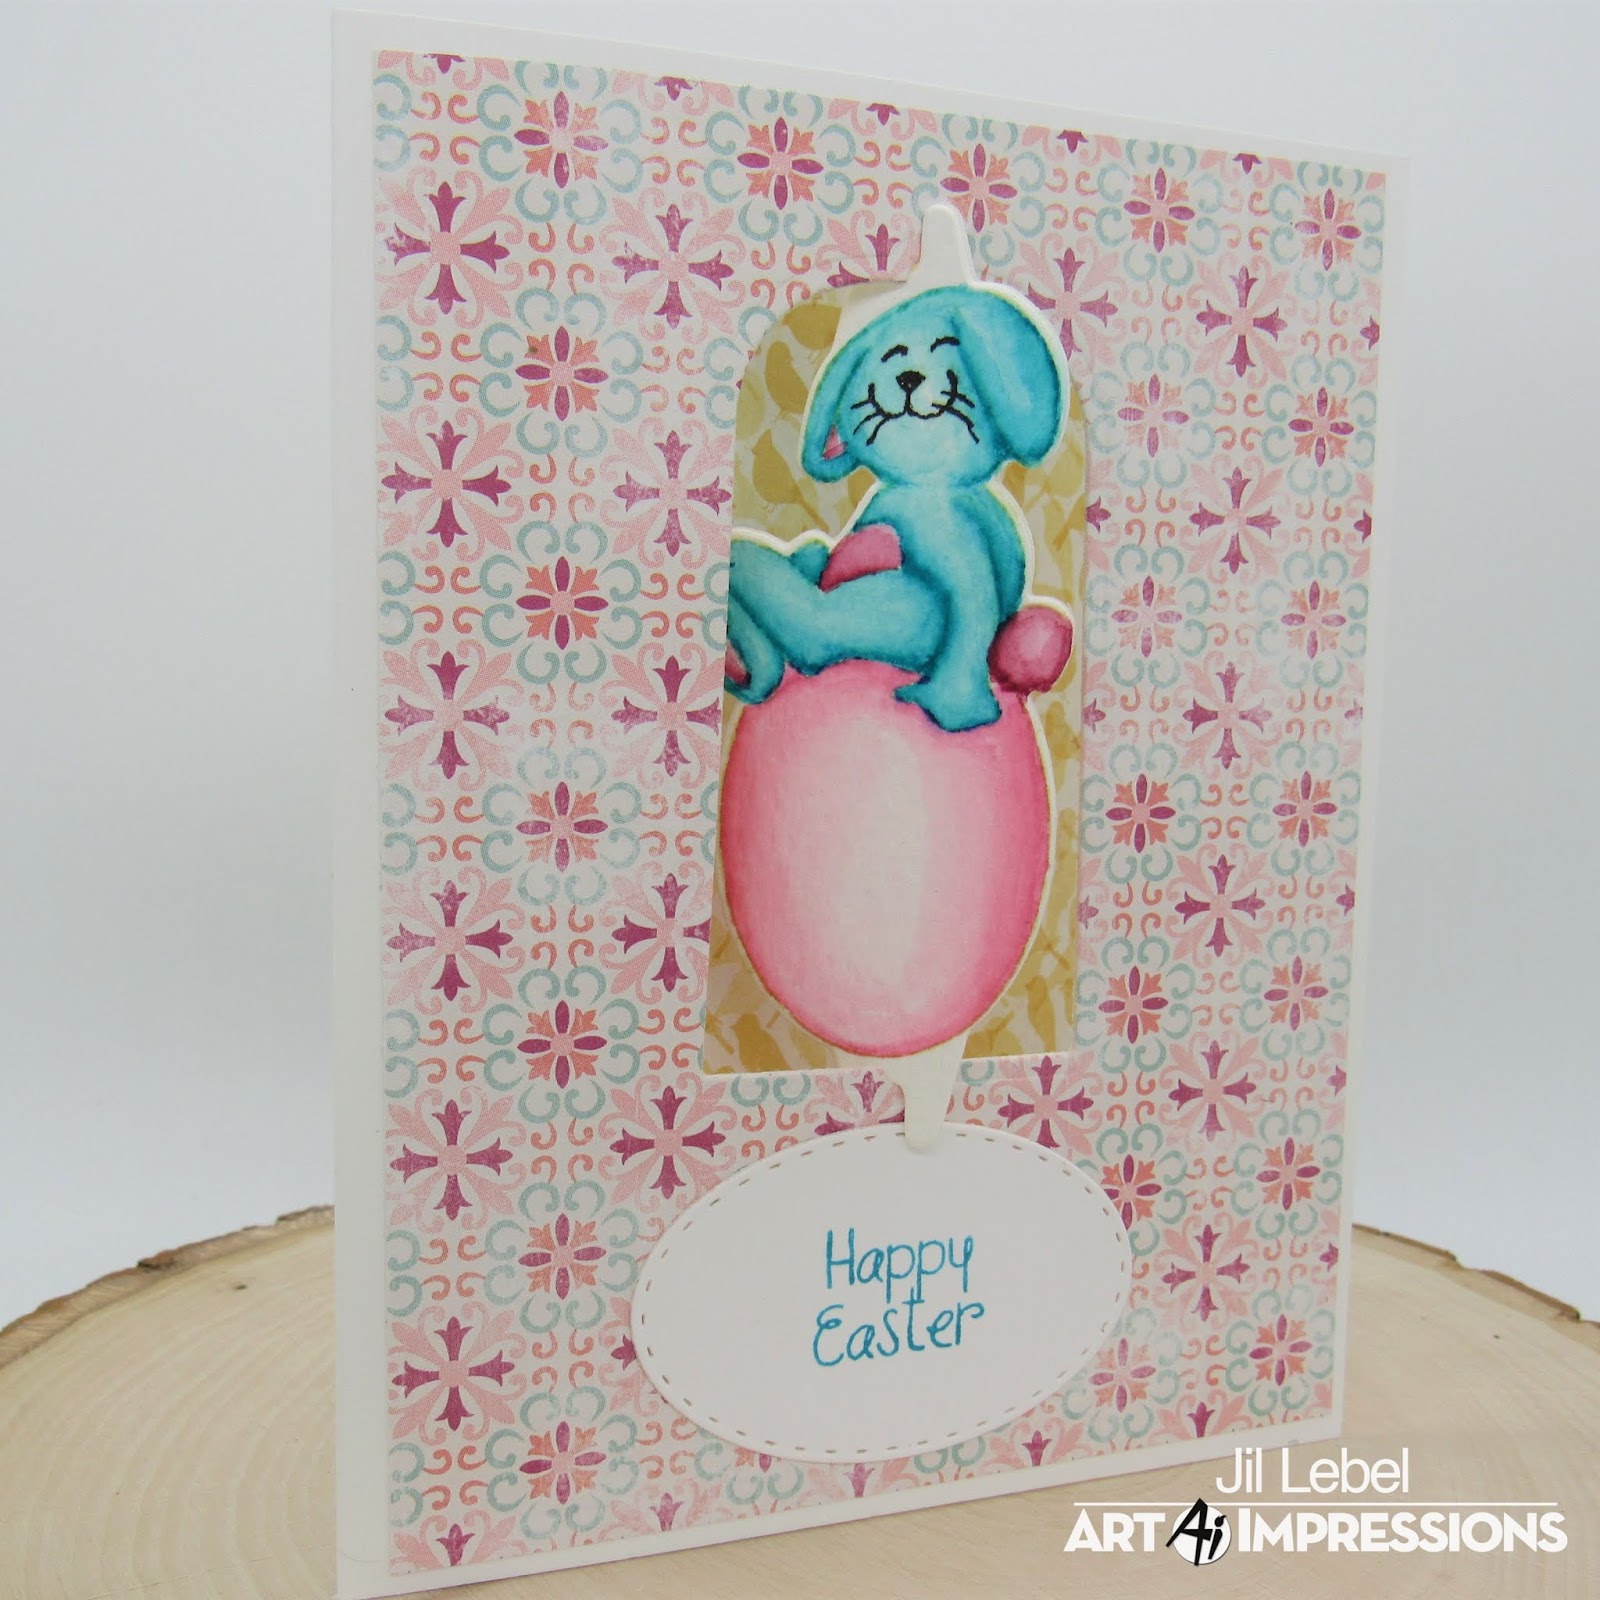
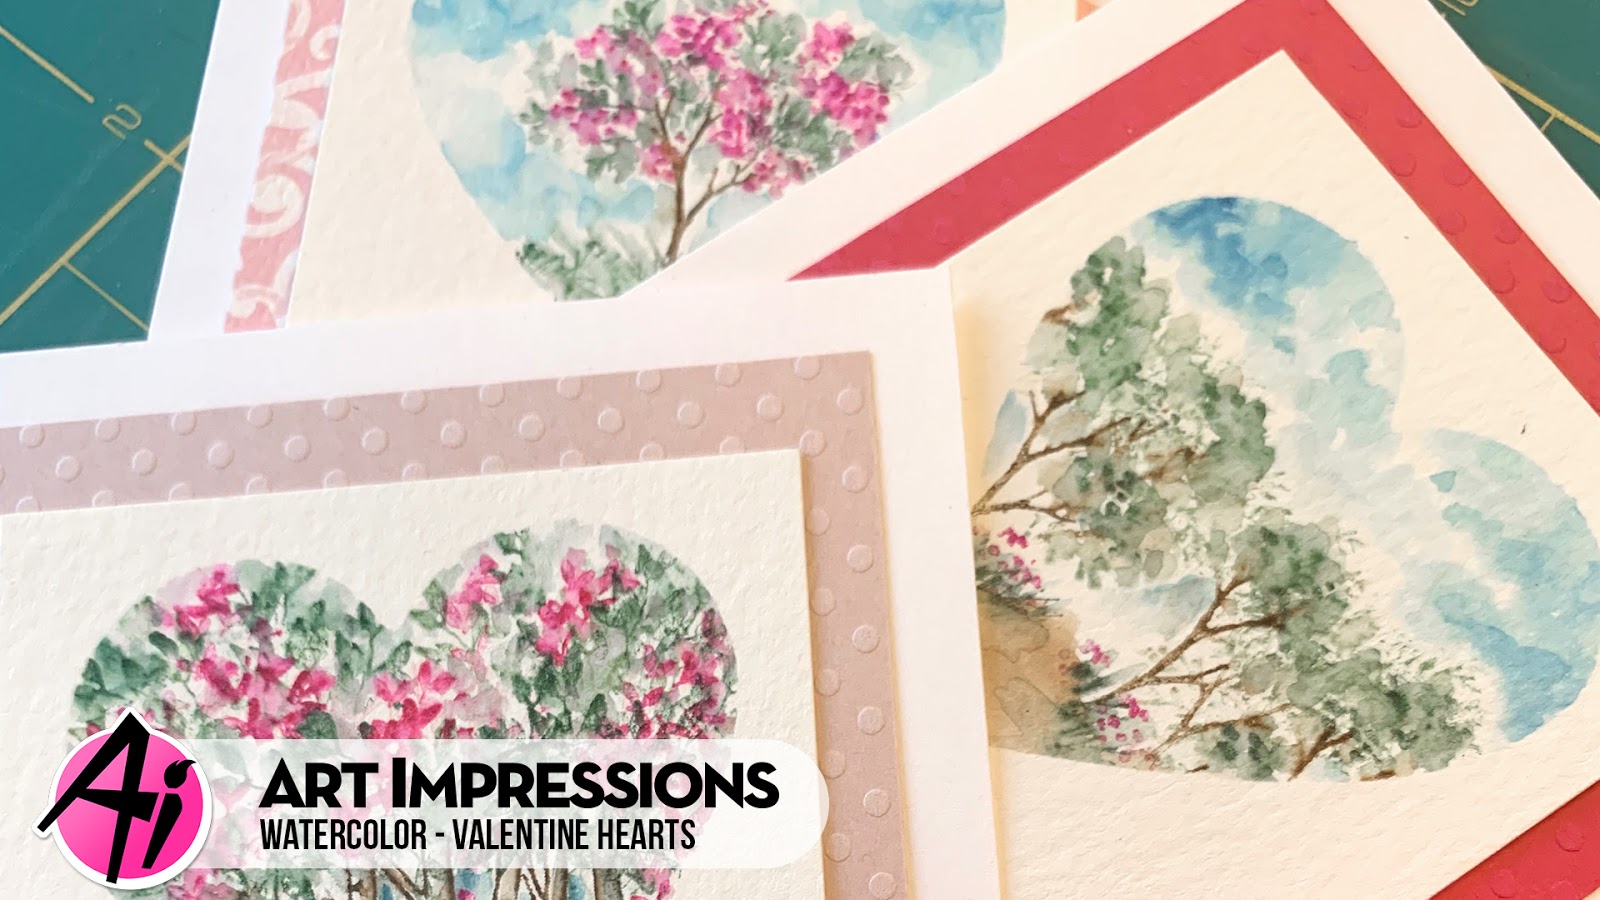
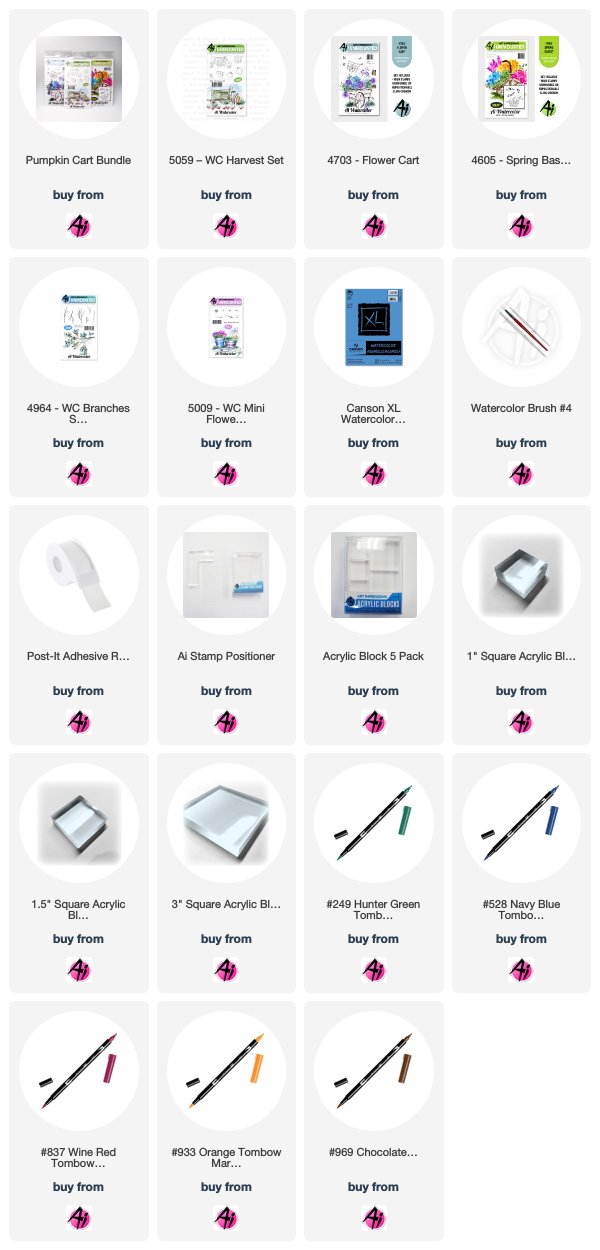
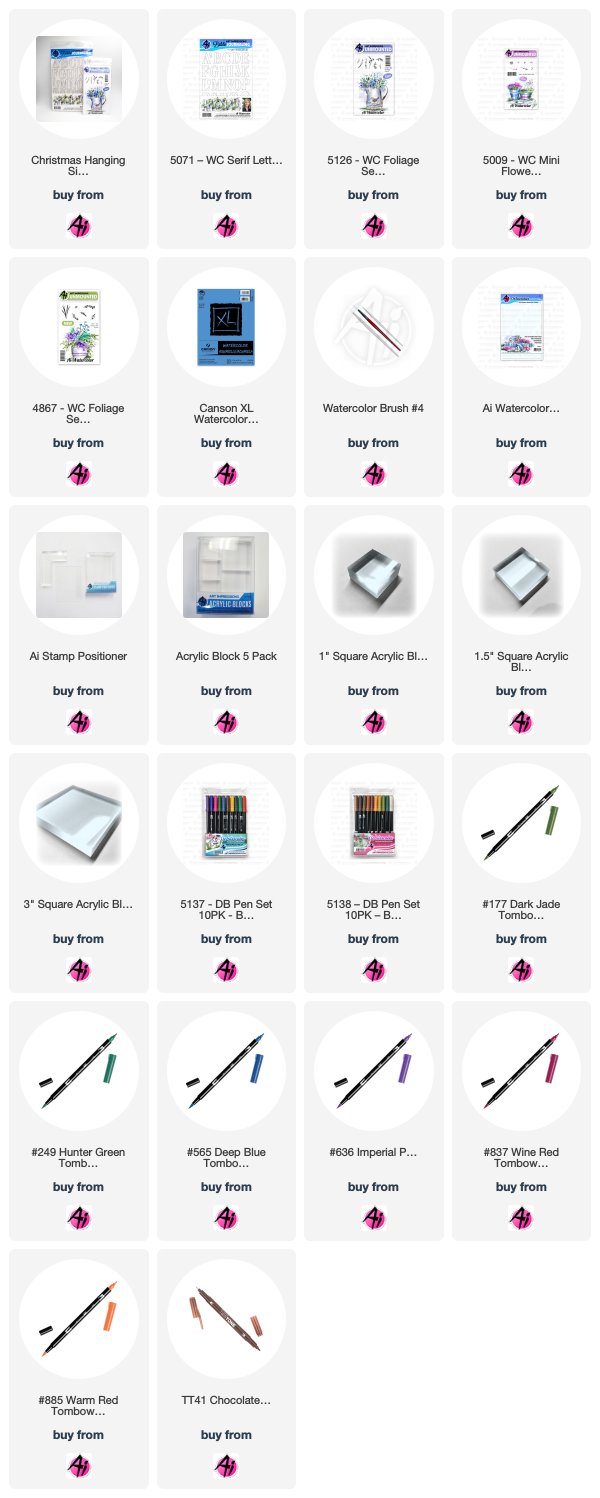
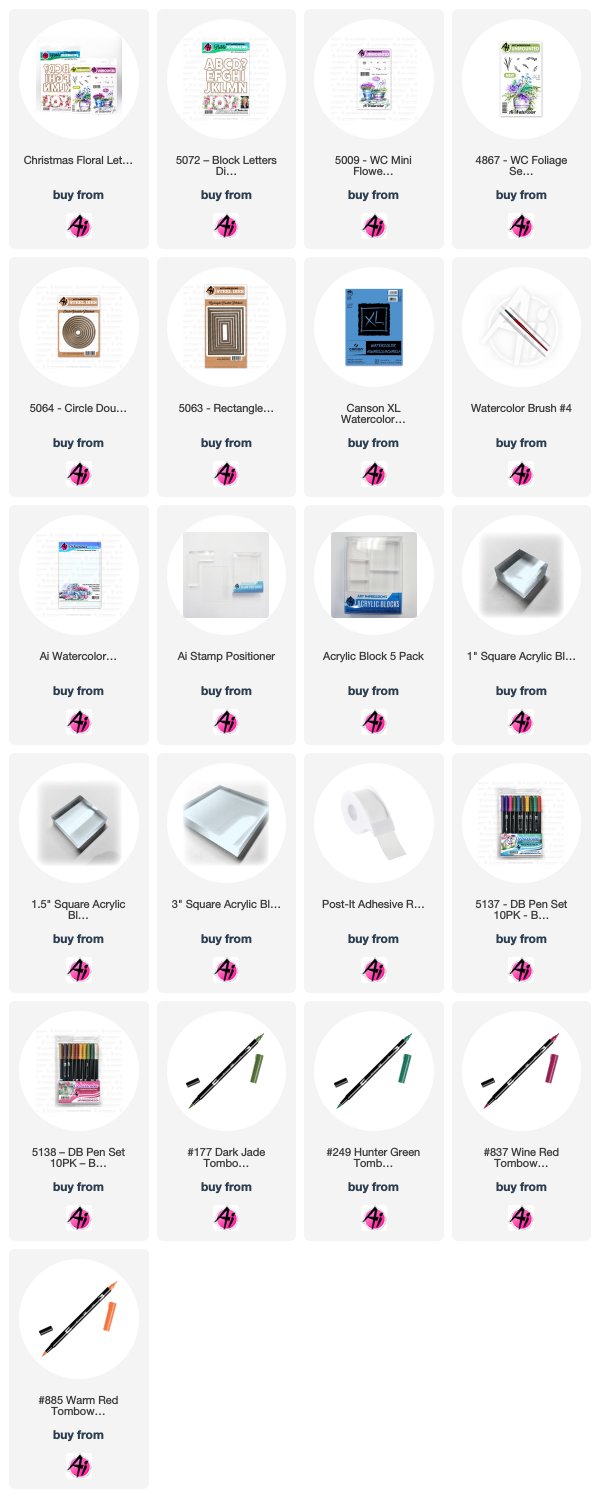
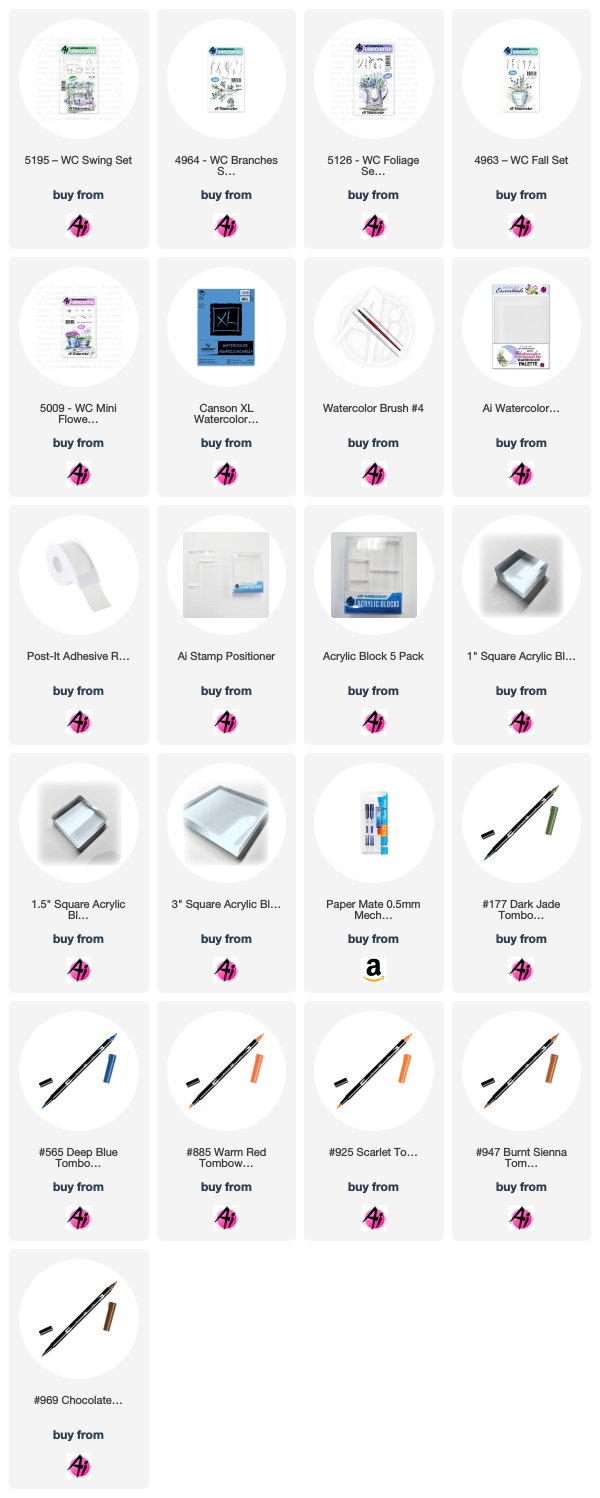
Showing posts with label WC Mini Flower Set. Show all posts

Tuesday, July 23, 2019

Tropical Watercolor House Two Ways by Jil Lebel

Hello Ai fans!

My father's birthday was last week and I wanted to make him a personal card so I turned to the watercolor series of stamps.  I make a card depicting a house he built here in Florida.  It's not exact, but he knew exactly what it was when I gave it to him.  While I was at it, I made a second card with a few different colors with a similar layout.  The watercolor series of stamps are so versatile!
Use the Square Double Stitched dies to cut out a frame from the watercolor paper.  Color the house from the Mini Cottages set with Chocolate and Deep Blue markers and stamp it off to the right side of the inner square of watercolor paper.  Stamp the house onto Post-It Tape and cut it out before applying the mask over the image.  Apply Dark Jade and Chocolate markers to the palm tree and stamp the it over the house. I used my stamp positioner for both of those images.  Remove the mask and use the #1 brush to pull the color from the stamped lines.  Add extra color to the house with the Deep Blue, Avocado and Chocolate markers. Add Grass and Palm leaves with Dark Jade and Avocado and pull the color out with your #4 brush.  Add some tiny flowers with the Rhodamine Red marker.  Add in the sky with True Blue.
The background uses the Palm Fronds from the Palm Tree set and the tiny flowers from the Mini Flowers set.  Randomly apply the palm fronds using the Dark Jade and Avocado markers.  Fill in the blank areas with clusters of the flowers using the Rhodamine Red and Chartreuse markers.  Use the #4 brush to pull out the color.  Add the scene flat to the upper portion of the background and add the white frame around it with foam tape.  Add a sentiment from the WC Sentiment Set 2 that is cut from the Flag Double Stitch Dies below the framed image.


Thanks for stopping by and Have a Great Day!

Wednesday, July 10, 2019

NEW VIDEO! Sleeping Puppy & Doghouse Watercolor

Hello Ai Fans!

It's that time again ... Watercolor Wednesday! In this new video, Bonnie created an adorable sleeping puppy inside a doghouse created from the smallest image in our WC Garden Shed Set! We love this little scene and how it can be used on cards for the young and young at heart!

Hop over to the video and let us know - Are you a cat or a dog person? Or both?!


View on YouTube: https://youtu.be/w1n3E_iTbFg


Wednesday, July 3, 2019

NEW VIDEO! Oceanside Doorway Watercolor

Hello Ai Fans!

We are back for a NEW Watercolor Wednesday! This week, Bonnie creates a doorway in a stone wall, with a path leading down to the oceanfront. We love the hanging vines and colorful bushes that adorn this wall. Bonnie also added the birds from our My Fortress Set in the blue sky!

We hope you enjoy this week's special video!

View on YouTube: https://youtu.be/YVy5-YJGYpo


Wednesday, June 5, 2019

NEW VIDEO! Bridge & Cottage Scene 2 Watercolor

Hello Ai Fans!

Welcome back, Watercolor Wednesday fanatics! We have been enjoying traveling around this summer meeting many of you during at retail shows! Thanks for tuning in and sharing your watercolor projects with us!

This week, Bonnie wanted to create a second Bridge & Cottage Scene (view our first video here) and transforms the bridge by selectively inking and placing in front of our WC Garden Shed image. We love how with a little sketching, you can create depth to your image with color from your palette!

WE WANT TO KNOW - What do you want to see on Watercolor Wednesdays? Click over to this video and leave a comment, and who knows, you might see your request in an upcoming video!


View on YouTube: https://youtu.be/pBiSKn-685M


Wednesday, May 22, 2019

NEW VIDEO! Bridge & Cottage Scene Watercolor

Hello Ai Fans!

With only three stamps used in last week's project, it's time to stretch your skills this Watercolor Wednesday! This week, Bonnie creates a square composition using our WC Mini Cottages and WC Bridge Sets. Bonnie simply stamps the two main images, creates rolling hills and water with her WC Palette, and then adds foliage and flowers around the edges and cottage!

Did you try out this beautiful scene? We always want to see what you are creating, so use the hashtag #AiWatercolor on Instagram or post on Facebook Page to share your photos with us!

Have a beautiful Watercolor Wednesday!


View on YouTube: https://youtu.be/QWzaPVCg4is


Saturday, May 18, 2019

Watercolor Weekend Roundup - Sweet Sentiments

Hello, Ai Watercolor Fans! It's a beautiful Saturday morning, and time to share beautiful projects from our design team to inspire your creations this weekend! Let's take a look!

Dot Freel - Instagram - Blog - Pinterest
Hello Friends,

Here's the card I made for the Art Impression's Watercolor Weekend. It could be my granddaughters on their trip to Hawaii in March. I stamped the shed from the 5121 - WC Garden Shed Set using both 86 African violet and brown 969 after I stamped it off on a scratch piece of paper first. I used the brown to color in the roof and door knob area. I used 17 steel blue to watercolor the shed and the windows. I stamped in the palm trees from the 5120 - WC Palm Tree Set with the brown and green 177. I used the smallest palm frond to stamp the ground cover and then used the flowers from the 4052 - WC Flowers Set 1 in the pink 725 for the flowers. I used 101 tropical with a touch of green mixed in to color in the water using straight strokes and brown to watercolor the sand. I stamped the little girls from the 5118 - WC Beach Girls Set using the 40 brownish grey then colored them with yellow 993, 77 pastel peach, steel blue, pink 725 and brown 969. I stamped one flower at a time with the pink for the swimsuit and then added a yellow dot in the centers. I used the fine tip of the 45 sepia to add hair strands to both girls. I used 86 African violet to add the shadows under the girls, trees and house. I used very little of the blue and a lot of water to color in the sky. I cut out the picture using the 5063 - Double Stitched Rectangle Dies and adhered it to my card base. The last thing I did was sign and date it.

You can find more inspiration by following me on my Instagram account here.


Karen Day - Blog - Facebook - Pinterest
I've had the idea for the dress card floating around in my head for awhile. I wanted to use the Ai floral & foliage stamps to create a sort of life-like embroidery look, and kept going to create a grouping of wedding themed items. I sketched the outline of my dress in pencil, directly onto my watercolor paper, and indicated where I wanted the higher points around the hemline to be as a stamping guide. Using the Daisy Bunch in Flower Set 4052 and my #703 Pink Rose marker I stamped it three times without reinking, multiple times around the hem, and again on the neckline. I repeated this with the tiny cluster from 5009 WC Mini Flower Set in #676 Royal Purple. For my last flower, I used the Mini Foxglove from Flower Set 4052 and #533 Peacock Blue, stamping it three times in a row to create the flower stalk. With my #126 Light Olive marker, I coloured just the tip of both of the trailing ivy stamps in 4876 WC Foliage Set 2 New to fill in the greenery, making sure to change directions to keep it looking random. I used my damp #4 paintbrush to dab at each of the flowers & foliage to soften each image and enliven the colours. It then became apparent where the holes were on my 'embroidery', so I used the small green from 4876 WC Foliage Set 2 and #158 Dark Olive to fill in those white spaces. I left these as is, not using my paintbrush, as it defined the shape of the foliage a bit more. I traced the pencil outline of the dress with #533, and used this colour with my brush to add some shading. I picked up #565 Deep Blue from my palette and painted a background wash around the dress. I went in with all of the markers directly onto the image to add in a few deeper colours. The sentiment is from WC Sentiment Set 2, stamped in Versafine Onyx Black. I used my sewing machine to stitch the panel to some coordinating cardstock and adhered it to my base with pop dots, then glued on some iridescent sequins. 
The colours and stamps are all the same for my other two projects. For this card, I sketched in the cake and the table, just adding foliage to each layer. I sketched in a heart as my cake topper, and painted in a few ripples on the tablecloth. I stamped this sentiment separately, matting and stitching around it, and adhered it with pop dots going off the right edge. 
As a fun little add on, I painted a bouquet and drew in a ribbon bow underneath it to use as a placecard.


Tricia O'Bin - Blog - Instagram - YouTube - Pinterest - Facebook
Welcome back AI fans to Watercolor Weekend! I wanted to do a simple project for this weekend, so I decided to do this Simple Things Vase. This project is really easy and quick. I have done a video for you to show you just how quick. 

Project Details

Step 1 – Ink up the Vase from the WC Decorative Vase Set with Blue. I wanted my vase to be white so I am using the tombow 569 but you can use any marker you may have. Bonnie Krebs uses 565 a lot in her videos. I stamped it to the left side of my paper to allow room for my sentiment. Next, pull the color out of the lines along the right and left side of the vase. This creates the illusion of the vase being round. I wanted the area under the spout and the right side under the handle to be really dark.

Step 2 – Cover your vase with a mask, I am using a piece of Post-It tape. Stamp in your foliage. I am using the leaves from the Foliage Set 4, but you can use any foliage/vines you may have in your collection. This is the greatest part of Art Impressions watercolor line; all the stamps can be used together for any project. Therefore, you don’t have to feel like you can’t create this project because you don’t have the exact stamps I am using. I inked them up with 158 and stamped them a few times. Add water to the leaves.

Step 3 – Ink the flowers with a color of your choice. I used the Daisy Bunch from the Bible Flowers Set inked with 905. I only inked up the top 3 flowers and stamped them in a circle a few times. Stamping items in groups of three is visually appealing so I stamped one in the middle and one on each side of the vase. Add water to the blooms.

Step 4 – To create a little more interest, I used the vine from the Bible Foliage set to create different leaves around the blooms. I inked it up with 249 and stamped it several times around each of the blooms. Add water to the leaves.

Step 5 – Ink up the dots (they remind me of lilacs – although I keep calling them violets LOL) with a purple. Unlike the daisy bunch, this stamp is walked out to create the lilac. Again, I stamped three different blooms. Add water to the blooms. I added a small amount of 569 from my palette underneath the vase to ground it and create a shadow.

Step 6 – In order to create some additional interest, I added the accent flowers to the vase. This created some height and I just love how they look on any project. I inked them up (I used the left and right stamp) with the 379 and stamped them several times around the vase. No need to add water to these.

Lastly, I signed and dated it. 

Card Details

I stamped the “It’s the Simple Things” to the right side of the panel using a sentiment from the WC Sentiments 2 set and some Gina K Designs amalgam ink. I thought it needed a little something more, so I added a flower to the bottom right side of the sentiment. This was done using the lilac stamp and the vine. 

Easy peasy right? I think so. We hope you will join us this weekend and show us your creations on Instagram using #AIWatercolor. Check out the video here if you want to paint along with me.


Thank you so much for stopping by and I hope you have a creative weekend! See you soon!


Thanks, team! These projects are all so gorgeous! From beachy scenes to hand-drawn elements to customize your creations, to a lovely floral arrangement with video tips! What an awesome day! Be sure to leave a comment below so we can hear what you enjoyed about this week's installment. We'll see you again soon!

Happy Stamping!


Wednesday, May 8, 2019

NEW VIDEO! 2019 Class Exclusive Watercolor Set

Hello Ai Fans!

It's time for another Watercolor Wednesday, and one many of you have been anticipating! We are revealing our 2019 Class Exclusive Set, a free bonus when you attend a Watercolor Class at one of our 2019 Retail Shows! This set is only available by taking the class, it is not sold online or in stores, so we hope you find the nearest location to you and join a class!

In this video, Bonnie creates an adorable flower cart with four small containers and a canopy top. She fills the flower pots with blooms and branches from our WC Mini Flower, WC Flower 1, and WC Foliage 3, and WC Foliage 4 sets. She also adds a sweet bird from our WC Bird Bath Set to the top! Even if you don't have these stamps, you can still learn new tricks and techniques from this video for your watercoloring!

If you are attending a show this year, hop over to the video and leave a comment telling us what city we will see you! We have a lot of shows on our calendar, so make sure to check out our 2019 Show Schedule and make a plan to visit Ai!

And make sure to scroll to the bottom of this post for an inspiration image using sets available on our website!

Have a great Watercolor Wednesday!


View on YouTube: https://youtu.be/8R_AsQNdEGo


If you LOVE our Class Exclusive design and are unable to make a class, our Watercolor Design Team member Dot Freel created a similar image with our WC Flower CartWC Small Container, and WC Beach Girls (umbrella) Sets! 


Hello Friends,

Have you seen the 2019 Exclusive Stamp Set of a flower cart only available by attending a class at one of the events? I haven't been able to attend a class but I used stamps I already own to recreate the one Art Impression's Owner/Creator (my favorite artist) Bonnie Krebs watercolored.  I stamped the flower cart from the 4073 - WC Flower Cart set in both 45 sepia and 86 African violet and and then I pulled the color out of the lines. I used Tombow N15 on the palette to color in the wheels and parts of the cart. I used 67 bubble gum pink to color in the cart and added lines with the fine tip.  Next I used a stamp positioner to add the three pots in sepia from the 4869 - WC Small Container Set inside the flower cart and then painted them in using the 34 pale green and blue 526 and used the fine tip to add the lines.  I then stamped the umbrella from the 5118 - WC Beach Girls Set in both the sepia and African violet and watercolored in the pink areas. I brushed in some sky using blue 526 on the palette with lots of water. I stamped the grass from the 4051 - WC Foliage Set 1 in with green 177 in the center pot. I stamped the vines from the 5126 - WC Foliage Set 4 in green in some areas then switched to the 48 leaf green in other areas. I stamped the tall grasses from the 5007 - WC Foliage Set 3 in green along the ground. I stamped in the heart flowers in pink 725 from the 5009 - WC Mini Flower Set and I used the dot flowers in blue 526 in the pots. I mixed the African violet and sepia on the palette to create the shadows on the ground.

I cut out the picture using the 5132 - Tag Stitched dies and cut out the hole enforcer from that die set. I adhered a bow out of silk ribbon with a glue dot. I cut a piece of pink card stock with the 5063 - Double Stitched Rectangle Dies. Then I ran it through my Big Shot inside an embossing folder. I used double sided foam tape to adhere the tag down and then used my Copic pen to sign and date it.

You can find more inspiration by following me on my Instagram account here.


Saturday, May 4, 2019

Watercolor Weekend Roundup - Homey Inspiration!

Hello, Ai Watercolor Fans! We have three more fabulous projects for you from our Watercolor Guest Design Team! We hope you enjoy these outdoorsy house scenes from Dot and Karen, as well as a colorful floral wreath by Tricia! Let's take a look!

 Dot Freel - Instagram - Blog - Pinterest
Hello Friends,

I was inspired by my camping/fishing weekend in Utah to make a card for my son's birthday. I stamped the boat from the 5057 - WC Boat Set in both 86 African violet and brown 969 and then I pulled the color out of the lines. Next I stamped the shed from the 5121 - WC Garden Shed Set again first using African violet and then the brown. After pulling the color out of the lines, I used the brown to color in the roof, shingles and door knob area. I used African violet to color the windows, add shade under the roof, on the door, and the water around the boat. I used the brown to watercolor the oars, the bench and the top of the boat. I used the brown to watercolor the ground on the other side of the boat and the walkway from the shed. I stamped the tree trunks from the 4960 - WC Fir Trees Set in brown, then I stamped in the branches using green 249. I added 75 sky blue to the palette to color in the sky. I stamped the grass from the 4051 - WC Foliage Set 1 in with 27 olive brown. I stamped the tall grasses from the 5007 - WC Foliage Set 3 also in the olive brown. I stamped the flowers by the boat from the 4868 - WC Flower Set 2 using green 177 and orange 885 for the flowers. I stamped in the heart flowers by the cabin from the 4868 - WC Flower Set 2 in the same orange color. I cut out the picture and a background piece using the 5063 - Double Stitched Rectangle Dies. I used my Copic pen to sign and date it.

The birthday card below is the first card I made which I will give to my second son Chad and then I made the other version for the Art Impression's Watercolor Weekend blog post. Give it a try!

Karen Day - Blog - Facebook - Pinterest
To create my scene today, I've paired up one of the cottages from 4958 - WC Cottages Set (this is SO typical of historic homes in my area!), with the footbridge from the just released 5122 - WC Bridge Set, inking them both with Tombow #969 Chocolate. Using the smaller tree from 5010 WC Tree Set 1, I stamped it several times on each side of the cottage with my #969, then softened all the lines with a damp #4 paintbrush, pulling out the colour on the tree trunks, and on the footbridge. I coloured my #177 Dark Jade marker onto the tiny foliage sprig in the 5009 WC Mini Flower Set, stamping it repeatedly to get 2nd & 3rd generation foliage in the trees, and creating shrubs around the house. Also from the Mini Flower Set - I used my #533 Peacock Blue to colour the tiny floral cluster (it looks like dots!) stamping it around the shrubs to suggest purpley/blue flowers. Dabbing at them with my damp brush softened the images, and intensified the colours. I initially drew the tufts of grass directly with my #076 Green Ochre marker, but since it is quite a yellow/green, my scene had a bit of a fall feel to it, and I was aiming for spring! So I picked up the #177 green off of my palette, and painted a wash of green grass, darkening up the grasses directly with the marker as well. I painted the pathway with #992 Sand, and added #491 Glacier Blue onto the roof & door. I painted a touch of #856 Chinese Red onto the chimney, then went in with the fine point of it to sketch in the bricks. I picked up #565 Deep Blue with my brush to paint in the stream, and then added the shadows to the windows, pathway, around the house & trees, and finally painted in the sky. With my scene complete, I always walk away for a few hours (days?) and come back with a fresh eye. I did want to darken things up a little, so I went back in with both my 177 and 565 markers, adding grasses and flowers in the deeper tones.


Tricia O'Bin - Blog - Instagram - YouTube - Pinterest - Facebook
Hey there! Welcome to another Art Impressions Watercolor Weekend! Today I am sharing my "Enjoy The Day" spring wreath. 

Step 1: Start off by lightly tracing around a circle die. This can be any size you like based on how big you want your wreath to be. Make sure you leave space around the circle for your leaves and flowers.

Step 2 : I chose a larger branch from the 4964 - WC Branches Set and inked it up with 969-Chocolate. I stamped it along the circle, trying to keep the largest part of the branch on the traced circle. I stamped it a couple of times, then re-inked it. You don't need to add any water to the branches, they are more of an accent stamp.

Step 3: I inked up the leaves from the 4605 - Spring Basket with 177-Dark Jade. You can use either one. I inked it up and stamped it several times on each branch. I added water to each of the leaves. The water may cause the color from the leaves to mix with the brown from the Branches but this is OK, unless you don't like that. I actually think it creates more interest and depth.

Step 4: I inked up the flower from the 4604 - Chest of Flowers with 443-Turquoise and stamped it around the wreath. I added water to each bloom. Next, I inked up the small dots flower from the 5009 - WC Mini Flower Set inked with 725 - Rhodamine Red and stamped them alongside the flowers. I added water to the blooms and then stamped them again using 606 - Violet.

Step 5: Using my MISTI, I inked the Enjoy The Day sentiment with the Rhodamine Red and Violet. I re-inked and double stamped it. I carefully added a small amount of water using a #1 paintbrush. Lastly, I signed and dated it.

Check out my blog for more details on how I put the card together. Check out the other design team members inspiration over on the AI Blog. Tag us on Instagram with #AIWatercolor.


Thanks, team! These projects really are beautiful and perfect for giving to a loved one this spring. We are always searching for inspiration for structure scenes, and your projects with stepping stones, bridges, trees, and water is just so pretty! Also, the floral wreath has some really lovely flower stamps tucked in some of our favorite mini sets!

We'd love to hear what you think about these projects, drop us a comment below! Did these cards give you ideas for your projects this weekend?

Happy Stamping!

Tuesday, April 30, 2019

Good Shepherd Watercolor Cards by Jil Lebel

Hello Ai fans!

For today's card I wanted to use the Good Shepherd Set from the Bible Journal line of watercolor stamps.  I used it with the Watercolor Sentiment Set 2 to make two everyday cards.
I used the Ai watercolor method to color my stamped images.  I've listed the Tombow marker colors I used at the end of the post.  I kept the main image the same but changed up everything around it.  I added a barn to one of the watercolor panels and a fence to the other.  I also changed up the flower placement.  I kept all of the colors the same.
Once my panels were complete, I cut the using my Double stitched dies from Ai and added them to the dry embossed background.  I used a seam binding bow and a button to embellish the top of the embossed layer. The sentiment is stamped with Versafine Claire Nocturne ink and cut into a banner. I attached everything to a teal A2 card.
Tombow Dual Brush Colors Used:
177 Dark Jade, 526 True Blue, 565 Deep Blue,
725 Rhodamine Red, 969 Chocolate, 993 Chrome Orange,
N25 Lamp Black


Thanks for stopping by and Have a Great Day!

Wednesday, April 17, 2019

NEW VIDEO! Wooden Bridge Watercolor

Hello Ai Fans!

It's our favorite day of the week - Watercolor Wednesday! Bonnie continues through our new 2019 Watercolor releases with this beautiful rustic bridge over a small stream. She features our new WC Bridge Set image and surrounds it with a tree made from our WC Branches Set, vines from our Foliage 4, tiny grasses from our Foliage 1, and dotted buds from our Mini Flowers Set.

We hope you enjoy this week's video! Don't forget to subscribe and click the bell on our YouTube channel for all the latest Ai videos!

Have a wonderful Watercolor Wednesday!


View on YouTube: https://youtu.be/4UttpO-U-aQ