Showing posts with label WC Little Boys Set. Show all posts

Saturday, September 21, 2019

Watercolor Weekend Roundup - Rustic Fall Projects!

Happy Fall, Ai fans! We're so excited to watercolor with autumn hues, and the team is here to share some lovely rustic projects today! Let's take a look at what the team created today. Remember to follow these ladies on social media by visiting the links next to their names!

Dot Freel - Instagram - Blog - Pinterest
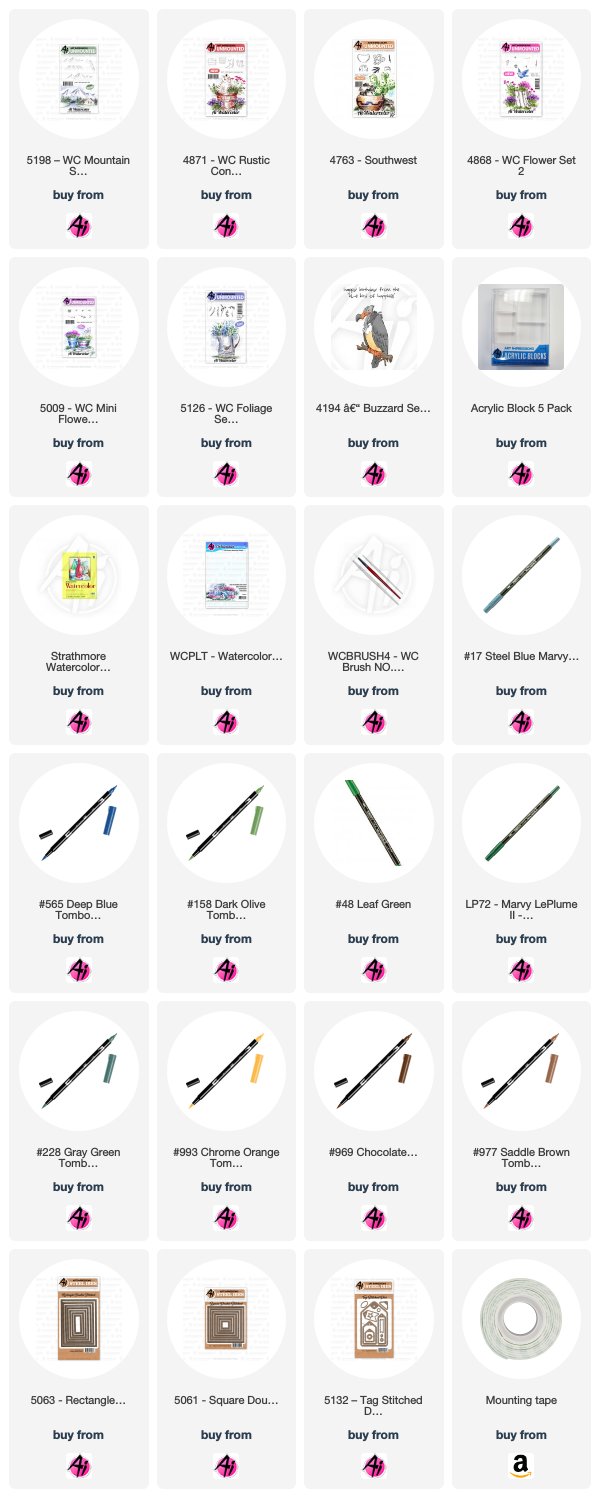
Have you seen Art Impression's new 5198 - WC Mountain Set? I'm in love with it! It comes with two sizes of traditional mountains and two sizes of Southwestern mountains. They are so easy to use yet make a wonderful impact on any scene! This is my card for the bi-monthly Watercolor Weekend on the Art Impression's blog. I stamped the mountain in 969 and pulled the color out of the lines. I watercolored them with four different colors - 977, 757, 969 and 933, trying to get that orange color of the Utah mountains that my adventurous son Brad (with his dog Sgt) always captures in his photos. I used this photo below for inspiration.
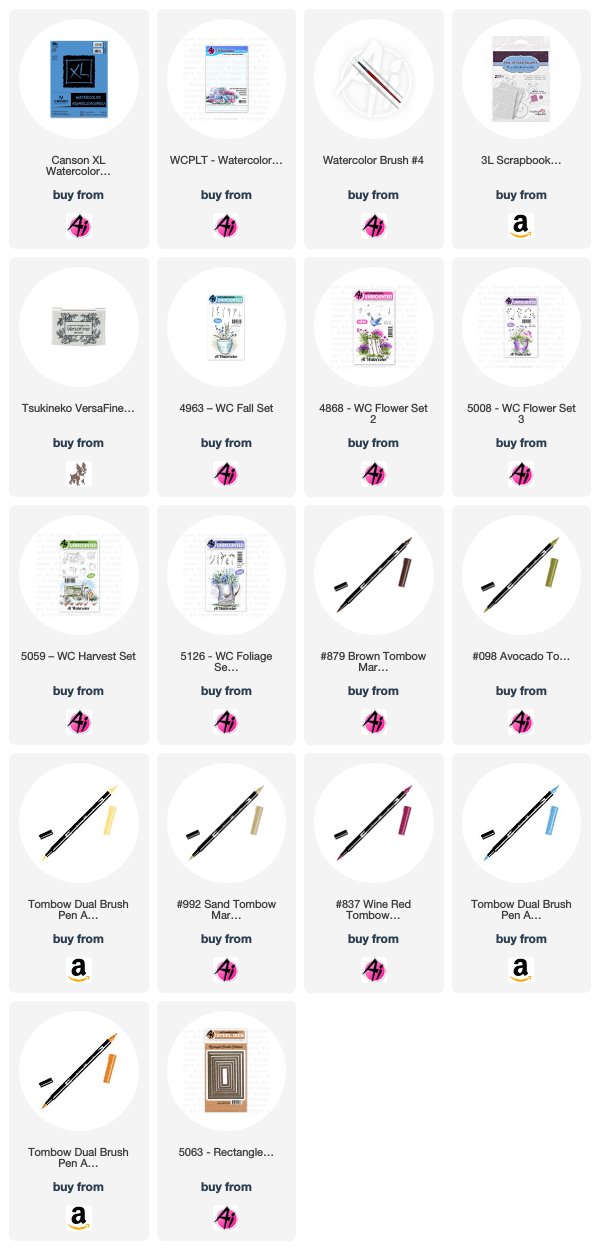
Next, I stamped the boot in 969 from the 4871 - WC Rustic Container Set then colored the bottom with 969 and the top with NO. 17 steel blue. I used the flowers from 4868 - WC Flower Set 2 and stamped them in the steel blue and 158. I stamped the cacti in 177 from the 4763 - Southwest Set and then added 228, 155, NO. 48 leaf green and No. 52 yellow green to them. I used the fine tip of the No.72 pine green to draw some of needles back in. I stamped the rocks in both 969 and 565. I stamped the flowers with 933 from the 5009 - WC Mini Flower Set on top of the round cactus. I stamped the grasses in 977 from the 5126 - WC Foliage Set 4 then added that color to the ground from the palette. I added dots with the fine tip of the sepia pen. I used 565 to add the shadows, the sky and to darken the boot heel. I cut out my scene with the largest 5061 - Square Double Stitched Die and used double sided foam tape to adhere it to the base which I cut out using the largest of the 5063 - Rectangle Double Stitched Dies. I stamped the happy birthday from the 4194 - Buzzard stamp and cut it out with the 5132 Tag Stitched Die Set.

Karen Day - Blog - Facebook - Pinterest
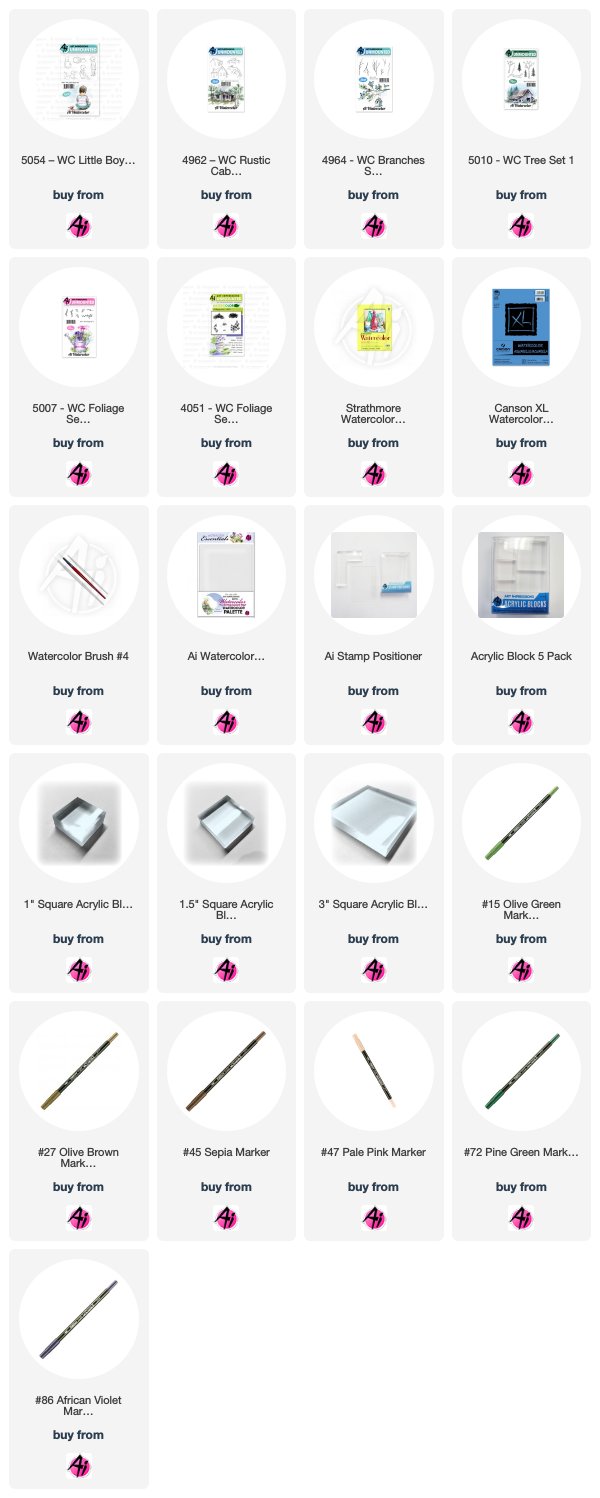
I began my wreath by tracing a 2 1/4" circle onto my Canson Watercolor paper with a pencil, to use as a guideline. I picked my colour palette of softer, faded colours of Tombow Markers. Using #098 Avocado, I coloured up the leafy branch from 5126 - WC Foliage Set 4, stamping it in first and second generation in four clusters around the circle. Using both of the vine stamps from the same set, I coloured them both up in #992 Sand and tucked them around the greenery (I love it that there are two vines bending in different directions - they make great filler stamps on a wreath!).
Now I wanted to add in the pumpkin elements before my wreath got too full, so I started with the cluster of tiny flowers from 4868 WC Flower Set 2. Using #533 Peacock Blue I stamped them 3 times in a circle in the lower left corner of my wreath, and then tucked them in three other places around the perimeter. Starting with the smaller pumpkin from 5059 - WC Harvest Set, I coloured the body in #946 Gold Ochre, and the stem in #098 Avocado. I masked it, and stamped the larger pumpkin behind it. I softened the lines with a damp #4 paintbrush, pulling out the colour - leaving the top edges white as the highlight. I picked up some #879 Brown from my palette adding shadows to the lower sections of the pumpkins, and in their crevices. I took the wheat image from 5008 - WC Flower Set 3 (I think it's supposed to be lavender, but today they are wheat stalks!) and colouring it with #991 Light Ochre - I stamped them repeatedly behind the pumpkins, and cascading below them. And finally I used one of the berry images from 4963 - WC Fall Set coloured in #879 Brown and #837 Wine Red for the berries, and tucked them in and around the wreath where I could. I only dabbed lightly with my damp brush, as I don't want the lines of the images to deteriorate with the addition of too much water. I picked up #098 from my palette, and wherever I had white space, I hand painted in a few extra leaves. The sentiment is from the 4205 - Harvest TF Set, stamped in Versafine Onyx Black ink. I die cut my panel with the 5063 Double Stitched Rectangle Die, matted it with black cardstock, and used 3D pop dots to adhere it to my kraft paper base. I added a few amber coloured tiny sparkles to finish it off. 

Tricia O'Bin - Blog - Instagram - YouTube - Pinterest - Facebook
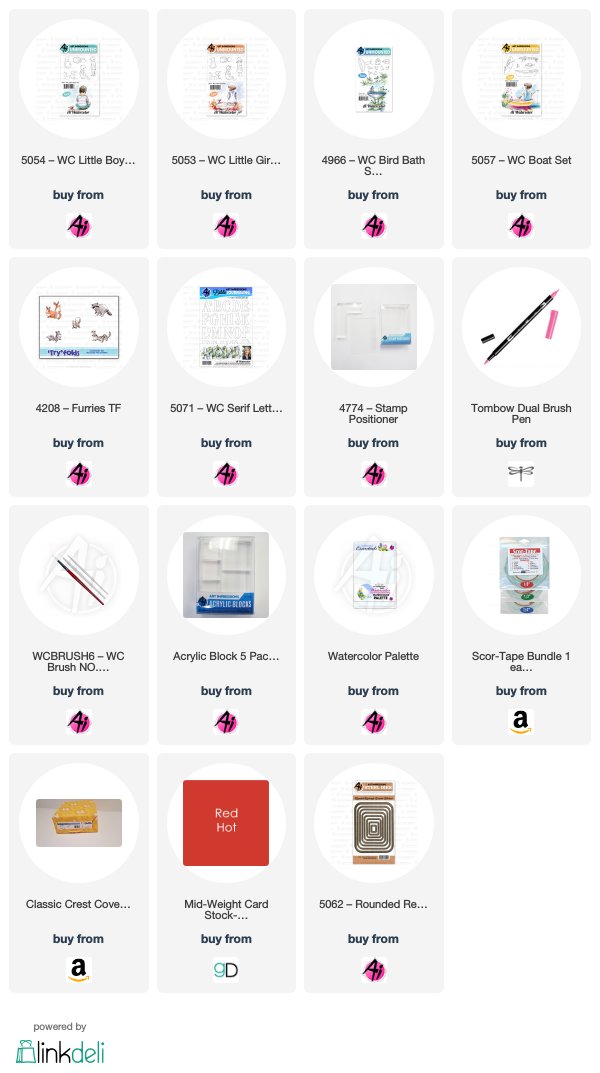
It’s that wonderful time of year again, FALL!! It is my next favorite time of the year, Winter being first LOL. I decided to make a really sweet fall scene. I put one of the little sitting boys on the tire swing.

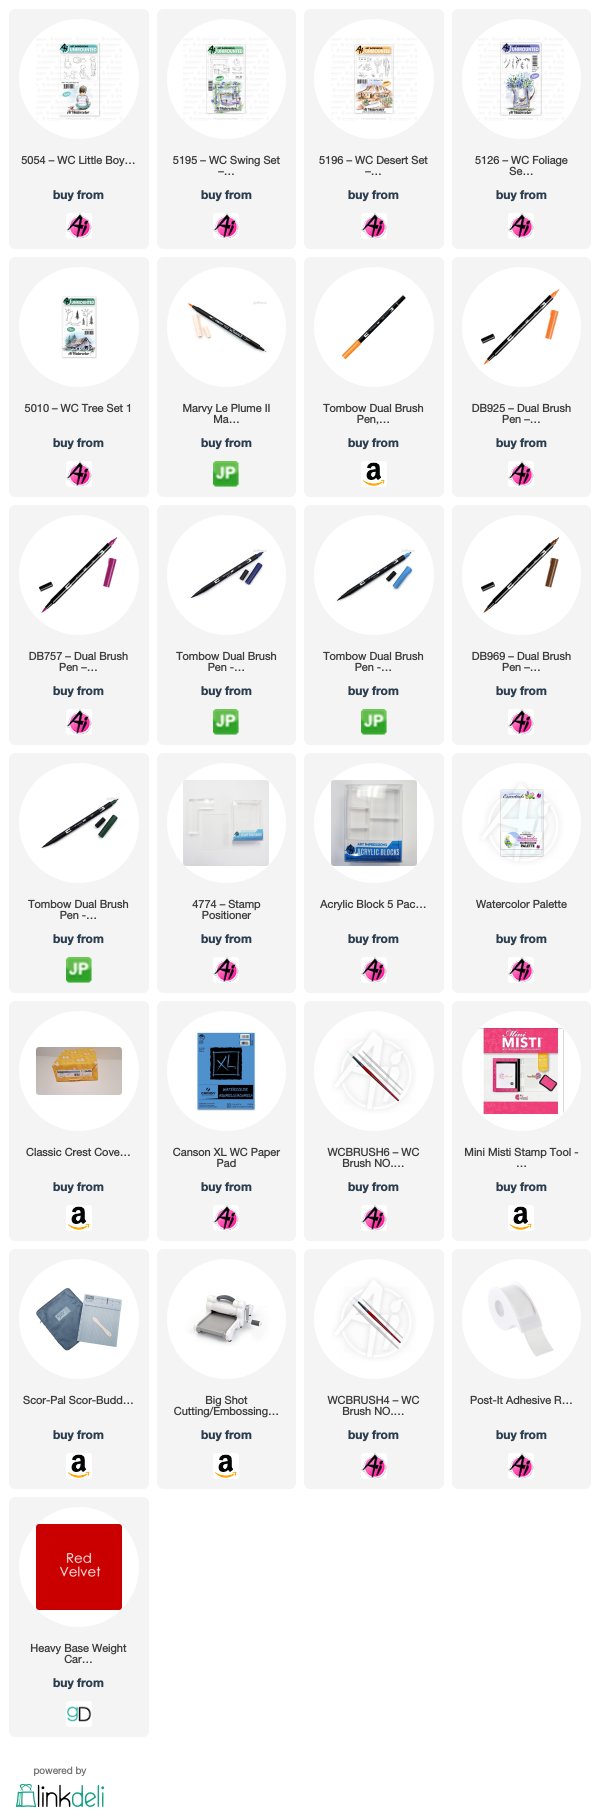
To start I masked off around my picture using Post-It tape. This gave me a nice clean border around my picture. I inked the tire, from the NEW Swing Set, up with 569 and 969 and stamped it slanted in the middle of the paper. I wanted it to look like it was swinging in the air. Using my #4 paintbrush, I pulled the color from the lines making sure to leave some white space in the middle of the tire. 

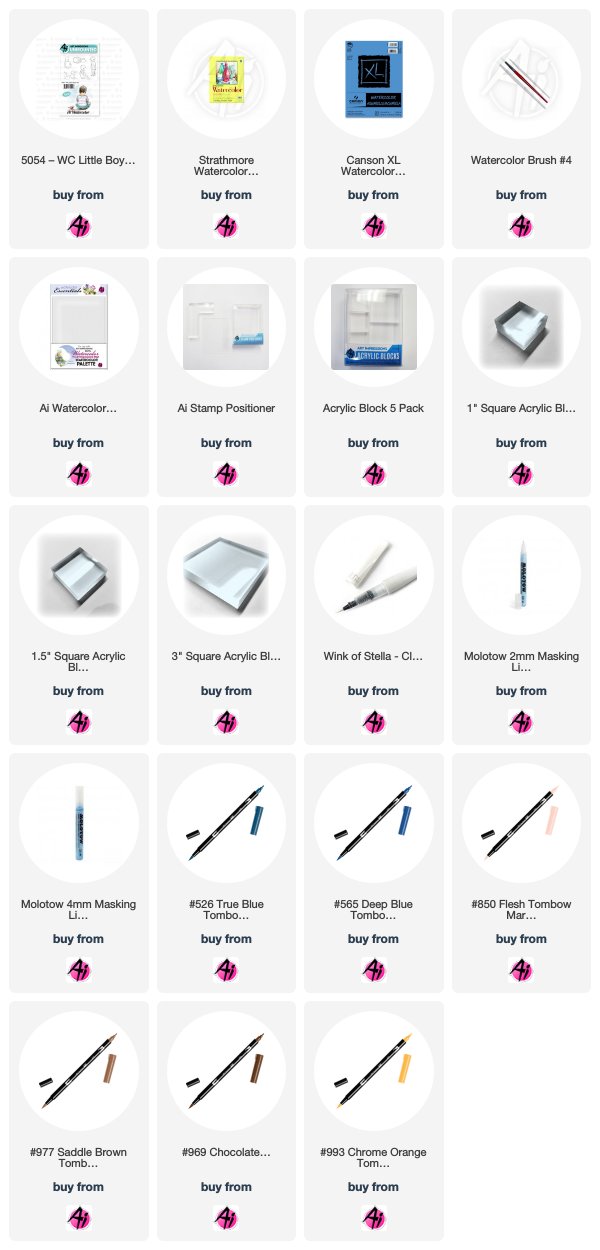
I masked off the tire with some Post-It tape and, using my positioner, stamped the sitting boy from the Little Boys set. I stamped him off once and placed him on the tire. I pulled color out of the lines to just the shadowed areas. I didn’t pull any color into the face. I added some 47 to my palette and added it to the face, neck, arm and foot. I added 526 to my palette and added it to his overalls.

I stamped the small leaves from the Foliage Set 4 set in yellow, red and orange randomly around the top of the picture. I added some water to them to create a feeling of trees with their leaves changing into Autumn colors. I added some 569 between the trees and the boy as a sky. I added some 249 to my palette and painted in the field and mountain. I used it to also ink up the pine tree from the Trees set. I stamped these randomly to the left and right of the boy to create some depth. I added water to them. 

I inked the branch from the Desert set in 969 and stamped it along the bottom of the painting. I again used my small leaves stamp inked in 757, 925 and 025. I added water to the leaves. I added some additional color between the trees to extend the grass.

Using a small ruler and my black marker, I drew a line from the trees to the tire swing. Finally, I signed and dated the picture. 

I cut the painting down to 4.75 x 3.5 and mounted it on a piece of Gina K Designs Red Hot cardstock. I added that to a white card base.

I hope you get to do some water coloring this weekend! Be sure to tag us on Instagram with #AIWatercolor so we can see what you are working on.

Thank you so much for stopping by and I hope you have a great weekend!
Thanks, team! We love these projects in lovely fall colors! The reds, oranges, and browns really pop in your cards!

We hope these cards have inspired your weekend creations!

Happy Stamping!

Wednesday, February 6, 2019

NEW VIDEO! Boy Fishing on the Moon Watercolor

Hello Ai Fans!

Welcome back! Bonnie is bringing you another Watercolor Wednesday this week! We are in awe again with this adorable little boy resting on a crescent moon with a little fishing pole in his hand. Bonnie uses our Molotow Marker to mask the stars and you can always add a little shimmer with your Wink of Stella brush marker!


View on YouTube: https://youtu.be/WDMKZ1W8ZRA


Saturday, February 2, 2019

Watercolor Weekend Roundup - Love Cards!


Hello, Ai Watercolor Fans! We have three lovely projects for you here on the blog with our fabulous watercolorists! Enjoy a slice of spring featuring flowers, children, windows, and a whole lot of LOVE!

Dot Freel - Instagram - Blog - Pinterest
Hello Watercolor Friends,

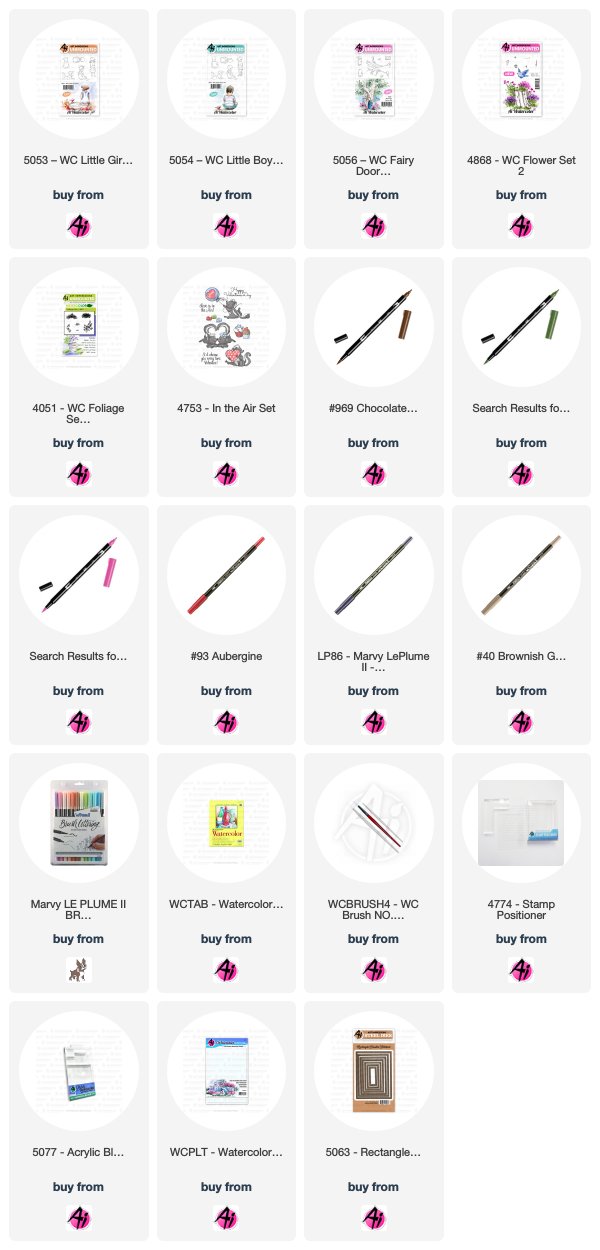
I made this Valentine's Day card for the Art Impressions Watercolor Weekend. I stamped the little girl from the Little Girls set and little boy from the Little Boys set in brownish grey. I feel it doesn't spread much when you add water so it's pretty perfect to use for the kids. Then I colored the little girl and boy's skin in from the palette using pastel peach. I used 725 to watercolor in the hat and shorts on the little girl and African violet to color in the boy's overalls. I colored their hair from the palette using 969. I added stripes to the boys shirt using 177. I stamped in the tree trunk from the Fairy Door set with 969 then stamped in the leaves using 177. I pulled the color out of the lines and added more 969 to the trunk of the tree from the palette. I added grass from the Foliage Set 1 and pulled the color out of the lines with a wet brush. I stamped the flowers from Flower Set 2 using the 177 for the stems and aubergine for the flowers. After I added water, I ended up re-stamping just the flowers again because the flowers washed out too much and I used the tip of the 177 to draw in more stems. I added a lot of water to some African violet on the palette and colored in the sky and the shadows under the kids on the ground and on their white shirts. I used the sentiment from Love is in the Air stamp set by only coloring the "Happy" in 969, then I cleaned the stamp and only colored in the "Valentine's Day" with the 969 so it would all fit on the bottom. I used aubergine to paint in the little flowers on the girl's shirt. I used the Rectangle Stitched Dies to cut out my picture and a background piece, then I glued it all to the card base. I finished it all off by glueing on the three sparkly hearts.

Tricia Kennedy - Instagram
I decided a spring scene was the perfect project for today’s Art Impressions Watercolor Weekend since it’s been soooooooooooooooooo cold across the country. Perhaps this will warm everyone up!?!

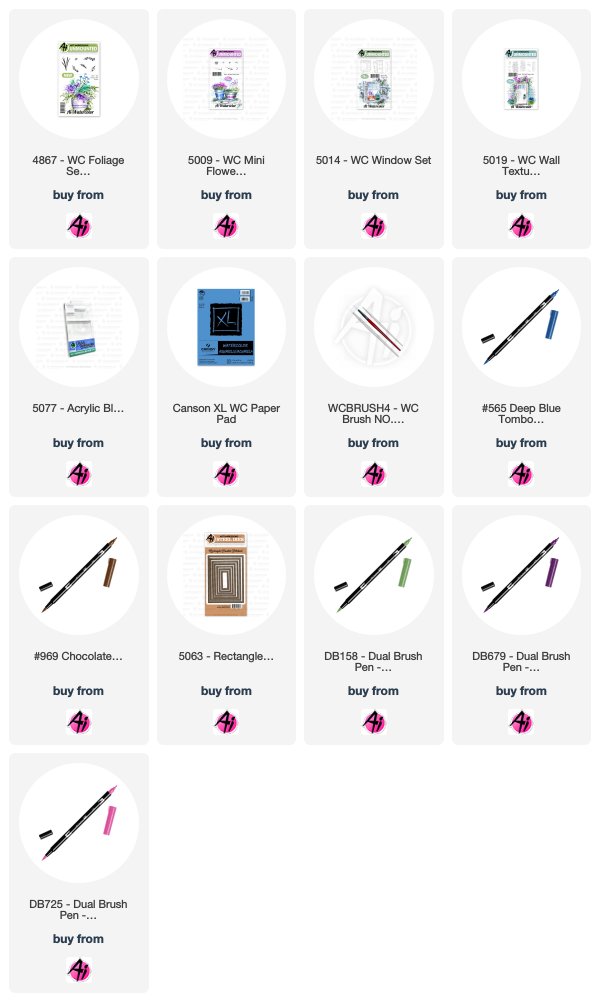
Begin by inking up the window from 5014 WC Window Set with a combination of 969 Chocolate and 565 Deep Blue to create a lovely greyish color (I did not ink up the shutter). Next ink the foliage from 4867 WC Foliage Set 2 in 177 Dark Jade for the greenery at the bottom of the window and 158 Dark Olive for the greenery at the top of the window. Watercolor the Art Impressions way by pulling the color from the lines with your paint brush and water. Stamp in the tiny cone shape flowers from 5009 WC Mini Flower Set in 679 Dark Plum and the long stem multi flower in 725 Rhodamine Red (not pictured in photo) and 177 Dark Jade. Finally stamp a portion of the bricks from 5019 WC Wall Texture Set in the same greyish combination of 969 Chocolate and 565 Deep Blue on both sides of the window. I die cut the piece using 5063 Rectangle A2 Double Stitched Dies. I opted to put it on the cute little clip frame, but it would be great on the front of a card.


Tricia O'Bin - Blog - Instagram - YouTube - Pinterest - Facebook
Welcome back watercolor fans! Today I am sharing a scene I created using some watercolor stamps from Art Impressions as well as a non-watercolor set. I wanted to create this Love Is In the Air card using all types of “couples”. These little animals were so cute! I did a video so you can create your own masked scene. If you want to watercolor along with me, click here.

Step 1 – The Animals
First, I inked up the rabbits up with the Tombow 569. I stamped it to the bottom left side of my watercolor paper. Next, I inked the mice up with the 969 and 569 which creates a nice gray color. In order for them to be a little lighter, I stamped it off first. Then, I stamped this into the middle of my watercolor paper. Finally, I inked the chipmunks up with 969 and stamped it on the bottom right hand side of my paper. I placed masks over each of the animal pairs. 

Step 2 – The Kids
Using the mask I created for the pier, I placed it so I could determine where to stamp the boy and girl. In order to get them placed where I wanted them I used my stamp positioner. I removed the mask stamped the little girl on the right. I replaced the mask and positioned where I want my boy to sit on the pier, I removed the mask and stamped him down. I added masks to the girl and boy.

Step 3 – The Pier and Birds
I stamped the pier behind the animals and underneath the kids. I masked it and then re-inked and positioned it to the left to extend the pier. I stamped each of the birds and positioned them to the left of the kids. 

Step 4 – Watercolor
I started by pulling the color out of the kids. Next, using just my brush and water, I pulled the color out of the birds. These birds are really small, so I try not to use a lot of water. If I don’t have enough water, I slowly add water until I am happy with the results.

Then I pulled color out of the rabbits. The 569 marker, much like the Marvy African Violet is very pigmented, I usually stamp it off. It only requires a very small amount of water to pull out the color. Once I soften those lines, I added additional color from my palette. On the bunnies, they are white so its important to just highlight the shadowed areas. 

I repeated with the mice, chipmunks and pier. Make sure to use the fine tip of the marker to darken in the eyes. I added some additional color underneath the kids for a shadow. I also added some 569 below the pier and animals to ground them.

Step 5 – Love
I lined up the word Love which I wanted to show behind the kids and birds. I placed it on a block and inked it up with 569. I stamped this down. From my palette, I added color to the kids. I pulled the color out of the words “Love”, only on the right side. I then added some 847 to each of the letters.

Don’t forget to sign your work, I keep doing that lately LOL. I am so happy you stopped by and I hope you give this a try. If you do, tag us on Instagram (#AIWatercolor, #AIStamps). 

INSERT

Check out the video on YouTube here: https://youtu.be/sOd4LtzGi_0

Tombow Markers – 969, 992, 569, 905, 847, 526, 990, 346, 676

Aren't these projects so cute? Leave a comment below to tell us what you think! If you aren't already following these ladies on social media, today is a great day to start, there is exciting inspiration ahead of us for spring!

Dot Freel - Instagram - Blog - Pinterest
Tricia Kennedy - Instagram
Tricia O'Bin - Blog - Instagram - YouTube - Pinterest - Facebook

Happy Stamping!

Saturday, January 19, 2019

Watercolor Weekend Roundup - Dreaming of Spring!

Hello, Ai Fans! Who is ready for spring?? We sure are! Let's take a look at some wonderful springtime inspiration from our lovely Watercolor Design Team!

Dot Freel - Instagram - Blog - Pinterest
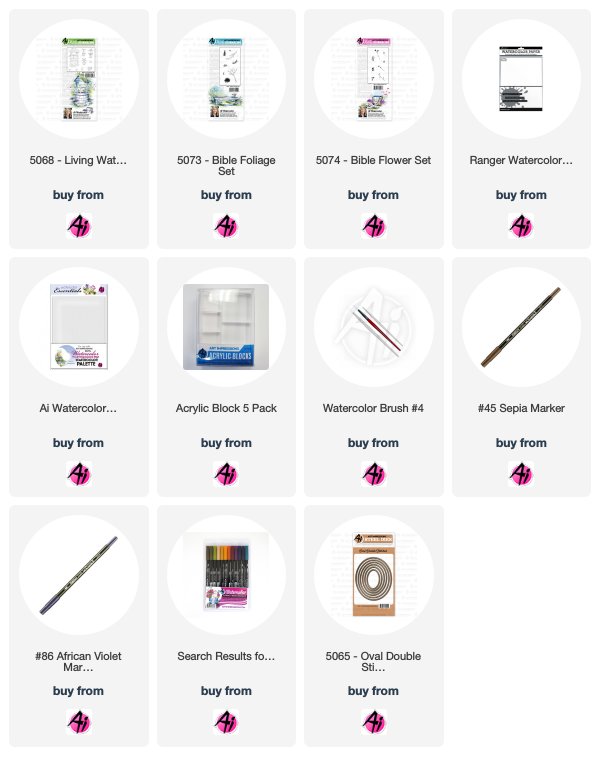
Hello, I made this card for the Art Impressions Watercolor Weekend using stamps from the Bible Journaling line. I stamped the well from the 5068 - Living Water Set using sepia then African violet. I did stamp it off on paper first. I pulled the color out of the lines. Next I stamped the little pot from the 5067 - Gates of Righteousness Set in the sepia and African violet. I used Tombow markers 947 and 977 to color in the pot from the palette. I added the leaves by stamping the ivy from the 5073 - Bible Foliage Set in 177 and the flowers from the 5074 - Bible Flower Set in English red and then added water to them. I added the large and small grass stamps from the 5073 - Bible Foliage Set and pulled the color up and out. I stamped the bird in sepia from the 5068 Living Water Set, then added more sepia and English red from the palette. I painted the roof of the well in 249 and the rope in 977 from the palette. I painted the ground in the 249 also. I used the sepia and African violet mixed to add the shadows to the well bottom. I used 528 and a lot of water to paint in the sky. The last thing I did was sign it and add that little heart graffiti with the letters TF (for my husband Tad) in it because today just happens to be our 39th wedding anniversary.

Have a great weekend, I know I'm going to have a fun one!

Tricia Kennedy - Instagram
My project for today’s Art Impressions Watercolor Weekend is a lovely floral card. Using just two stamps and a few markers, you can quickly make several for your Valentine’s Day card giving.

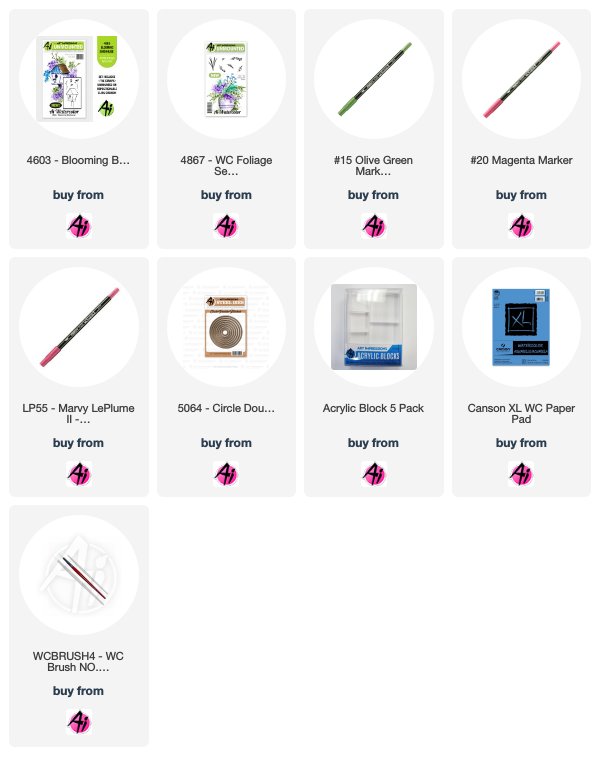
Begin by inking up the tiny flowers from 4603 WC Blooming Birdhouse in 55 Iris Purple and then in 20 Magenta in bunches in a circle. Fill in between the flowers with foliage from 4867 WC Foliage Set 2 in 15 Olive Green. Watercolor the Art Impressions way by pulling the color from the lines with water and your watercolor brush. Add dot detail around the wreath with the fine tip of 20 Magenta. Cut out the wreath with your die cutting machine using the largest circle from the 5064 Circle Double Stitched Die Set. Embellish with Swarovski Crystal Rhinestones with a dab of your favorite glue into the floral area. Attach your watercolor piece to a doily with Glue Dots Pop-Up Dots, attach the doily to the card panel with spray adhesive.

Tricia O'Bin - Blog - Instagram - YouTube - Pinterest - Facebook
Hello watercolor fans! I am back again today with my project for Art Impressions watercolor weekend. With Valentine's Day coming, I know we all need to make some cards for the sweet people in our lives. I wanted to create a simple Valentine Love card to share with you.

Step 1
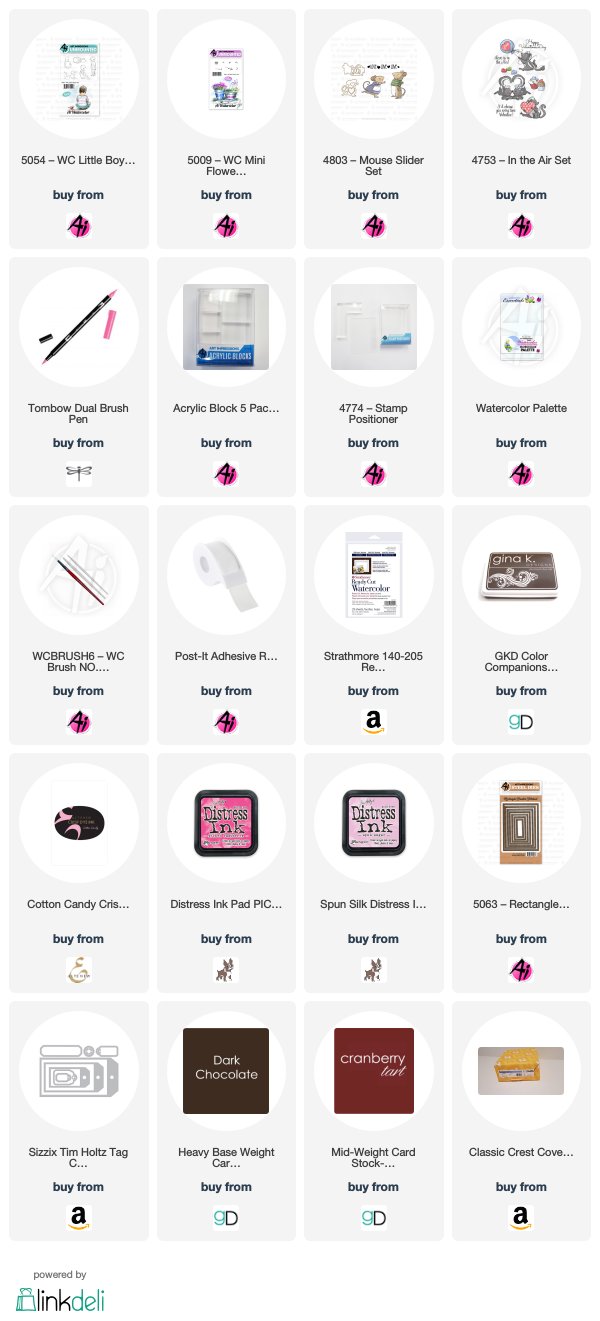
To start the project, I stamped the boy from the 5054-WC Little Boys Set inked in Pale Cherry (912). I wanted to keep the color light, however, I was doing this in a Sepia type color scheme, so I could have just inked it up with Chocolate (969). In order to keep this on the lighter side, I stamped it off prior to stamping on my watercolor paper.

As with all projects, we start off by pulling the color out of the lines. Because he is pointing towards the left of the paper, that is where I imagine my light source to be. Therefore, everything to the right of him will be darkest (right side of hat, right side of sleeve and pants. Using the palette, you can add more color (slowly).

Step 2
Next, I wanted to make it seem like he had a bouquet of flowers behind his back so I left off the right side of the stamp (between the top and bottom of his shirt). I masked off a portion of the bottom of his shirt so it would protect any rogue stems. Using the small stem from the 5009-WC Mini Flower Set, inked in Rubine Red (755) and Dark Jade (177).

In order to get it in the right place, I used the stamp positioner. Once I stamp down the first flower, I added additional flowers without re-inking. I added water to the blooms and a very small amount to the stems. I also added some additional Chocolate (969) below the flowers to make it look like the bottom of his hand.

Step 3
To create a little depth, I added some Chocolate (969) to my palette and added a little bit to the background behind him.

Want to learn how to make the background for the card, check out my blog!

Thank you so much for spending some time with me on your weekend. I hope you have some time to watercolor. Make sure you share your projects with us on Instagram using #AIWatercolor and tag us so we can see!

Enjoy your weekend and see you next month!!

Thanks, team! Super cute projects! We love the ideas you come up with, and this is a great selection of different watercolor paintings to try! If you like these projects, be sure to give us a comment below! Don't forget you can always pin these images to your Pinterest board!

Happy Stamping!

Wednesday, January 16, 2019

NEW VIDEO! Little Boy in a Tree Watercolor

Hello Ai Fans!

Bonnie is back this week with a new Watercolor Wednesday! This week, she places our little boy in a tree overlooking a rustic cabin and field. Follow along in her instructional video and try out this image with different colors!


View on YouTube: https://youtu.be/wri8Kt-hjh8


Saturday, October 20, 2018

Watercolor Weekend Roundup - Creative Harvest Cards!

Hello, Ai Fans! Halloween is just around the corner, and we are here with more harvest inspiration for you today! Let's take a look at the super creative projects our Watercolor Guest Design Team has crafted!

Dot Freel - Instagram - Blog - Pinterest
Hello Watercolor Friends,

Who doesn't love a tree house? My son Scott has been promising to build my granddaughters a tree house and I know they would love it! I created this card for the Art Impressions Watercolor Weekend using the tree from the brand new 5056 - WC Fairy Doors Set and a cabin from the 4963 - WC Rustic Cabins Set. The pine trees in the background are from the 5010 - WC Tree Set 1. The flowers are from the 5009 - WC Mini Flower Set. I drew the ladder in using the sepia marker.

Other Supplies: Canson Watercolor Paper.

Tricia Kennedy - Instagram
There’s something lurking in the dark in my Watercolor Weekend project. It’s simply SPOOKTACULAR!

Tape off a 3” x 3” square on your watercolor paper. Stamp the pumpkins from WC Harvest Set with a combination of 49 Vermilion and 88 Terra Cotta with the stems in 45 Sepia. Mask off the pumpkins with Post-It Notes then stamp the tree from WC Fairy Doors Set in 86 African Violet. Draw in the ghost eyes with watermark pen, add glow in the dark embossing powder then heat with your heat gun. Stamp in the leaves from WC Foliage Set 1 in 86 African Violet. Watercolor the Art Impressions way by pulling the color from the lines with water and a paint brush. Stamp in the grass from WC Foliage Set 1 in 86 African Violet. Darken up any lines on the tree and pumpkin using the fine tip of your markers. 


Marvy Le Plume II Markers: 45 Sepia, 49 Vermilion, 86 African Violet, 88 Terra Cotta
Other Products: VersaMarker Watermark Pen, SparkleNSprinkle Glow in the Dark Embossing Powder, Post-It Notes, 3M Blue Painters Tape, Heat Gun


Tricia O'Bin - Blog - Instagram - YouTube - Pinterest - Facebook
Hi Art Impressions Fans and welcome to watercolor weekend. I wanted to embrace the beauty that is Fall with this easy Autumn Church project. I shared it on Instagram when I spent the whole day water coloring...YAY me!

I started off by inking the sitting boy in Brownish Grey. I stamped him in the middle of the page. Just like all of our projects start, I pulled the color out of the lines. I added some Steel Blue to his jeans, Sepia to his hair and Pale Pink to his skin, all from my palette.

Then, I cut a mask and covered him to protect him while I stamped the rocks (Sitting Things set) he is sitting on. Using my positioner, I stamped the rocks underneath the boy (inked with Sepia and African Violet). I used my palette to add a blend of Sepia and African Violet to add color to the rocks.
Next, I stamped a branch from the Branches set. Using my fine tip of my Sepia marker I extended the base of the branch to create a tree. I added some details with Brown and Olive Brown from the palette.
For the church, I inked it with Sepia and stamped it in the top right corner. I pulled the color out of the lines and added some additional Sepia to the roof and African Violet to the building. Once it was dry I added some darker lines with the fine tip of my Sepia marker. The post it tape serves as a quick mask over the church so I could stamp the trees from the Churches set inked in Sepia.
The leaves were all created with the small foliage from the Foliage Set 2. I inked it in English Red, Orange, Brilliant Yellow and Olive Green. I stamped it in several areas with each color to create a random fall scene. Adding some to the ground gives the effect of falling leaves. This is a favorite technique of mine for Autumn.
Once the leaves were stamped where I wanted them, I added some of the small grasses around the tree, rocks and church. I also added some Olive Green sporadically around the middle of the scene. To finish the scene, I added a small amount of Prussian Blue to the sky.

I hope you like this quaint Autumn Scene and I hope you will join me and the rest of the AI watercolor guest design team! Happy Watercoloring!!


Thanks, team! What fun techniques! Dot, we love how you mixed and matched different sets to create a treehouse! How unique! And Tricia K, your glow in the dark eyes in your spooky forest are just too cute, and sure to surprise your recipient! Tricia O, the way you created a larger autumn scene with the boy in the foreground and church in the background is simply lovely! Thank you for your beautiful creations this week. Makes us excited for the next Watercolor Weekend already!

Be sure to leave some comment love for the team, we love to hear what you think!

Happy stamping!

Saturday, October 6, 2018

Watercolor Weekend Roundup - Fall is Here!

Hello, Ai Watercolor Fans! Who's ready for fall? We have some great inspiration for you today featuring some our NEWEST products! We hope you enjoy this week's selection of projects from our Watercolor Guest Design Team!

Dot Freel - Instagram - Blog - Pinterest
Hello Watercolor Friends,

I was blessed with three sons and three grandsons. So the inspiration for my card for the Art Impressions Watercolor Weekend is a Fall fishing scene with my three grandsons - Conor, Caide and Charlie, using the brand new 5054 - WC Little Boys Set. Both the little boys and little girls are must have sets! I used the bucket and log from the brand new 5055 - WC Sitting Places Set for two of the boys to sit on. The trees are from the 5010 - WC Tree Set 1 and the 4960 - WC Fir Tree Set. I used the grass and tree foliage from the 4051 - WC Foliage Set 1. I made the fishing poles from the 4964 - WC Branches Set.

Other Supplies: Ranger Watercolor Paper

Tricia Kennedy - Instagram
My project for today’s Watercolor Weekend – “Petite Fille” (Little Girl).

Prepare your paper (I used a sheet from a French Dictionary) with watercolor ground, let completely dry. Stamp the darling seated girl from the WC Little Girls Set in Sepia. Mask her off with a post-it note and stamp the long stem flower from the WC Mini Flower Set in African Violet and Olive Green. Watercolor the Art Impressions way by pulling the color from the lines with your paint brush and water. Add a bit of Pink, Prussian Blue, Dark Brown and Rosewood to your palette. Brush the color onto the little girl. Add dot detail to the flowers and tiny hearts to her shirt. Stamp the grass from Foliage Set 1 in Olive Green. Scribble Salvia Blue onto your palette and brush in for the sky.

 Art Impressions Products: WC Little Girls Set,WC Mini Flower Set, WC Foliage Set 1, Acrylic Block 5 Pack, Stamp Positioner, Watercolor Palette, Watercolor Brush No. 4, Canson XL WC Paper Pad
Marvy Le Plume II Markers: 9 Pink, 15 Olive Green, 18 Dark Brown, 29 Prussian Blue, 30 Rosewood, 45 Sepia, 60 Salvia Blue, 86 African Violet
Other Products: Daniel Smith Watercolor Ground, Post-It Notes

Tricia O'Bin - Blog - Instagram - YouTube - Pinterest - Facebook
To start, I inked the small grass from the Foliage Set 1 with Olive Green. I added it to the bottom left of my watercolor paper. The small grass needs to be walked from side to side or up and down, or both! I pulled the color up and out of the lines using a brush stroke.

Next, I created a mask to protect it when I stamp the bucket from the Living Water set. The bucket is inked up with African Violet and Sepia. I masked off the bucket and stamped the mums into the bucket. I used the flower bunch from the Flower Set 2 using Olive Green and English Red.

I masked the entire bucket and stamped the pot from the Small Containers set in Sepia. I used the stamp positioner to make sure I stamped the pot perfectly where I wanted it. I masked the pot using some post it tape. I stamped the mums inked in Olive Green and Orange. I pulled the color out of the lines and softened the mums and added some Brown to the pot using my palette.

I inked up the pumpkin from the Harvest Set in Sepia and stamped in on the right side of the paper. I masked it and using my positioner stamped another pumpkin to its left. I used the other pumpkin in the set and stamped it to the right. I pulled the color out of the lines and added Brilliant Yellow and Orange to all the pumpkins. It is best to slowly build up the color. I added some additional grass in Olive Green below the pumpkins.

I masked the bucket and the pumpkins and stamped the wishing well from the Living Water set inked in Sepia and African Violet. I excluded the back of the well to make room for the flowers. I pulled the color from the lines, being sure to stay within each section.

I added an additional mask to the middle of the well and stamped mums to the right of the well. I inked it up with Olive Green and Brilliant Yellow. I added the flowers to the left side of the well inked in English Red. I used the same flower stamp from the mini flowers set inked in Olive Green, English Red, Orange and Brilliant Yellow and stamped them in the middle of the well. I added water to the blooms. 

I added some additional grasses to the bottom of the stones in front of the well. Then I added some Manganese Blue to the background for the sky. As always, I signed and dated the painting.

Thank you so much for spending some time with us and we hope this will be inspiration for you to create a fall scene of your own! Can't wait to see what you come up with. Have a crafty day!


Thanks, team! Love how you created lovely scenes with our new Little Boys, Little Girls, and Living Water well! We love the diverse look you can create with our stamps!

If you enjoyed this week's roundup, please leave a comment below! We love to hear what you think!

Happy Stamping!