
Hello Ai Fans!
I am sharing another card made with the new HM Garden set from Art Impressions. I decided to do a peek-a-boo card. I am not sure that is the correct name, but that is what I am calling it HAHA.

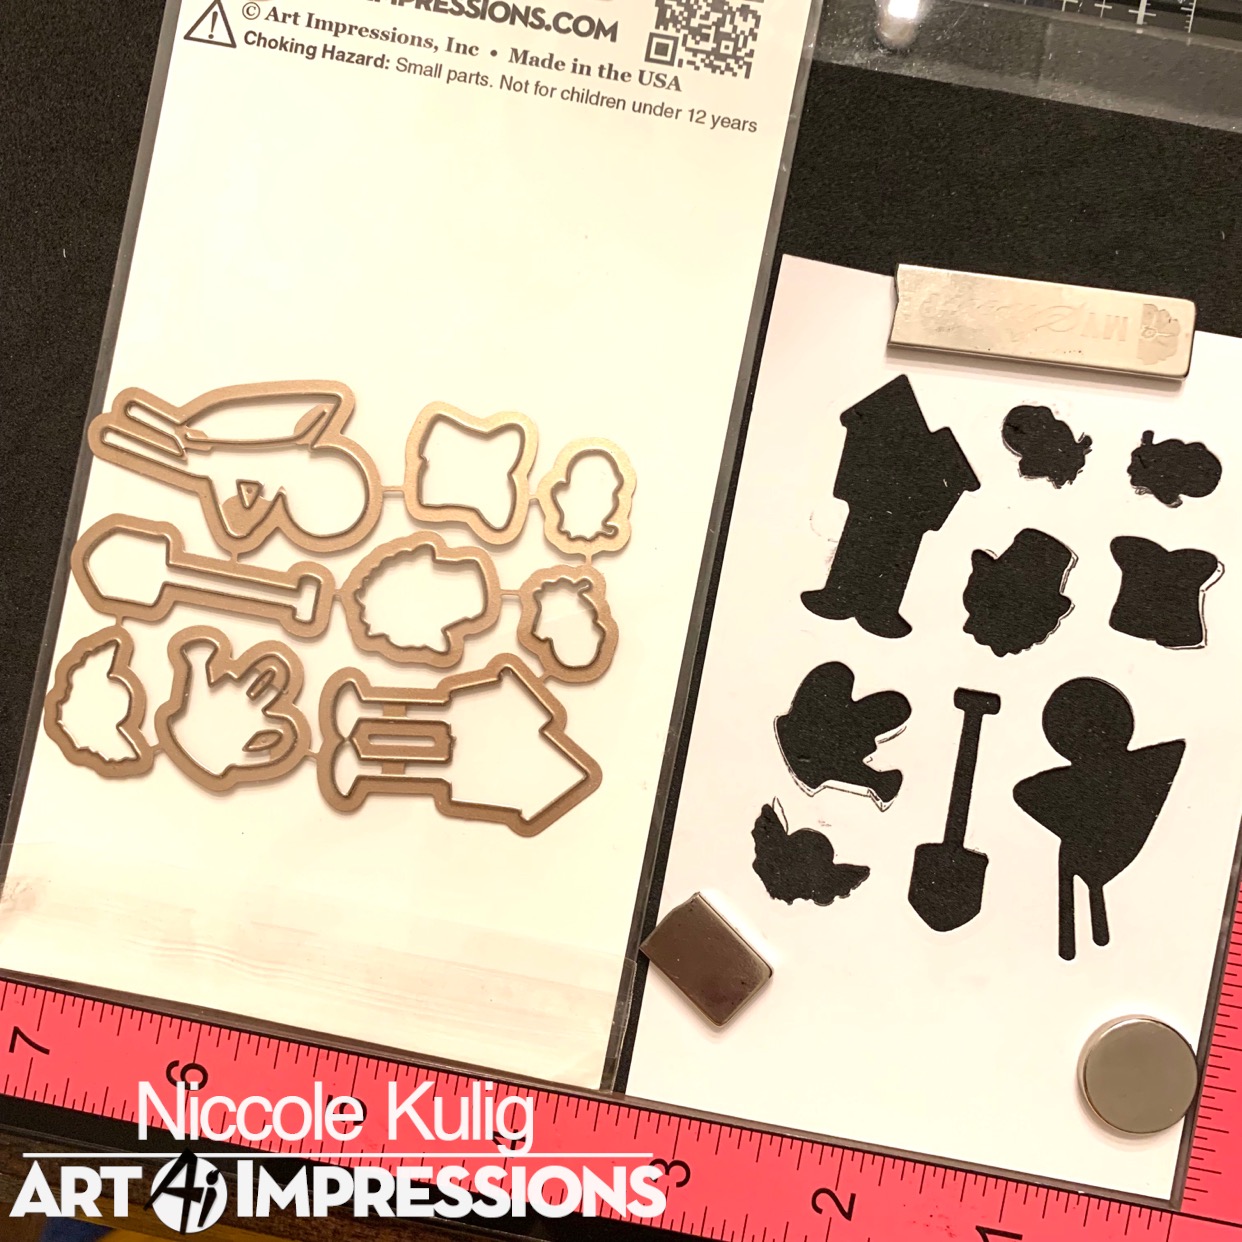
It really was an easy card to make. I had fun with it. I started with my images first. I dies cut them, added them to my template, stamped them, and colored them. Here are the pictures of the order I did it in.


After I finished all of that. I cut the middle section of my craft card stock out to make the "window". I added a black strip of paper to each edge to give the card a little definition. Want to my secret to even skinny strips????? I buy quilling paper. It is super cheap and comes in a ton of colors. Saves me a ton of time trying to cut my paper into skinny strips.

From here I glues my birdhouses on the bottom piece, and ONLY the bottom piece. I then stamped my sentiment between the last two birdhouses. Once the bottom of the bird houses are fully glued down place your bottom of the craft paper along the bottom of the card so your front piece and back piece line up. This will show you how much of the tops of the birdhouse needs to be glued to the top piece of craft paper. Glue them to the top piece.


To finish off glue your birds to the front of the card. I saved one of the birds to add to the inside of the card to tie them together. I also cut four extra birdhouses and colored the back sided to glue to the exposed back sides of the birdhouses. It finishes off nicely.


I hope you give my peek-a-boo card a try. Art Impressions has a lot of cute images that would work well with this design. Happy stamps friends!

Copics used:
B41, B45
E44, E47
R22, R24
Y11, Y13, Y15
Until next time ... Hugs & inky fingers!


It really was an easy card to make. I had fun with it. I started with my images first. I dies cut them, added them to my template, stamped them, and colored them. Here are the pictures of the order I did it in.


From here I glues my birdhouses on the bottom piece, and ONLY the bottom piece. I then stamped my sentiment between the last two birdhouses. Once the bottom of the bird houses are fully glued down place your bottom of the craft paper along the bottom of the card so your front piece and back piece line up. This will show you how much of the tops of the birdhouse needs to be glued to the top piece of craft paper. Glue them to the top piece.


To finish off glue your birds to the front of the card. I saved one of the birds to add to the inside of the card to tie them together. I also cut four extra birdhouses and colored the back sided to glue to the exposed back sides of the birdhouses. It finishes off nicely.


I hope you give my peek-a-boo card a try. Art Impressions has a lot of cute images that would work well with this design. Happy stamps friends!

Copics used:
B41, B45
E44, E47
R22, R24
Y11, Y13, Y15
Until next time ... Hugs & inky fingers!


2 comments:
Very fun tutorial. Thank you so much for the idea with the quilling strips. I plan to pick some up when I see them.
Clever design!
Post a Comment