Showing posts with label holiday mansion set. Show all posts

Saturday, November 12, 2022

Santa Is on His Way!


 Santa is on his way. I can hear the bells on his reindeer! I can't wait to see him? How about you!

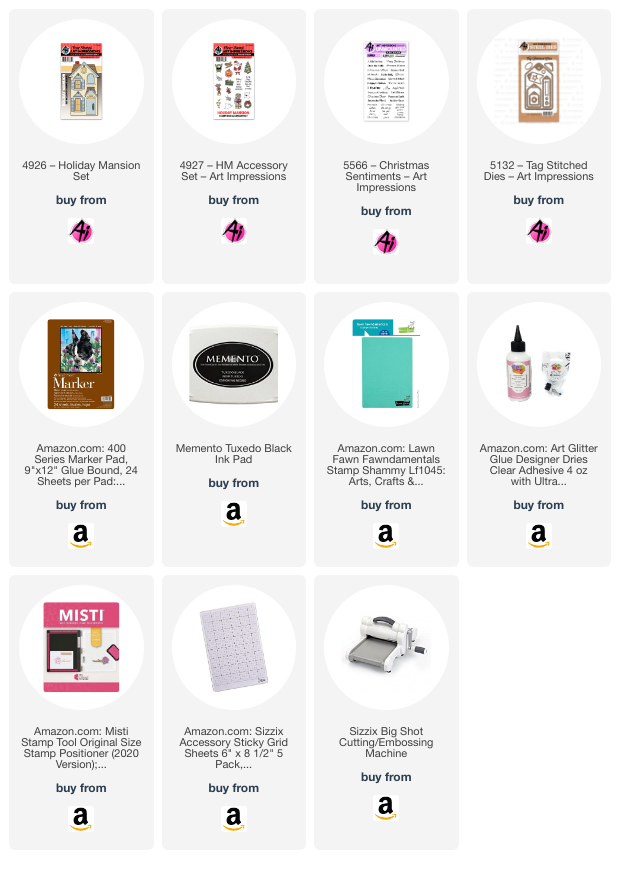
Today's card is a gate fold. When it opens, the house and the scene around it stays on the left gate. For this project I used the always fun 4926-Holiday Mansion Set with the 4927-HM Accessory Set. I used the 5132-Tag Stitched Die Set to cut the stars out of gold foil cardstock and the Ho Ho Sentiment. The sentiment is one of the many awesome choices in the 5566-Christmas Sentiments Stamp Set.


Looking at this card just makes me want Christmas to get here sooner! Bring it on!


Thanks for stopping by today for a little creative fun. Be sure to visit the Ai Store for lots of additional inspiration.

Wishing you a very crafty day!

Janet - Facebook - Instagram - YouTube - Pinterest 

Monday, October 14, 2019

Christmas Holiday Mansion by Carol Hintermeier

Hello Ai Fans!

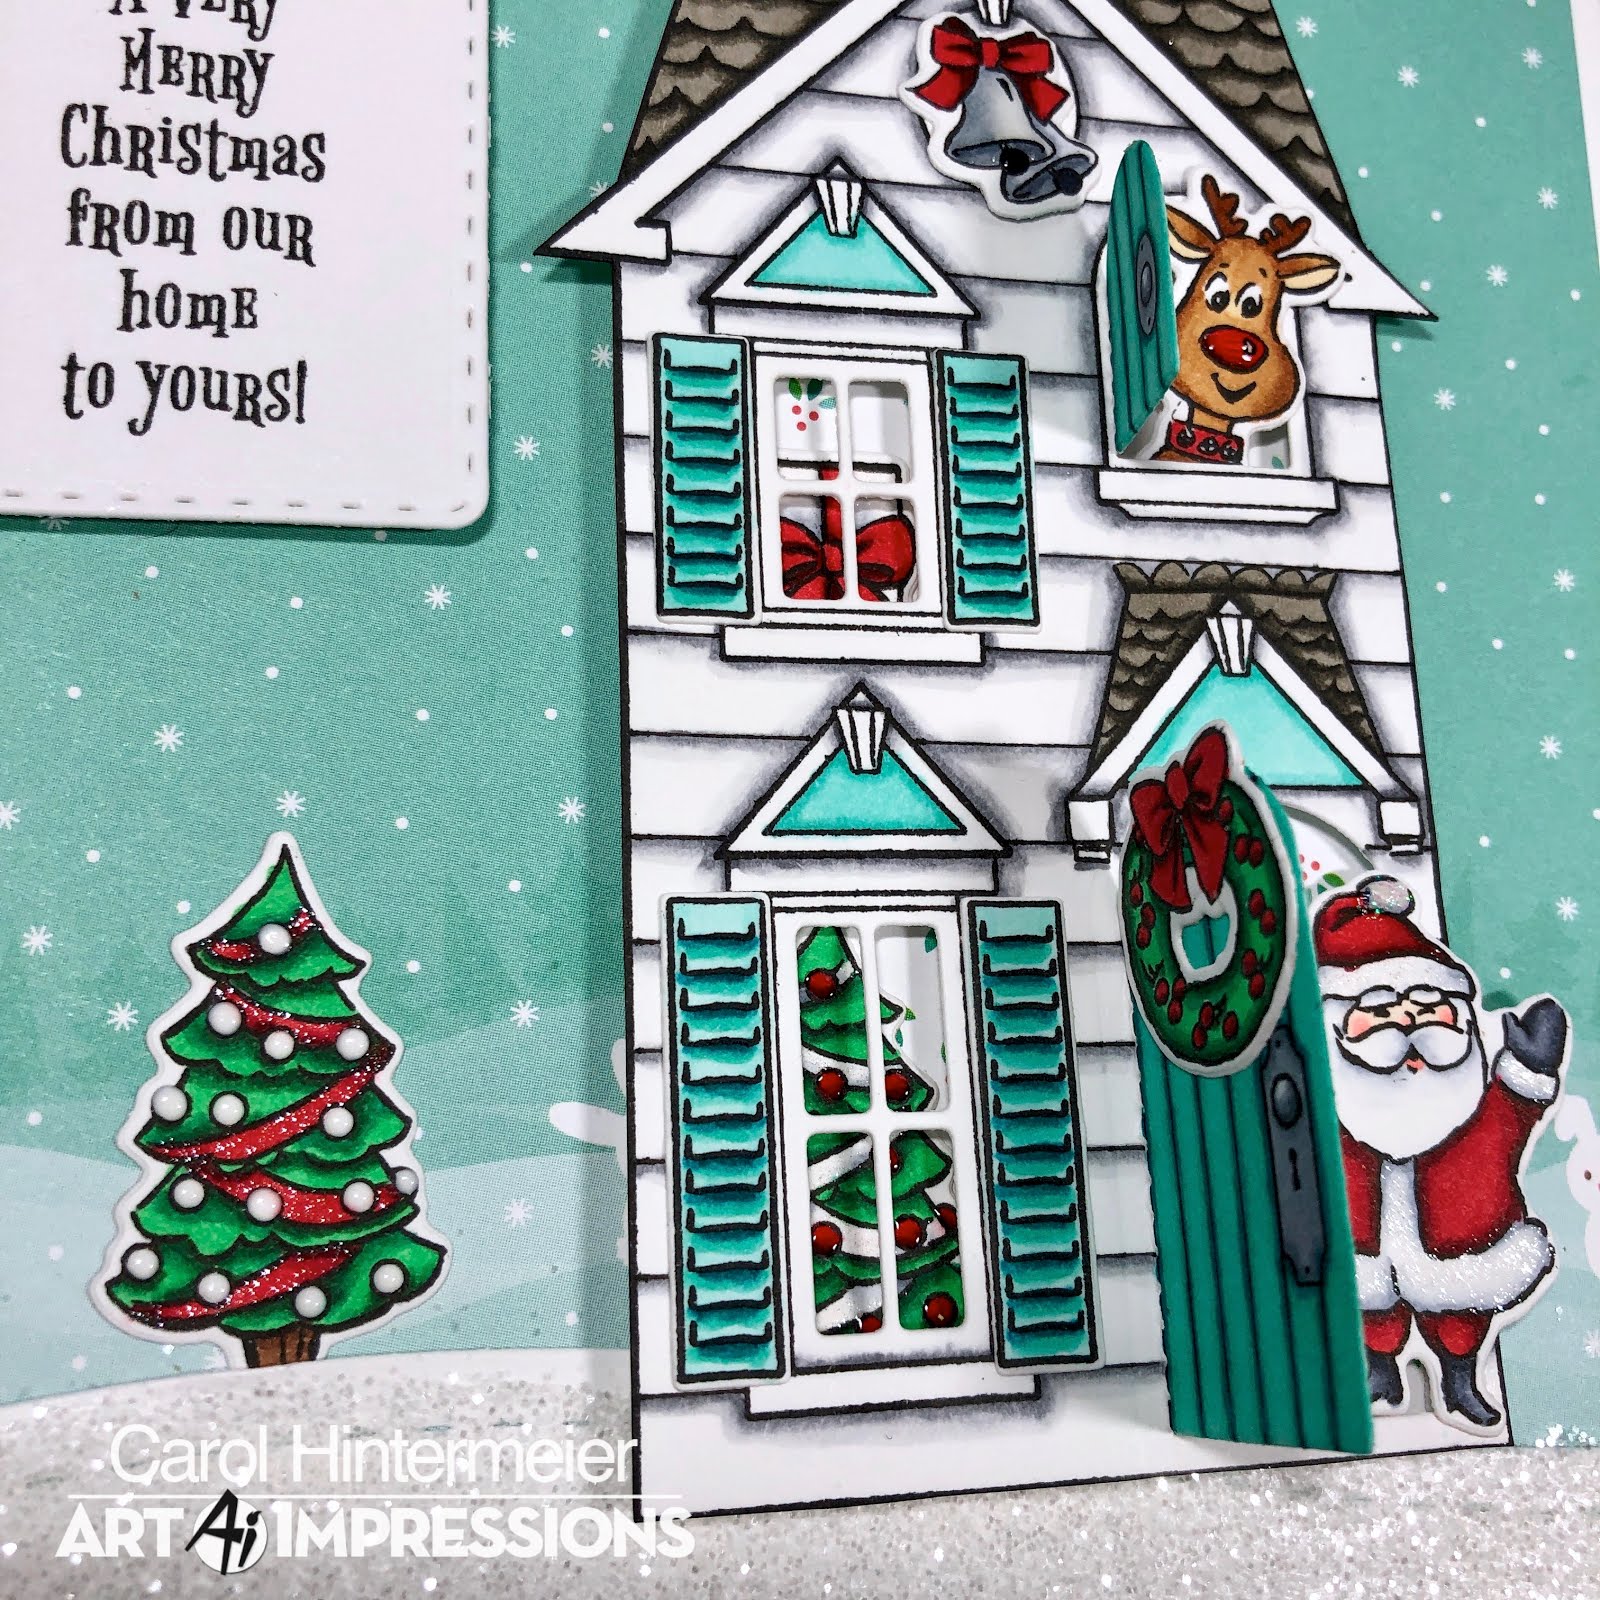
For my card today, I've dressed up the Holiday Mansion with glitter and shine for Christmas.  The HM Accessory Set is just what you need to make this holiday card!


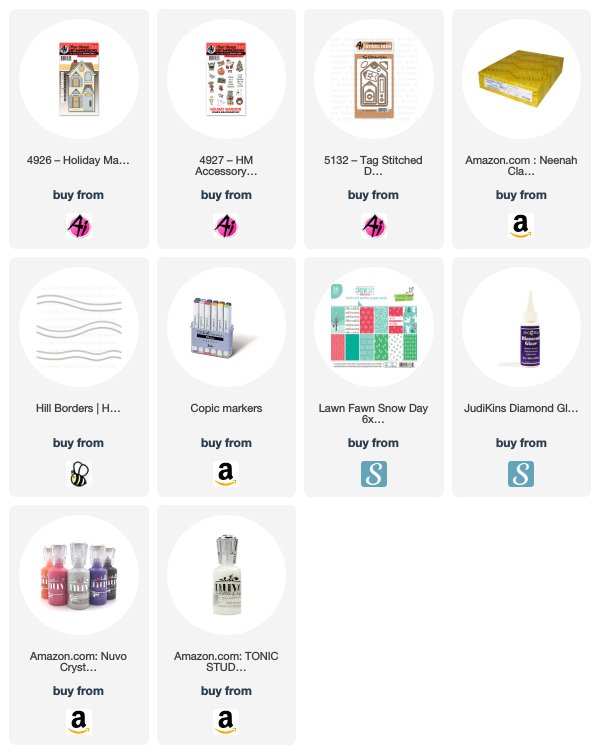
I stamped all the images in Copic safe ink and colored them with the colors listed below.  I die cut them all using the included coordinating dies.  There's no die for the house, but it's so easy to fussy cut.   For the hill shape, I used a hill border die and added some pretty and sparkly coarse glitter with liquid adhesive.  I cut a piece paper that has just a bit of a pattern to show through the windows and doors.


I decided where to place the cute little images and adhered them to the house.  Then I added some foam tape to the back of the house and stuck the patterned paper piece to it.  Next I glued the hill on, then the house and the extra Christmas tree.


I stamped the sentiment in black ink and die cut it with a die from the Tag Stitched Die set.  I popped it up with foam tape and added the wreath.  For the finishing touches I added Nuvo Crystal Drops and clear glaze to various elements to up the shimmer and shine factor!


Have you started your holiday cards?  I hope this sweet card has give you some inspiration today!  Thank you for stopping by and have a fun, crafty week!


Copic markers:
BG11, BG32, BG34, BG49, C00, C0,  C1, C3, C5, C7, C9,
E000, E27, E25, E31, E35, E37, E39, G03, G16, G17, G29,
N0, N3, N4, R22, R27, R29, R59, W5, W7, W9

Monday, June 17, 2019

Holiday Mansion in The Garden by Carol Hintermeier

Hello Ai Fans!

My card today uses the Holiday Mansion set along with the adorable accessories from the HM Garden Set.  Did you see Bonnie on HSN last Tuesday?  This was one of the featured sets and last I checked it's still available there and a sweet deal!!  It was so fun seeing her there!


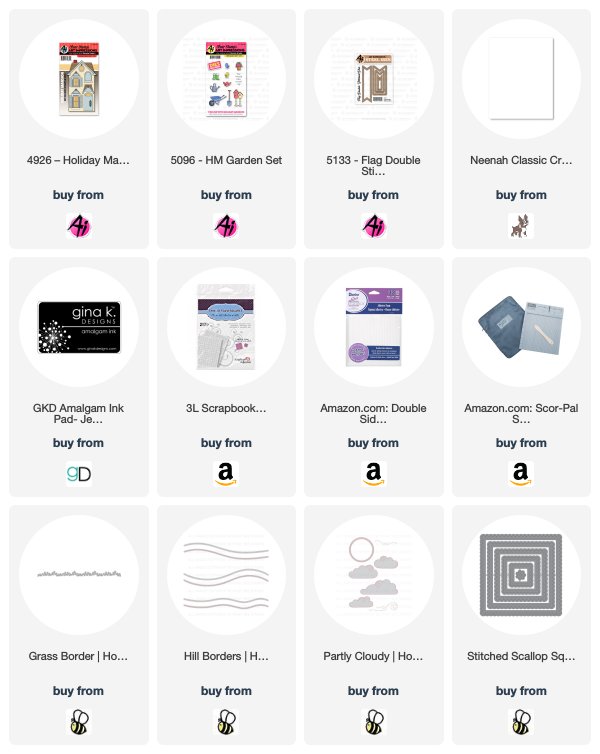
I stamped everything in a Copic safe ink , colored them all with Copics (colors listed below), and die cut the pieces with the included dies.  This card is a nice 5-½" square sized card.  I cut a scalloped panel then layered blue cardstock, die cut clouds, a hill die cut, and finally a grass border die cut before I added the mansion.  I popped up the mansion with foam tape and adhered the birds, flower post, and boots.  Before I added the foam tape, I used my score board to add lines to look like siding on the house.  (Click on the photo to see better.)


This is such a fun, interactive set with the doors that open!  I stamped the sentiment and die cut it with one of the dies from the Flag Double Stitched Dies.


Thank you so much for stopping by!  Have a wonderful, crafty week!


White house:  BG32, G00, C0, C1, C3, C5, C7, R11, R21, R21, YG63, YG67
Y11, Y13, Y15, Y19
Birds, garden accessories:  R11, R14, R21, R22, Y11, Y13, Y15, Y19, E31, E34,
YG63, YG67, C0, C1, C3, C5, C7, C9, 100, BG32, BG49, G00, 

Saturday, June 15, 2019

Holiday Mansion Set with HM Garden Set by Sharon Caudle

Hello AI Fans! 

I've got a couple versions of the Holiday Mansion Set and the HM Garden Set to show you today.   First up is a card using the full Garden Set with the Holiday Mansion. I used all the pieces of the Garden Set. 


Next I just used a couple of pieces from the Garden Set. Can you tell I love polka dots? LOL!


The next two cards I only used the Garden Set


Thanks so much for stopping by for a visit today and until next time, stay crafty!!


Wednesday, February 27, 2019

Birdhouse Singing by Niccole Kulig

Hello Ai Fans!

I am sharing another card made with the new HM Garden set from Art Impressions. I decided to do a peek-a-boo card.  I am not sure that is the correct name, but that is what I am calling it HAHA.

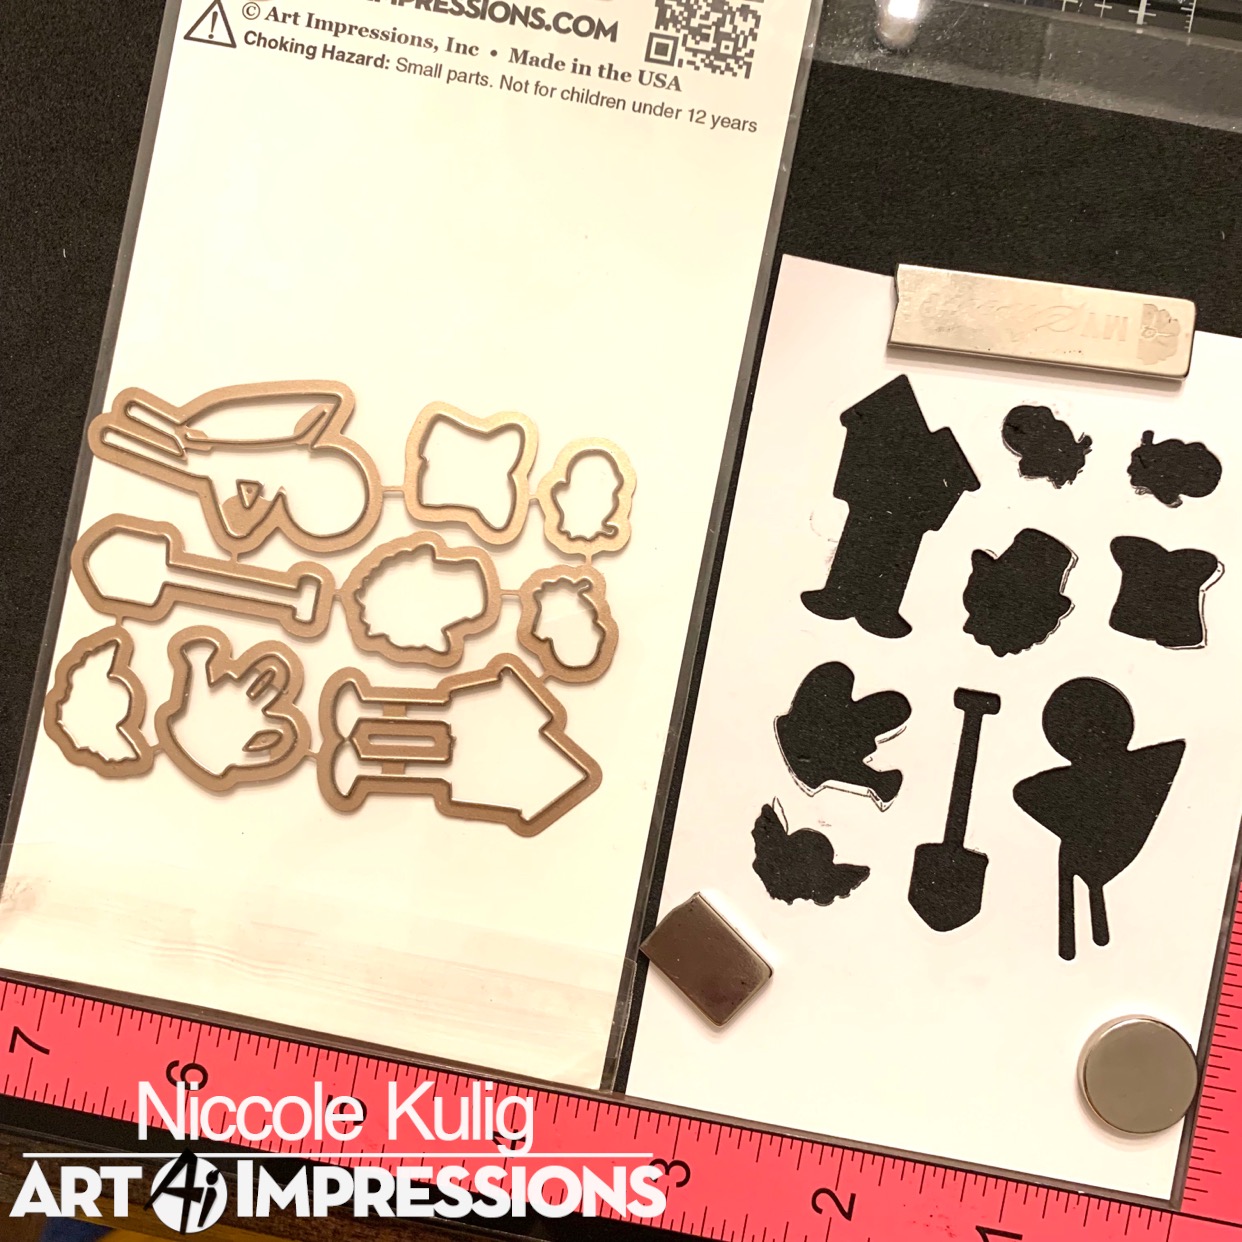
It really was an easy card to make.  I had fun with it.  I started with my images first.  I dies cut them, added them to my template, stamped them, and colored them.  Here are the pictures of the order I did it in.


After I finished all of that.  I cut the middle section of my craft card stock out to make the "window". I added a black strip of paper to each edge to give the card a little definition.  Want to my secret to even skinny strips????? I buy quilling paper.  It is super cheap and comes in a ton of colors. Saves me a ton of time trying to cut my paper into skinny strips.

From here I glues my birdhouses on the bottom piece, and ONLY the bottom piece. I then stamped my sentiment between the last two birdhouses.  Once the bottom of the bird houses are fully glued down place your bottom of the craft paper along the bottom of the card so your front piece and back piece line up. This will show you how much of the tops of the birdhouse needs to be glued to the top piece of craft paper. Glue them to the top piece. 


To finish off glue your birds to the front of the card.  I saved one of the birds to add to the inside of the card to tie them together.  I also cut four extra birdhouses and colored the back sided to glue to the exposed back sides of the birdhouses.  It finishes off nicely.  


I hope you give my peek-a-boo card a try.  Art Impressions has a lot of cute images that would work well with this design. Happy stamps friends!

Copics used:
B41, B45
E44, E47
R22, R24
Y11, Y13, Y15


Until next time ... Hugs & inky fingers!