Showing posts with label Copics. Show all posts

Friday, August 14, 2020

Birthday Fishes | By Jessica Shier

 Hello Ai Fans!

It's Jessica today on the blog. As some of you may know I love the critter stamps from Art Impressions. The dogs and cats are some of my favorites and the Real Great Guy stamp set as the most adorable dog floating in the water! So I thought I would combine him with some of the other smaller stamp sets and create an alcohol ink background to go along with him. I also wanted to keep the color scheme to a minimal again. I love mixing teal and orange together, such a great color combination for fall and more masculine cards.

I don't really have anyone that loves to fish. My husband and I have talked about it, just to try something new but to real avid fishers. My mom did have a Dachshund that loved to go fishing. She would dive in to the water after them! 

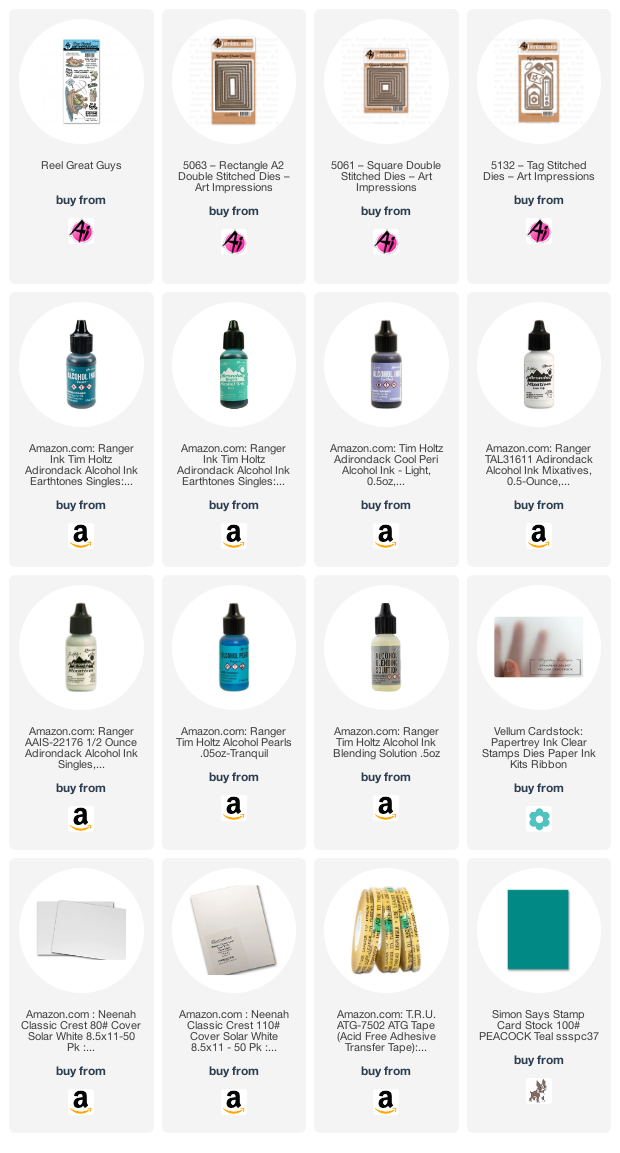
The background is a mix of alcohol inks on vellum. I'll have the list of colors I used down below in the product list. To add some shine I did use the Silver and Snow Cap Mixatives and also the Alcohol Pearl in Tranquil. I like using the alcohol ink on vellum because it makes your piece a little more transparent then on regular Yupo paper. Something different and fun to try out. By adding a a teal card stock behind the vellum it intensifies the teal colors of the alcohol inks. Adding a gray card stock tones the colors down a bit and a white brightens them. 

I stamped the images on to Neenah 80lb cardstock and die cut them using different shaped dies. I used several of the squares from Art Impressions Square double stitch die set. For the fish jumping out of the bucket I used one of the smaller rectangle dies from the Rectangle double stitch die set. I also tend to die cut the my panels for cards a lot with the second to largest rectangle die. It's the perfect size to layer on a A2 card front. 

The sentiment I used two inks from Gina K. Designs and stamped it in sections. The lighter color at the top and a darker ink color towards the bottom. This gives a fun gradient design. I don't utilize this technique enough! I also die cut the sentiment with one of the tag dies.


Thank you so much for joining me today. Happy Stamping!
 

Friday, July 31, 2020

1 Sketch 10 Cards with Stackers | By Jessica Shier

Hello Ai Fans!
It's Jessica today and I have a card sketch to share with you. If you didn't see the challenge for the next couple of weeks, make sure to head over and check out the information. Art Impressions is partnering with Scrapbook.com for Cards for Kindness! I created a simple card sketch, to create a lot of 10 cards to send in.


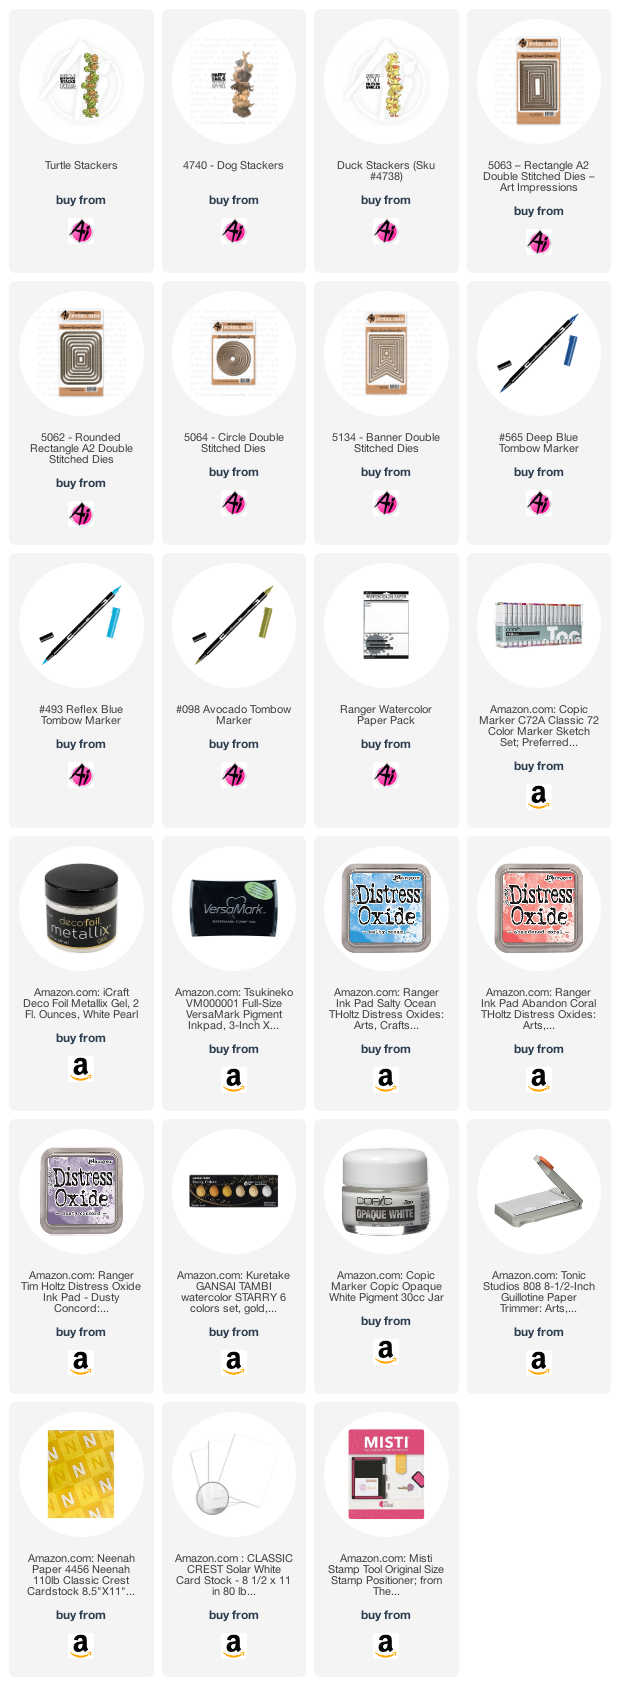
You can find the card sketch down below. I hope it inspires you to create your own lot of cards to send in! I started with stamping all of the Art Impressions Stackers ( the ones I have... so far) with Gina K. Designs Amalgam ink, on Neenah Solar White 80lb cardstock. There a quite a few designs in this category and the ones I'll be using are the; Turtle, Duck and Dog Stackers. 


For the most part I colored all the turtles the same, along with the dogs and ducks. Except for one stack of ducks. I thought it would be fun to have some gray colored ducks on a rainbow background. So that is the exclusion from the rest. I'll have the list of markers down below for the different combinations I used. To make this easier on me, I did repeat quite a few markers, while coloring all the critters. 

Here is the card sketch that I came up with. Please feel free to use and share.


For a few of the cards I mixed up some shapes using a few Art Impressions dies like the large banner and rounded rectangle.


I also used Tombow markers on a few. The diagonal watercolor line is easy to do with masking tape on watercolor paper.


A couple of my favorites are the rainbow card stock striped backgrounds with the gold watercolor paint splatter. I love a little planned splatter on backgrounds and I used anything from paint to sequins.

I do have to say it was fantastic practice coloring the same images multiple times. Plus playing with different color combinations and textures always puts a smile on my face. Like revisiting the basics. 


Thank you so much for joining me today. Happy Stamping!


Friday, May 15, 2020

We're Here! | By Jessica Shier

Hello Ai Fans! 
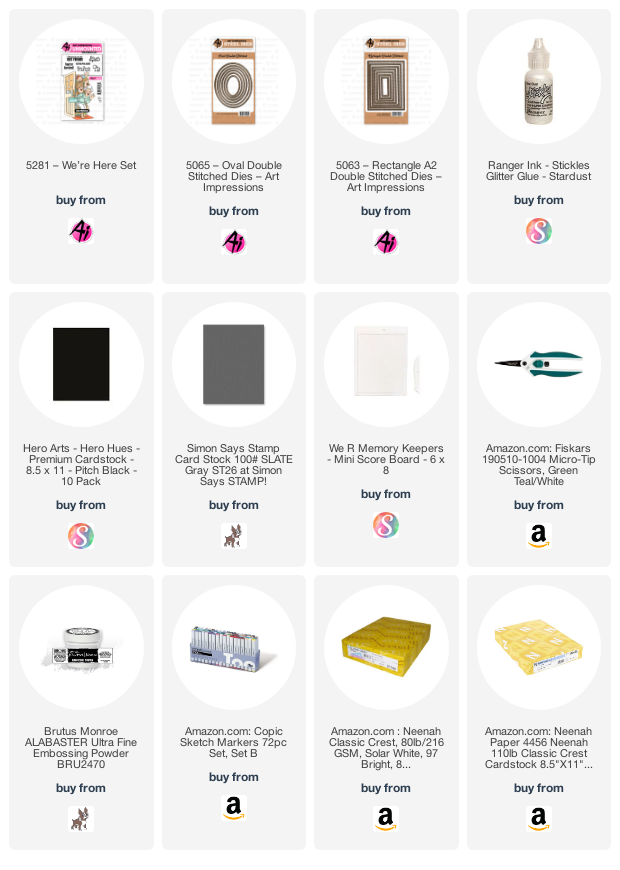
Jessica here and I've been having some fun coloring this image from the We're Here set. The current challenge on the Art Impressions blog is Invitations and this set would be perfect for those much-needed get-togethers when we all can do so! There are lots of great sentiments in this one. I combined two of them to create the on for this card, which is heat embossed with white embossing powder on black card stock.


For my coloring, I used Copic Markers. You can find the list of colors I used below. I had a picture of a slat wall in mind to use with the We're Here image. Maybe I was thinking siding on a house since it looks like the ladies are busting through the front door. To do this I used some plain white card stock and a scoreboard, scoring on every 1/4 inch mark. Then trimmed to fit the frame. This adheres to a piece of light gray card stock that is also attached to an A2 card base. 


The frame is cut from a piece of dark gray card stock. I used two of the Art Impressions Rectangle dies to do this. I really wanted something sparkly so I used some Stickles and smeared it over top of the card stock frame and let it sit to dry. I did use some circle dimensional foams to pop up the glitter frame, We're Here image and oval sentiment.

Here is a photo that shows off the glitter a little more. 


Thank you so much for joining me today. Happy Stamping!


Friday, May 1, 2020

Housework Birthday Card | By Jessica Shier

Hello Ai Fans!

It's Jessica today. House work is a necessary evil and I bet lots of us are getting real tired of doing it right now! Let's have some fun and make a cute little birthday card with some snarky cleaning humor. I'll share photos of the inside and front below!


I'm using the images in the Housework set and Loads of fun set. For the front I used the images that come in the Housework set. There is a fantastic image of a lady in a chair with her feet up on the bucket. I used Inkadinkado masking paper to mask off her feet and stamp only the bucket with the cleaning suppplies. I used the same masking paper also when stamping the cat on top of the vacuum. 
That way the paper towels and spray bottle will be positioned behind the cat. 


For the inside I created a similar scene with the Loads of Fun stamp set. Again this set has a fun lady image but I used the smaller accessory stamps. I didn't use any masking paper for this image but kept it simpler. As always the Copic Markers that I used will be listed below. 


For both the inside and the outside I used several Art Impressions Hexagon Double Stitch dies to die cut my scenes and coordinating card stock for layering. The thin black card stock I hand trimmed.


Thank you so much for joining me today! Happy Stamping. 


Wednesday, September 25, 2019

Walking In The Rain by Niccole Kulig

Hello Ai fans!!
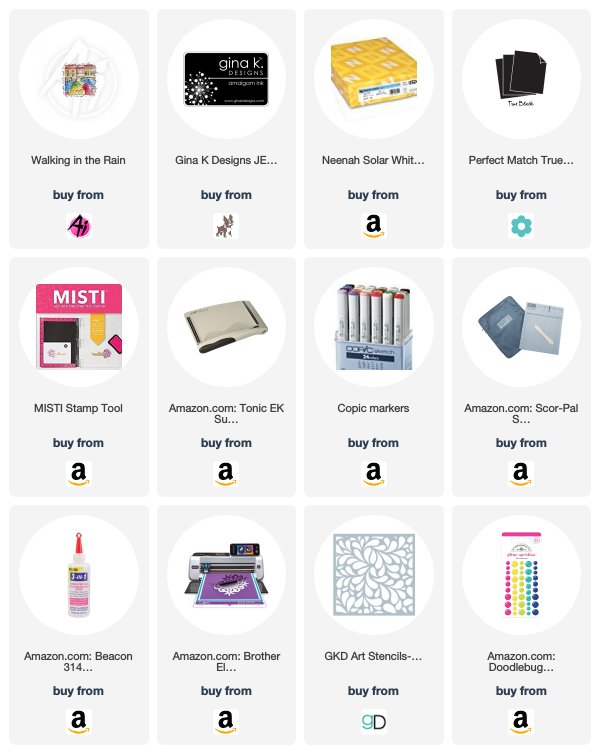
I am stopping by today to share a card I made using the Window To The World stamp set called ... Walking in the Rain.

"A walk in the rain is fun when you share your umbrella with a friend." Isn't that quote just perfect?  These Windows To The World stamps have always been some of my favorites. I think they pack a big punch with the stamp and sentiment all in one.
 I started by stenciling my background.  I liked how it looks kind of like rain drops. I went heavier with ink on one side and lightened up as I moved across the page. I adhered it to my back card base.
I stamped my Walking in the Rain stamp and colored it with my Copic markers.  I framed my image with a piece black card stock.  I added it to my stenciled card base with foam tape.
I finished off my card with some glossy enamel dots and some Wink of Stella to my card to give it some shimmer on the rain drops.
I made two versions of this card.  I could not tell if I liked the image to the left side of the card or off to the right side ... you? I also went a little heavier with my stencil on one vs. the other too.

Thank you so much for stopping by today.  Make sure you come back every day ... everyone posting does an amazing job and the inspiration you will get is unbelievable.

Copics used:
B0000, B000, B02, B04, B06
E23, E25, E27, E53, E55
G02, G05, G07
R22, R24, R27
W1, W3, W5, W7
Y04, Y08, Y11, Y13, Y15
YG61, YG63, YG91, YG93
YR61, YR65, YR68

Until next time ... Hugs & inky fingers!


Wednesday, September 11, 2019

My Best Friends Are A Little Nutty STAMPTEMBER by Niccole Kulig

Hello Ai fans!!

It is September ... do you know what that means??  STAMPTEMBER over at Simon Says Stamp! And guess who has an exclusive stamp set called Nutty and Nice ... Art Impressions does.
As you can see I am using the new stamp set called Nutty and Nice  that is exclusively for Simon Says Stamp.  I decided I wanted an interactive card so I chose to have the Fruitcake swing in a frame with my sentiment.  The friends are eating Fruitcake below .
As you can see I Copic colored my friends and pattern paper pieced the pajama bottoms.  I added a frame around my two sentiments and have the Fruitcake swinging from a pendulum. I love how it turned out.  I have the perfect friend I am sending it to. 

Above is a small video of the Fruitcake swinging.  Enjoy!  Please run out and get this adorable set from Art Impression exclusively for Simon Says Stamp.  Once it is gone ... it's GONE FOREVER!

Thank you so much for spending a little time with me today.  
Copics used:
B000
E00, E11, E31, E34,E37, E39, E71, E74, E77
G03, G05, G09
N0, N2, N4
R11, R27, R29, R35
W00, W2, W4

Y13, Y17, Y32, Y35

Until next time ... Hugs & inky fingers!


Wednesday, August 28, 2019

Halloween Pumpkins by Niccole Kulig

Hello Ai fans!!

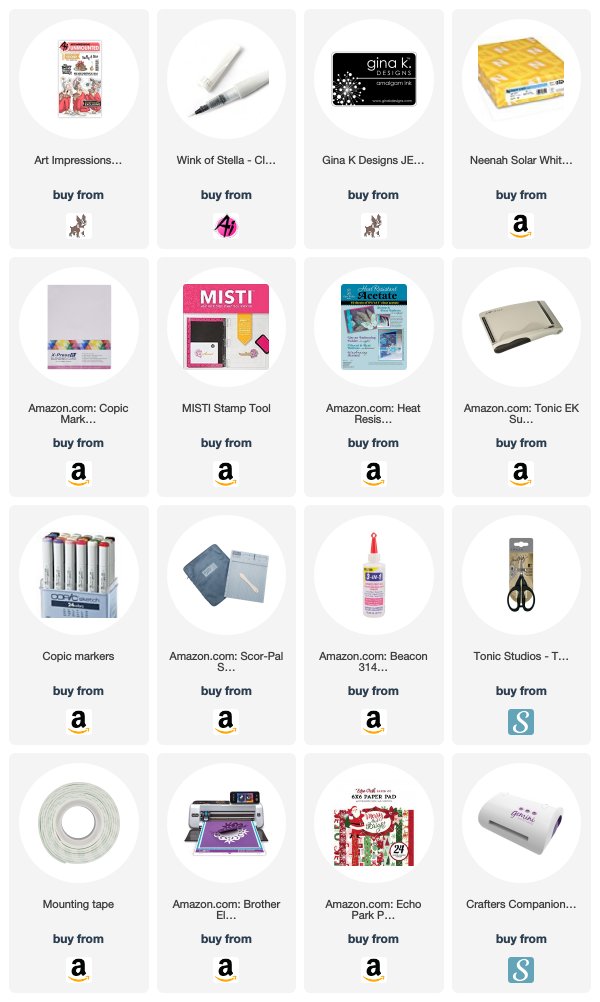
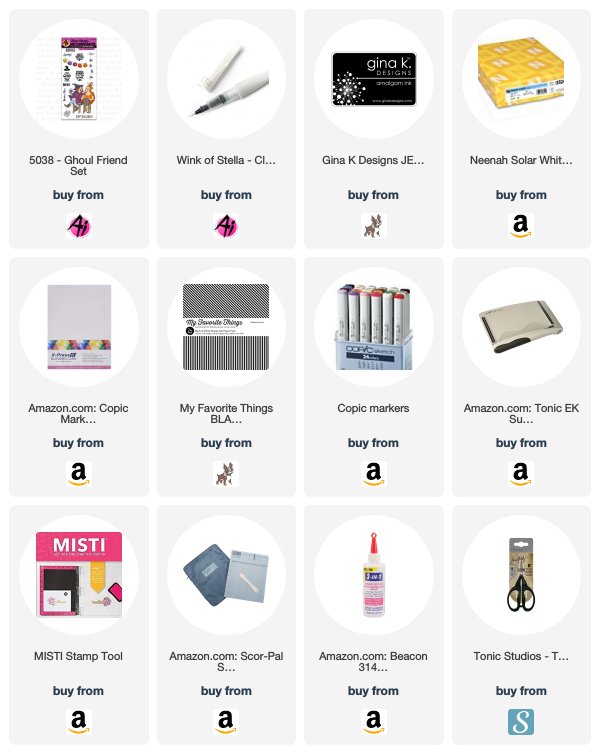
I am stopping by today to share a Halloween card I made using the 5038 - Ghoul Friend set  and some Wink of Stella. I was a fun card to make that's for sure.
It is a pretty straight forward card layout this week.  I stamped my Happy Halloween bottom center. I layered my orange paper, and black paper. The white paper is on top of the black paper. I only use what I have to of my stripe paper so I cit 1/4" strips and added them to the top and bottom of my white paper stamped with my strand of pumpkin lanterns. I colored my pumpkins last with my Copic markers. 
As you can see above I used a super fine Sharpie marker to join the two stamps together.  I thought the loop in the string would add to the card, like a loop in the stand of pumpkin lanterns. I didn't let the imperfections of my marker skills bother me because when you look at the whole card the strand is not perfectly straight to begin with. 
I thought the cute pumpkins needed a little something so I finished them off with some Wink of Stella. Why ... because everything looks better with Wink of Stella in my opinion LOL.
Here is one more look at the card.  You will probably see more Halloween cards from me ... it is my favorite holiday after all. Pumpkin everything for this girl 😊  Thank you for spending a little time with me and please check back again real soon for more Ai inspiration.

Copics used:
YR02
YR04
YR07
YR09

Until next time ... Hugs & inky fingers!

Wednesday, July 31, 2019

Hello Spring Chicken by Niccole Kulig

Hello Ai fans!!

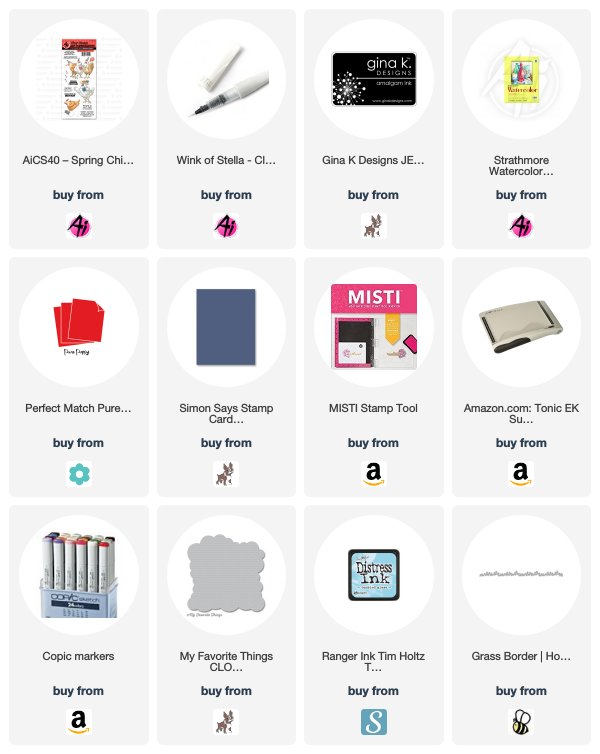
I am stopping by today to share a card I made with the Spring Chicken set from Art Impressions!  I just love this set!  It is a lot of fun!

I started by layering my navy card base with a red poppy layer to create a frame. I die cut my green paper and set it aside.


I cut my watercolor paper down so the red paper framed it.  From there I used my ink and stenciled on my clouds.  I love how soft the clouds look when you make them this way. I glued my clouds dow on the red paper and then added the green grass to the bottom.


I colored my chicken with my Copics.  I fussy cut it out and added it to my card. I glued the bottom portion and used foam tape on the top half of the chicken. I figured I would add numerous layer of Wink Of Stella to my springs to make them stand out instead of coloring those tiny areas.  


Here is one more look at the whole card. I finished it off with some colored gems.  I love how easy this card was to make but yet it looks more difficult that it really is. 

Thank you so much for stopping by.  We will see you again soon!

Copics used:
BG000
R22, R24, R27
W00, W1, W3, W5
Y15, Y17
YR04, YR07

Until next time ... Hugs & inky fingers!

Wednesday, July 17, 2019

Joy Found by Niccole Kulig

Hello Ai fans!!

"Joy is found in the friendships we make along life's way."


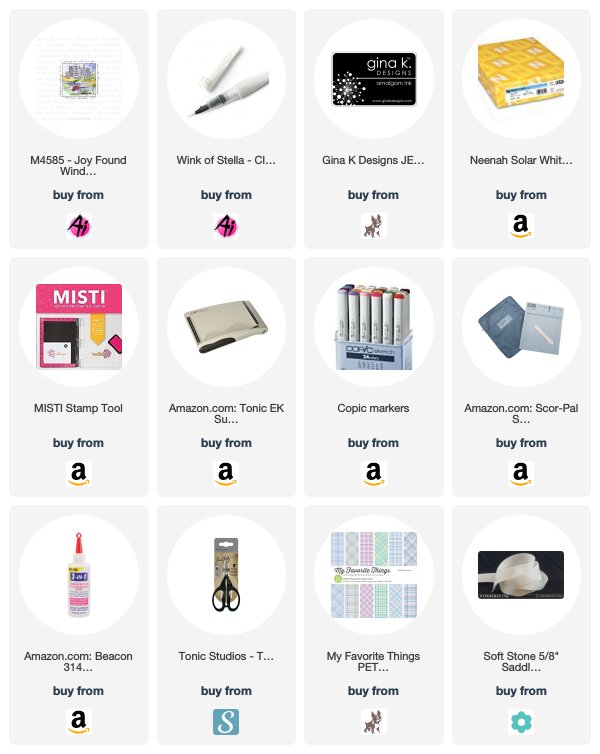
It is Niccole again stopping by to share a card I made using the Joy Found Window. Like I said last week ... I just love these window stamps.  I am a sucker for a good quote, and these saying are some of the best. 


As you can see I started with some pattern paper and a ribbon.  My card is an A2 top folding card. The pattern paper is trimmed down 1/4". I glued my ribbon on before adhering it to my card so I could fold the edges over and glue them behind for a clean finish


For this bow I used two pieces of ribbon to give the bow some depth and make it a little bigger.  I think it turned out well. I see in the picture that the one side is hiding a little bit but trust me it is there.


I added my Copic colored panel onto two different colors of green to make it pop more.  I adhered it to my card using foam tape.  I finished it off with some Wink of Stella over the sky, the water, and the flowers.


One more look at the finished card.  If you are on the fence about these Window to the World stamps ... go get some, they are fabulous.  And with the sentiment going around the picture you don't need to add another one if you don't want to. 

Copic Used:
B000, B00, B32, B34
E25, E27
N4, N6
R24, R27
W00, W1, W3
Y32
YG23, YG25, YG61, YG63, YG67


Thank you so much for stopping by ... we will see you again soon!
Until next time ... Hugs & inky fingers!