Showing posts with label Holiday Mansion. Show all posts

Tuesday, May 24, 2022

Let's Enjoy a Road Trip by Nina

 Hello crafty friends, join me today as I share this fun project. My kids and I are planning a road trip right after school is over and I was so excited to create a card that reflects our fun plan.

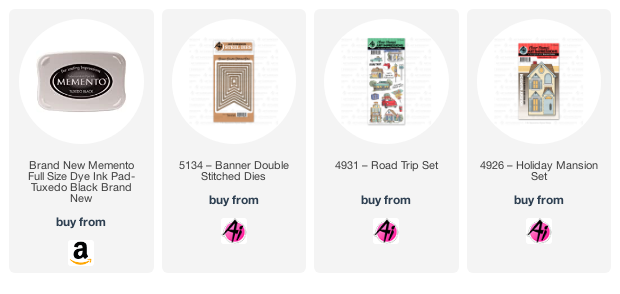
I used the Holiday Mansion set as a hotel and used images from the Road Trip set to make my fun card.


I stamped the car, road & motel signs from Road Trip set, and the mansion from the mansion set using Memento Tuxedo Black ink and colored them with Copic markers.

I cut a panel for the background and sketched mountains, hillsides and a road with a pencil. I cut masks and covered the mountains and ink blended the sky to give a sunset effect. also blended the hillsides the same way after masking thier surroundings.
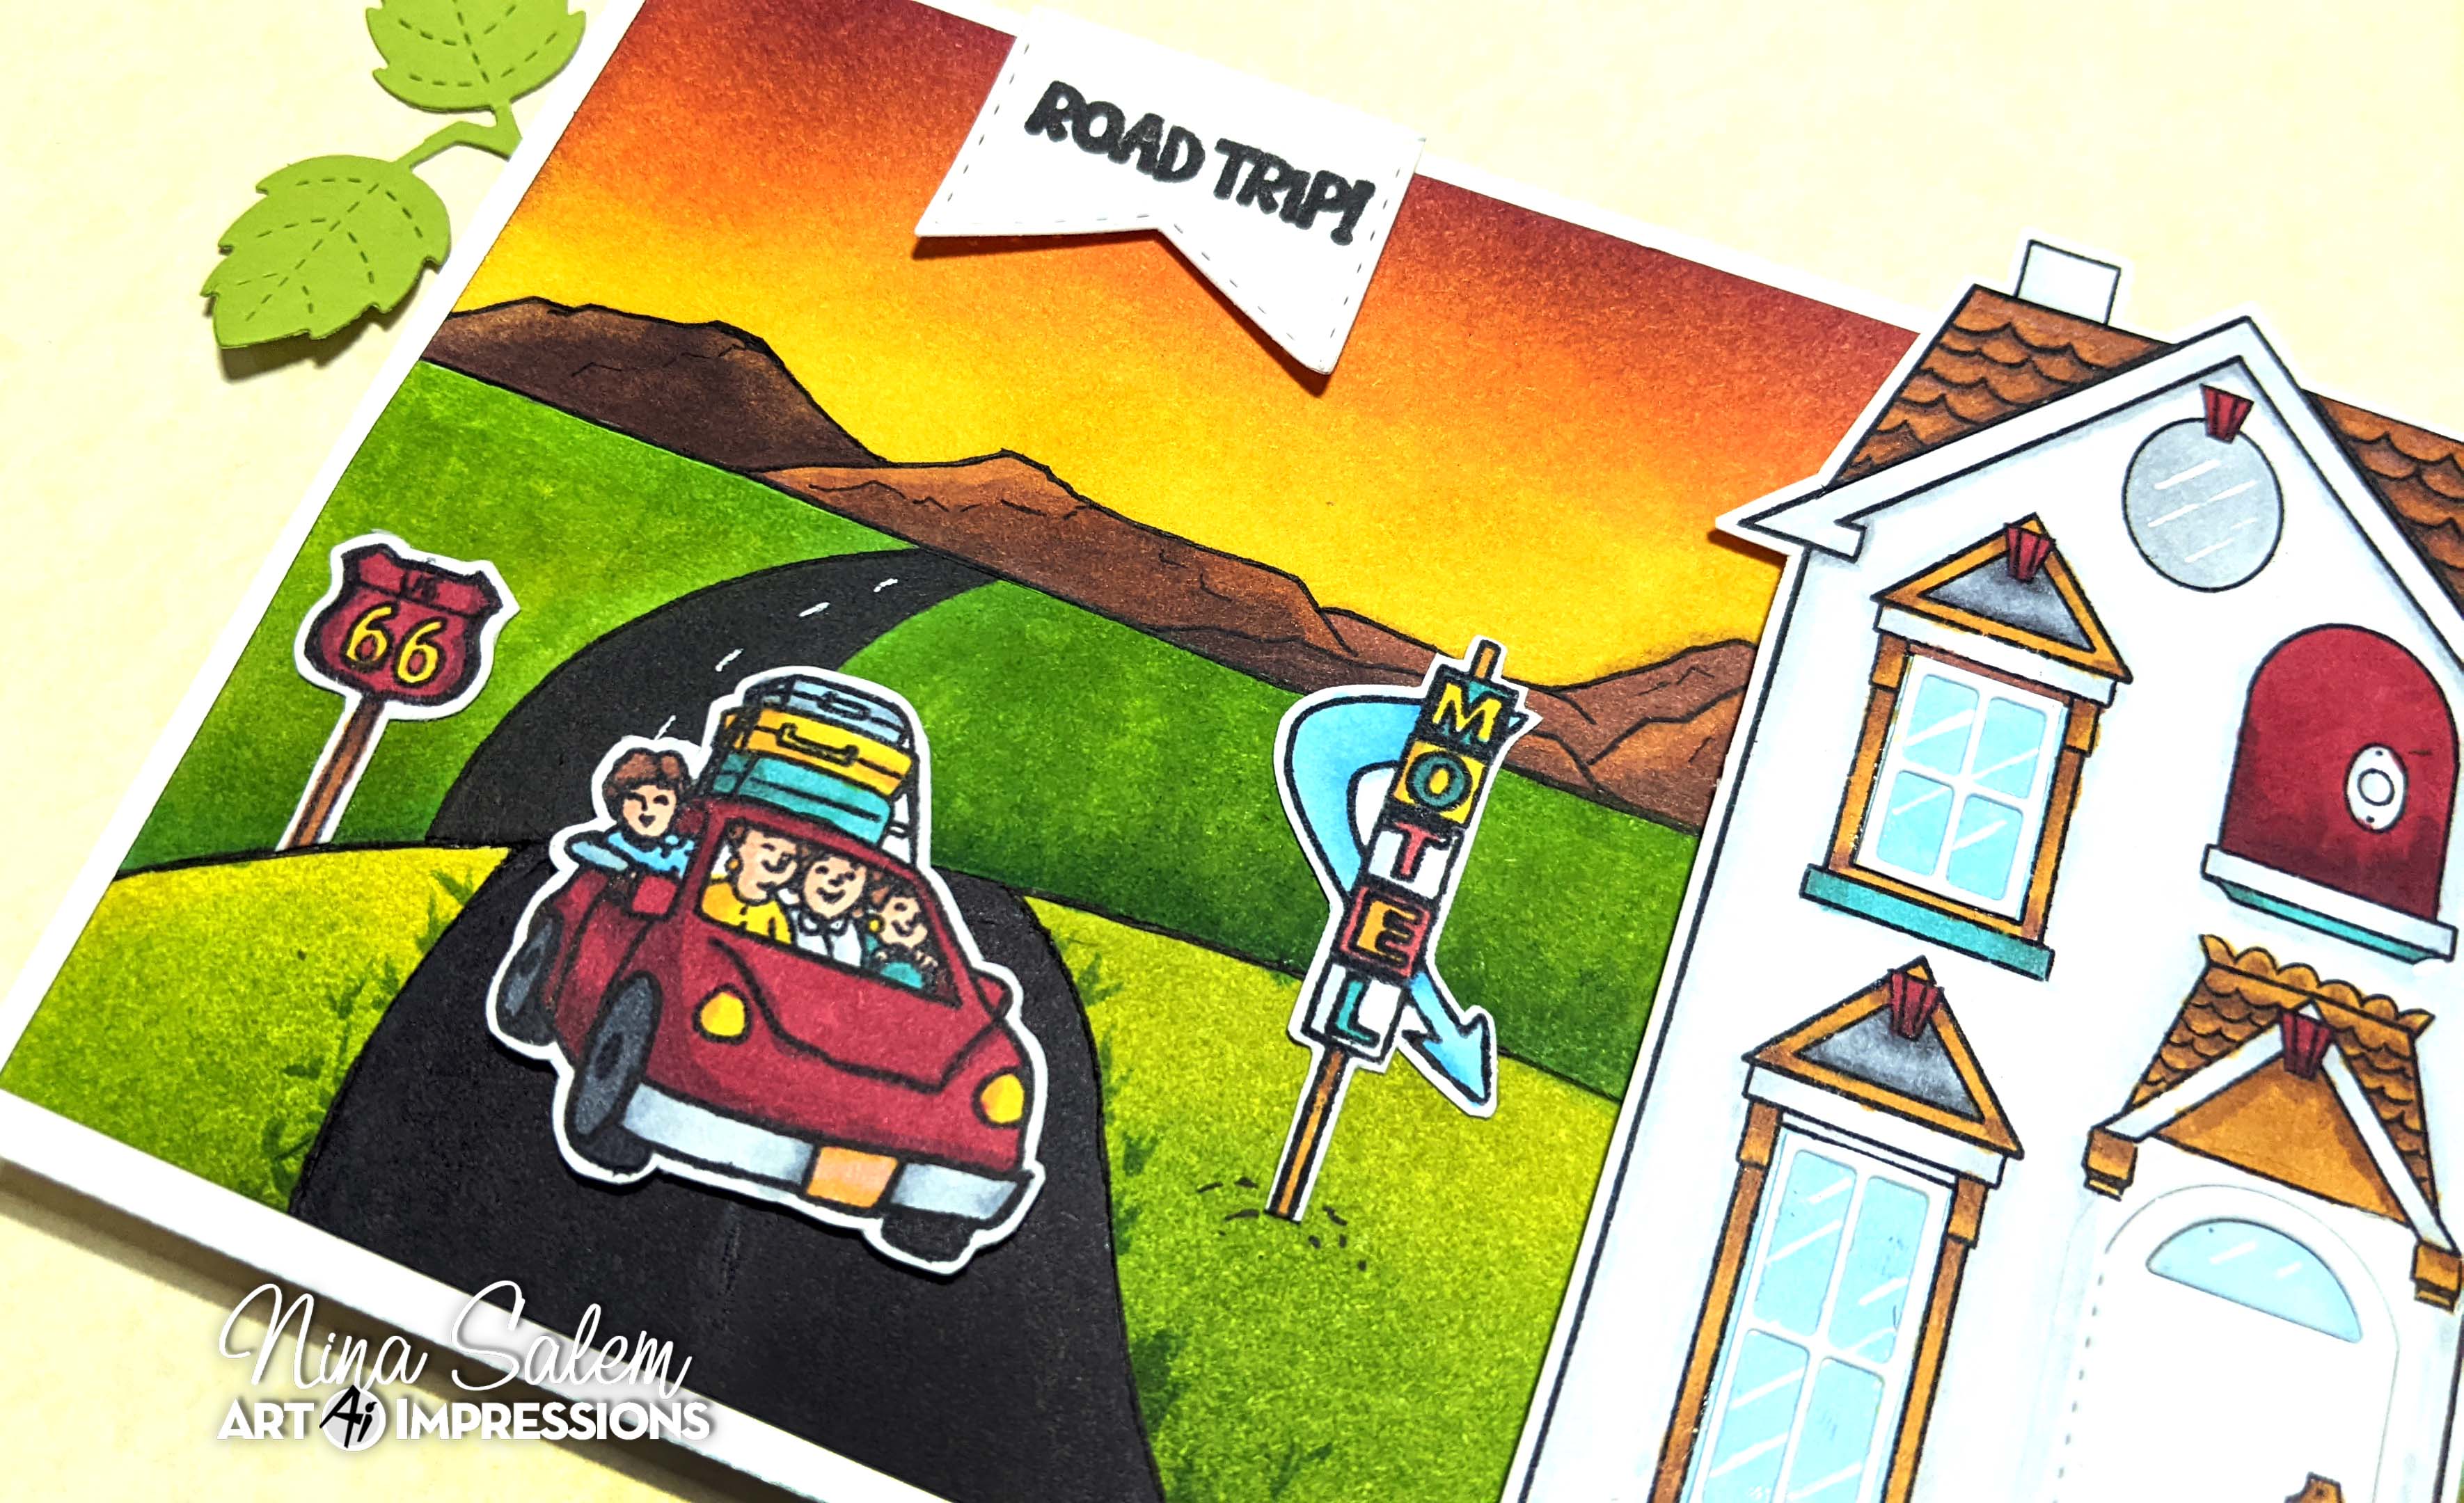


 I used the dies included with the Mansion set to create the windows and the door. I used foam tape to attach my images to the background and stamped Road Trip on a banner that I die cut using the Banner Doubled Stitched Die Set.



Monday, April 4, 2022

Easter Burrow by Bri Firth

Hello Ai Fans - Bri here! Today, I am sharing a layered card design featuring the HM Easter Set which is part of the Holiday Mansion collection. This Easter project is perfect for Ai's current challenge "Here Comes Peter Cottontail," as it features a family of adorable rabbits. Keep reading below for details on how I made this creation.

To create the layered burrow scene, I used the Stitched Den die set from Lawn Fawn. I used purple plaid paper to create the "wallpaper" inside the burrow, and I used distressed tan paper to create the dirt floor. To create the woodsy design on the front panel I used Vintage Photo Distress Oxide ink in a swiping motion to create the streaks across the cardstock. 

To finish the card I die cut the sentiment banner with the Flag Double Stitched Dies set. The sentiment is heat embossed with white embossing powder making in ink resistant to the ombre ink blending on the banner. I used Peacock Feathers Distress ink to create the shading on the banner.

Check back next week for more Ai inspiration made by me!

Copic Markers Used
W5, W3, W1
RV14, RV13, RV11, RV10
BG05, BG02, BG01, BG000
G05, G02, G00, G000
Y08, Y06, Y02, Y00
V17, V15, V12, V01
E35, E33, E31
C5, C3, C1

Friday, April 2, 2021

Hoppy Easter!

Hi Ai Fans!
Tasha here sharing two Easter cards created with the fun HM Easter Set!


For the first card, I wanted to make a little scene that resembled an Easter family photo. These little bunny stamps are too cute and look so happy, don't they just make you smile?


The second design is a festive slimline card using the Holiday Mansion stamp set. I love the Easter eggs in the basket and on the door; so fun!!!


I also added some birds and flowers from the HM Garden Set. The little birds work perfectly with the Easter theme and I enjoy mixing my stamp sets. 


The sentiment "Happy Easter" was embossed in white and I cut a simple banner out of green stock to blend in with the green used on the stenciled grass. 


Thank you for stopping by today and I hope you are inspired too create a fun Easter card!
Have a wonderful day!


Monday, January 11, 2021

Ai Friends Are Never Far Away by Bri Firth

Hello Ai Fans - Bri here! Today I am sharing an interactive card featuring the Holiday Mansion stamp set, HM Garden stamp set, and EZ-Lights from Pear Blossom Press!  This card is also featured on my personal blog, check it out here


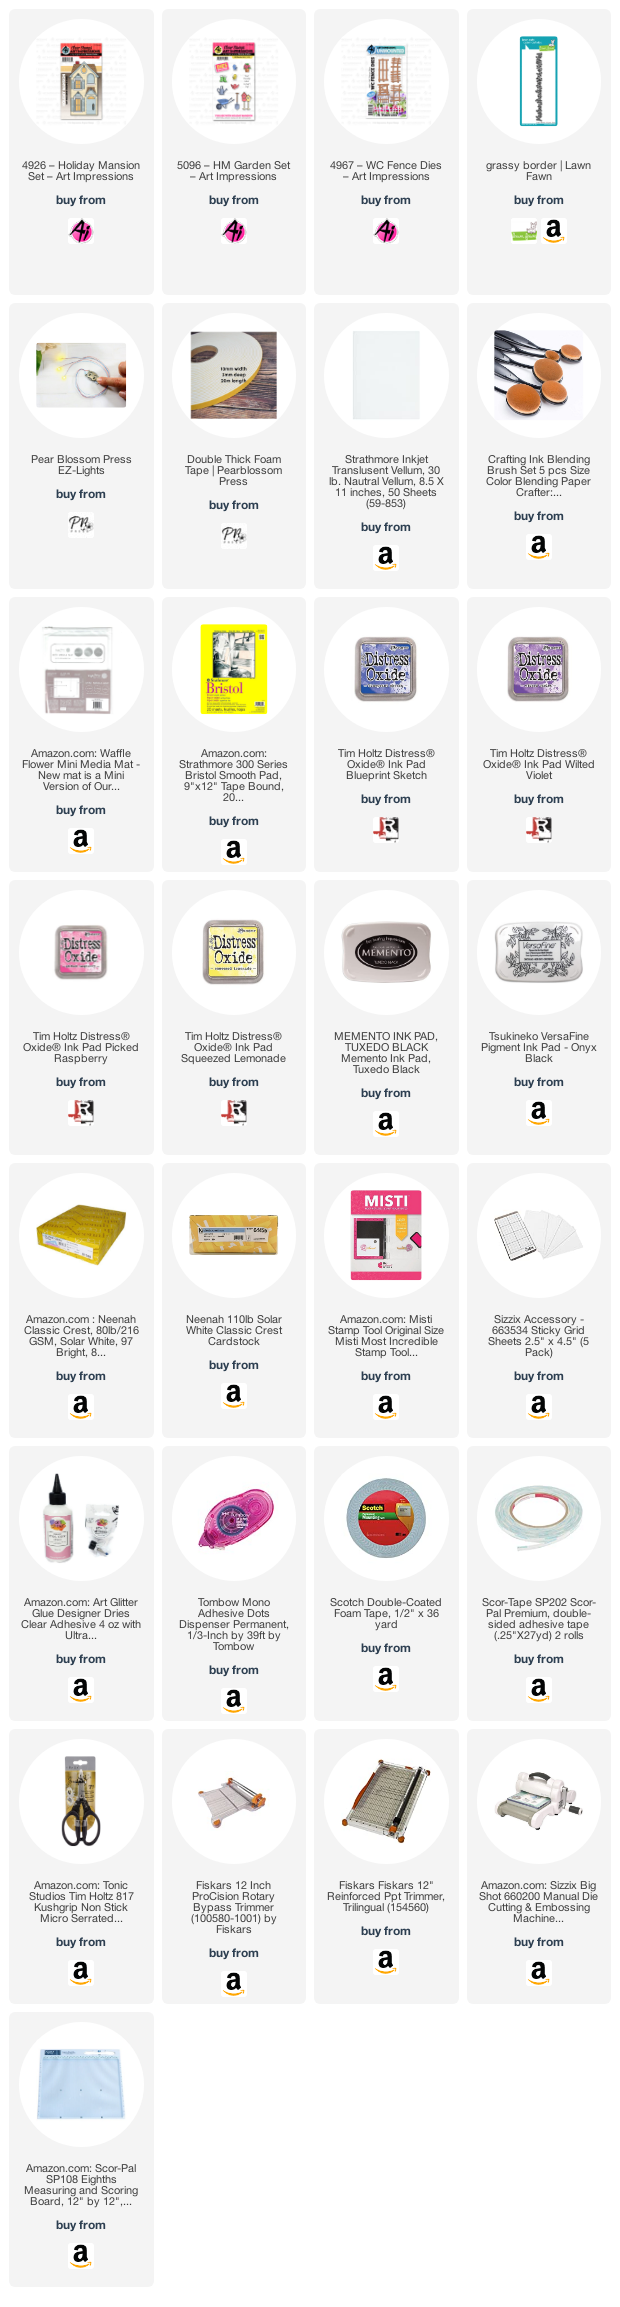
First I ink blended a rainbow sunset background using Blueprint Sketch, Wilted Violet, Picked Raspberry, and Squeezed Lemonade Distress Oxide inks. I used pigment black ink to stamp a sentiment on top of the sunset background. Next, I die cut the grass borders and the wooden fence and used them to create the outdoor scene. I used Copic markers to color the holiday mansion and the garden accessories. I used the V20's series to color the house. I used the steps below to make the windows illuminate. I finished the card by placing the garden accessories throughout the scene. 

How I create a light up card:
  • Color the image, use an X-Acto Knife (or dies) to cut out the areas on the image where you want the light to shine through (i.e. the house). 
  • Select your image placement on the card background (sunset background) and with a pencil trace the openings onto the card background. Now you know where to attach the lights!
  • Use glue dots, tear tape and Scotch tape to adhere the EZ-lights mechanism (battery holder and button, the wires, and the lights) to the card background. I attach the lights to the background so that the illuminated areas aren't so concentrated.
  • Add vellum to the back of the house to hide the lights and attach the image to the card background using double layered foam tape to account for the height of the battery and button mechanism.
  • Attach the house to the card base. 
  • For final touches add a "Push Here" button and now you have a light up card!

On the inside of the door openings stamped the sentiments onto distressed gray cardstock. I stamped the sentiment in the large door way opening and I stamped the "Push Here" sentiment inside the smaller doorway for the light up mechanism. 

Check back next week for more Ai inspiration made by me!

Ai Products Used:

Monday, January 4, 2021

Holiday Decor by Bri Firth

Hello Ai Fans - Bri here! Today I am sharing my first Ai creation for the new year! Now that the holidays are over, how long does it take for your family to take down the seasonal decorations? My card features the Holiday Mansion stamp set and the HM Accessory set. This holiday house is still rockin' its festive decor! This card is also featured on my personal blog, check it out here


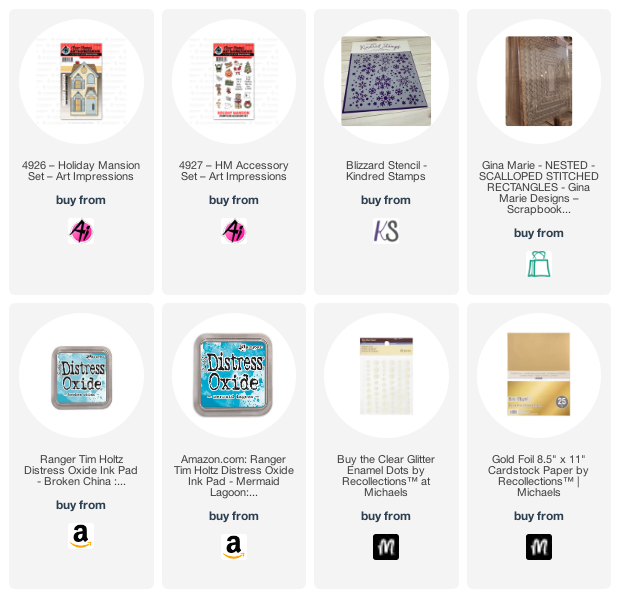
I used four layers to create the card background. For the top layer I die cut a stitched scalloped rectangle from a bright blue piece of solid cardstock. I used the Kindred Stamps Blizzard stencil with Mermaid Lagoon oxide ink to decorate the solid cardstock. For the second layer I used a retired striped stencil with Mermaid Lagoon and Broken Glass oxide inks. For the final two layers I matted the striped cardstock with gold foil cardstock and red cardstock. I wrapped the four layers together with satin red ribbon and then added a bow! 


This house is covered in holiday decor including the Santa and pile of gifts lawn ornaments, the bells, the wreath, and the Christmas tree in the window. When you open the front door it displays a hidden sentiment "A very merry Christmas from our home to yours!" The top door opens to show a hidden reindeer. 

I used my Copic Sketch alcohol markers to color the house and the holiday decor. The colors I used are listed at the bottom of this post. To finish the card I added glitter enamel dots for embellishment.

Check back next week for more Ai inspiration made by me!
Ai Products Used

Copic Markers I Used
C: C00, C1, C3, C5, C7
W: W0, W2
E: E40, E41, E42, E43, E44, E47, E51
R: R20, R21, R22, R24, R27, R29
YR: YR23, YR24, YR27
Y: Y21, Y23, Y26, Y28
YG: YG41, YG45
G: G00
BG: BG000, BG01, BG02, BG05

Tuesday, October 20, 2020

Holiday Mansion Pop Card by Jil Lebel


Hello Ai fans!

I used the Holiday Mansion Pop Card stamp  and die set along with the Pop Card Template for this interactive Halloween card.  I love this entire line of stamps because they are fun to open.  Remember, you need to get the Pop Card Template separate to make the Pop Cards work.
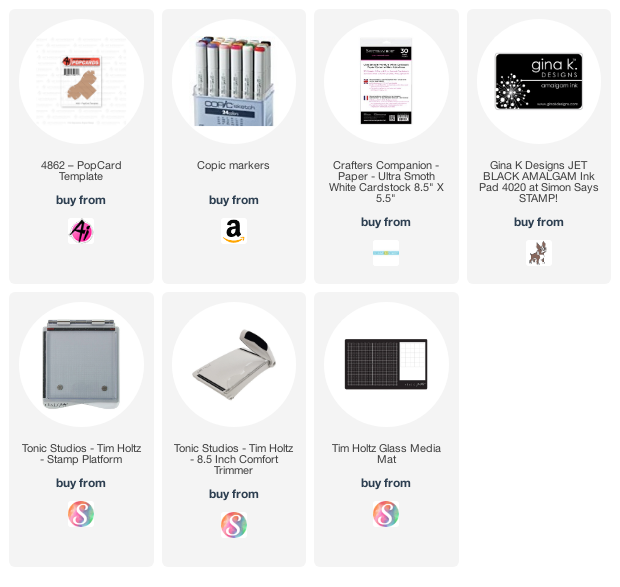
I started by stamping the images onto Spectrum Noir Ultra Smooth card stock with Gina K Black Amalgam ink and colored them with Copic markers.  The colors I used will be listed at the end of this post.  I then cut the images out with the matching dies that come in the set. I added Clear Wink of Stella to the ghosts. I cut the Pop Card Template from a piece of clear acetate.  Its way easier to use than paper when assembling the haunted house. I added the three pieces of the haunted house to the template following the directions on the package.  
I added a layer of Martha Stewart paper to the front of the card and cut it out with the center of the decorative frame dies from Crafters companion.  I used the same dies to cut a frame from black paper. I then attached the frame over the opening.  I also added some stamped images tot he front of the card.  I then followed the direction on the holiday mansion to attach the pop card to the inside of the card. 
Copic Colors Used:
House- CO, C1, C3, C5, C7
Windows - C7
Witch Skin - E11, E00, E000
Witch Hair - Y15, Y18
Ghost - C1
Pumpkins - Y11, YR02, Y17, YR07, E15
Cat - C3, C5, C7, R81
Green - YG67, YG61, YG03
Purple - V04, V06, V09

Thanks for stopping by and Have a Great Day!

Monday, August 3, 2020

Whimsical HM Garden by Bri Firth

Hi everyone! I'm excited to share my very first creation as a member of the Art Impressions design team. A little while ago Art Impressions shared sneak peaks of some of our challenge creations on Instagram, I wanted to share this card as my first blog post so I can provide some extra details on how I created it. This beautiful card features the Holiday Mansion Set and the HM Garden Set. This card is also featured on the my personal blog today, check it out here!
First, I cut the card base to 5 1/2" x 8 1/2". The side step portion of the card is 2" wide and the center fold of the card is scored at 4 1/4". For more details on how to make a side step card check out this tutorial from All That Scraps Blog here.
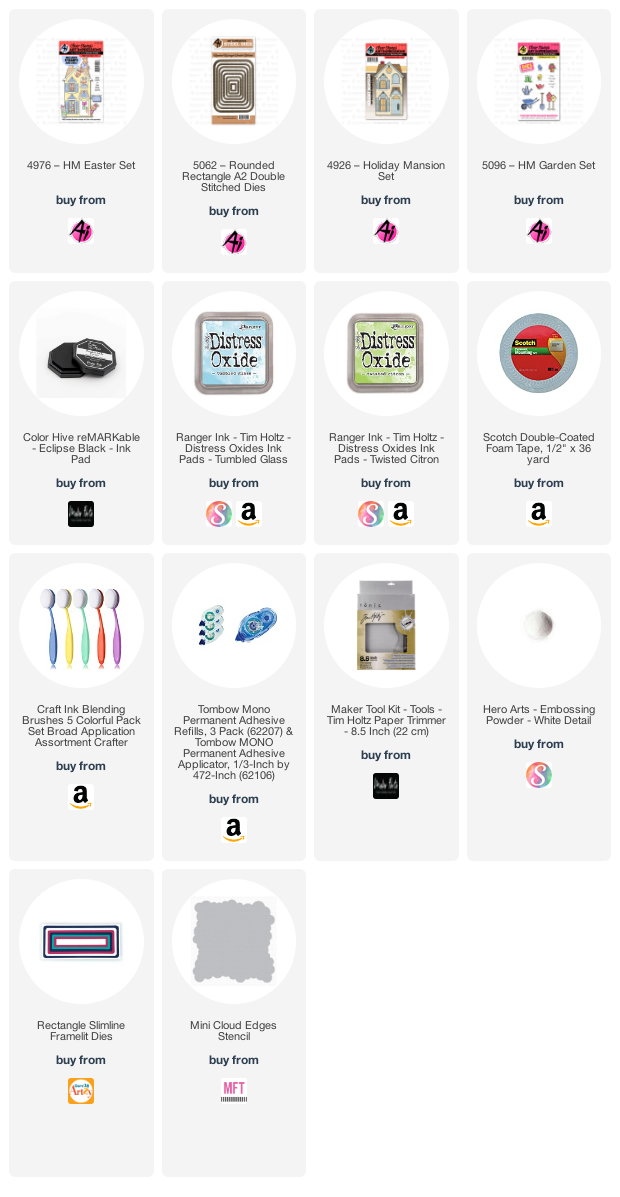
To create the sky I ink blended some clouds with the Cloud Stencil and Tumbled Glass Distress Oxide ink. To create the ground I die cut two pieces of grassy borders from solid green cardstock. I also used my Copic Sketch E80's series markers to create the ground and the dirt in the garden. I used the WC Fence dies to create the garden area. 

I stamped the Holiday Mansion and HM Garden images with Memento Tuxedo black ink and colored them with my Copic sketch markers. I used the BG10's series to color the house. I colored the rest of the images in pinks, purples, and yellows to contrast from the teal.
I stamped the "Your friendship makes my heart sing!" sentiment inside the door flap. I adhered the birds and garden decor throughout the house and garden and add extra pops of color. The side step card design worked perfectly for this HM Garden card! The garden layout looks great even when the card is laying flat!
Check back next week for more Ai inspiration made by me!

Monday, January 20, 2020

Valentine Wishes by Carol Hintermeier

Happy Monday Ai fans!  Today I have a fun Valentine's card using the Holiday Mansion set and the HM Valentine set.  These are so fun and easy to create.  Love is in the air and all around this house!


As usual, I stamped the images from both set in Copic safe ink and colored with the markers listed below.  For the house, I used a brick stencil, a tiny ink blending brush and Worn Lipstick Distress Ink.  I just used pieces of Post-it Tape to mask off the areas I didn't want stenciled.  Next, I fussy cut the house out.  I used the coordinating dies to cut out the other images.


For the background of the card, first I used a cloud stencil, an ink blending brush and Spun Sugar Distress Ink.  Then, keeping the cloud stencil in place, I placed a heart stencil over it and inked some Worn Lipstick Distress ink over that.  I repeated those steps for each cloud layer.  I used a grass stencil and Mowed Lawn Distress ink at the bottom.  I glued this layer to a top-folding A2 card base.


I adhered the bear, flower pot, sign, and weather vane to the house.  Then I added foam tape strips to the back of the house and applied a scrap piece of white card stock so that the clouds won't show through the house openings.  Next, adhere the piece to the background.  I arranged the other pieces and attached them with either liquid glue or foam squares.

I stamped the sentiment onto red card stock with Versamark ink, added white embossing powder and heat set it.  I used a Flag Double Stitched die to cut it out.  To make the flag die fit the sentiment better, I did some partial die cutting as shown in this next photo.  I popped it up onto the card with foam squares.


For the finishing touches (because I just think Valentine cards can be all about the sparkle and shine) I added sparkle with a clear glitter pen and some shine with Diamond Glaze.  Before adding the Glaze, I used a white gel pen to add accents on the hearts.


Thank you so much for stopping by!  Have a wonderful, crafty week!


Copic markers:
C3, C2, C0, E39, E25, E23, 
R39, R37, R35, RV25, RV23, RV21, RV13,
T5, T3, T2, T0, YG25, YG03

Friday, January 17, 2020

Valentine House with Holiday Mansion | By Jessica Shier

Hey everyone!

It's Jessica! Today I have a super cute little Valentine's Day house to share with you using two stamp sets. The first one is the main image with the Holiday Mansion and the second is an accessories set, HM Valentine.


For the coloring of the house and details, I used Copic markers. I wanted a mint green mixed with a light pink, coral, light brown with gold and dark brown accents. I have the colors I used listed below. I decided to mix up the background with some watercolors. For that I used a few Tombow Dual brush pen markers. I wanted something bright, flowy and happy and these bright blue colors made it super easy. I used a piece of Ranger Watercolor paper that is trimmed to an A2 panel (4 1/4in x 5 1/2in). I scribbled each blue color on the paper. Using the lighter on top and the darker towards the bottom. Then spritzed with a sprayer filled with clean water. Then simply dried the mixed ink with a heat gun. I was quick and didn't let the markers sit on the paper. Though I've had great luck using these pens straight to the paper without issue, I also don't want to let the ink sit on the paper while I go do walk the dog or something.   

Tombow Dual Brush Markers:
452
493

Here are the Copic Markers I used:
R14, R02
R83, RV11
643, 640, YG41, YG61
W3, W1
E31, E81
E35, E13
Y35, Y15


There are several other accessory sets for the Holiday Mansion with different holidays and themes. Here are a few more examples the Design Team has done in the past.  I like the fact that they come with the coordinating dies to easily make the doors open and cut out all of the accessory items. I did however fussy cut the house out. There is no die for it but it is really easy to trim out using your favorite fussy cutting scissors. 

I adhered the background and house to a Neenah Solar White 110lb card base and started placing my decorative items. The house looks great with our with out shutters. I like to add a bit of vellum and colored card stock behind the windows. You could also add one of the accessory items like the potted hearts or a waving critter behind those windows too. I decided to just add a warm light yellow and tuck the bears behind the to doors that are scored and cut to open. 


For the inside I colored and die cut a second heart banner (I stamped and cut it along with everything else, so it was pre planned) and stamped the sentiment that comes with the Holiday Mansion set. I made a frame by layering a dark brown cardstock underneath and added my second banner of hearts. I like the sentiment used with the Valentine's theme. It is something simple and easy to send to a friend, especially those crafty friends but still has a cute holiday theme. 


Alright that is it for me today everyone! Thank you so much for joining me today. Happy stamping.