Hello, Ai Fans! Happy June! It's the first of the month, and also the first Saturday - time for a lovely roundup of projects! Today our team is here to feature bicycles and sunny scenes in their creations! Let's take a look.
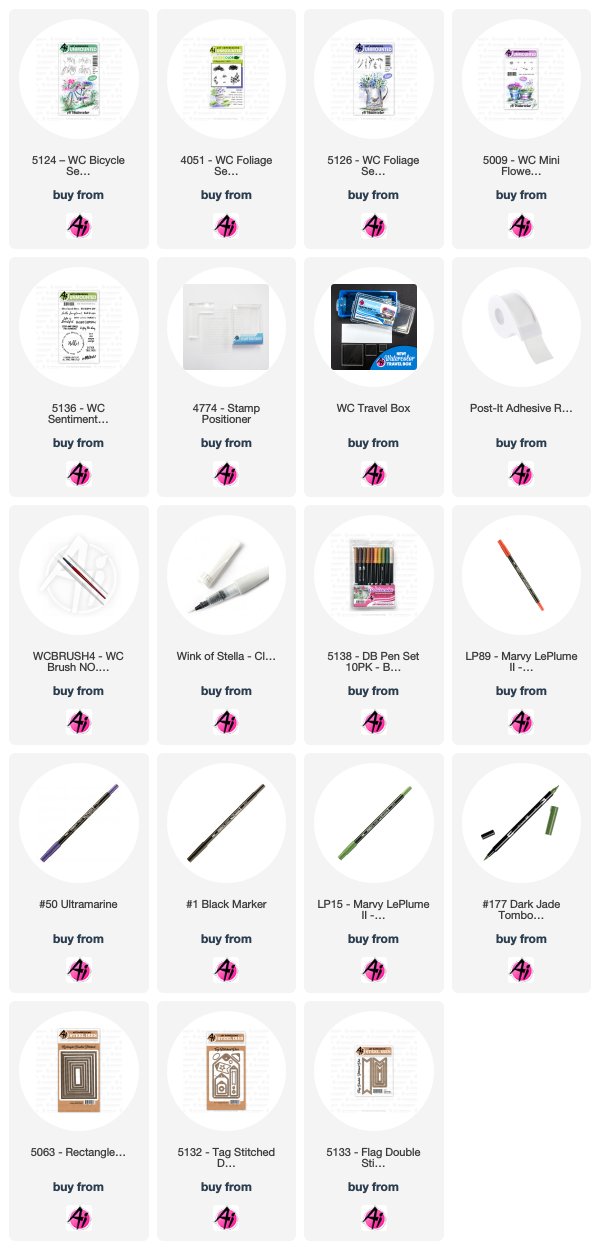
I'm pretty certain my love for anything patriotic started in 1976 in my hometown of Canon City, Colorado when our town celebrated the bicentennial year in a big way! I just put out my red, white and blue decorations in my house and that influenced this idea for my card for the Art Impression's Watercolor Weekend. I stamped the bike from the 5124 - WC Bicycle Set three times using both brown 969 and 86 African violet and a mask made of post-it paper. Next, I pulled the colors out of the lines on each bike then watercolored the red and blue bikes from the palette using NO. 89 persimmon and NO. 50 ultramarine. I stamped flowers from the 5009 - WC Mini Flower Set to fill the baskets using the same colors as the bikes. The foliage for the baskets and on the ground was from the 5126 - WC Foliage Set 4 and from the 4051 -WC Foliage Set 1 stamped in three greens - NO. 15 olive green and 177. I used NO. 1 black to watercolor the bike tires. I used African violet to watercolor the shadows under the bikes. I used a fine tip Copic marker to draw the flag and colored in the red and blue from the palette. The sky was watercolored using NO. 50 ultramarine. I cut out the picture and a background blue piece using the 5063 - Double Stitched Rectangle Dies and adhered it to my card base. I cut out a frame from red paper. I stamped the sentiment from the 5136 - WC Sentiment Set 2 and then cut it out with a die from the 5132 - Tag Stitched Dies Set. I used a flag die from 5133 - Stitched Flag Set to cut out the red and blue tags that I adhered to the back of the sentiment using a glue dot. I made the bow for the tag and then used foam to adhere it to to the front of my card. I used a Wink of Stella pen to add some glitter to all of the flowers. The last thing I did was sign and date it.
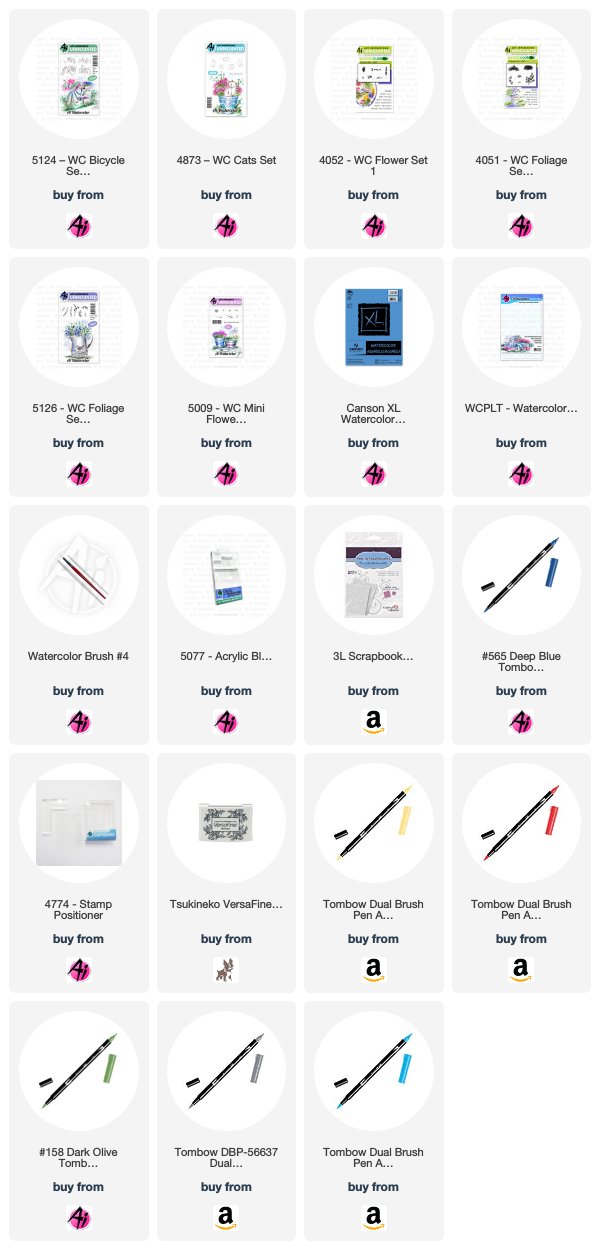
It's my first time painting the new-for-2019 #5124 WC Bicycle Set and I've paired it with the #4873 WC Cats Set. I began by colouring the bicycle with my #N65 Cool Grey Tombow Marker, and stamping it onto my watercolour paper. I pulled out the colour with a damp #4 brush, leaving more colour where the shadows fall. I was careful not to colour a portion of the rear tire, leaving a space to stamp my cat with the help of my stamp positioner (also in #N65.) Using the trailing vines from the #5126 WC Foliage Set 4 and my #158 Dark Olive marker, I stamped them several times in the bike's basket without reinking. With the floral cluster from the #4052 Flower Set, I stamped multiples with #565 Deep Blue in the basket and around the wheels. From the #5009 WC Mini Flower Set, I used the cluster of tiny flowers, and stamped them into the 2nd basket, using #158 & #565. Also from the Mini Flower Set, I used the dot cluster in #991 Light Ochre, filling in the basket and around the tires. I used the tiny foliage stamp with #158 to fill in some greenery, and then used #856 Chinese Red/#158 to add the tall flowers to the basket. With a damp brush, I dabbed the flowers & greenery, not wanting to lose the definition of the images. Using the two longer grasses from Foliage Set 4, and the small grass from the #4051 Foliage Set, I added grasses around the tires & cat, and then pulled out the colour with my paintbrush to add a green wash on the ground. Taking #565 from my palette, I painted in the sky and added shadows to the bike, ground and cat. I wanted just a touch of colour on the bicycle, so I picked up #515 Light Blue off of my palette and added it to the metal parts. I used #850 Flesh to add colour directly to the cat's ears. I die cut my image with a Wonky stitched square die, matted it with dark blue cardstock and adhered it to my base with pop dots. The final card is 5 3/4" square.
Hi Ai Fans, welcome back to another Watercolor Weekend! This weekend I decided to create this card using only 2 stamps sets, the Palm Tree Set and the WC Sentiments set. It reminded me of my recent vacation to Aruba. I call this card “Palm tree kindness”.
Project Details
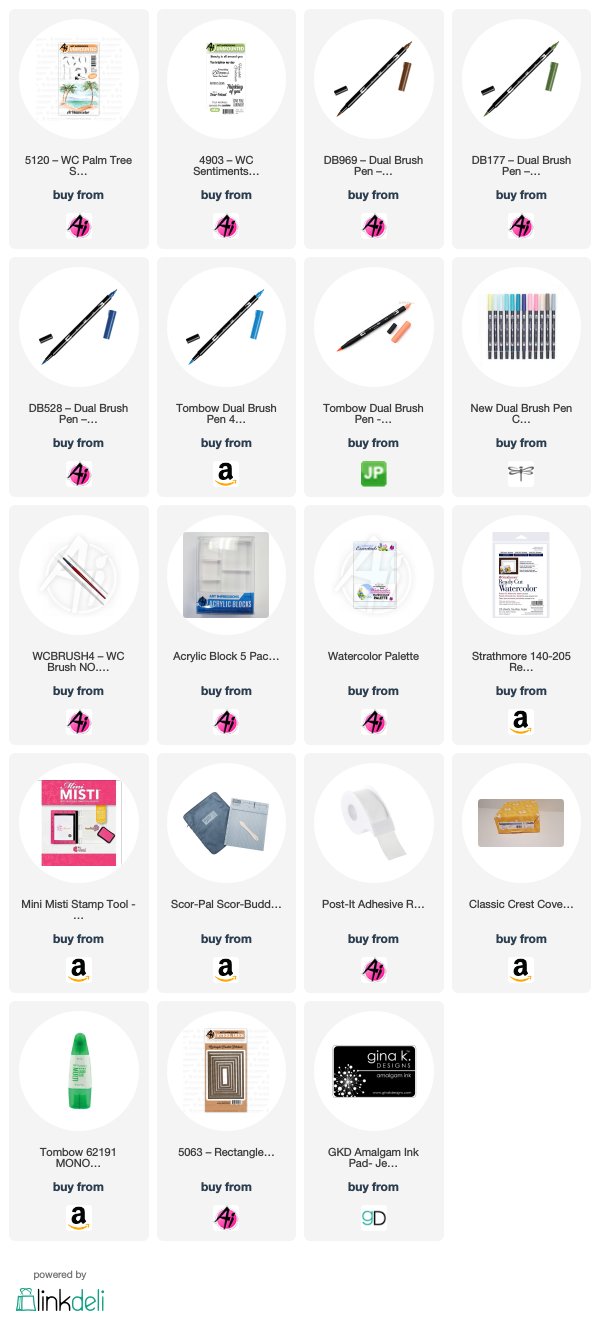
Step 1: I inked up the large palm tree with 969 – Chocolate and stamped it to the left side of the card. I re-positioned it to be curved to the opposite way, re-inked it with the 969 and stamped it on the right side.
Step 2: Then, I inked the small palm tree up with the 969 and stamped it to the left of the large palm tree on the left. I re-inked it and stamped it a little higher between the two palm trees. Taking my damp paintbrush and pulled color from the right side of each of the palm trees. I made sure to pull a little bit of color out of the bottom of the trees.
Step 3: Next I inked up the large palm tree leaves (left facing) with 177 -Dark Jade and stamped it several times to the top left of the large palm trees. I then inked up the large palm tree leaves (right facing) with 177 and stamped it to the right side of the large palm trees. I added water to the palms.
Step 4: Using the smallest palm leaves, I inked each side up and stamped it on either side of the smaller palm trees. I added a small amount of water to them.
Step 5: Using my palette, I added 873 – Coral and 969 around the trees making sure to leave white space for the sand.
Step 6: Again, using my palette, I added some 476 – Cyan to the bottom third of the card for the water. I started with it really watered down and then continued to build the color up slowly, using brush strokes to make wavy lines leaving white space (for white caps) and bringing the color to the sand.
Step 7: I added 528 – Navy Blue to my palette and watered it down. I jumped it around to create a sky. I slowly built the color up.
Card Details
I cut the piece down to 5.25 x 4. I placed it in my MISTI and inked the sentiment with Gina K Designs Amalgam Black Ink. I stamped it in the top right corner.
To create the frame, I traced around a large rectangle die and another smaller die to give me a guideline. I drew in some sporadic lines using 969 making sure to go outside of the guidelines. I used water to pull the color out of the lines to resemble wood. Once it was dry, I ran it through my machine using the large die. I then placed the smaller die down and ran it through my die cut machine. This created a frame that I glued in place with liquid adhesive.
I added the piece to a white 5.5 x 4.25 note card using a liquid adhesive.
This is a really easy card to create with very minimal supplies. I hope you will give it a try. Make sure to tag us on Instagram with #AIWatercolor and (@artimpressions, @dotjiris & @tobin0971). We would love to see what you create.
I hope you take some time for yourself and watercolor. Thank you for stopping by, I really am blessed by all the social media love and the incredibly supportive crafting community!
Thank you for the beautiful projects, team! These bicycles are just gorgeous with overflowing flowers and we love the ocean scene, too!
We hope we inspired you to break out your watercolor stamps this weekend!
Happy Stamping!


No comments:
Post a Comment