Hello Ai fans!
It's time for a new challenge!
But...as always...we need to tell you who will be receiving a new stamp set.
We always award a Top Spot and a Lucky Random Winner.
For our last challenge, "Let's Celebrate," we selected Reetta H. for our Top Spot.
She used 4998 – Office Party Set.
Please contact Leah at Feedback@artimpressions.com
to claim a free stamp set of your choice!
Also, be sure to grab our badge to display on your blog, Facebook or Instagram!
Now for our Lucky, Lucky Random Winner!
Vicki Gray is our winner!
to claim a free stamp set of your choice!
Also, be sure to grab our badge to display on your blog, Facebook or Instagram!
Now that we've announced our winners from the last challenge, let's check out what Janet has made for our new challenge!
-----------------------------------------------------------------------------------------------------------------------
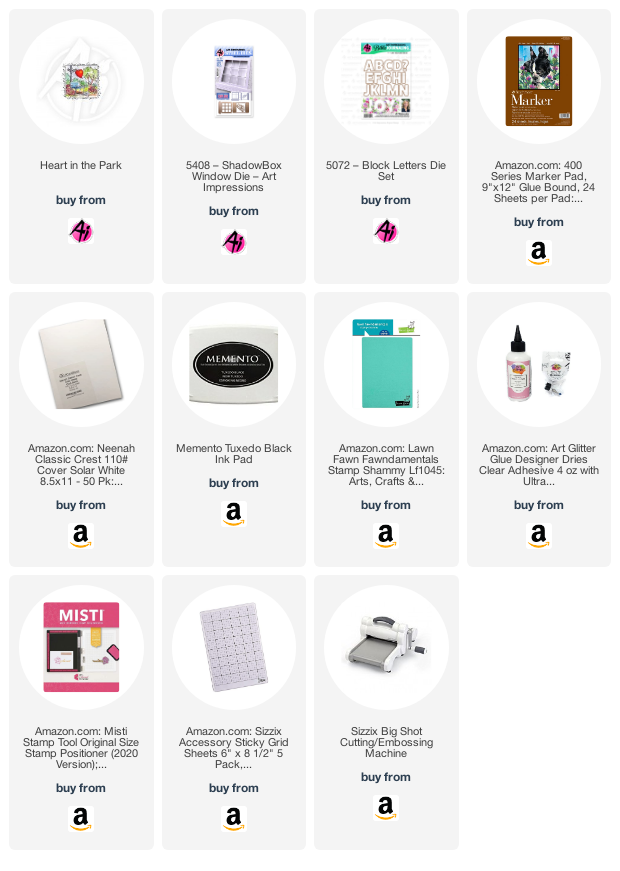
Hello Ai Fans! It's Janet and I'm here today to kick off our latest challenge - Windows To The World. This is both easy and hard. Easy because there's so many great Window To The World stamps to choose from and hard because there's so many to choose from! Ultimately I selected one of my favorites, M3310-Heart in the Park
To begin, I made a white A2 card base by folding an 8 1/2 x 5 1/2" piece of white cardstock in half. I cut a panel of patterned paper to 4" x 5 1/4." Then I used the square die in the 5408-ShadowBox Window Die Set and cut it out of the patterned paper. I place the cut patterned paper on the white card front and traced the open square on the white cardstock. Then I removed the patterned paper and cut out the window in the card base, being careful to secure the die so that the square was perfectly placed. I glued the patterned paper on the card front to create a perfect window in the card. You could save some time and cut the patterned paper and white cardstock out all at once but I prefer this method to avoid indenting the card with the edges of the die. In this case that doesn't matter that much because I cover up the edges of the window.
One of the fun things to do with the Windows To The World stamps is to pair them with the 5408-ShadowBox Window Die Set. It cuts a window frame and a window sill. For this I chose a white woodgrain cardstock for a clean look. After cutting, I glued the pieces in place. This not only creates a perfect setting for the stamped image but finishes the raw edges of the cut square.
A great feature of the ShadowBox Die Set is that it includes a mechanism that will create a reverse pop-up element for the stamped image. When it's attached behind the window, it gives dimension by appearing to be a more realistic view into the window for the scene. I folded it as shown and set it aside to work on the stamped image which will be attached.
Next, I stamped the image and cut it out with the included die in the WindowBox Die Set.
I colored this fun stamp with the Copic markers shown here. Additionally, I used V17, V15, V12 and V01 on the park bench. These are little scenes but are full of wonderful details.
I glued the finished image to the Pop-Up mechanism and attached to the inside of the card as show. Be sure you test the placement to confirm you can fold the mechanism flat for mailing but that it will also pop back up when the card is opened.
I wanted to make this a Valentine so I used dies from 5072-Block Letters Die Set to cut the word Love out of chipboard. I cut the letters again out of matching paper from the same pack as the patterned paper on the card front. I glued the paper to the chipboard to make thicker letters with more substance.
I cut out and attached a wide lacy border and glued it to the bottom of the card. I placed the letters on top. Finally I added a few heart shaped enamels for accents.
Thanks for joining me today. I hope you enjoyed my project and that you have been inspired to enter our Windows To The World challenge!
Janet - YouTube - Blog - Facebook - Instagram - Pinterest
Thank you Janet for this wonderful tutorial and beautiful card. You never disappoint!
If you'd like to join in our challenge be sure to link your project below...
You are invited to the Inlinkz link party!


No comments:
Post a Comment