Hello Ai fans!
It's a Watercolor Weekend here on the blog and we hope some of you are stopping over to see our fabulous Design Team's work in between all of the fun Live Videos today on the Art Impressions FB page. Bonnie, Kim and Kendra are live all day with tutorials and giveaways to go along with the virtual Warehouse Sale!

 Click these photos to be taken to the sale and our Facebook page for all the fun!
We hope you can join us for all the amazing deals and some fun tutorials and prizes!
Now, let's see what the Watercolor Design Team has for us this week.
First up we have Karen.
Hello Ai Watercolour fans!
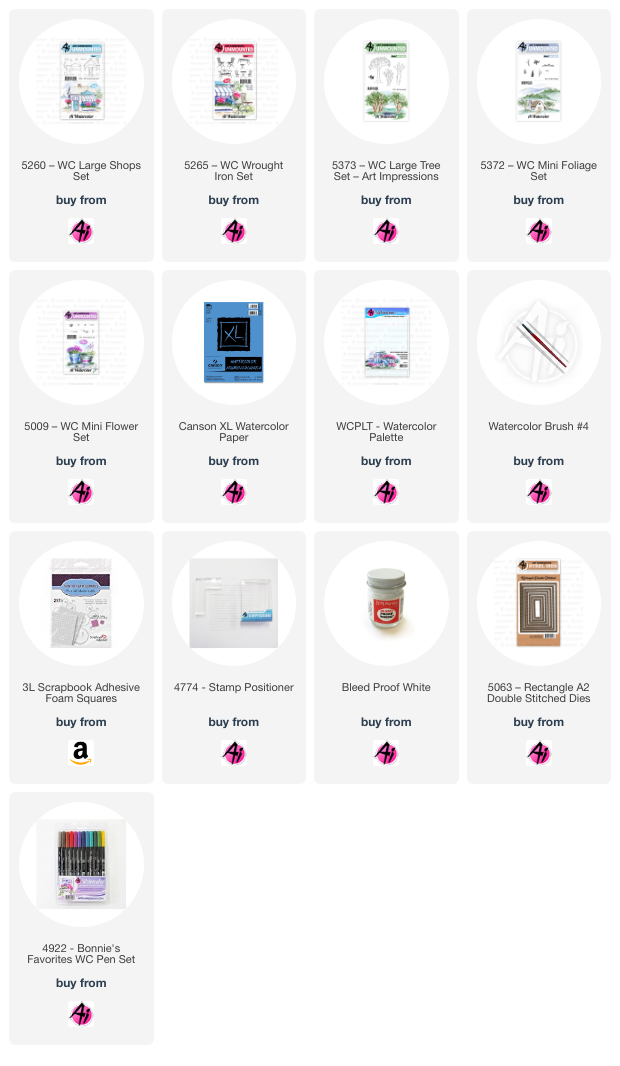
I decided to paint a little Cafe scene this week. This is the 5260 - WC Large ShopsSet:

I coloured my Shop with Tombows #969/565 and stamped it onto my Canson XL Watercolour Paper. To set up my scene, I masked the edge of the building, and stamped the tree trunks from 5373 - WC Large Tree Set in #969, and added the foliage to it using the leafy stamp from 5372 - WC Mini Foliage in #177/126 - I like using two colours to make the leaves look more realistic. I used a damp brush to soften the foliage, and painted in the trunks in #947 and 969, and added the same two colours to the door. I used #526 for the building, and #993 on the roof, with a few streaks of #947 to suggest the shingles. For the flower boxes, I used the two tiny florals in 5009 - WC Mini Flower Set, with #933 and #885, then tucked in the tiny foliage from the set in #126 around the flowers - everything was touched with a damp brush. The awning was painted a paler shade of #526, and I added stripes in the Bleed-proof white paint. The sign also had touches of #947 streaked on it to add a rustic look.

I sketched in the patio and walkway stones, then painted them in with #N55. The tiny grass stamp from 5372 - WC Mini Foliage was used to add grass in #126 around the building, and then the colour was used to add a green wash as the grass. #493 was washed in as the sky. The Espresso sign and the table and chairs from 5265 - WC Wrought Iron Set were stamped in using #N55. The image was cut out with one of the 5063 - Stitched A2 Rectangle Dies, then mounted onto the card base with 3D foam adhesive.


Next is Diane's card and tag.
Welcome Ai Watercolor Weekend fans, it’s Christmas in July! The temperature here today in the San Francisco East Bay area is in the high 90s and may even break 100! Not exactly Christmas weather, but it is the perfect time to get started on some Christmas cards and projects. For this card I’ll be using Art Impressions watercolor sets: 5472 – Christmas Wreath, 5573 – Church and Ornament Set, and 5574 – Door and Stockings Set. To keep this card bright, cheery, and Christmas-y, I chose a color palette of reds, blues, and greens.
I wanted to create an overall, random background pattern for my tag using multiple stamps. I drew a pencil line onto my Canson XL watercolor paper, tracing around the outside of the largest tag die from 5132 – Tag Stitched Die to set the stage. Next, I selected multiple stamps including a stocking, ornaments, bow, greenery, berries, and pinecones. I stamped the stockings first and then the ornaments. After that, I filled in the remaining spaces with greenery and pinecones. It’s a good idea to stamp some of the images overlapping the pencil lines to make it look like a repeating pattern. Stockings, bows, and ornaments were all inked with 969/565. The greenery was inked in 249 and 177. The pinecones were inked in 969.
With the scene now complete, I used a damp brush and pulled out the stamped lines of the images to create shadows and contours. Before adding any color to the images, I brushed in drop shadows with a watery 565 to the right and down along the stamped images to create depth. I inked just three of the red berries on the berry stamp in 856 and used my positioner to stamp them into place. In planning my color placement, I made sure to randomize the use of colors. I tried my best to not paint items of the same color next to each other. For the stockings I used the following colors: red stocking – 856 and 847, blue stocking – 565, and green stocking – 249. For the ornaments I used 177, 526, and 856. I used 856 for the bows. For the patterns on the stockings and ornaments, I chose different patterns for each. (If you need inspiration for pattern ideas, try searching Google images.) For all of the white accents, I used Dr. Ph. Martin’s Bleed Proof White. For the ornament caps, I painted them gold (903 – Yellow Gold, Kuretake Gansai Tambi Starry Watercolors). Details were added back where needed with a brown or gray Twintone.
I die cut the tag, using the pencil lines as a guide. To create a mat, I drew a pencil line around the outside of the tag die onto a piece of red cardstock and cut out with scissors. Next I assembled the tag, adhering the painting to the mat and adding a red circle reinforcement. I heat embossed “Merry Christmas” onto a strip of red cardstock and die cut with a banner die. The sentiment was then popped up with foam and adhered near the bottom of the tag. I tied a bow with some sparkly gold ribbon and attached with a glue dot. The completed tag was then popped up with foam squares onto a red card base that I matted with embossed white snowflake paper.
For the interior of the card, I inked some greenery and berries in opposing corners. As a little bonus, I created a smaller tag using the same techniques as the tag on the front of the card.
Thank you for joining us for another Watercolor Weekend (and Merry Christmas!), until next time – Happy Painting

And now Tricia's card.
Hey watercolor fans, I have something a little different today. I took some stills of my painting as it appeared.
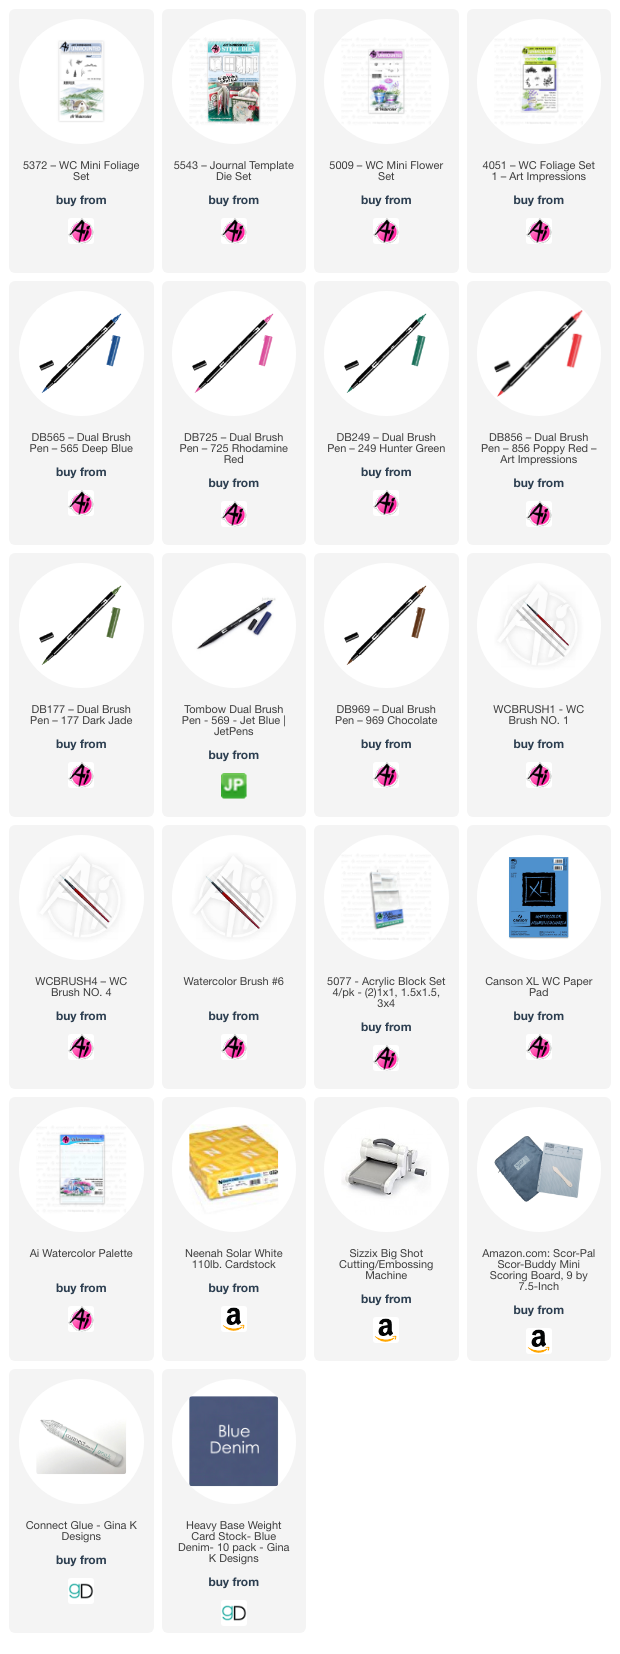
First, I inked up the New Wooden Cabin foundation stamp with 969. I also added some 569 to the chimney and tree, other areas where I wanted to pull different colors in. I stamped it down and pulled the color out of the lines. I added some additional color around the rocks.
I added some bushes and grasses. I also added some flowers behind the rocks using a bit of masking to protect the rocks. I started layering my shadows.
Next, I pulled the color out of the lines and added some additional foliage to the tree.
Once that was done, I continued to add color to complete the scene. I used the foliage from the mini foliage set for the tree.
Next, I deepened the shadows and added additional color and details. Lastly, I signed and dated
Once the painting was done, I cut it out with the die from the Journal Die set. I mounted it onto some Denim Cardstock from Gina K Designs. I added that to a card base. This was a great project to just let unfold in front of you. I wasn’t sure how it was going to turn out, but I am quite happy with the end result.
Thanks for joining us and I hope you will share all of your projects with us. Have a crafty day!


Happy crafting everyone and we hope you enjoy the Warehouse Sale.


2 comments:
Beautiful creations, Designers!! I love Watercolor Saturday when we get to see your amazing pieces of art!
Loved the Warehouse Sale!!! Loved all the excellent creations from the artists!!! Learned lots from all the tutorials!!! It was amazing experience!!! Thank you for it all!!!
Post a Comment