

Hello and welcome, Watercolor Weekend Fans!

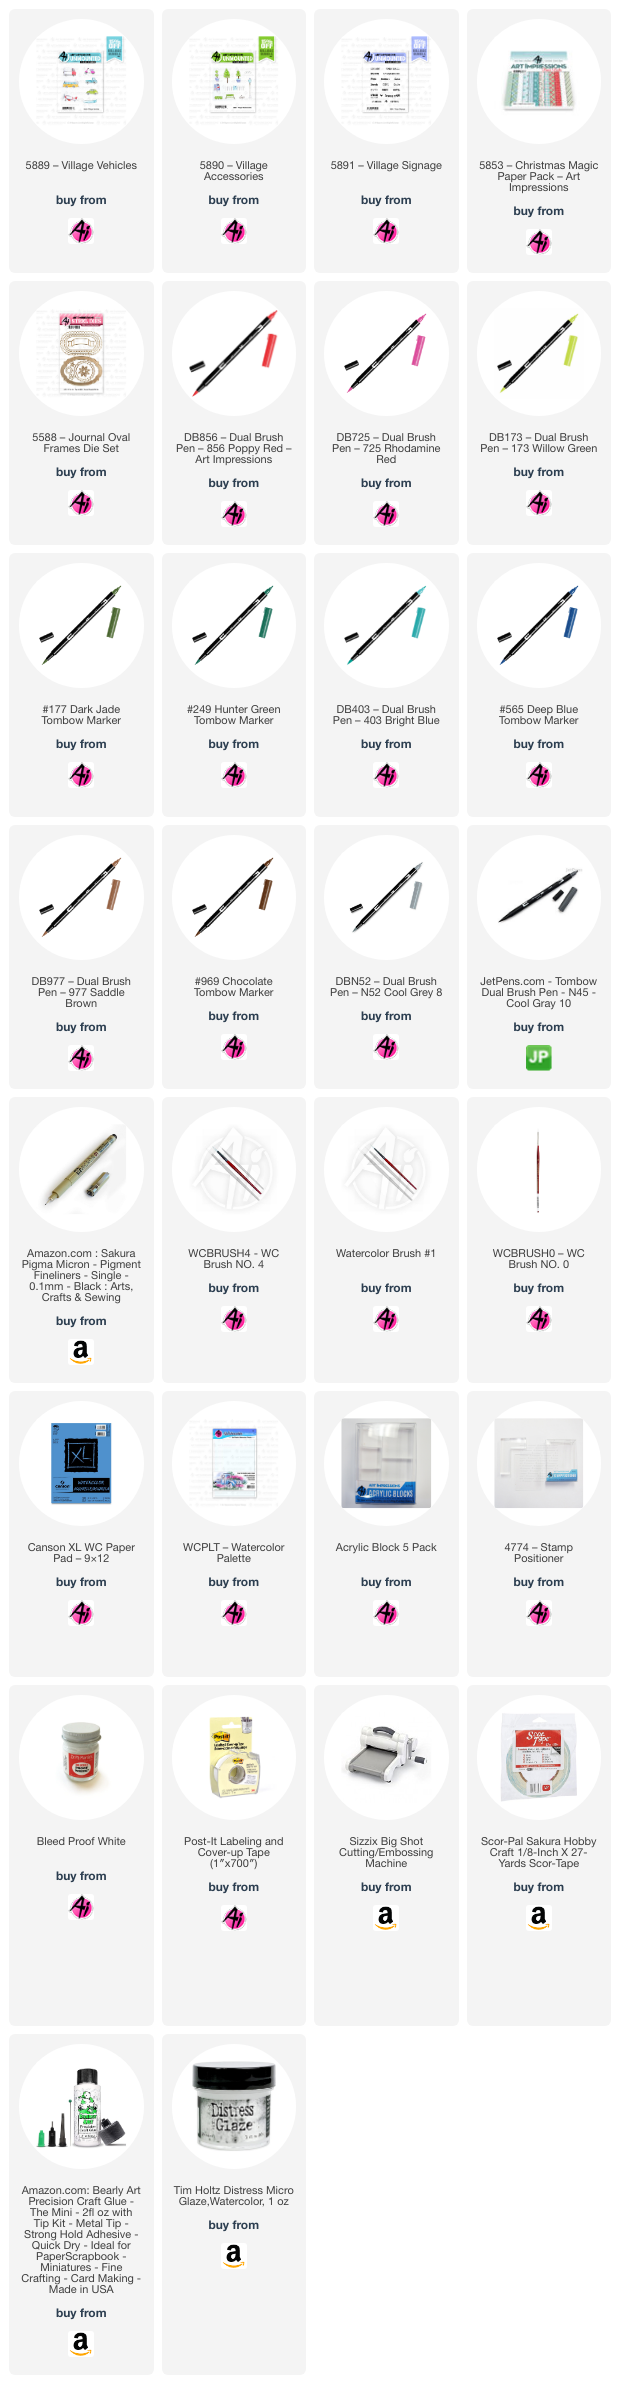
Today I will be sharing a card and a fun mini notebook with you! The card is featuring the new Girlfriends Gardening Set – 5798. This new set has so many cute images and sentiments to create adorable cards and journals. The mini notebook features stamps from the new Freebies Village collection and the add-on sets. With a $30 or more purchase at artimpressions.com, you can select one Freebie stamp with your order. The three add-on sets include signage, accessories, and vehicles to enhance your scene. Let’s get started!

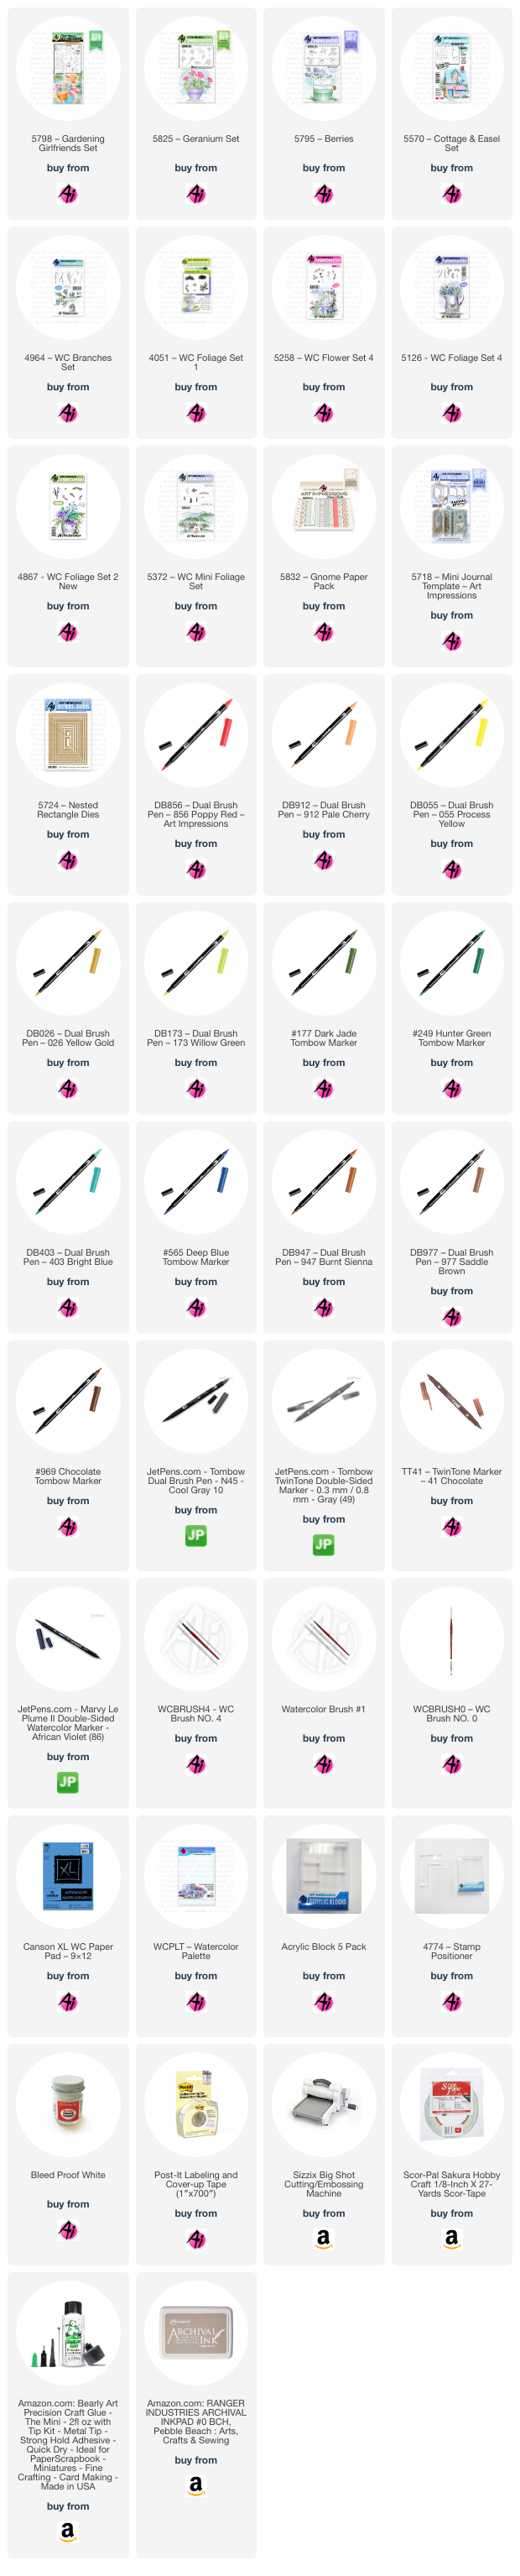
For stamping this image, I decided to try something new. Normally I would ink my stamp with 565 and 969, or I might use Versafine Onyx Black ink. I was concerned that some of the detailed lines of the stamp might get blended out using 565/969 and black ink seemed too harsh since I would be adding watercolor stamped images to the pots. I also wanted something that would look nice with the skin tones of the face, hands, and legs. So I inked my stamp with Ranger Archival Ink - Pebble Beach. This ink is waterproof, so it plays nice with watercolor. I would describe the ink color as light brown with a slight green undertone. To begin, I traced the inside of my rectangle die from 5724 – Nested Rectangle Dies with a pencil to define the boundaries of the painting. Using a MISTI stamp platform, I inked the Girlfriend stamp with Pebble Beach and stamped it onto Canson XL watercolor paper. I left room for the easel stamp from 5570 – Cottage & Easel Set (this gets stamped later). Since I didn’t use 565/969 to ink the stamps, I didn’t have any color to pull out of the lines for shading. So I mixed some 565 and 969 on my palette and used that to add shadows and dimension.

I used 912 to paint the Girlfriend’s face, hands/arm, and legs. For her cheeks, I mixed a little 856 with the 912. I painted her hair with 026 and shaded with 969. The lips, shirt, shoes, and hat band were all painted with 856. For her denim overalls, I used a No. 86 African Violet Marvy Le Plume II marker. I could have used 565, but sometimes I feel it looks too purple-ish. I used 947 for the clay pot. For the white tote bag/basket, I shaded the sides with 565 and painted in stripes with 403 and 177. Next, I brushed in the sky with a watery mix of 403, before adding any plants to the containers. For the flowers in the clay pot, I used the leaves and geraniums from 5825 – Geranium Set. I masked the hat so the plant would appear to be behind the hat. The leaves and stems were inked in 249 and the flower petals in 856. I added a touch of 173 to highlight the leaves. For the white striped container, I wanted the plants to look like bunches of herbs – basil, dill, and oregano. I masked the edge of the pot and the arm. For the basil leaves I used the leaves from 5795 – Berries set and inked them in 177. 173 was added for highlights. I then masked the basil leaves and stamped in some oregano using the squiggly tree leaves stamp from 5372 – WC Mini Foliage Set in 249. For the dill, I used the stem stamp from 5258 – WC Flower Set 4 inked in 249 and added tiny yellow dots (055) to the ends to resemble yellow seed heads. With the mask still in place on the basil leaves, I stamped the easel from 5570 with Pebble Beach ink. The wooden parts of the easel were painted with a combination of 977 and shaded with 969. I used 026 for the finial. I painted the sign with N45 to make it look like a chalkboard. I penciled in the writing and decorations and painted the details with Dr. Ph. Martin’s Bleed Proof White and a #0 brush.
I brushed in a grassy area with a watery mix of 177. Once dry, I stamped in some tiny grass from 4051 – WC Foliage Set 1 and vines from 5126 - WC Foliage Set 4 in 177. I stamped some branches in the top corners in 969/177 from 4964 – WC Branches Set and added leaves in 177 using the leafy vine from 4867 - WC Foliage Set 2. I then added red flowers to the branches, inking just two of the flower heads from 5258 in 856. To finish off the painting, I added dots of Bleed Proof White to the flower centers and the grassy area. I also added a shadow line under the hat brim to shade the Girlfriend’s face. I used a brown or gray TwinTone to darken any areas where the details needed to be refined.

The patterned papers for the card front are from 5832 – Gnome Paper Pack. The hello die-cut on the inside is from 5718 – Mini Journal Template set. I think she turned out pretty cute and I look forward to painting some of the other Girlfriends from this darling set. Now on to my next project…
Village Mini Notebook:


Thank you for joining me for another Watercolor Weekend! I hope you've enjoyed these creations. Until next time, Happy Painting!


2 comments:
Absolutely STUNNING card and notebook, Diane! You are AMAZING! Love, love, LOVE!!
You inspire me. Ditto on Sharon Caudle comment. Stunning! Such talent!!!
Post a Comment