Hello and welcome, Watercolor Weekend Fans!

Today I will be sharing a card and a fun mini notebook with
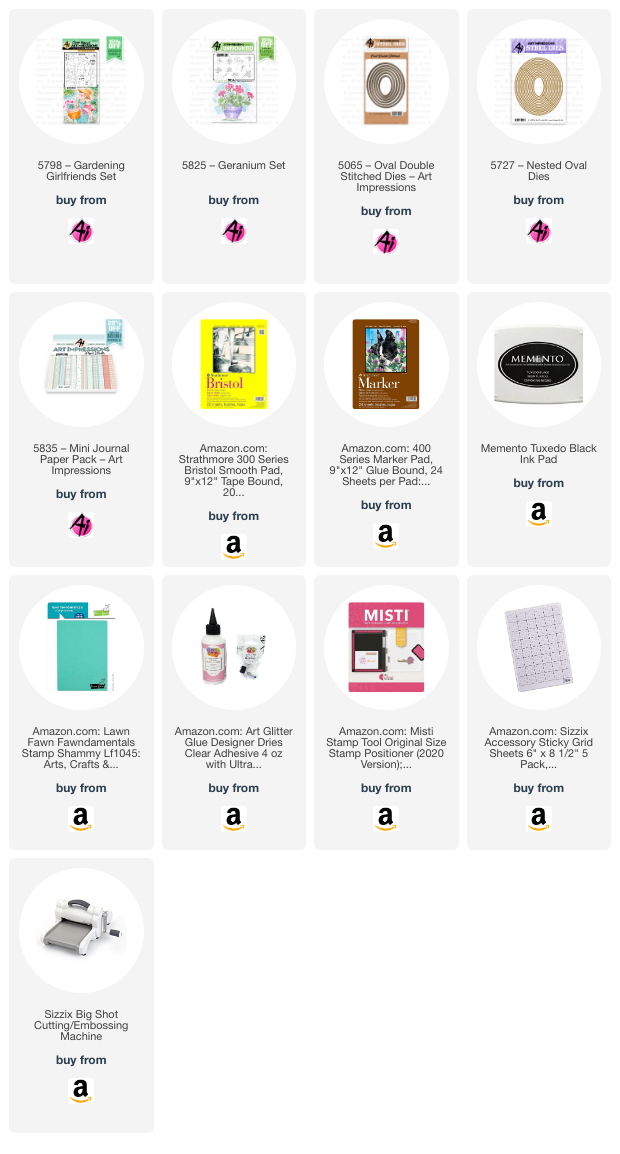
you! The card is featuring the new Girlfriends Gardening Set – 5798. This new
set has so many cute images and sentiments to create adorable cards and
journals. The mini notebook features stamps from the new Freebies Village
collection and the add-on sets. With a $30 or more purchase at artimpressions.com, you can select one Freebie
stamp with your order. The three add-on sets include signage, accessories, and
vehicles to enhance your scene. Let’s get started!

For stamping this image, I decided to try something new.
Normally I would ink my stamp with 565 and 969, or I might use Versafine Onyx Black
ink. I was concerned that some of the detailed lines of the stamp might get blended
out using 565/969 and black ink seemed too harsh since I would be adding watercolor
stamped images to the pots. I also wanted something that would look nice with
the skin tones of the face, hands, and legs. So I inked my stamp with Ranger
Archival Ink - Pebble Beach. This ink is waterproof, so it plays nice with watercolor. I would describe the ink
color as light brown with a slight green undertone. To begin, I traced the
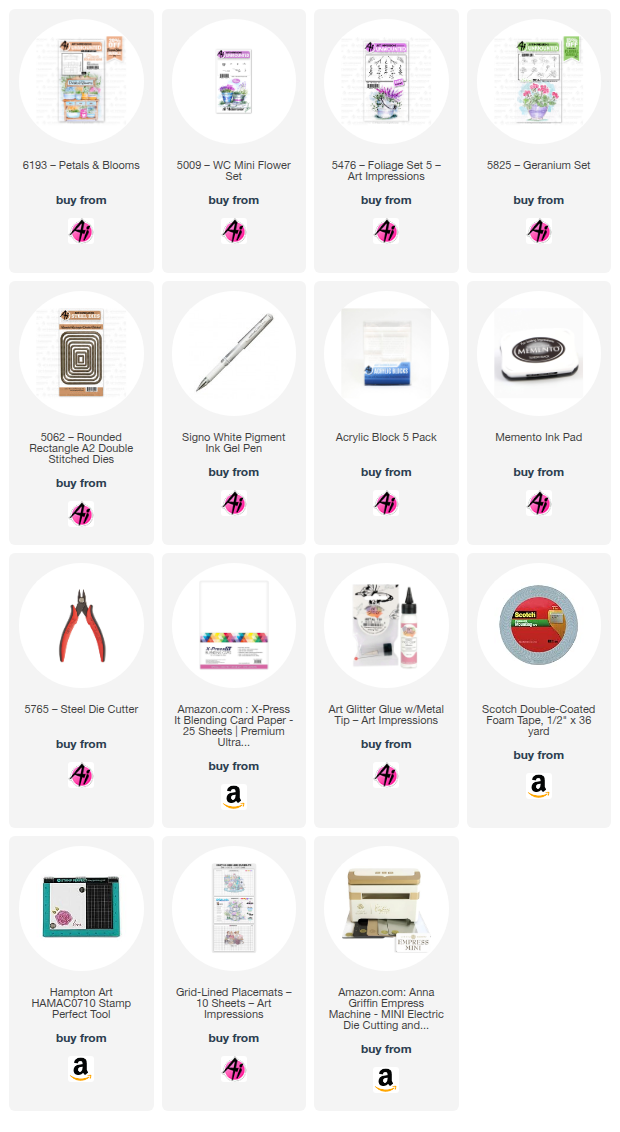
inside of my rectangle die from 5724 – Nested Rectangle Dies with a pencil to define
the boundaries of the painting. Using a MISTI stamp platform, I inked the Girlfriend
stamp with Pebble Beach and stamped it onto Canson XL watercolor paper. I left
room for the easel stamp from 5570 – Cottage & Easel Set (this gets stamped
later). Since I didn’t use 565/969 to ink the stamps, I didn’t have any color
to pull out of the lines for shading. So I mixed some 565 and 969 on my palette
and used that to add shadows and dimension.

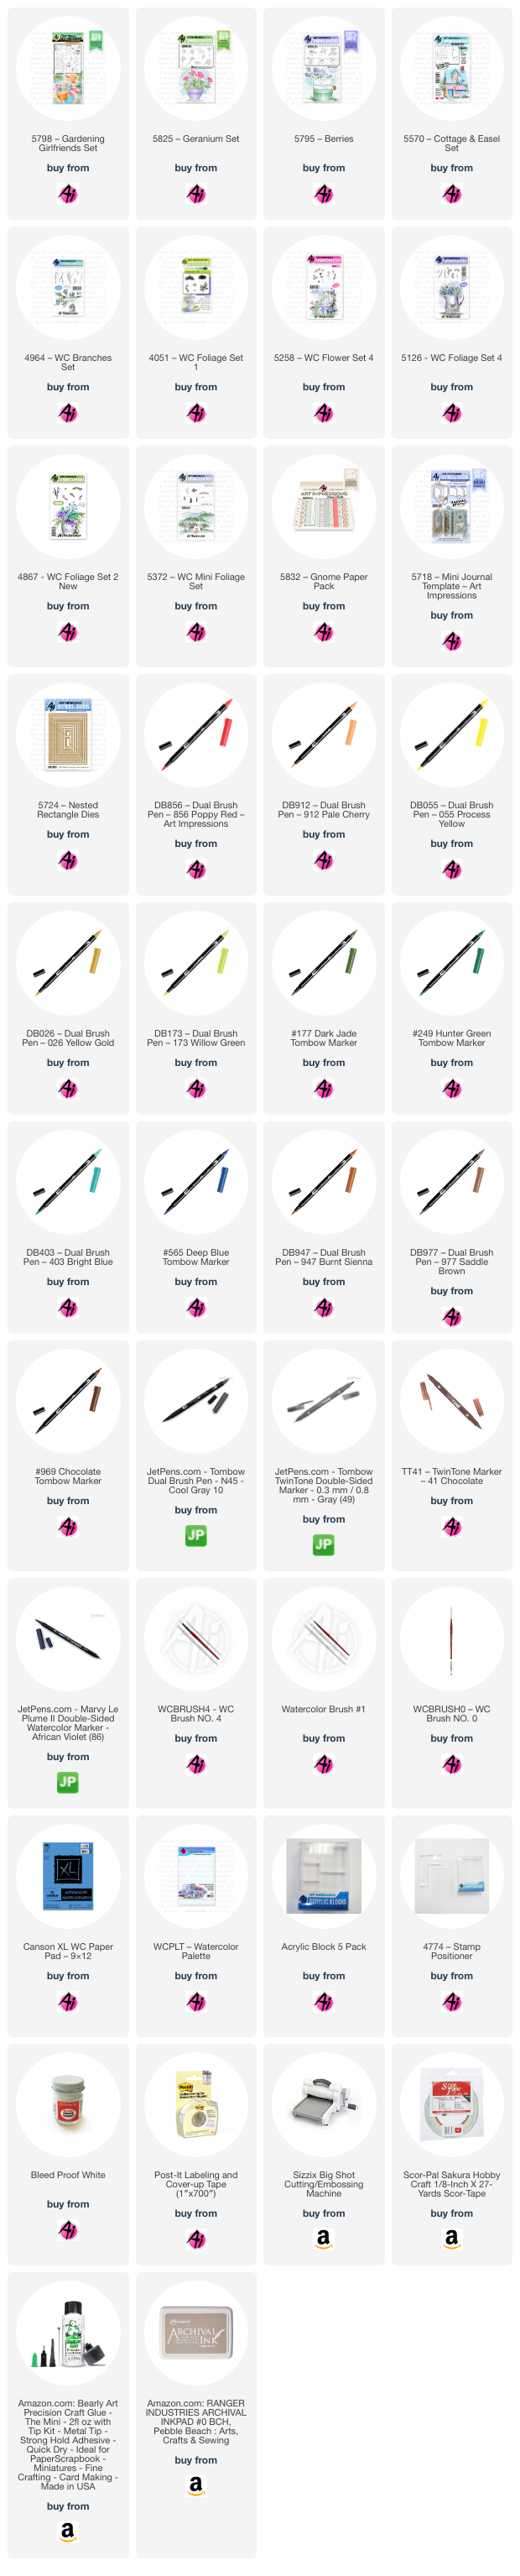
I used 912 to paint the Girlfriend’s face, hands/arm, and
legs. For her cheeks, I mixed a little 856 with the 912. I painted her hair
with 026 and shaded with 969. The lips, shirt, shoes, and hat band were all
painted with 856. For her denim overalls, I used a No. 86 African Violet Marvy
Le Plume II marker. I could have used 565, but sometimes I feel it looks too purple-ish.
I used 947 for the clay pot. For the white tote bag/basket, I shaded the sides
with 565 and painted in stripes with 403 and 177. Next, I brushed in the sky with
a watery mix of 403, before adding any plants to the containers. For the
flowers in the clay pot, I used the leaves and geraniums from 5825 – Geranium
Set. I masked the hat so the plant would appear to be behind the hat. The
leaves and stems were inked in 249 and the flower petals in 856. I added a
touch of 173 to highlight the leaves. For the white striped container, I wanted
the plants to look like bunches of herbs – basil, dill, and oregano. I masked
the edge of the pot and the arm. For the basil leaves I used the leaves from 5795
– Berries set and inked them in 177. 173 was added for highlights. I then
masked the basil leaves and stamped in some oregano using the squiggly tree leaves
stamp from 5372 – WC Mini Foliage Set in 249. For the dill, I used the stem
stamp from 5258 – WC Flower Set 4 inked in 249 and added tiny yellow dots (055)
to the ends to resemble yellow seed heads. With the mask still in place on the
basil leaves, I stamped the easel from 5570 with Pebble Beach ink. The wooden parts
of the easel were painted with a combination of 977 and shaded with 969. I used
026 for the finial. I painted the sign with N45 to make it look like a chalkboard.
I penciled in the writing and decorations and painted the details with Dr. Ph.
Martin’s Bleed Proof White and a #0 brush.
I brushed in a grassy area with a watery mix of 177. Once
dry, I stamped in some tiny grass from 4051 – WC Foliage Set 1 and vines from 5126
- WC Foliage Set 4 in 177. I stamped some branches in the top corners in 969/177
from 4964 – WC Branches Set and added leaves in 177 using the leafy vine from
4867 - WC Foliage Set 2. I then added red flowers to the branches, inking just
two of the flower heads from 5258 in 856. To finish off the painting, I added dots
of Bleed Proof White to the flower centers and the grassy area. I also added a
shadow line under the hat brim to shade the Girlfriend’s face. I used a brown
or gray TwinTone to darken any areas where the details needed to be refined.

The patterned papers for the card front are from 5832 –
Gnome Paper Pack. The hello die-cut on the inside is from 5718 – Mini Journal
Template set. I think she turned out pretty cute and I look forward to painting
some of the other Girlfriends from this darling set. Now on to my next project…
Village Mini Notebook:
First of all, can we just take a moment to discuss how adorable
the new series of Freebies stamps are? Oh my goodness, they are all so cute and
the add-on sets really add character to the scenes! I can't help but wonder
what Bonnie will come up with for the second set of 6 Freebies later this year;
I'm sure they'll be just as fabulous!

Okay, back to the project. Recently, I picked up a 3-pack of
mini composition notebooks at Dollar Tree. I didn’t have a plan for them at the
time, but thought they were cute and I threw them into my basket – not a huge
investment at $1.25 for 3 cute mini notebooks. When I saw the new Freebies, I
immediately thought about how cute they would look on the cover.

This little scene is a glimpse of
what I think would be the perfect way to spend an afternoon with a friend. A little
shopping at the Art Impressions Shop (I wish) and then enjoying a latte at the café
afterward! To begin, I used a pencil to trace the inside of the oval die from
the 5588 – Journal Oval Frames Die Set onto my Canson XL watercolor paper to establish
the boundaries for my painting. I then stamped each image in Versafine Onyx
Black Ink. I started with the images in the foreground and worked my way back,
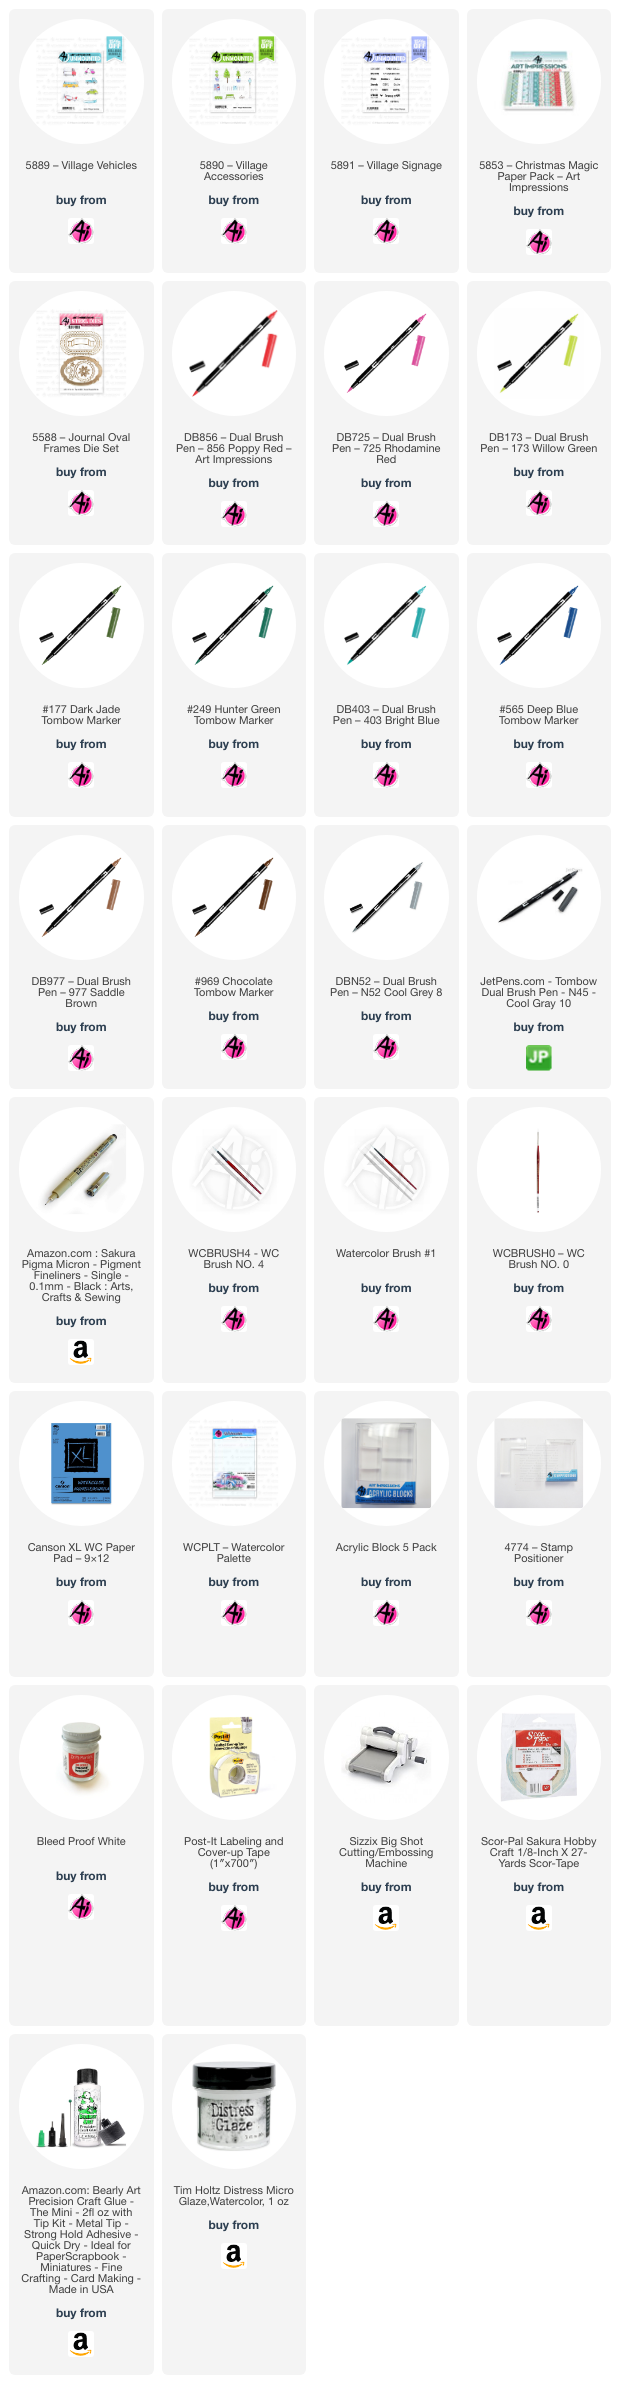
masking where needed. Here’s the order: Tiny bushes and bench (5890 – Village
Accessories), Scooter (5889 – Village Vehicles), 5879 – Exclusive Candy Shop and
5878 – Exclusive Café, bushes under windows – masking where necessary, fence and
trees (5890), then signs (5891 – Village Signage) and pebble paths (5890). With
a pencil, I drew a straight line to establish the sidewalk. All the greenery
was painted with 177, 249 and 173. The white areas of the fence and bottom half
of the Art Impressions building were shaded with 565. The door and upper half
of the building were painted with 725. For the sign, roofline, and window trim,
I used 403. The scooter was painted with 856 and N45 for the seat and tires.
The bench and café storefront was painted with 977. For the door, sign, and
trims, I used 249. With a black 01 Micron pen, I drew a coffee cup on the front
window. I painted the little logo on the cup with 249. For all the windows, I
mixed 565 with N45. Both chimneys were painted in 977, as well as the pebbled
pathways. Below the pencil line, I painted a curb with N52. The street was also
painted with a watery mix of N52 and darker shadows with N52 under the scooter.
The sky was brushed in with a watery mix of 403. I used 856 for the OPEN sign. With
a #0 brush, I added horizontal siding to the Art Impressions building and
vertical fence boards in 565. I added vertical lines in 977 to the café storefront
and painted the roof with N45. For the window panes and the steam for the
coffee, I used Bleed Proof White.

Since I knew the notebook would be handled a lot, I applied a protective layer of Micro Glaze to the painting before die-cutting. For the green frame, I die-cut it four times and glued them together to give the frame some raised dimension. The cover of the notebook was super easy to cover with patterned paper. I choose two coordinating papers from the 5853 – Christmas Magic Paper Pack. I used Scor-Tape to attach the paper to the cover. I applied tape along the edges of the cover, then carefully aligned the patterned paper with the edge of the black binding tape. Afterward, I trimmed around the edges of the notebook to remove any excess paper. I did the same for the back cover. I cut a strip of patterned paper 1 ¼ inches by 4 ½ inches for the binding. The binding was applied in the same way as the cover. The tape was only applied to the covers and not the binding. The front edge was butted up to the patterned paper and also in the same way on the back. Intentionally, there will be a slightly curved gap along the binding edge. This gap allows the notebook to open more freely. Next, I trimmed any excess paper from the edges using scissors. Finally, I adhered the oval frame and painting to the cover. To do this, I applied liquid glue and placed a large acrylic block on top of the frame until the glue dried. Now, this cute little notebook is ready to be gifted to a special friend or kept for yourself!
Thank you for joining me for another Watercolor Weekend! I hope you've enjoyed these creations. Until next time, Happy Painting!