
Happy Thursday AI Friends!
Today I have a couple Fun Fold Easter cards using the #5274 Easter Bunnies, the #5870 Peeking Bunny, and the #5504 Happy Spring sets. These Easter sets have the cutest little bunnies. OMGosh sooooo cute!! Add these images to this fun fold style card and you'll find yourself addicted. I could have created all night. I will definitely be making more.

To create these fun folds, I choose the largest circle from the #5064 Double Stitch circle die set for the card on the left and the 4th largest #5062 Rounded Rectangle A2 Double Stitch die for the smaller card. The following instructions will be for the circle card. The rectangle card is basically made the same just a different size and shape.
I cut four circles from white lightweight (80 lb. or less) cardstock and scored each in half. I then formed the fun fold by overlapping the circles as shown below (the right half over the previous circle right half). Continue overlapping the circles until all are together. Make sure to gather them together and square them up tightly. Place a dab of glue on the back side where they overlap. Then flip to the front side and dab glue under these overlaps. Now your fun fold is formed. 


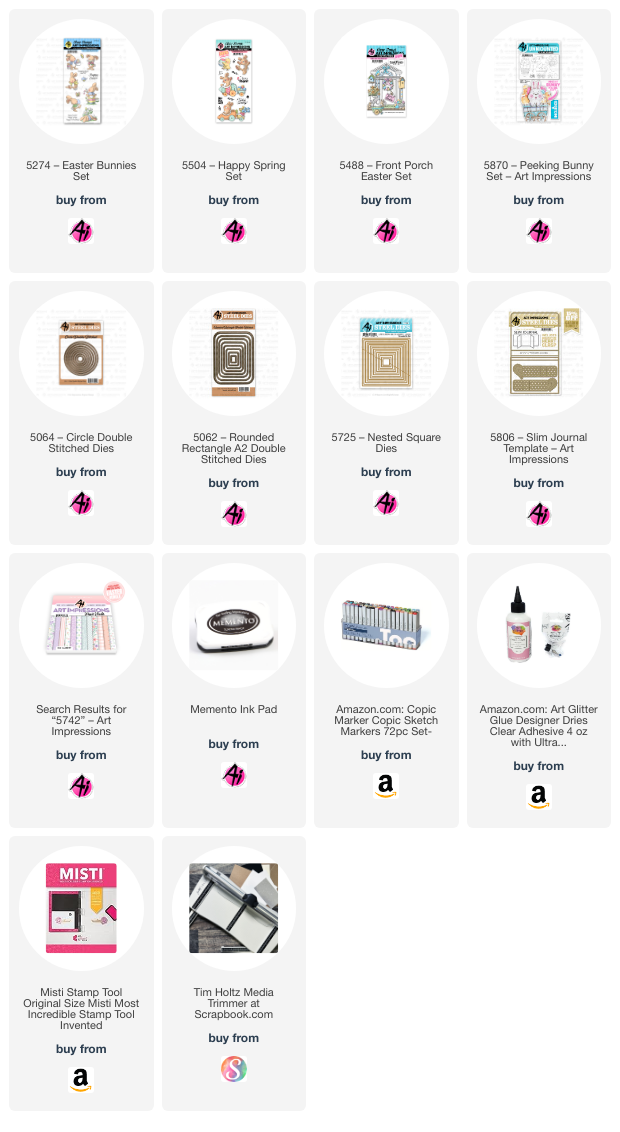

Cut four circles from pattern paper. I cut two with the largest circle and two with the next size circle. Cut each of these four circles in half and cut just a tad off the straight side of the larger circles. The smaller circles are for the front and will recreate a 2-layer look (see below). Glue the smaller circles to the front (or top) folds, centering up to leave a nice white border. Glue the larger circles to the inside folds, leaving no border.

I stamped my one-layer scene onto copic friendly paper with Memento black ink and colored with my copic markers listed below. I then cut the scene to fit inside the fun fold card (3 1/2 x 3 1/2 inches). Adhere this image to the inside of the card. Place a ribbon or belly band around the back side and adhere down to the back. Wrap around and tie or clasp into place. I added a basket with the bunny bottom for decoration. Lastly, I glued a 3 1/2 x 3 1/2 top fold card to the back for your sentiment and also to finish off the back side of the card so that the ribbon or belly band will be covered. This also adds as a nice stand to display your card.
Hope you enjoyed my cards today and I especially hope you'll give this one a try. Trust me, you will want to create more with different shapes and sizes. It's addictive!
Happy creating!!

Copics used: N0, N1, E21, E23, R20
YR01, YR02, Y13, Y15, Y17
V12, V15, G40, G43, G46
B000, B00, B12, B14
R81, R83, E51, E53, E55
2 comments:
Oh my gosh, Dori! These are so adorable!!! I absolutely love how you put the bunny on the heart belly band!! So CUTE!!!!
The cutest ever! Love these Dori!
Post a Comment