Showing posts with label happy spring set. Show all posts

Friday, March 28, 2025

Happy Spring! Card by Tasha

 Happy Friday Art Impressions Friends!

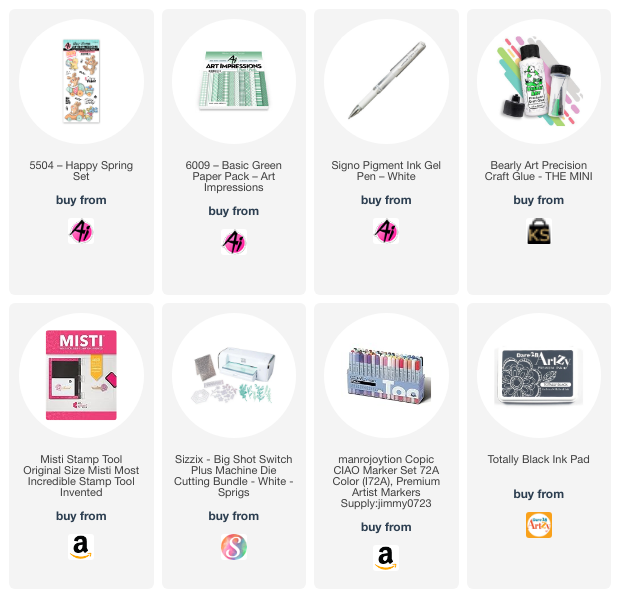
Tasha here sharing a new card featuring the super cute "Happy Spring" Stamp Set. Spring is a wonderful time of year and Spring cards are so much fun to make. For my project I used the bunny with a carrot car and love everything about this stamp!

I started the card by stamping the sweet bunny and used the included dies to cut him out. Once cut, I used Copic Markers to color him; I love these colors! For the background I layered a piece of polka dot pattern paper and cut two clouds to make a Spring scene.

This set includes several sentiments, but I thought "Happy Spring" went perfectly with this image. He looks like he is loving the warm Spring weather driving his carrot car with his pretty tulips!

Lastly, I added layers of teal and tan card stock and a piece of Art Impressions plaid paper. I also attached several white enamel dots to complete the design.

Thank you for checking out today's project and I hope you are having a wonderful day!


Friday, March 21, 2025

Shake, Hop, and Celebrate! Card by Tasha

 Happy Friday Art Impressions Friends!

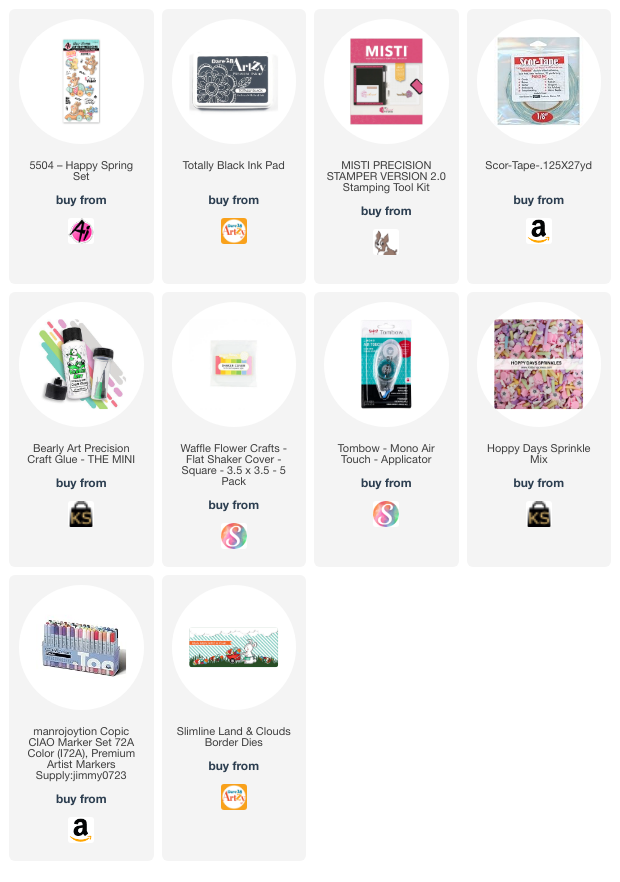
Sharing a new Easter card inspired by the current "I like to Move it, Move it!" Challenge. Easter will be here before we know it and Art Impressions has so many cute stamp sets for Easter cards and projects. I used the fun 5504-Happy Spring Set to create a shaker card and love this little bunny and chick!

To begin, I stamped the animals with black ink and colored them with Copic Markers. I also used the included die set to cut the images out making it super easy to layer on my project. This little chick with the Easter egg is adorable and the bunny looks so cheerful!

For the background, I used a clear shaker pocket and filled it with Spring themed shaker bits on top of an ombre blue paper. I also attached a green grass die cut to the ground and attached several enamel flowers to continue with the Spring theme.

For the greeting, I stamped "Happy Easter" with black ink on to bright white paper.  To add extra color, I attached a layer of teal paper; I love the pop of color behind the sentiment!

Lastly, I attached layers of gold, white, and deep pink card stock and purple glitter paper for sparkle. This card is bright, happy, and perfect to send to someone special this Spring/Easter! 

Thank you for checking out my card and I hope you will join in the "I like to Move it, Move it!" Challenge!


Thursday, February 27, 2025

Easter Fun Fold by Dori Mendiola

 Happy Thursday AI Friends!

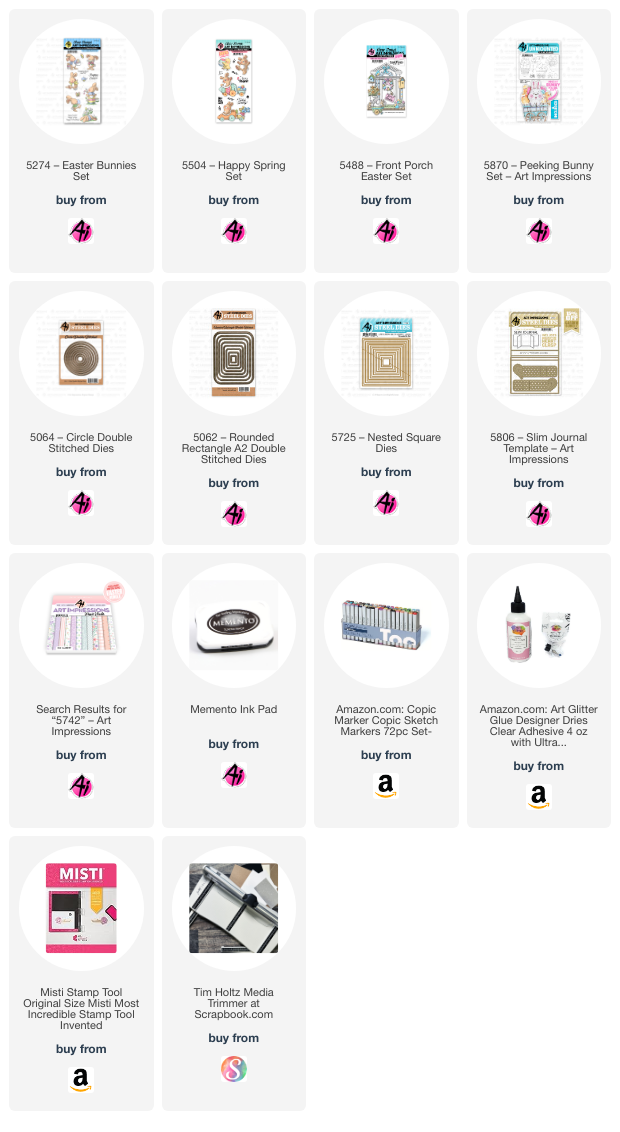
Today I have a couple Fun Fold Easter cards using the #5274 Easter Bunnies, the #5870 Peeking Bunny, and the #5504 Happy Spring sets.  These Easter sets have the cutest little bunnies.  OMGosh sooooo cute!!  Add these images to this fun fold style card and you'll find yourself addicted.  I could have created all night.  I will definitely be making more.

To create these fun folds, I choose the largest circle from the #5064 Double Stitch circle die set for the card on the left and the 4th largest #5062 Rounded Rectangle A2 Double Stitch die for the smaller card.  The following instructions will be for the circle card.  The rectangle card is basically made the same just a different size and shape.  
I cut four circles from white lightweight (80 lb. or less) cardstock and scored each in half.  I then formed the fun fold by overlapping the circles as shown below (the right half over the previous circle right half).  Continue overlapping the circles until all are together.  Make sure to gather them together and square them up tightly.  Place a dab of glue on the back side where they overlap.  Then flip to the front side and dab glue under these overlaps.  Now your fun fold is formed.   

Cut four circles from pattern paper.  I cut two with the largest circle and two with the next size circle.      Cut each of these four circles in half and cut just a tad off the straight side of the larger circles.  The smaller circles are for the front and will recreate a 2-layer look (see below).  Glue the smaller circles to the front (or top) folds, centering up to leave a nice white border.  Glue the larger circles to the inside folds, leaving no border.  
I stamped my one-layer scene onto copic friendly paper with Memento black ink and colored with my copic markers listed below.  I then cut the scene to fit inside the fun fold card (3 1/2 x 3 1/2 inches). Adhere this image to the inside of the card.  Place a ribbon or belly band around the back side and adhere down to the back.  Wrap around and tie or clasp into place.  I added a basket with the bunny bottom for decoration.  Lastly, I glued a 3 1/2 x 3 1/2 top fold card to the back for your sentiment and also to finish off the back side of the card so that the ribbon or belly band will be covered.  This also adds as a nice stand to display your card.

Hope you enjoyed my cards today and I especially hope you'll give this one a try.  Trust me, you will want to create more with different shapes and sizes.  It's addictive! 

Happy creating!!

Copics used:  N0, N1, E21, E23, R20
YR01, YR02, Y13, Y15, Y17
V12, V15, G40, G43, G46
B000, B00, B12, B14
R81, R83, E51, E53, E55

Monday, March 25, 2024

Happy Easter, Happy Spring by Sharon Caudle

 Hello AI Fans!

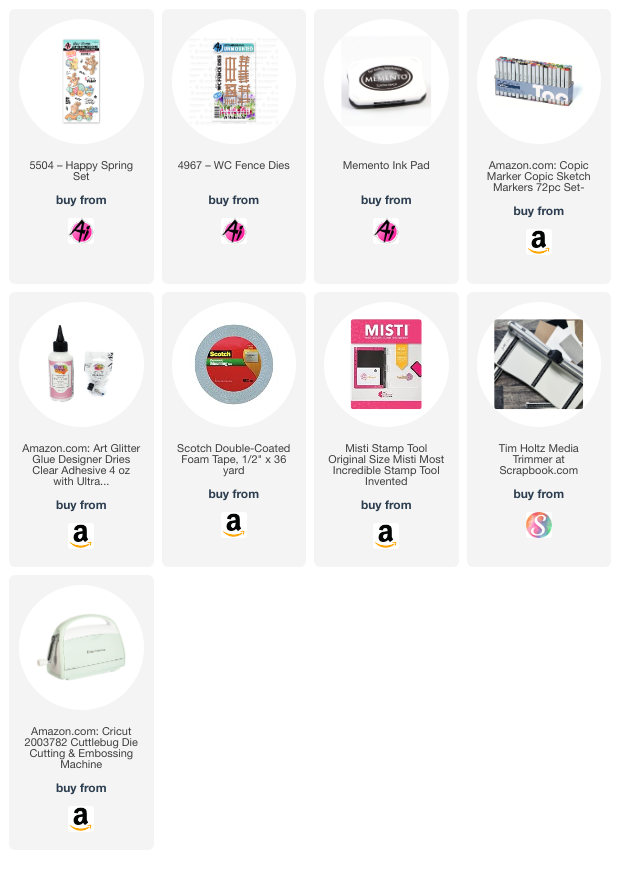
I've got another fun Easter card to show you today that features the adorable 5504 Happy Spring Set! I stamped this onto cryogen white paper and then colored it with Copic markers which are listed below.  There is a LOT of dimension in this card cause what can I say? I'm a dimensional girl! LOL! I absolutely love building scenes with my Art Impressions stamps! I just used a variety of different dies I have in my stash to highlight this adorable bunny driving his carrot car. He's taking his pot of tulips home to decorate his table for spring! The fence is cut using #4967 WC Fence Die Set. 


Thanks so much for stopping by for a visit and until next time - stay crafty!
Copics used:

YR02, 04, 07, and 09

E50, 51, 53, 97, and 99

Y13, 15, and 17

YG01, 03, and 05

RV32 and 35

R12


Thursday, March 14, 2024

Color Challenge #373 Week #1

 Hello AI Fans!

We have a fun new color challenge for you for the next two weeks!

We thought this color combination would be perfect for all your Spring cards.

We're thinking navy and pale blue, sunny yellow, a nice soft neutral and garden greens!
Perfect for flowers and grass and a sunny sky.  Also great for a basket full off Easter eggs or anything else that you're envisioning.  We have a couple of inspiration photos to help you get started.


Before we see what Sharon, our Featured Artist created let's see who won the Shake it Up! Challenge.

For our Top Spot we selected #11 Francesca V.
She used 5457 – Christmas Truck Set.


Please contact Leah at Feedback@artimpressions.com
to claim a free stamp set of your choice!
Also, be sure to grab our badge to display on your blog, Facebook or Instagram!

Our Lucky Random Winner was:
#4 Lisa J.
She used 5401 – Easter Chicks Set among others on her pretty Easter card.


Please contact Leah at Feedback@artimpressions.com
to claim a free stamp set of your choice!
Also, be sure to grab our badge to display on your blog, Facebook or Instagram!


Now let's check out the adorable card that Sharon created.
You're going to be in awe!

------------------------------------------------------------------------------------------------------------------------

I'm excited to kick off the new challenge for Art Impressions this week and it's a color challenge!! We are asking you to use the colors of navy, green, and yellow. This was a super fun challenge and I definitely took inspiration from the gorgeous photos supplied to us by AI!! Easter is right around the corner, so I made a fun card utilizing the Lawn Fawn Ta Da Diorama die set to feature several Art Impressions sets. This is so awesome because it folds completely flat for mailing, but when unfolded, it is a wonderfully dimensional diorama! Here is the finished card folded flat. 


And here it is when you pull out the flaps. 


I cut all the pieces out to assemble the card, stamped all my images and colored them to match the papers. 


These adorable images are from 5346 Birdhouse Cubbies Set, 5504 Happy Spring Set, and 5274 Easter Bunnies Set. There are links to each of them below. 


This is the card put together before adding all the adorable images. 


I used the Nested Heart Die Set and stamped a fun sentiment on it from the new 5867 Mini Easter Sentiment Set.  I then cut it in half and glued them to the front of the card. I had so much fun building the scene with all the cute bunnies and chick! And of course I had to add a cute little bird in the sky! 


And once again, the final product. I chose to mount the diorama onto a standard A2 card using a navy and green mat to pull out the challenge colors. The navy looks black in the pictures, but it's a true navy color. 


Thanks so much for stopping by for a visit today! I can't wait to see what you create for the new color challenge! 

Copic markers used:
E21, 23, 40, 41, 42, 43, 50, 51, and 53
Y13, 17, 32, and 35
B00, 21, 23, 32, 34, and 37
YR00, 01, and 02
YG61 and 63
C1, 2, and 3
R12

Thank you Sharon for your beautiful diorama card.
It's a little work of art!

Now for the fine print.
We can't wait to see what you create!


✻ Please make a new card or handmade crafty creation. You can make any item you wish; this is not limited to cards!

✻ Limit two submissions per person. You will receive extra votes if you use Art Impressions stamps!
 ✻Please include your first name and last initial on your submission.
✻We love to comment on your entries, but keep in mind if you use a private group or a platform that you need to sign up for, we probably won't be able to.
✻ The Ai Challenge is open to everyone, international submissions are welcome!
✻ Include a link back to the Ai Blog or grab our button on the top right of our sidebar!
✻ Share the Ai love if you can, by clicking and commenting on your fellow crafters.
✻ Make sure to get your link up by the deadline to enter your creations.
✻ Good luck and happy stamping!


You are invited to the Inlinkz link party!

Click here to enter

Friday, March 8, 2024

Easter Shaker Card by Tasha!

 Happy Friday Ai Fans!

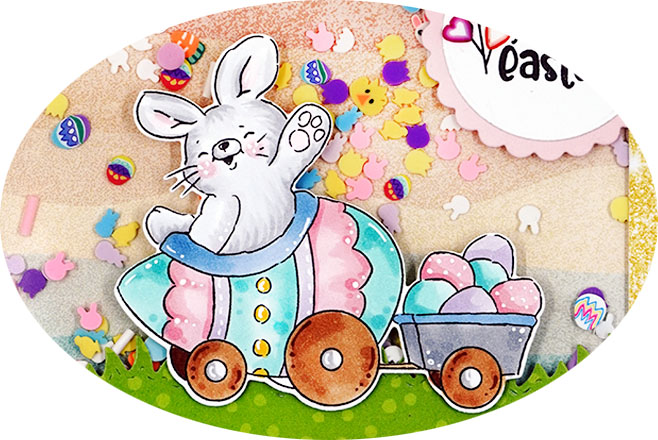
Tasha here sharing a new card inspired by the current "Shake it Up!!" Challenge! I love making Easter cards and used the super cute 5504 - Happy Spring Set to make a fun shaker card!

For the main image, I stamped the bunny with black ink and used the included dies to cut the image out. To stick with a Spring theme, I used pastel shades for the eggs and his egg car; so cute!!!


For the background, I cut grass from pattern paper and added a piece of Ai pattern paper for the sky/background. I love all these colors! I also used Easter shaker pieces to go with the theme. 


The greeting "Happy Easter" is from the same stamp set but I attached little clay hearts to the flowers to bring in more color. I also used a scalloped die to add a pretty pink frame. I love the pop of color!

Lastly, I attached layers of pink paper, plaid pattern paper, and a yellow glitter pattern paper to complete the design. I hope you enjoyed today's card and are inspired to join in the challenge!

Have a wonderful day!


Monday, February 5, 2024

Mini Journal Template along with new box dies and Mini Journal Birthday Set

 Hello AI Fans!! 

Today I'm sure excited to show you another Mini Journal I made using new sets released this year by Art Impressions.  I can't even begin to tell you how much I love making these Mini Journals! They are so much fun!!! I honestly can't stop making them! I must say I was so excited when Art Impressions released new sets that are made to coordinate with the Mini Journals!! The box is SOOOOO CUTE and easy to make and decorate!! The journals fit in them perfectly! I will say you don't want to use a lot of dimensionals, or you'll end up having to use a belly band around the box. LOL! I learned that the hard way. haha  I forgot to mention that I used Art Impressions Paper. I love the colors and patterns! We will start with a video I made of the Mini Journal, and individual pictures will follow. There's a long list of sets I used, and you can find them all below in the Link Deli list.  I really hope you enjoy!!! 


And here are some individual pictures. 


That's it for me today! Thanks so much for stopping by for a visit and until next time - stay crafty!!