Showing posts with label Slim Journal 5806. Show all posts

Monday, June 29, 2026

For a special friend by Sharon Caudle

 Hello AI Fans!

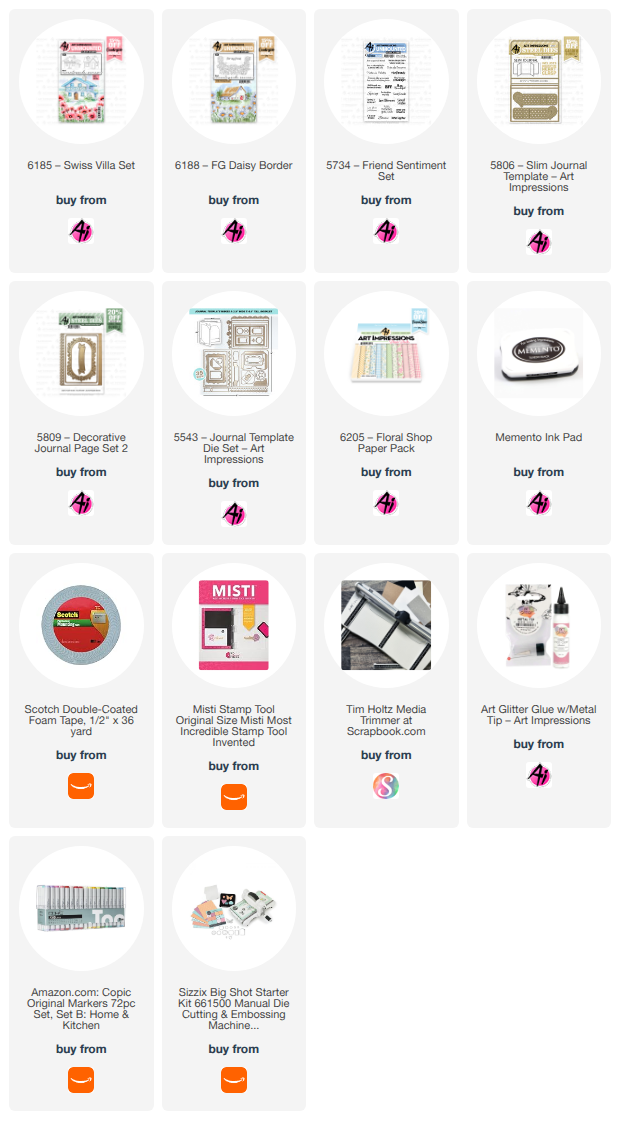
Today I have a card to show you that works perfectly for our current challenge #430 Artful Architecture. I wanted to create a window scene, but I also wanted to be able to sign the inside of the card without seeing it through the window. The solution? #5806 Slim Journal Template Die Set! I just used one inside page and it was exactly what I was looking for! I cut the window out of the front panel of the card using the window die from #5543 Journal Template Die Set. The window curtain was cut using a die from my stash that I got from Amazon, and it was a little too short for the window size. It was a perfect spot to put my sentiment banner! I just love that banner die from #5809 Decorative Journal Page 2. I use it ALL the time! TIP! If you have a curved die you want to use for your sentiment set and you have a Misti or similar stamp platform, here's a tip for you. Tape the actual die to the outside top of your stamp platform, then open up the platform. Take your stamp and stick it to the inside of your stamp platform, curving it to match your die. Voila! You can then stamp and die cut your sentiment and it will match the curve of your die exactly!  Forgot to mention the papers I used are from #6205 Floral Shop PP. They're so gorgeous! I just realized I didn't put a single bow on this card! What is wrong with me??!!  LOL!!! 


 For the center page, I stamped and colored a house from #6185 Swiss Villa Set and the Daisy border came from #6188 FG Daisy Border. I die cut a piece of grass and stamped the sentiment from #5734 Friends Sentiments Set. 


And for the back page, I just matted it with more paper from #6205 Floral Shop PP and added another sentiment. to finish it off. 


So that's it for me today. Thanks so much for stopping by for a visit and until next time - stay crafty!!


Thursday, February 27, 2025

Easter Fun Fold by Dori Mendiola

 Happy Thursday AI Friends!

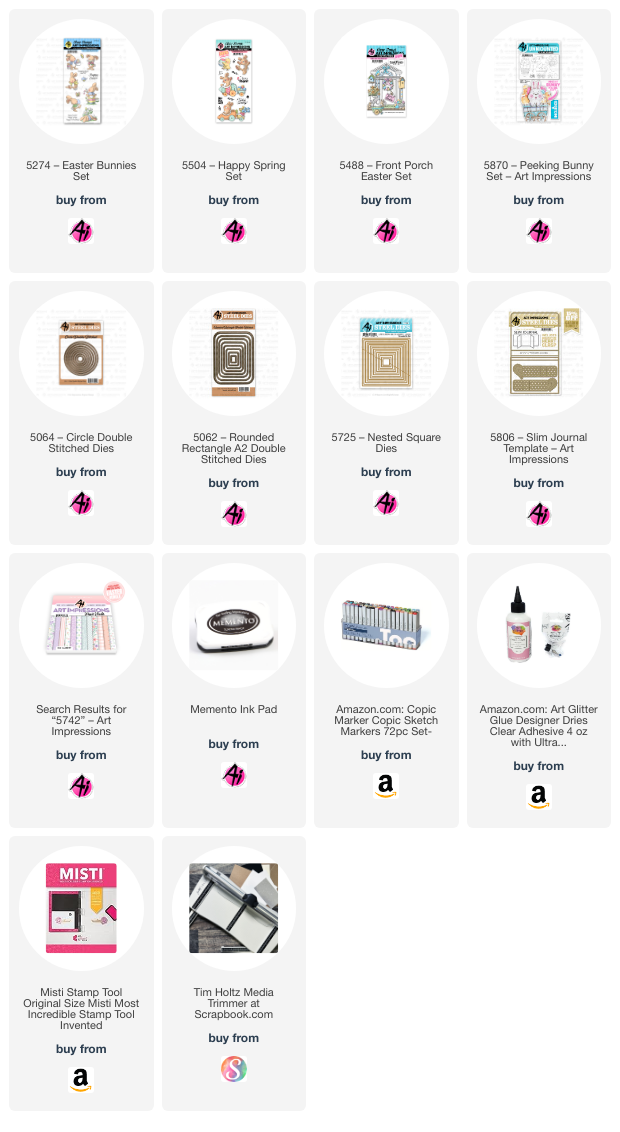
Today I have a couple Fun Fold Easter cards using the #5274 Easter Bunnies, the #5870 Peeking Bunny, and the #5504 Happy Spring sets.  These Easter sets have the cutest little bunnies.  OMGosh sooooo cute!!  Add these images to this fun fold style card and you'll find yourself addicted.  I could have created all night.  I will definitely be making more.

To create these fun folds, I choose the largest circle from the #5064 Double Stitch circle die set for the card on the left and the 4th largest #5062 Rounded Rectangle A2 Double Stitch die for the smaller card.  The following instructions will be for the circle card.  The rectangle card is basically made the same just a different size and shape.  
I cut four circles from white lightweight (80 lb. or less) cardstock and scored each in half.  I then formed the fun fold by overlapping the circles as shown below (the right half over the previous circle right half).  Continue overlapping the circles until all are together.  Make sure to gather them together and square them up tightly.  Place a dab of glue on the back side where they overlap.  Then flip to the front side and dab glue under these overlaps.  Now your fun fold is formed.   

Cut four circles from pattern paper.  I cut two with the largest circle and two with the next size circle.      Cut each of these four circles in half and cut just a tad off the straight side of the larger circles.  The smaller circles are for the front and will recreate a 2-layer look (see below).  Glue the smaller circles to the front (or top) folds, centering up to leave a nice white border.  Glue the larger circles to the inside folds, leaving no border.  
I stamped my one-layer scene onto copic friendly paper with Memento black ink and colored with my copic markers listed below.  I then cut the scene to fit inside the fun fold card (3 1/2 x 3 1/2 inches). Adhere this image to the inside of the card.  Place a ribbon or belly band around the back side and adhere down to the back.  Wrap around and tie or clasp into place.  I added a basket with the bunny bottom for decoration.  Lastly, I glued a 3 1/2 x 3 1/2 top fold card to the back for your sentiment and also to finish off the back side of the card so that the ribbon or belly band will be covered.  This also adds as a nice stand to display your card.

Hope you enjoyed my cards today and I especially hope you'll give this one a try.  Trust me, you will want to create more with different shapes and sizes.  It's addictive! 

Happy creating!!

Copics used:  N0, N1, E21, E23, R20
YR01, YR02, Y13, Y15, Y17
V12, V15, G40, G43, G46
B000, B00, B12, B14
R81, R83, E51, E53, E55

Tuesday, April 9, 2024

Baby Girl Slim Journal! by Reneé Matarese

 Hello everyone and welcome to my first SLIM journal creation.

This journal is exactly like the original journal except that you only need to put two
pages in it. In fact, I only used one page making it even simpler because I added popped
up bows and I didn't want them to get squished.


The pretty heart clasp comes with the Slim Journal.


My journal is a little keepsake for a baby girls first tooth lost and first hair cut.
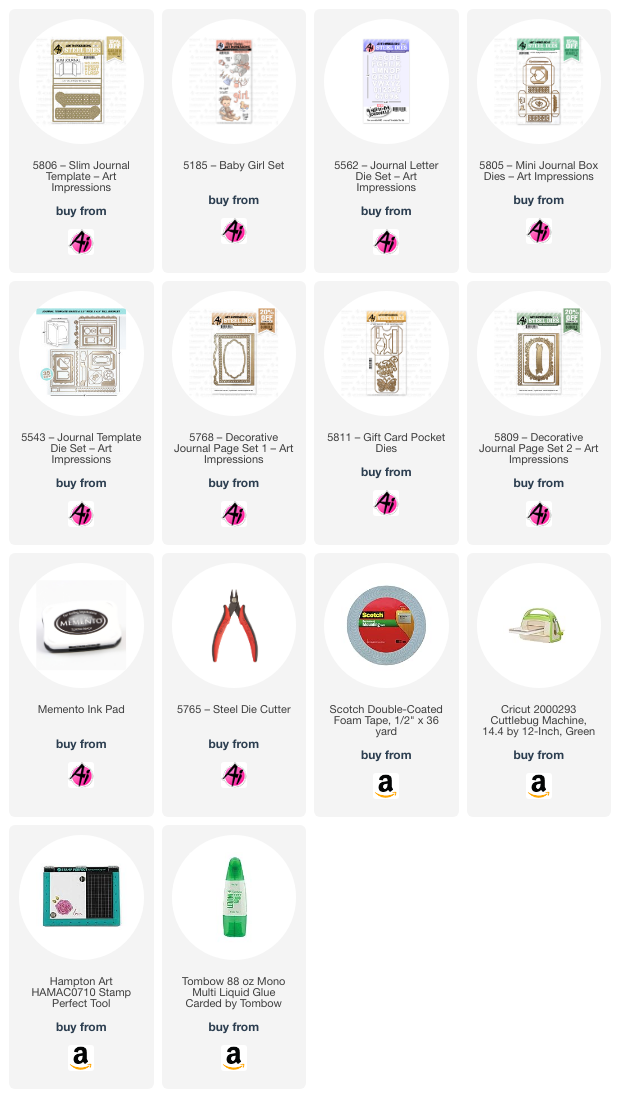
I used 5811 – Gift Card Pocket Dies to create each of the pockets. which fit perfectly onto the 5768 – Decorative Journal Page Set 1 frame I used behind them.


For the tooth, I cut a smaller pocket using a die from the 5805 – Mini Journal Box Dies and then added the little envelope from 5543 – Journal Template Die Set. I used the bow and rectangle from 5811 – Gift Card Pocket Dies.

The letters were cut from 5562 – Journal Letter Die Set.
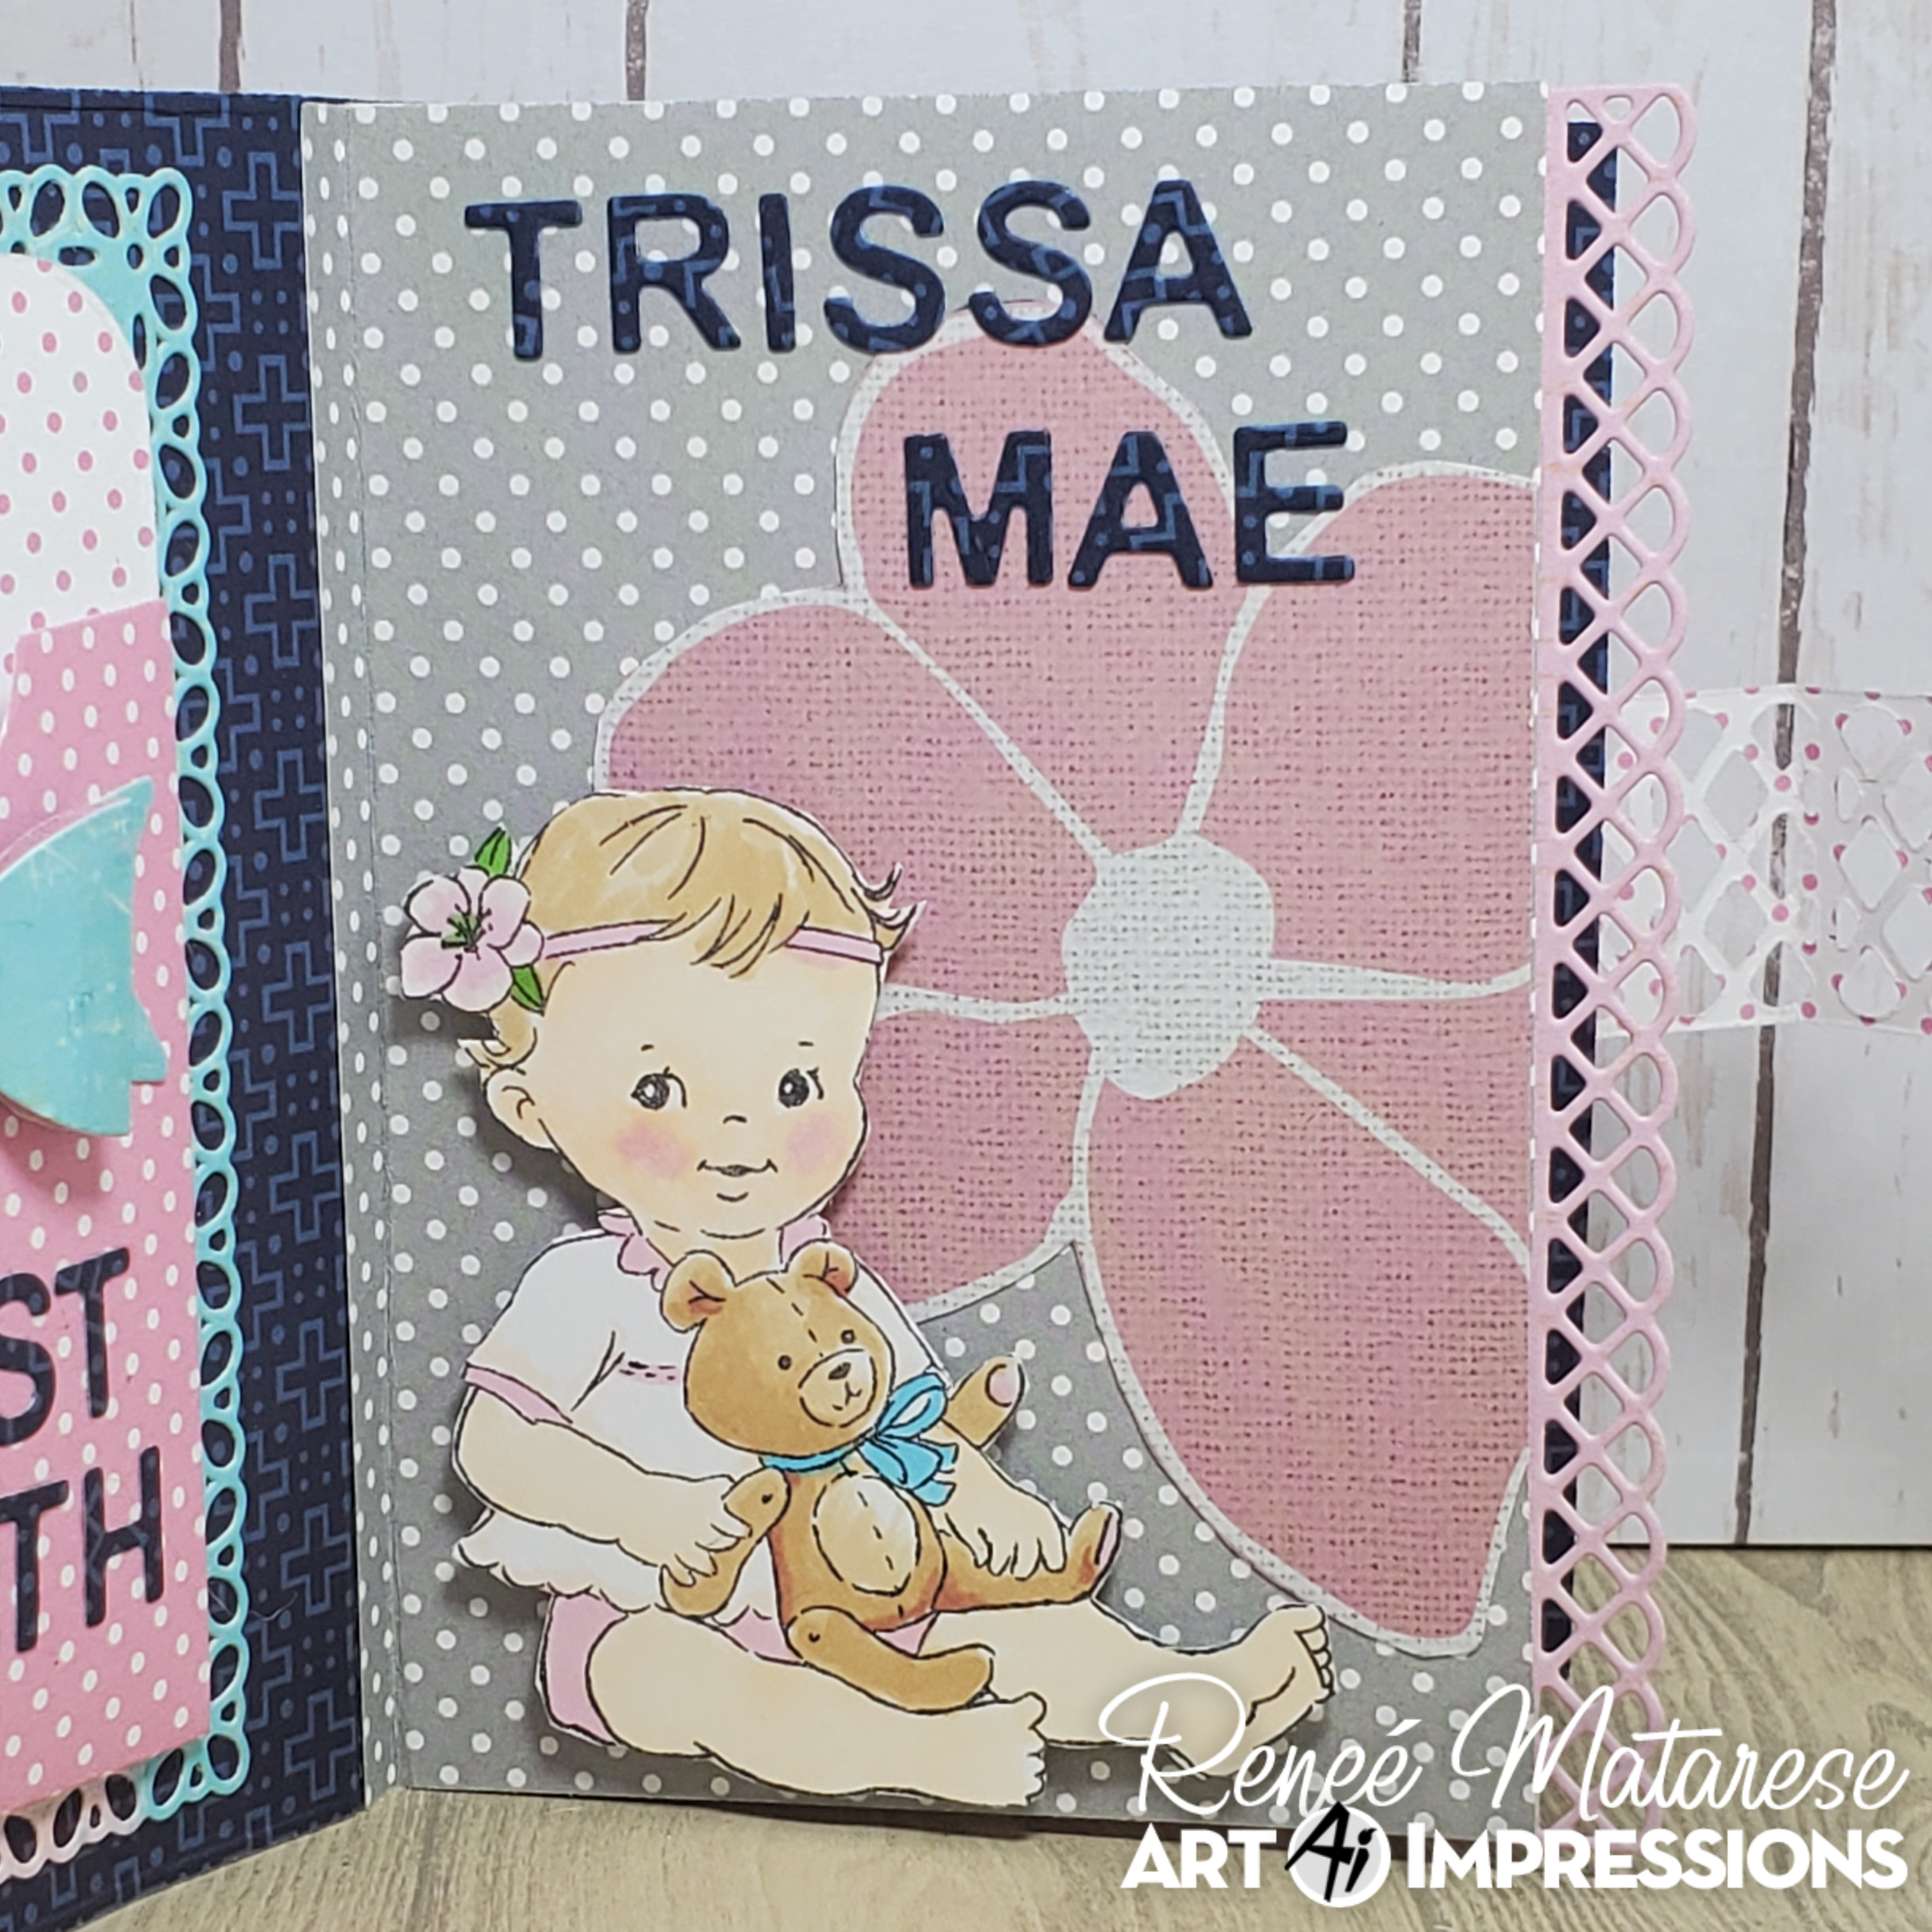
This sweet baby girl is from 5185 – Baby Girl Set

The pocket for the lock of hair is the same as the tooth pocket except that I didn't use the small envelope inside. I used a heart from 5543 – Journal Template Die Set.


My journal also can be used as inspiration for our current Pop It Up! challenge on the Art Impressions blog.  My bows are popped up as well as my baby girl being popped up on foam dots. You might win a free stamp set if you enter!


I used 5809 – Decorative Journal Page Set 2 to create the border on my center page.
That's the great thing about these journals. Almost everything is compatible.