Showing posts with label 5725 Nested Square Dies. Show all posts

Saturday, February 21, 2026

Freebie Bears Are Here! by Janet

Have you noticed the newest Bear Freebies at Art Impressions? They are truly adorable! I'm always a fan of the freebies but these are special. You can't buy them though. One is included in every order you place over $30. The beauty of it is that you get to choose which one you want! These stamps are the same great quality as all of Ai's polymer stamps too. All in all, they are a great perk for being a loyal shopper of Art Impressions.

There are many ways you can use these stamps but today, I've used three of them to make cute little 3 x 3 note cards. They are 6170 - Honey Bear, 6168 - Sundae Bear, and 6165 - Rainy Bear. 

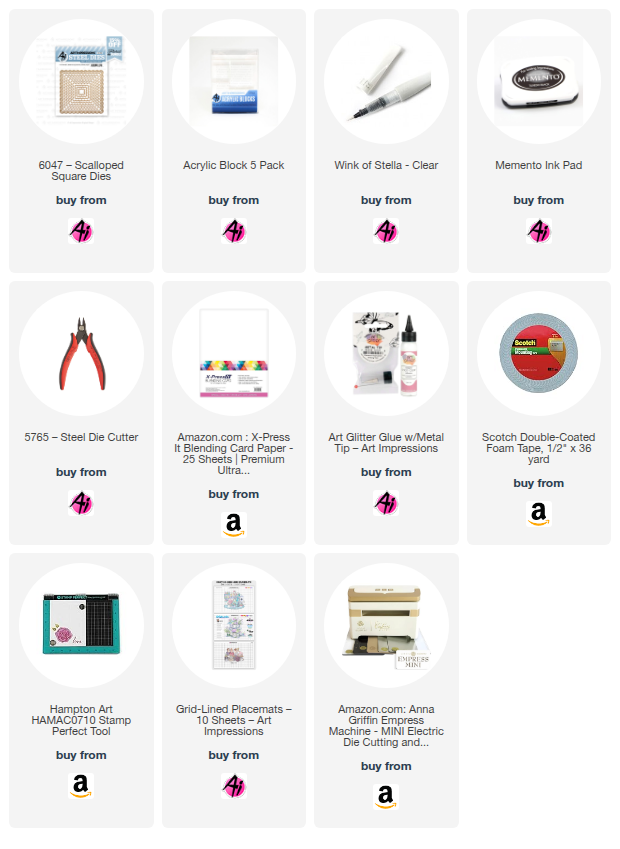
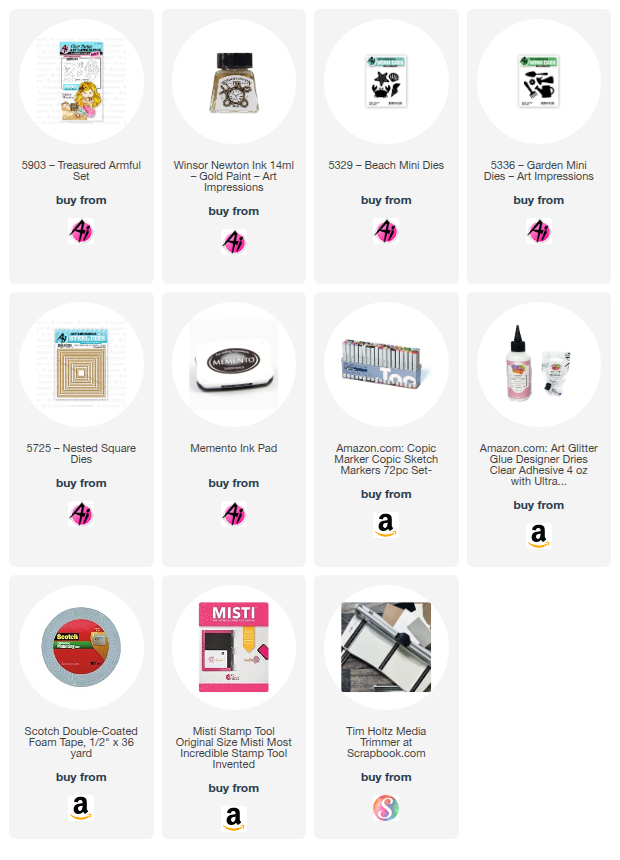
These started by making the card base. Each one measure 3" x 6" and scored at 3". On top of the card base, I cut a yellow square that leaves a 1/8" inch border all around the card using 5725 - Nested Square Dies. Then I cut Copic friendly cardstock with one of the 5061 - Square Double Stitched Dies.

The next step is stamping on the white cardstock and picking your favorite markers, pencils or paint to color them. Once mine were all done, I centered each panel on top of the yellow mat. Then I added two clear enamel dots to decorate them.

These were super fun to work with. Grab one at the store with your next order. Then get another one every time you reach a $30 order. 

Thanks for joining me on the blog today. As always, find your favorite stamps, dies, papers, and accessories at the Ai Store!

Happy Crafting!

Janet YouTube - Blog - Facebook - Instagram - Pinterest  


Tuesday, January 27, 2026

Bundle of Joy by Reneé Matarese

 Hello Ai fans!

There are some adorable new stamp sets on the Art Impressions Website right now!

This new 6103 – Baby Keepsake Set came at the perfect time.
A family friend and her husband are expecting their first child.

I took inspiration from her shower invitation. Blue and white stripes with a teddy bear on it.

My bear is colored a little differently for me. I've used the same white cardstock for probably 15 years. I decided to try coloring on the new Ai 6140 – White Cardstock Paper Pack. Pros and cons I found were this. It doesn't allow for blending like I'm used to when I use my Copic markers. I did love how vibrant the colors came out and I'm assuming it's using much less ink because it's a more glossy paper. My take away is that I love this paper for layering and die cutting mats and all sorts of things and definitely sometimes coloring. It's a different look and for this card I was very happy with it.


I won't be attending the out of town shower so I'll send this card along with a gift.
I'm sure they'll love it.


Thursday, January 1, 2026

No. 1 Book and Gnome bookmark by Dori Mendiola

 Happy New Year AI Friends!

I hope you had a wonderful holiday and are ready for the New Year!
 Can't wait to see all the fabulous creations from Bonnie and Kim.  I have no doubt that they will have lots of fun products for us again this year!

I'm starting off the New Year using #6114 - Box Village Template dies from the Holiday Lane series.  
I slightly changed the book cover to make it look like a number 1 for my granddaughter's first birthday.  Hope it's clear for you to see - made with the #5940 Journal Cover Paper Pack - Purple Plaid paper.  

I used #5873 - Mini Birthday Journal Paper pack for the inside of the book.  The inside contains pictures, pockets, notes and details from her first year and as much as I would love to show her off, my daughter asked that I didn't, so, unfortunately I don't have many pages to show.  However, my main purpose in showing this book was to emphasize how you can make slight changes to extend the die sets to fit your occasion.  Let your mind go!  Mine sometimes goes in odd directions but it's fun to see what can be created.  LOL!   


  Her birthday was S'mores themed so I created a S'mores with a square die from the #5725 Nested square dies set and the #5407 Birthday Cake GCH frosting die.  The graham cracker part was cut in rectangle shape and rounded the corners with a corner punch.  I inked the edges, stamped a cute little face on it and added a bow.  The sentiment tag is from the #6121 Storybook template.

Gnome Bookmark:  Another slight alteration of dies - here's a bookmark I made into a Gnome using the #5931 Santa Puppet die set.  The only real change that I made was that I added an additional beard layer by partial die cutting to make it slightly smaller so that it fit on top of the bottom one.  Then the nose fit nicely in between the top beard layer and the rim of his cap.  I omitted the brows, mustache and eyes.  Since he isn't a Santa, I also omitted the belt and fur parts of his outfit.  I die cut his outfit using the #5832 Gnome PP.  This paper choice made him look like he was wearing PJs so I added a cookie and coffee mug (from my stash) in his hands.  I placed him onto a bookmark made with the #5223 - Bookmark die.  He actually resembled me after Christmas.  I was a complete couch potato with my PJs on and my coffee mug in hand.  Life is good! 


Welcome to 2026 and another fun year with Art Impressions. 

Thanks for joining me today!  
Have a great day and keep creating!


Saturday, November 8, 2025

Friends Make Our Hearts Warm by Janet


 Hi everyone! I'm very excited to share a card made with a new line of stamps just released. They are called Woodland Christmas Foundations. This image is 6085-Woodland Snowman Scene. Isn't this snowman and his friends precious? The stamps are square in size so I created a square card for it. I used the 6047-Nested Scalloped Square dies for the layered background.

I first created the card base and the layers before I started on the stamped image. I wanted to make sure I knew exactly how large the focal point needed to be before I started it. I layered berry blue and white glitter cardstock to form the background.

Once done, I stamped the image on alcohol ink friendly paper and cut it out using one of the nested scallop dies. Then I got to work coloring it. To add a little sparkle, I coated the snowman with glitter ink using a Wink of Stella  pen from the Ai Store. It adds just the right amount of shine to snow!

As a finish, I tied a white satin bow and glued it to the top of the card. It's a charming image with an equally charming background.

Thanks for joining me on the blog today. As always, don't forget to find your favorite stamps, dies, papers, and accessories at the Ai Store! You'll always find something that calls to you. 

Happy Crafting!

Janet YouTube - Blog - Facebook - Instagram - Pinterest  

Thursday, July 10, 2025

Golden Mermaid by Dori Mendiola

 Happy Thursday AI Friends!

My card today was inspired by the current blog challenge "Spritz, Splatter and Paint!"  A perfect way to showcase the new Winsor Newton Ink 14ml - Gold Paint sold now on the Art Impressions website.  Although the challenge does not stipulate that you have to use gold, you can use any spritz, splatter or any color paint.  I chose to use the new product, since it was new to me too.

This gold paint is awesome and adds such glimmer and shimmer to your project.  I played with it a little bit to see how I wanted to use it.  I loved the look with stencils and a makeup sponge, smooshed onto the paper and spritzed or splattered.  For my card, I chose to paint with it, stamp it and also used it in a mister (mix with a touch of water in a mister).  


I stamped the #5903 - Treasured Armful Mermaid images onto copic friendly paper with Memento black ink and colored with my copic markers listed below.  I then die cut each of the images using the coordinating dies that come with the stamp set.  I'm using a background that I made awhile back but thought it would be perfect for this card.   Using the backside of photo paper, I believe I used Ranger alcohol inks - Mermaid and Glacier - but any blues will work.  I also used a bubble frame die that I had in my stash.    


I painted the treasure chest with the Winsor Newton gold paint as well as the middle of the flower in her hair.  When you zoom in, you can really see the result.  I painted some gold onto the sentiment stamp and stamped it onto white cardstock.   But, I liked the use of the gold paint in a mister the best.  This produced the best shimmer and still left the color underneath showing through.  See the sand in the picture above and the mermaid tail and hair in the picture below.  One or two mists will do the trick, but it's hard to stop.  I actually sprayed too much the first time but was able to wipe some of it off.  Wait until it slightly dries first, then wipe a paper towel lightly over it.    


After all the images were colored, painted and sprayed, I assembled the card.  This little mermaid actually swings back and forth as if swimming.  
Punch a hole in the background behind where her head will be, large enough for a foam pop dot.  Glue a penny, button or paper disc to one side of the pop dot.  Place the pop dot through the hole from the backside and adhere the mermaid (approx. forehead) to the pop dot poking through.  She should rock nicely at this point.  Place a thicker layer of foam tape on the backside of the background avoiding the penny, button, or disc.  Adhere onto your card base.  Test to make sure that she moves freely.  Pop up the frame so it is slightly higher than the inner square.  This will help stop her movement so she doesn't flip all the way around.

I hope you join in our blog challenge for a chance to win a free stamp set.  We love to see what you create!
Have a wonderful day and keep crafting!

Copics used:  E000, E01, E11, R20
E30, E31, E33, E35, E37, YR31
RV63, RV66; V05
YG09, BG05

Tuesday, June 17, 2025

Toad Birthday card by Reneé Matarese

Hello Ai fans!

I've been toad you're having a birthday!

Well, maybe not you, but someone is.
 

I adore all of the Funny Farm Series sets but the 5283 – Frog Set is one of my favorites.


I created two versions of the same card using a similar, yet different color palette. I'm really loving the new 6047 – Scalloped Square Dies.

I used the Basics Yellow and Teal paper packs and you can find to those below.


Thursday, June 5, 2025

Hydrangea Window by Dori Mendiola

 Hello AI Friends!

I have a window card for you today inspired by the newest floral set #6062 - Hydrangea Floral.  These flower sets are so pretty!  

I decided to try a new coloring medium for me.  I usually color using copic markers, but this time, I thought I'd try my hand at a little water coloring using the Zig Clean Color Real Brush pens.   Needless to say, I need a lot more practice but it still was fun playing and I feel like this turned well.  I used the water color technique where you color the stamp with the markers and then stamp it onto the paper.   I colored the leaves using the #41 Light Green and the blooms with the #81 Light Violet and stamped the image onto a 3 1/2" (top) x 3" piece of Strathmore Bristol Smooth cardstock.   Using the blender brush, I pulled out some of the color on the leaves and the flower blooms.  
Ta da, that's it!  Fairly simple coloring!  


For the card, I cut a 4 1/4 x 11" piece of heavy cardstock and scored at 4 3/4" along the 11" side.   I turned the cardstock and scored from the other end at 1/2", 1", 1 1/2".   I burnished each of the score lines creating a top fold card with a valley, mountain, valley fold at the bottom.   I also cut a narrow 2" piece of cardstock and created a spring-like piece with the same valley, mountain, valley fold to fit behind the image and onto the back side.  See picture below.
 This spring-like piece is optional, but it helps hold the image slightly back from the window opening.
 

I die cut the window, using #4619 - Window die, from the base card front (the longer side with the scored V, M, V edge).  I adhered a lavender pattern piece of paper from the #5955 - Encouragement PP to the front of the base, over the window opening.  I then took a die from the #5725 - Nested Square die set, that is slightly larger than the window opening, and placed it over the pattern paper where the window opening will be.  Tape down temporarily and run through your die cut machine.  I scored the window panes on the window die cut and folded them open.  I then adhered the window to the pattern paper centering over the square hole.  I then sealed up the card by gluing down the bottom edge to the back panel.  The scored mountain should be in the center.  See above.
On the image panel, I scored a tab 1/4" - 1/2" from the top.  Fold it towards the back and adhere it to the inside back of the card, centering it behind the window.  If needed, take the spring-like piece and  adhere to the back of the image and the other end to the back inside of the card.  
Now, to finish the front, I created the fringe-like grass by cutting a strip of green pattern paper and snipping the long edge every 1/8 of an inch (approx.).   I then slightly curled the fringe edge so that it came over the fence.   I weaved a piece of ribbon through the fence, popped up a sentiment from the #6062 - Hydrangea Floral set and added a few small white hearts for the finishing touch.

Thanks for joining me today!
Have a wonderful day and keep creating!

Tuesday, June 3, 2025

You CAN add sparkle and bling to masculine projects! by Reneé Matarese

Hello Ai fans!


You have just about a day left to enter our We 💚 Dads! challenge. Make a Father's Day project or something masculine. You might win a free stamp set! 

Today I've made a dies only card that shows you CAN use sparkle
and bling on a masculine card too!


I used Platinum Stickles and Diamond Dots in several different shades,
to add interest to my card. I also used gold paper on the #1 and the trophy,
and Wink of Stella on the sailboat.


I LOVE the new scalloped square dies to frame the nested squares and stitched squares.
They're so pretty!


The waves were created using a border die from 5543 – Journal Template Die Set.


I love this sort of rustic Americana color theme for guys. Especially since Father's Day usually falls near Flag Day which was my grampy's birthday. (Just so you know...Blogger wanted to autocorrect grampy's to grumpy's! lol!) My grampy was not grumpy!


Monday, June 2, 2025

Say Cheese by Sharon Caudle

 Hello AI Fans!


I sure hope you enjoyed your weekend and that the weather is cooperating with you wherever you are! I had to break down this weekend and turn on the air conditioning for a bit! My favorite times are when it's in the 70's and there's a nice breeze and I can open up the windows and doors! 

My card for today features another one of the fabulous sets from the Girlfriends line! This is #4130 Picture Perfect Set. I started by stamping the image onto a Copic friendly paper and then coloring it with Copic markers. I cut them out using 5725 Nested Square Dies and then backed it with 6047 Scalloped Square Dies. I used a "say cheese" die from my stash and cut it out four times to make home made chipboard sentiment. I love doing that! It creates wonderful dimension on  your card! 


So that's it for me today! Thanks so much for stopping by for a visit and until next time - stay crafty!!


Monday, May 26, 2025

Let the Party Begin by Sharon Caudle

 Hello AI Fans!

Before I say anything at all, I want to say that today is a day we honor all our fallen U.S. military. They sacrificed their lives for the lives of others. From the depths of my soul, thank you so very much for your service. May your sacrifice never be in vain, nor forgotten. 

Today I have a super fun card to show you that uses one of the sets from Art Impressions Girlfriends line! I don't know about you, but I ADORE the Girlfriends line of stamps!! They just are the ultimate display of what it's like to have the best Girlfriends in your life!! They are always having fun and laughing and just enjoying life!! This set, #5280 Practically Perfect, is no exception!! I want to attend the party they're at, don't you??!! LOL! I started with stamping the image onto a Copic friendly paper and then colored them using Copic markers. I've listed the markers below for your convenience. After getting it colored, I cut it out using the Nested Square Die set and then framed it using the brand new Scalloped square dies. I love how the largest of the dies has that decorative edge around it!! 


That's it for me today! Thanks so much for stopping by for a visit and until next time - stay crafty!!


Copic markers used:
E000, 00, 11, 23, 25, 27, 33, 39, 97, and 99
Y26, 35 and 38
R20, 22, 24, 27, 81, and 83
BG11, 13, 15, 18, 32, and 57
YR23, 24, 27, 65, and 68
T1, 2, 5, and 6
C1, 2, 4, 5, 6, and 7
W3, 5, and 7