Showing posts with label Front Porch Easter Set. Show all posts

Thursday, February 27, 2025

Easter Fun Fold by Dori Mendiola

 Happy Thursday AI Friends!

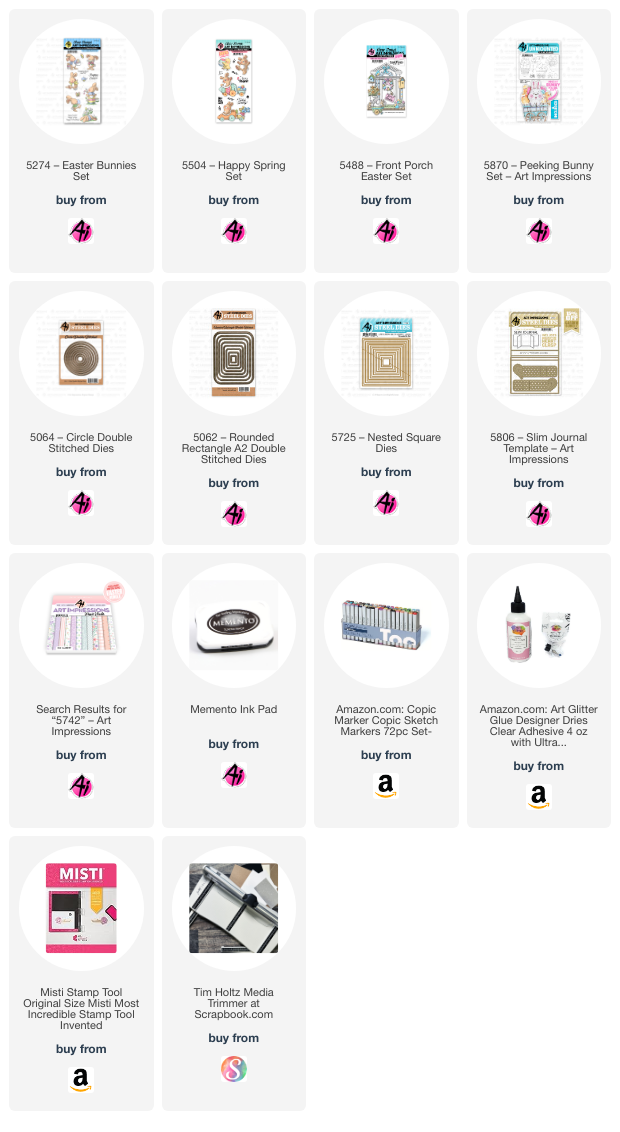
Today I have a couple Fun Fold Easter cards using the #5274 Easter Bunnies, the #5870 Peeking Bunny, and the #5504 Happy Spring sets.  These Easter sets have the cutest little bunnies.  OMGosh sooooo cute!!  Add these images to this fun fold style card and you'll find yourself addicted.  I could have created all night.  I will definitely be making more.

To create these fun folds, I choose the largest circle from the #5064 Double Stitch circle die set for the card on the left and the 4th largest #5062 Rounded Rectangle A2 Double Stitch die for the smaller card.  The following instructions will be for the circle card.  The rectangle card is basically made the same just a different size and shape.  
I cut four circles from white lightweight (80 lb. or less) cardstock and scored each in half.  I then formed the fun fold by overlapping the circles as shown below (the right half over the previous circle right half).  Continue overlapping the circles until all are together.  Make sure to gather them together and square them up tightly.  Place a dab of glue on the back side where they overlap.  Then flip to the front side and dab glue under these overlaps.  Now your fun fold is formed.   

Cut four circles from pattern paper.  I cut two with the largest circle and two with the next size circle.      Cut each of these four circles in half and cut just a tad off the straight side of the larger circles.  The smaller circles are for the front and will recreate a 2-layer look (see below).  Glue the smaller circles to the front (or top) folds, centering up to leave a nice white border.  Glue the larger circles to the inside folds, leaving no border.  
I stamped my one-layer scene onto copic friendly paper with Memento black ink and colored with my copic markers listed below.  I then cut the scene to fit inside the fun fold card (3 1/2 x 3 1/2 inches). Adhere this image to the inside of the card.  Place a ribbon or belly band around the back side and adhere down to the back.  Wrap around and tie or clasp into place.  I added a basket with the bunny bottom for decoration.  Lastly, I glued a 3 1/2 x 3 1/2 top fold card to the back for your sentiment and also to finish off the back side of the card so that the ribbon or belly band will be covered.  This also adds as a nice stand to display your card.

Hope you enjoyed my cards today and I especially hope you'll give this one a try.  Trust me, you will want to create more with different shapes and sizes.  It's addictive! 

Happy creating!!

Copics used:  N0, N1, E21, E23, R20
YR01, YR02, Y13, Y15, Y17
V12, V15, G40, G43, G46
B000, B00, B12, B14
R81, R83, E51, E53, E55

Sunday, April 2, 2023

There's no bunny like you! by Reneé Matarese

 Hello Ai fans!

My card was made as the feature for the Easter Wishes challenge on the Art Impressions blog.

You can find all of the details here.


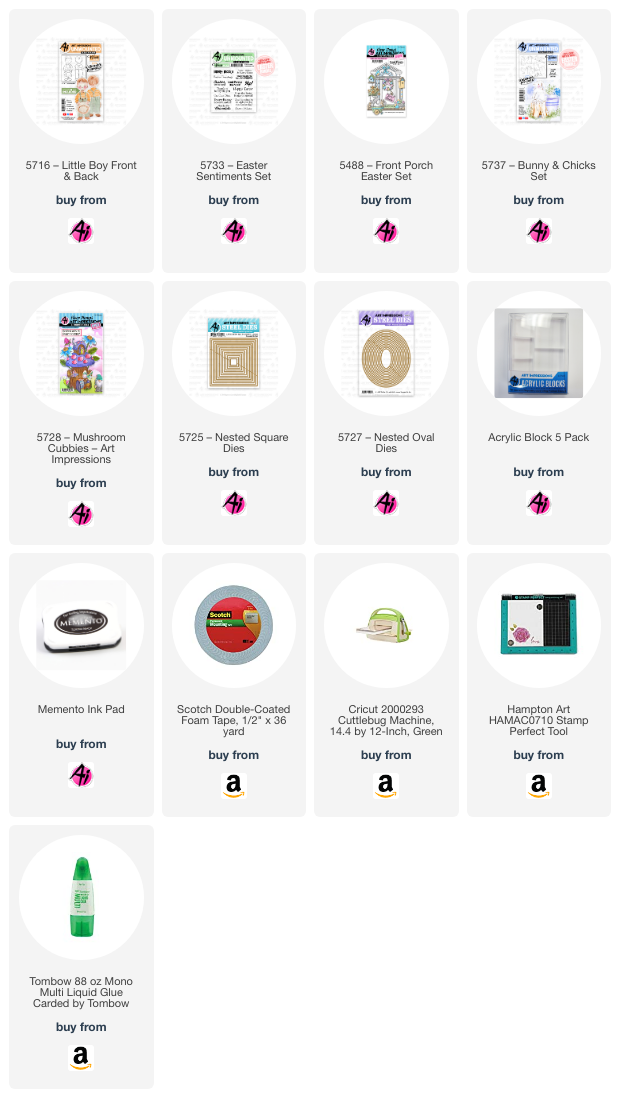
I accessorized my card with lots of little add on stamps.  The bird, basket of eggs and tulips are from 5488 – Front Porch Easter Set.  With this type of card,  you pull the tab and it reveals a hidden panel inside.


The sentiments on the front and inside are from 5733 – Easter Sentiments Set.
They're stamped on 5727 – Nested Oval Dies and 5725 – Nested Square Dies


The little butterfly is from the beyond adorable new 5728 – Mushroom Cubbies set.
Last is the bunnies...oh those bunnies!  These are just the CUTEST!!
I used two of them from the new 5737 – Bunny & Chicks Set.


Sunday, March 26, 2023

Happy Retirement! by Reneé Matarese

 Hello Ai fans!

One of my friends is retiring at the end of this school year and I wanted to make her a fun card.  She loves to travel and has done so throughout her career.  I can only imagine where she'll go once she all the time in the world to do so.

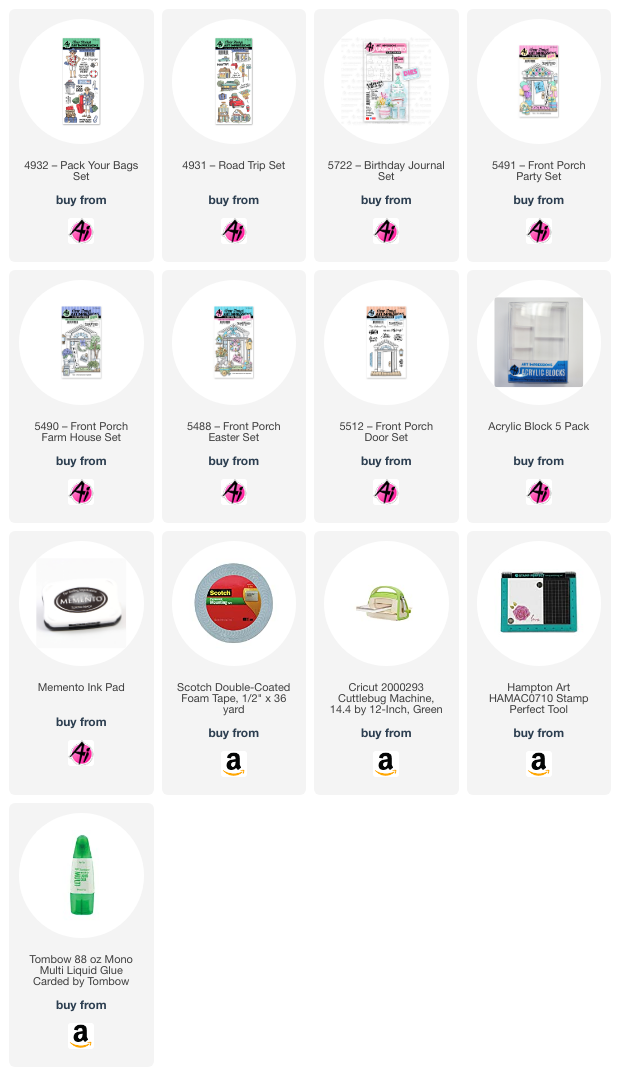
For my card I used SO MANY Art Impressions sets.

You can find links to all of them at the end of my post.


My card was made for the current Inside Out challenge.


I wanted to incorporate all forms of travel because her 3 children are scattered throughout the world.  Sometimes she hops a plane,  sometimes it's a road trip.  I'm not sure if she's cruised yet but isn't that what retirement is for?


My images were all colored using Copic markers.  Some were cut with coordinating dies and some were but with my Brother Scan and Cut.  It's a lifesaver for older sets that don't have dies.


Some of those images are tiny so I whipped out my TwinTones for the fine details.


Sunday, March 19, 2023

Happy Easter Planter by Reneé Matarese

 Hello Ai fans!

Before you know it,  Easter will be here.

Do you have people you make Easter cards for?
Perhaps you scrapbook your kids or grandchildren's Easter egg hunts or Church services?

Art Impressions has all of your Easter needs as far as stamp sets go!

EASTER

The card I'm sharing today used multiple sets.


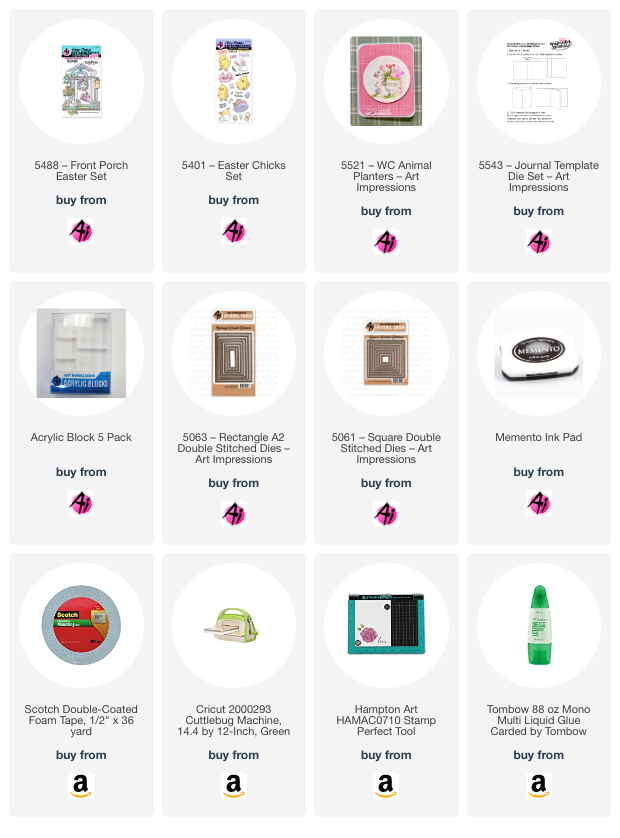
The main bunny planter image is from 5521 – WC Animal Planters proving that they don't have to be watercolored, in fact they need very little color at all to be adorable.

He was framed using the 5061 – Square Double Stitched Dies.


I filled the pot with flowers from 5488 – Front Porch Easter Set and the bow and additional flowers and foliage are from 5401 – Easter Chicks Set.


The Happy Easter phrase was stamped on dies from 5543 – Journal Template Die Set.
I used the 5063 – Rectangle A2 Double Stitched Dies for the bottom portion of the card.


Though some of these are considered Watercolor sets I used Copics to color them.

Copics used:
RV00, RV63, RV93, C00, C3,
B0000, B02, G12, G24, Y13, Y18


Friday, April 15, 2022

All Are Welcome Card by Tasha!

 Good morning Ai Fans!

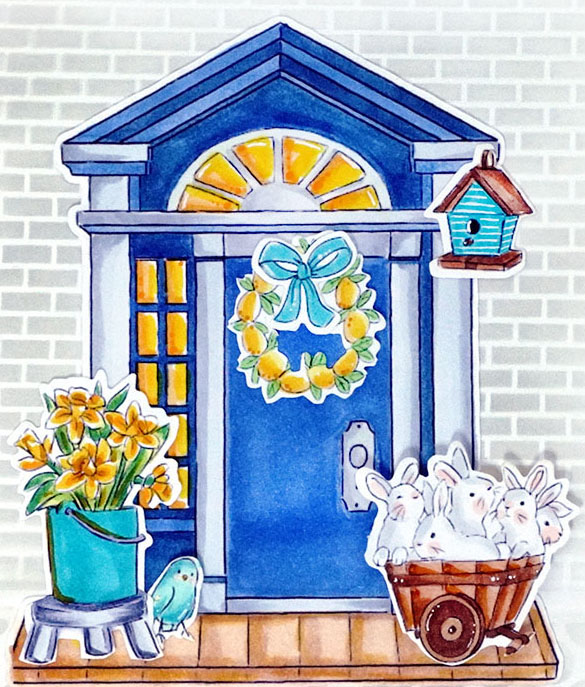
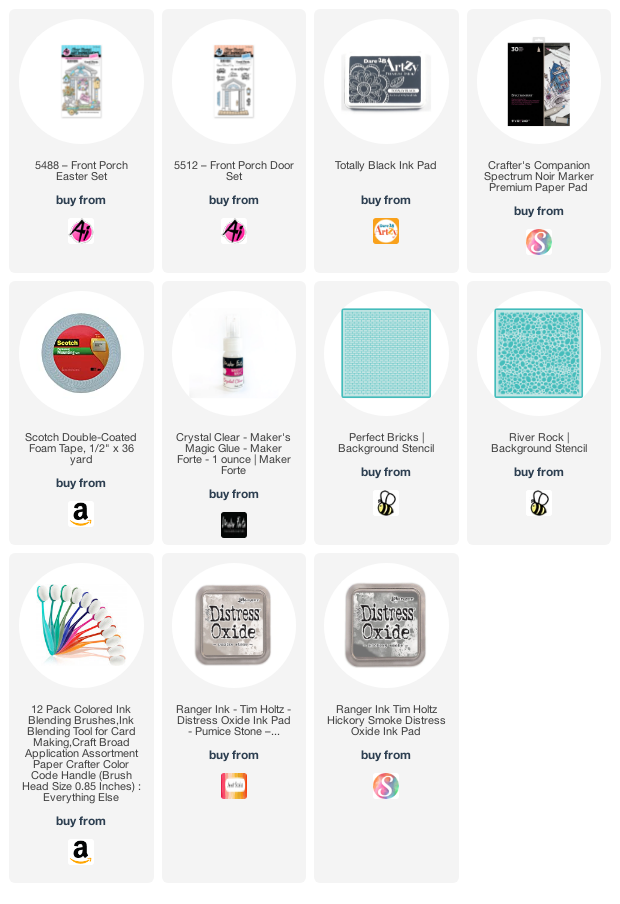
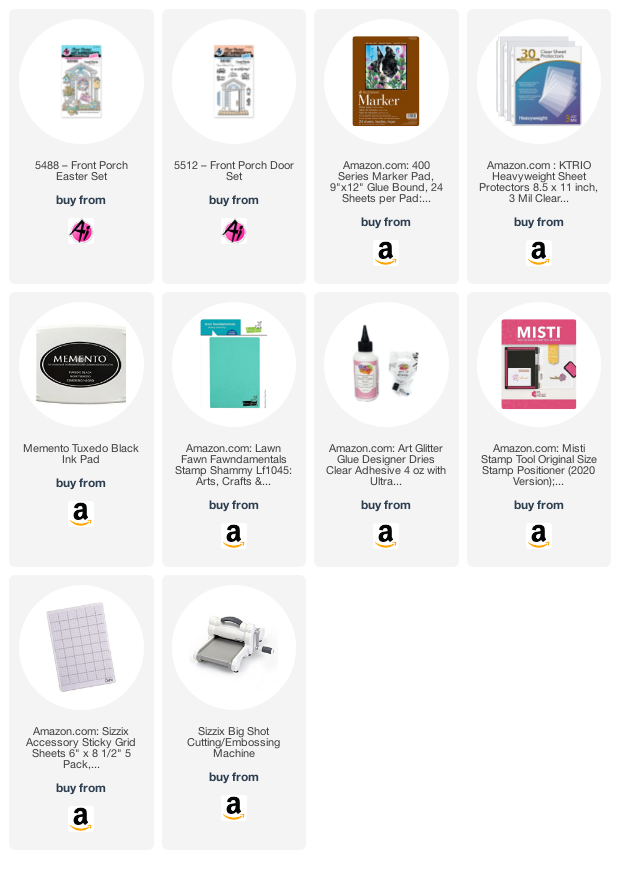
Tasha here sharing an Easter card created with the New 5512 - Front Porch Door Set and the 5488 - Front Porch Easter Set!

All of the Front Porch Door Sets include the coordinating dies making it super easy to cut all the pieces out. You can also use the door die to allow the door to swing open. I decided to keep the door closed and color the windows with yellow to look like the house had the lights on. I also love the blue and yellow color combination!


The wreath is perfect for Spring, Easter, or Summer. You can also customize it by having multi-colored eggs, or use yellow to look like lemons as shown. I think all the bright pops of yellow really makes this card happy. I also LOVE the little birdhouse!


For the sentiment, I stenciled a stone background and layered the "All Are Welcome!" greeting on to layers of blue and yellow paper. The Front Porch Door Set includes several sentiments perfect for year-round cards and projects!


Thank you for checking out today's project and I hope you are inspired to create a fun Spring/Easter card using the New 5512 - Front Porch Door and 5488 - Front Porch Easter Sets!


Saturday, April 9, 2022

🌷NEW RELEASE🌷 Easter Doorway by Janet

 
Hello everyone! I hope you're excited as everyone on the Design Team is about the start of the new releases. This week the beautiful Front Porch Door and Front Porch accessories sets were released. There are so many creative ways to use the sets together to create a gorgeous doorway scene. 

Today I have a card I made combining the 5512-Front Porch Door Set with the 5488-Front Porch Easter Set. The key to successful layered image like this is to use a technique that combines stamping and masking. After stamping the images in the front of the scene, mask the front images to stamp the next layer and continue this process until all your images are in place. I colored the Easter doorway with Copic markers. The color list can be found at the bottom of this post.

After coloring, I created a frameless shaker piece using some Easter themed shaker bits. Frameless shaker cards are easy and quick to make and keep the card relatively flat. This means it mails more easily than a card that has dimension from foam tape. I made mine by securing a piece of non-glare plastic from a page protector around the image. Once done, the shaker was layered on top of a gold metallic mat and then secured on a square card base. I love how it has lots of movement without the extra bulk that most interactive cards require. 

COPIC MARKERS USED
C0, C1, C3, C5, C7, 100
R32, R35, R37, R39
BG15, BG45, BG72, BG78
YG61, YG63, YG67
Y13, Y15, Y17
E23, E25, E29

Thanks for joining me today to take a look at the new Front Porch Door stamp series. I think this is going to be a fan favorite!

Happy Creating!
Janet YouTube - Blog - Facebook - Instagram - Pinterest