
Hello Ai fans and welcome to our May Monthly Challenge.
These monthly challenges will have no theme. It's just fun to create something using Art Impressions products and then possibly win some free stamps!
May is Sara Furr's turn to be our Guest Designer.

Before we see Sara's incredibly adorable cards, let's see who won our April Monthly Challenge.

#6 came up first so Lisa J. wins a free stamp set from Art Impressions.
Please contact Leah at Feedback@artimpressions.com
to claim your free stamp set.
---------------------------------------------------------------------------------------------------------------------
The second number selected was #9, so Rachel B. wins a freebie stamp from me.
Please contact me at Renee@artimpressions.com with your address.
I'll let you know what freebies I have available for you to choose from.
Congratulations to both artists and I hope you enjoy your new stamps!
Congratulations to both artists and I hope you enjoy your new stamps!
---------------------------------------------------------------------------------------------------------------------
In case you're new here, you may be wondering...
In case you're new here, you may be wondering...
How do you win free stamps?
Add your creation (it doesn't have to be a card) using Art Impressions products below, for your chance to win a free stamp set from Art Impressions or a freebie from me. (US addresses only for my freebie...The free stamp set from Ai is open world wide) See the inlinkz below to enter.
Now, let's see what Sara has created to inspire you this month.

Happy day to you my dear Art Impressions fans, I am so happy to be back here on the Art Impressions blog! Today, I have 2 for 1 birthday cards for you featuring the #5400 - Baby Critters stamp and die set. I don't know about you, but I love to get a good bang for my buck by cutting out die cuts hidden behind layers of other die cuts or cardstock.

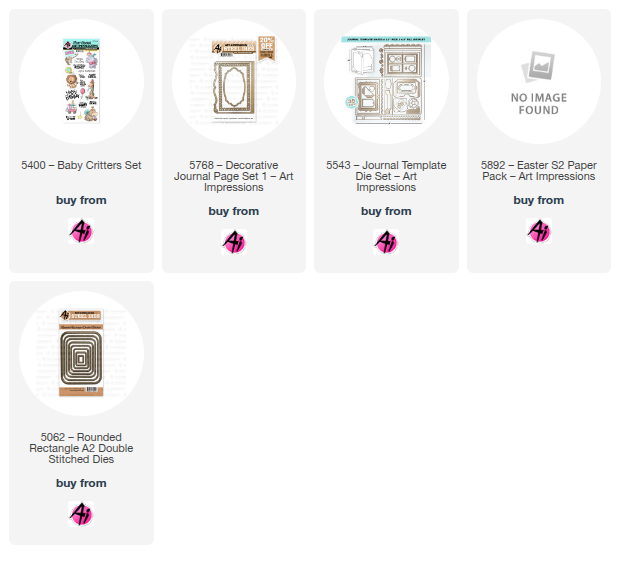
My first card features several layers of die cuts and pattern papers. To start with my focal point, I stamped my baby elephant image on watercolor paper with Versafine Onyx black ink and watercolored him with Stampin Write markers in Smoky Slate, Bermuda Bay, Pool Party, Daffodil Delight, Pumpkin Pie, and Blushing Bride. I cut him out with the coordinating dies and applied foam tape to the back. I cut out the white frame from #5768- Decorative Journal Page 1 die set and put a light wash of blue and gray down for shadows behind my elephant and a bit of yellow down for the light of the candle, and then I popped my baby elephant up on top. I applied foam tape behind that frame as well. I cut the Teal decorative frame die, also from the same die set and layered that behind the white frame. I cut a "Rounded Rectangle" #5062 panel from the Teal leaf print pattern paper from #5892- Easter S2 PP making sure to save the leftover scrap piece for my second card. I also cut a strip of the rainbow pattern paper and the large panel of light blue striped pattern paper, all from the same pack, and layered them behind the focal image as well. I distressed the edges of the blue striped panel and the next layer of gray cardstock with the edge of my scissors to rough up the edges. I stamped the sentiment "age is irrelephant" on white cardstock and cut it out 3x with a banner die from #5543- Journal Template Die set layering them together to make a strong sentiment strip that I applied foam tape just to the left side of so it matched the height of my focal panel.

I cut out 12 layers of the button die from that set and layered 4 together to create each of 3 buttons. (These were all cut from the layer of gray cardstock hidden behind the blue stripped pattern paper! Waste not, want not, right?! Hehe) I added pink embroidery floss for stitching on 2 of the buttons and glued them down on the upper left side to balance out my composition. I saved the 3rd button for my second card. I created a double loop bow of gray polka dot grosgrain ribbon and adhered that to the bottom left corner for a touch of elegance.

I stamped my sentiments on the inside using Stampin' Up! Pool Party and Bermuda Bay inks.

My second card is a shaker card filled with iridescent silver stars that catch the light beautifully. My card base is another 6x6 white textured cardstock with the edges inked with Pumice Stone Distress Ink. Then, a layer of gray textured cardstock, and then the layer of pattern paper that I saved from my first card with the rounded rectangle cut out of it. I inked and distressed the edges of all those panels and then I added a piece of acetate to the die cut window and added foam tape around the edges of the die cut to create the shaker frame. I added my stars to the center of the gray panel and then popped my shaker window on top pressing down firmly so everything was sealed and no stars could escape.

I stamped out my baby hippo, also from the Baby Critters stamp set, onto watercolor paper with Versafine Onyx Black ink and water colored him with the same Stampin' Write markers I used on the baby elephant, but I added in Sweet Sorbet for the red cherry and the streamers on the party hat. I stamped out the balloon on white cardstock and again on the red polka dot pattern paper also from the same Easter paper pack. I paper pieced the polka dot balloon to the string and applied a foam square behind it. I cut the white decorative frame and the teal decorative frame again using the Decorative Journal Page 1 dies and applied Pumice Stone Distress ink to the edges. I adhered the teal frame to the top of the shaker window and then popped up the white frame on top of that. I again applied a light wash of gray for the shadow on the white frame, and popped up my baby hippo on top with his little cuppy-cake and party balloon. I stamped the sentiment on one of the tags from the Journal Template die set with Bermuda Bay ink, inked the edges, and tucked that behind my focal image to the bottom right.
Remember that 3rd button? I inked the edges of it, and glued that down just under the cupcake.
As a final touch, I added a tattered white polka dot satin ribbon to add some softness.

I again added sentiments on the inside stamped in Pool Party and Bermuda Bay inks.
And that finishes my 2 for 1 cards. I love creating coordinating cards with hidden die cut pieces! Next time you go to create a card, see how many "hidden" pieces you can cut to create a second coordinating card!
This stamp set is so versatile! One would look at it and think it is only for babies or kids, but I think that I have shown here that you can create cute adult cards too! I hope you had fun and are inspired to create some "2 for 1" cards.
Many Creative Blessings to you All!!
Love,
Sara Furr- The Crafty Farm Chick
Thank you so much Sara for such fun inspiration and for the wonderful paper saving tips!
Who doesn't want to stretch their dollar? Plus, it reduces the weight of the card for mailing, saving you even more money. These two cards are so beautiful! Remember, there is no theme, so your projects don't need to match Sara's. We can't wait to see what you make. Good luck to you all!
Who doesn't want to stretch their dollar? Plus, it reduces the weight of the card for mailing, saving you even more money. These two cards are so beautiful! Remember, there is no theme, so your projects don't need to match Sara's. We can't wait to see what you make. Good luck to you all!
6 comments:
Congrats Lisa and Rachel!! Sara your cards are so adorable!!!
Thank you so much Sharon, that is so kind of you! I am so happy you like them!
Adorable cards Sara!
Congratulations to Lisa and Rachel!
Thank you for the stamp set. I love the challenges!
Thank you so much Gennette! I really appreciate your kindness!
Thank you ladies. I didn't even see that I won until I saw my name in the comments 🤣 It's been a busy month.
Post a Comment