
Hello Ai fans!
Welcome to our October Monthly Challenge.
This month we have Simone Carr as our Guest Designer.

Hey there, I’ve got a fresh project that’s perfect for the season to share with you.
.jpeg)
On watercolor paper, I stamped the stump from the Woodland Critters Set (using the squirrel stamp) in Tombow 565 + 969, using my stamp positioner for precise placement. I then stamped the teapot from the Fairytale Houses Set with the same ink combo. To add a whimsical touch, I positioned the ladder from the Dwelling Foliage Set against the stump, again using the stamp positioner to get it just right.
Once the main elements were in place and stamped, I began coloring. After that, I stamped in the mushrooms from the Whimsical Mushroom Set and brushed in a soft blue sky using Tombow 526. To complete the scene, I stamped the pumpkin foliage and grass from the Harvest Pumpkin Set and Foliage Set 3, and finished with flowers from the Mini Flower Set. I saved the flowers for last to layer in extra detail and color.
For the card design, I die cut the scene with the 4th largest Nested Circle die and layered it on a scalloped circle die cut for a polished frame.
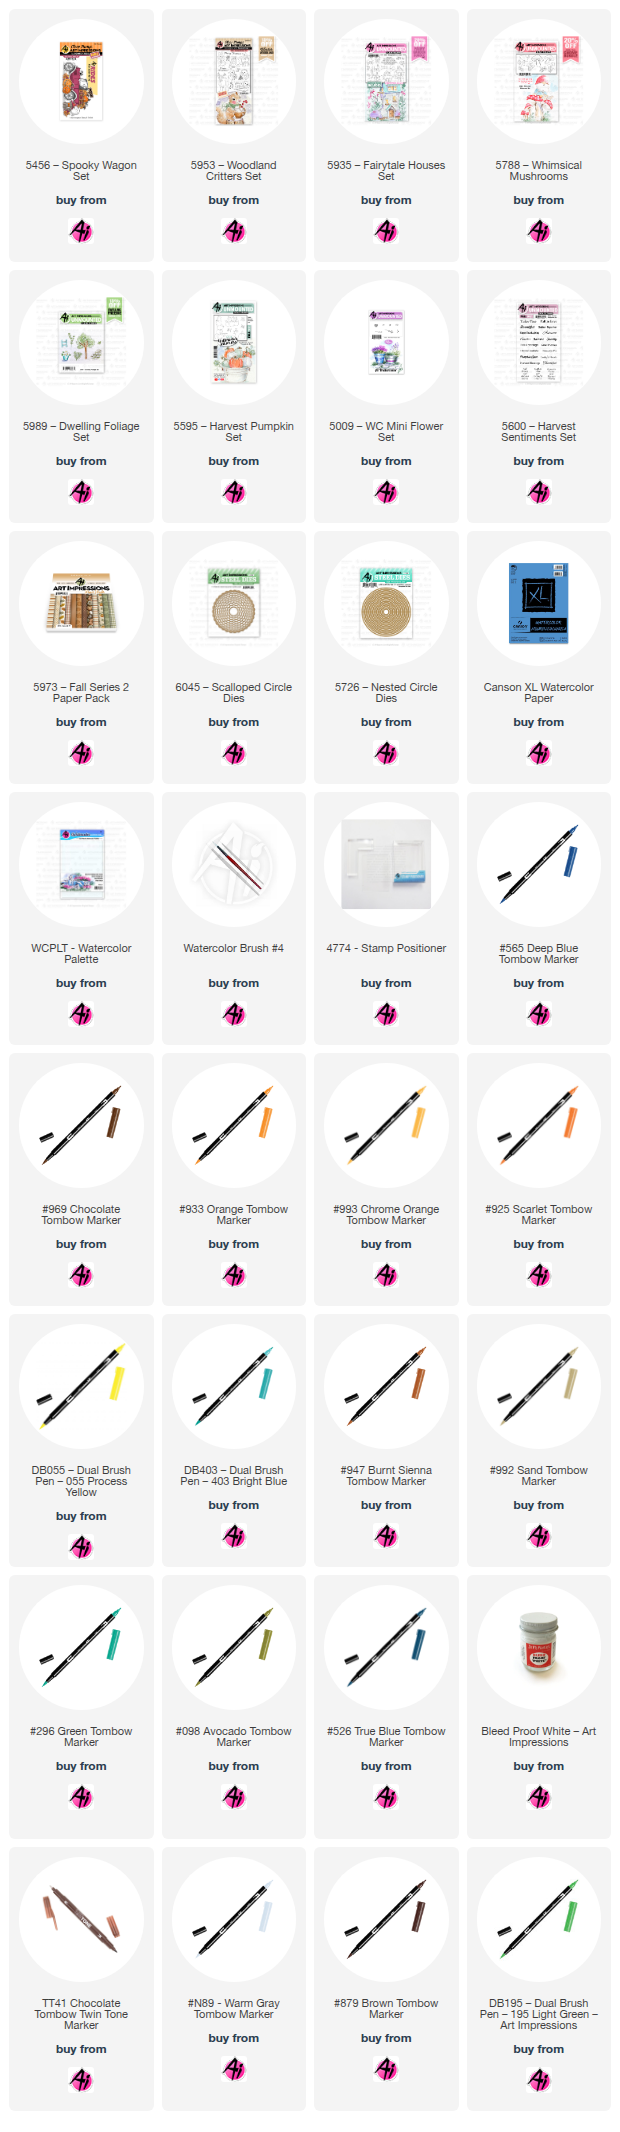
Materials Used
Stamps:
5600 Harvest Sentiments Set
5788 Whimsical Mushroom Set – Small Mushrooms
5595 Harvest Pumpkin Set – Leaves
5007 Foliage Set 3 – Grass
5009 Mini Flower Set
5989 Dwelling Foliage Set – Ladder
5953 Woodland Critters Set – Stump (Squirrel)
5935 Fairytale Houses Set – Teapot
Dies:
5726 Nested Circle Set – 4th Largest
6045 Scalloped Circle 3
Paper:
5973 Fall S2 PP
Canson Watercolor Paper
Inks & Markers:
Tombow: 565 + 969, 933, 993, 925, 905, 055, 403, 947, 117, 992 (teapot), 296 + 992 (mushrooms), 839 (flowers), 098 (grass), 526 (sky)
Bleed Proof White
TwinTone Brown
For my second card I chose to make a Halloween card.

I started by cutting a 2" circle from masking tape to use as a moon mask. To create the background, I placed a stencil measuring 3 ¼" x 4 ¾" over a 4 ¼" x 5 ½" piece of cardstock and taped it down so it wouldn’t shift. With the moon mask in place, I began ink blending—first with Twisted Citron around the moon, then layering Lucky Clover across the panel while leaving a glowing halo around the moon. To deepen the night sky, I blended Chipped Sapphire around the edges.
After blending the background, I watered down Bleed Proof White and then splattered it across the panel for stars, finishing with a mist of Fossil Amber Distress Spritz to add a soft, magical glow. Once everything was dry, I removed the moon mask and placed a moon stencil to add subtle texture with Lost Shadow ink. I then set the panel aside to dry completely.
Next, I stamped all my images from the Spooky Wagon Set (5456) onto Bristol Smooth cardstock using Shadow Grey Archival Ink. I colored them with Tombow markers, then die cut each piece. To assemble, I layered a frame die from my stash (cut twice for extra dimension) over the blended background, arranged my stamped elements, and popped them up with thin foam tape. Everything fits perfectly on an A2 card base (5 ½" x 4 ¼").
The end result is a playful Halloween scene with a glowing sky that makes the spooky wagon really stand out!
Materials Used
Stamps:
Spooky Wagon Set (5456)
Inks:
Distress Inks: Twisted Citron, Lucky Clover, Chipped Sapphire, Lost Shadow
Fossil Amber Distress Spritz
Shadow Grey Archival Ink
Markers:
Tombow: N55, N45, N35 (Truck & Cat); N89 (Ghost); 020, 991 (Truck); 969, 879, 947 (Truck, Sign, Pumpkins); 933, 195 (Hat); 933, 946, 925, 905, 055 (Pumpkins)
TwinTone: Black, Brown
Paper:
Bristol Smooth Cardstock
Glitter Cardstock
Other:
Bleed Proof White
2" Circle Mask (for Moon)
Stencil (3 ¼" x 4 ¾")
Frame Die (from stash)
Foam Tape
Card Base (5 ½" x 4 ¼")
----------------------------------------------------------------------------------------------------------------------------------
WOW! What adorable cards from Simone!
We're sure you're going to be inspired by these.
We hope you'll add your creations to our challenge. Remember, even though Simone created Fall themed cards, our Monthly Challenges have no theme. You may enter ANY crafty project as long as you use some Art Impressions products on what you create.
See below for all the details.

3 comments:
Simone your cards are fantastic!
Beautiful ❤️
Very nice work DT
Post a Comment