Showing posts with label 5935 Fairytale Houses set. Show all posts

Saturday, March 21, 2026

Over the Garden Wall by Gennette Houghton


Hello, and Welcome to Watercolor Weekend! Spring fever hit me early this year, we have had one of the coldest winters ever. Unfortunately for us, winter tends to hang its claws in. So I am dreaming of warm days and no more snow!  

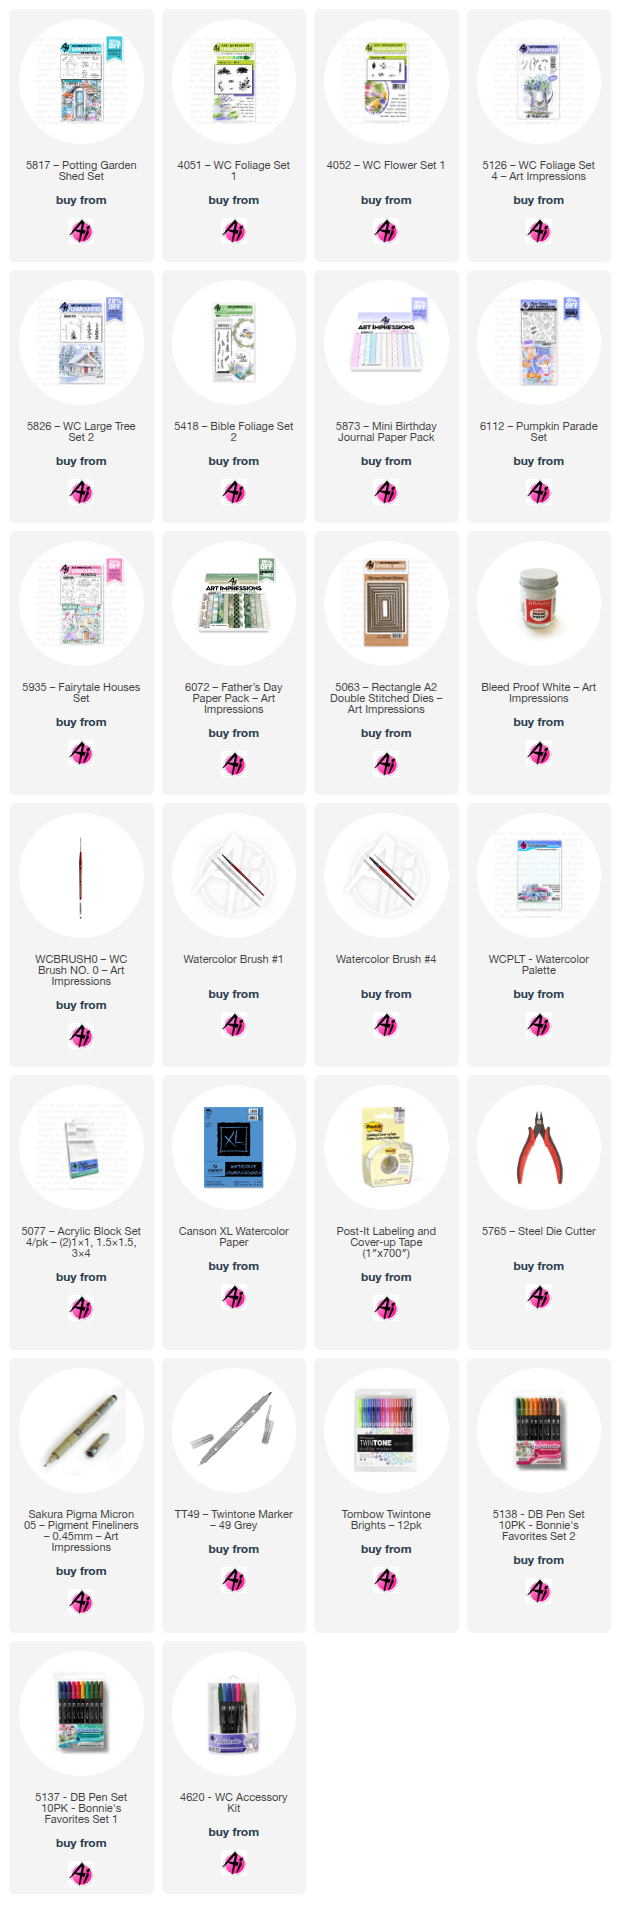
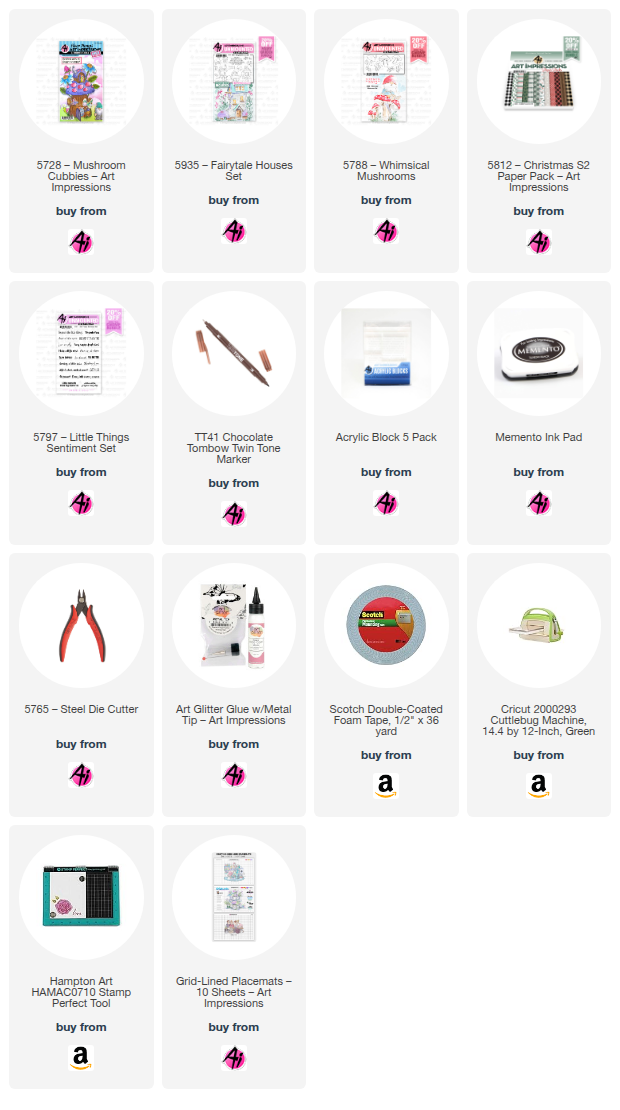
For my first card I used the 5817 Potting Garden Shed, I stamped it on my watercolor paper in Distress Ink, Pumice Stone, after stamping off once. 5063 Rectangle A2 Double Stitch Dies, using the 3rd largest to trace out a frame around the Potting Shed for a guide. After dealing with the back and forth of snow and what becomes a mud fest, I wanted strong colors.  So starting with the roof I mixed N15 in with 856, which makes the red more of a burgundy color. I also used this on the door.  For the main part I added some washes of 947 and 565 for the shadows.  For the glass on the door I used 526 and shaded the top and one side with 565.  I then put in the sky with 526 and a wash on the ground of 177, darkening this color around the pot, shed, and watering can.  528 for the birds, along with adding 025 and 026 for the beaks, and a black micron for the eyes and legs.  I started with the bottom left pot and used post-it tape to mask the side guideline and the pot. 4051 Foliage Set 1 with the large foliage, turned so I was using one of the short ends in 126 and filled in the area I wanted covered.  I then colored just a small portion of this stamp and added 177 in different areas. Using a damp brush, I softened these 2 colors together.  856 mixed with 969 for the pot creating a darker terracotta pot, leaving a highlight in the center and darkening the sides.  For the hanging basket, I shaded the sides with 565, I also left the mask on the side just in case.  I then used 4052 Flower Set 1, the daisy bunch, in 905, coloring only a couple of the flowers in 885 and adding that in areas to create more of a definition, also softening this with a damp brush.  For the watering can, I used a mix of 565 and 969, and then added a touch of 249. 947 is great for creating rust, I just continue adding layers until I am happy with it.  For the pot on the right, I shaded this as well with 565, and added stripes in 528.  The daisy bunch was also used for this one, but with 025, a couple in 026, and some in 993. Before adding the foliage I softened this with a damp brush and then used 5126 Foliage Set 4, small vines, in 177 to add in some greenery, lightly touching these with a damp brush.  The leafy branch from the same set, up in both corners after taping them off, with 126 and a line drawn through with 177, which gives a two-toned look on the leaves. I touched each of the leaves with a damp brush.  I then added some grass at the base of the image after taping off by the guide lines, with the grass from 5826 Large Tree Set 2.  This is, by far, my favorite grass stamp, and I like to use 177 with just a touch of 969 in 2 spots at the base of the stamp.  Once softened with a damp brush, to me anyway, gives a more natural look to the grass.  Using the dots from 5418 Bible Foliage Set 2, I added some dots in 177 throughout the scene. Bleed Proof White was added in with each of the florals. I matted my card base with paper from 5873 Mini Birthday Paper Pack and cut out my image with the same die I used for my guidelines. I matted the image with a solid green cardstock and mounted it onto the card base. 

For my 2nd card I used 6112 Pumpkin Parade. I always look at sets to see if something can be used in a different way, and the bunny in this set with her witches costume gave me the Lord of the Rings vibe. I was talking with my son about it and he said it reminded him of Over the Garden Wall, a 2014 animated Mini TV Series, so I ran with it. So, I turned the little rabbit and owl into little adventurers traveling down a forest path. I found the perfect paper in the 6072 Father’s Day Paper Pack, and the dies I used are from my stash. When I inked the stamps, I just left off the lantern faces on both of them.  For the Rabbit I used N57, N49, N79, 772, 856. The hat, cape, and shirt I used 027, 249, 947 and the basket 969, 947. The Owl I used 947, 879. 879 was a little duller than I wanted so I glazed over this with Marvy 108 Black Cherry.  For the beak and talons I used, 025, 026.  I then used the flowers, mushrooms, bee, and butterfly from 5935 Fairytale Houses Set.  For the flower heads I used, 526, 676, 725, and 565. The centers, 055, 025, 026. The leaves and stems, 126, 177.  The mushrooms, 992, 969, 856, 837, and Bleed Proof White was used.  The bee 055, 026, N15, 526, 565. The butterfly, 025, 985, 856, 679, N15.  I cut a slit in both of the baskets for the flowers, and the Rabbit, bee, and butterfly are popped up with foam tape.

Thank you for joining me today, until next time! Create….Share….Inspire!


Thursday, January 29, 2026

Hello Sunshine by Dori Mendiola

 Happy Thursday AI Friends!

Have you seen the newest AI release?  This one is fantastic!  I know, I probably say that about every one of them, but let's be real - they ALL are fantastic!  This is definitely a fave of mine!

Two new stamp sets were released - #6103 - Baby Keepsake and #6106 - Spring Keepsake, which is the one I used for my pop out card.


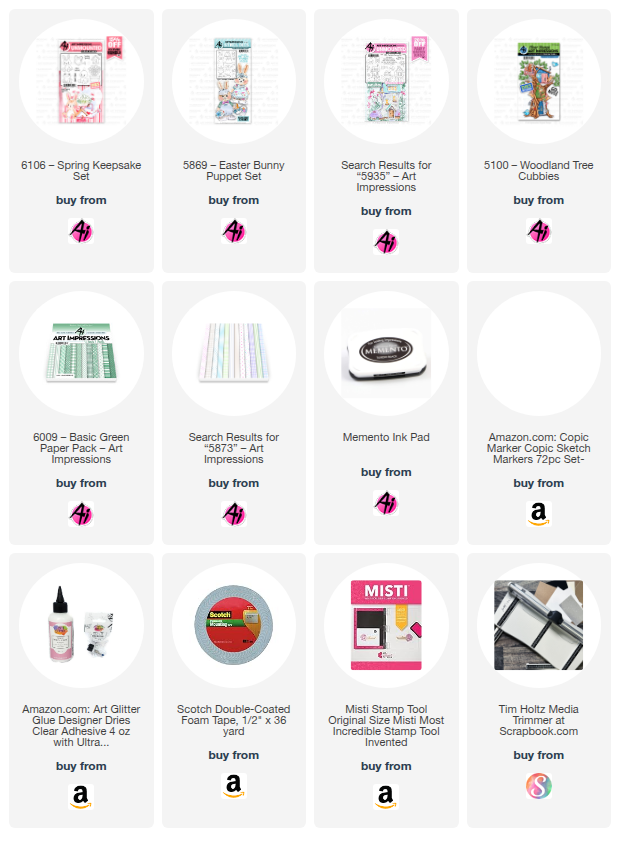
I stamped the images onto copic friendly paper with Memento black ink and colored with my copic markers listed below.  I cut each of them out with the corresponding dies that are included in the set.  Love it when dies are included, don't you?  Adds so much dimension!  Check out this cute little frog!  He is definitely my favorite, however, the bunny and duck are just as adorable.  

I created a pop up card so that I could layer each of these cute little images.  I added a few images from other sets, like the flowers in the water can (#5935 Fairytale Houses), the Easter basket (#5869 - Easter Bunny Puppet) and the bird (#5100 - Woodland Tree cubbies).  The sun was from my stash.

I used the #6009 - Basic Green PP for the grass and the #5873 - Mini Birthday PP for the cloud background.

That's it for me today!  Make sure to check out the new release!   It includes some beautiful valentine papers and a new scalloped rectangle die set.  Great bundle!

Hope you have a wonderful day!  Keep creating!

Copics used:  N0, N1, N2, B000
G20, G21, G24      V12, V15
R02, R05, R08, R20
B12, B14           YR12, YR16
Y11, Y13, Y17, Y19, Y32, Y35, Y38

Thursday, October 9, 2025

Playing in the Dirt by Dori Mendiola

 Happy Thursday AI Friends!

Summer came and went soooo fast but I still want to play in the dirt.  We are definitely headed into fall here but some of you may still have some great summer weather left so hopefully you feel inspired to go play for those of us that can't.  😀

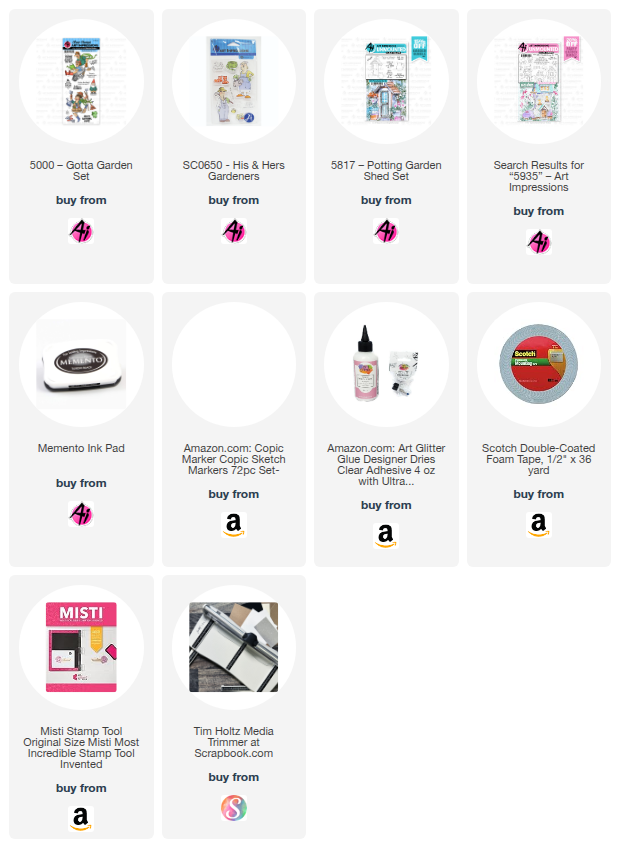
I combined #5000 - Gotta Garden set and #5817 - Potting Garden Shed to create this interactive card.  This is a larger than normal card but it's a fun size - 8 1/5 x 5.

I started out by stamping the images onto copic friendly paper with Memento black ink and colored with copic markers listed below.  I fussy cut the images.  The garden shed is a watercolor stamp set and has a few garden pots at the base, so I just fussy cut them off and popped up the boots and garden hose over the cut area.  I also cut an opening in the door and placed some tools and garden gloves inside.  These accessories are from the #SC0650 - His & Hers Gardeners set.  I also colored and cut some flowers from the #5935 - Fairytale Houses set.  

I die cut a slider track into the dirt panel and placed the playful couple onto a disk that pops through both sides of the track to allow for the movement.  I then popped up the dirt panel, making sure not to place pop dots or foam tape to close to the slider track.  You could use a pull tab, but I chose to move the couple back and forth with my fingers.

Check out the video below to see the interactive movement.


That's it for me today.  Hope you have a wonderful day!
Keep on creating!
Copics used:  E000, E00, E11
N0, N1, N2, N3, N4
B91, B93, B95
Y11, Y13, Y15, Y17
YR12, YR14, YR16, YR18
G40, G43, G46

Wednesday, October 1, 2025

October 2025 Monthly Challenge with Simone Carr

 Hello Ai fans!

Welcome to our October Monthly Challenge.

This month we have Simone Carr as our Guest Designer.


Hey there, I’ve got a fresh project that’s perfect for the season to share with you.


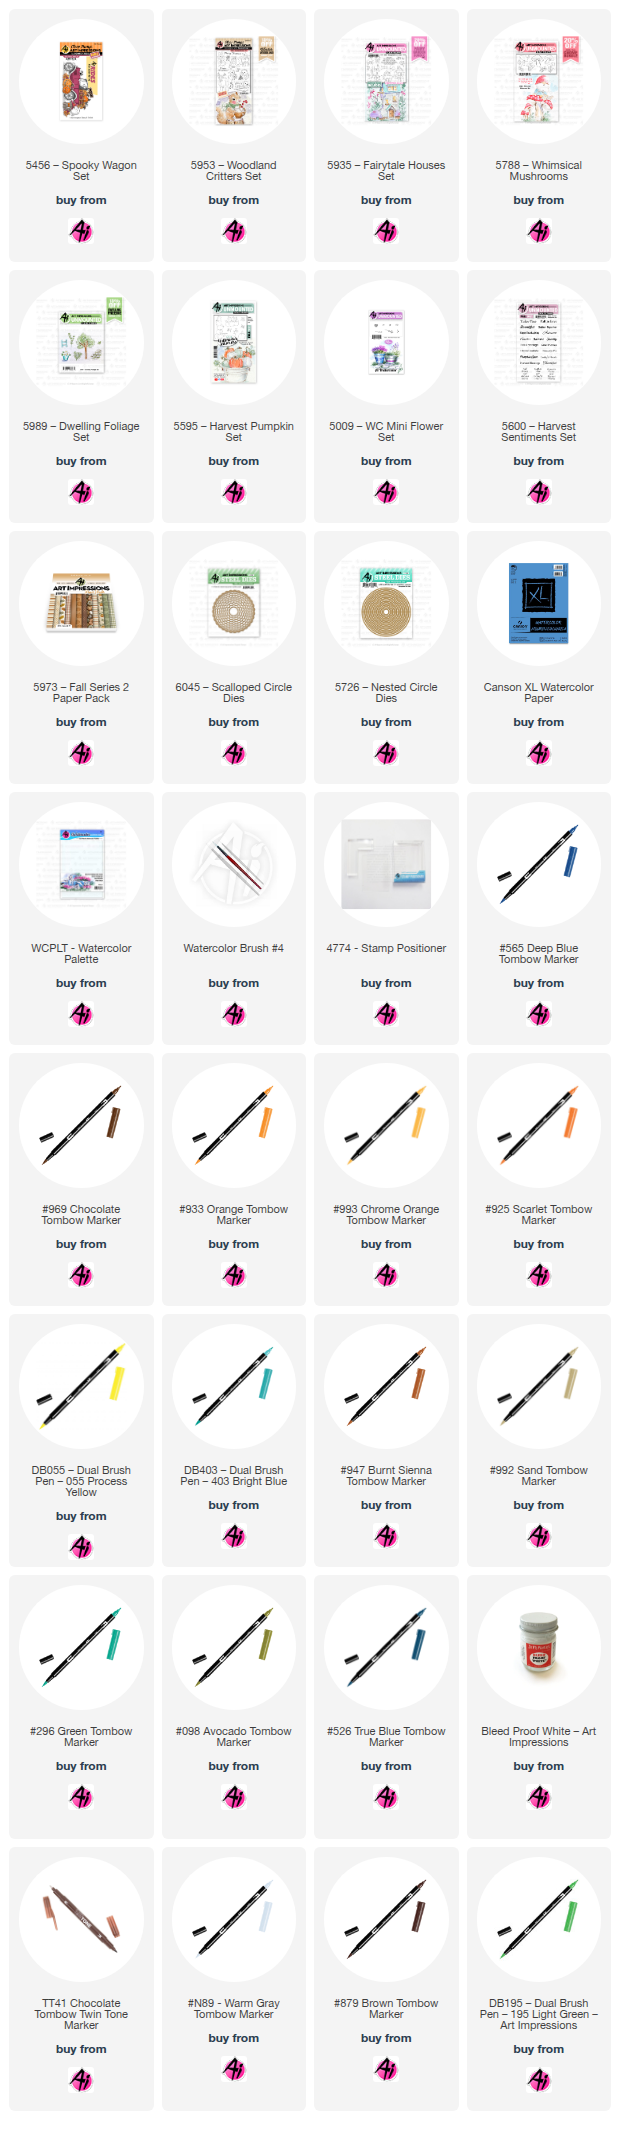
On watercolor paper, I stamped the stump from the Woodland Critters Set (using the squirrel stamp) in Tombow 565 + 969, using my stamp positioner for precise placement. I then stamped the teapot from the Fairytale Houses Set with the same ink combo. To add a whimsical touch, I positioned the ladder from the Dwelling Foliage Set against the stump, again using the stamp positioner to get it just right.

Once the main elements were in place and stamped, I began coloring. After that, I stamped in the mushrooms from the Whimsical Mushroom Set and brushed in a soft blue sky using Tombow 526. To complete the scene, I stamped the pumpkin foliage and grass from the Harvest Pumpkin Set and Foliage Set 3, and finished with flowers from the Mini Flower Set. I saved the flowers for last to layer in extra detail and color.

For the card design, I die cut the scene with the 4th largest Nested Circle die and layered it on a scalloped circle die cut for a polished frame.

Materials Used

Stamps:

5600 Harvest Sentiments Set

5788 Whimsical Mushroom Set – Small Mushrooms

5595 Harvest Pumpkin Set – Leaves

5007 Foliage Set 3 – Grass

5009 Mini Flower Set

5989 Dwelling Foliage Set – Ladder

5953 Woodland Critters Set – Stump (Squirrel)

5935 Fairytale Houses Set – Teapot

Dies:

5726 Nested Circle Set – 4th Largest

6045 Scalloped Circle 3

Paper:

5973 Fall S2 PP

Canson Watercolor Paper

Inks & Markers:

Tombow: 565 + 969, 933, 993, 925, 905, 055, 403, 947, 117, 992 (teapot), 296 + 992 (mushrooms), 839 (flowers), 098 (grass), 526 (sky)

Bleed Proof White

TwinTone Brown


For my second card I chose to make a Halloween card.


I started by cutting a 2" circle from masking tape to use as a moon mask. To create the background, I placed a stencil measuring 3 ¼" x 4 ¾" over a 4 ¼" x 5 ½" piece of cardstock and taped it down so it wouldn’t shift. With the moon mask in place, I began ink blending—first with Twisted Citron around the moon, then layering Lucky Clover across the panel while leaving a glowing halo around the moon. To deepen the night sky, I blended Chipped Sapphire around the edges.

After blending the background, I watered down Bleed Proof White and then splattered it across the panel for stars, finishing with a mist of Fossil Amber Distress Spritz to add a soft, magical glow. Once everything was dry, I removed the moon mask and placed a moon stencil to add subtle texture with Lost Shadow ink. I then set the panel aside to dry completely.

Next, I stamped all my images from the Spooky Wagon Set (5456) onto Bristol Smooth cardstock using Shadow Grey Archival Ink. I colored them with Tombow markers, then die cut each piece. To assemble, I layered a frame die from my stash (cut twice for extra dimension) over the blended background, arranged my stamped elements, and popped them up with thin foam tape. Everything fits perfectly on an A2 card base (5 ½" x 4 ¼").

The end result is a playful Halloween scene with a glowing sky that makes the spooky wagon really stand out!

Materials Used

Stamps:

Spooky Wagon Set (5456)

Inks:

Distress Inks: Twisted Citron, Lucky Clover, Chipped Sapphire, Lost Shadow

Fossil Amber Distress Spritz

Shadow Grey Archival Ink

Markers:

Tombow: N55, N45, N35 (Truck & Cat); N89 (Ghost); 020, 991 (Truck); 969, 879, 947 (Truck, Sign, Pumpkins); 933, 195 (Hat); 933, 946, 925, 905, 055 (Pumpkins)

TwinTone: Black, Brown

Paper:

Bristol Smooth Cardstock

Glitter Cardstock

Other:

Bleed Proof White

2" Circle Mask (for Moon)

Stencil (3 ¼" x 4 ¾")

Frame Die (from stash)

Foam Tape

Card Base (5 ½" x 4 ¼")

----------------------------------------------------------------------------------------------------------------------------------

WOW! What adorable cards from Simone!
We're sure you're going to be inspired by these.

We hope you'll add your creations to our challenge. Remember, even though Simone created Fall themed cards, our Monthly Challenges have no theme. You may enter ANY crafty project as long as you use some Art Impressions products on what you create.

See below for all the details.


You are invited to the Inlinkz link party!

Click here to enter

Tuesday, September 9, 2025

Hi Friend! by Reneé Matarese

 Hello Ai fans!

I love mushrooms and instantly thought of the Mushroom Cubbies set for the Art Impressions "When One Door Closes" challenge.


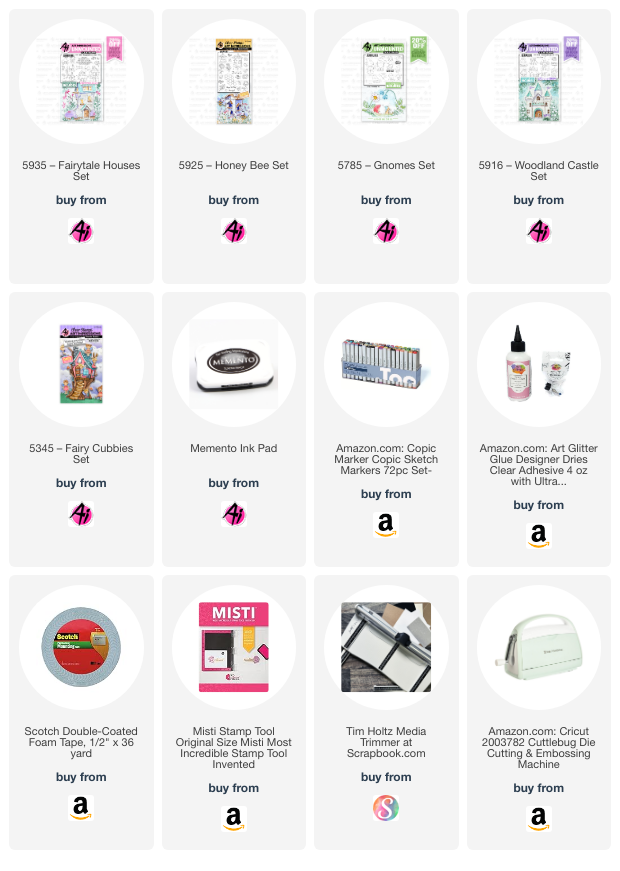
I grabbed mushrooms and other elements from a few different Ai sets to complete both the front and inside of my card.


I know most people think of brown when they think of mushrooms but they come in MANY different colors and I love trying out different combinations. In my woods we have orange, white, black, red, yellow, and purple. Probably more if I looked hard enough. We've picked and eaten the Chanterelles and Black Trumpet mushrooms.


 I wanted to make this card extra special so I decorated
the inside of the card pretty elaborately too.


I'm kind of wishing now that I had a little fairy tucked in there somewhere too.
Next time, I guess...


Thursday, September 4, 2025

Teeny Teapot by Dori Mendiola

 Happy Thursday AI Friends!

My card today was inspired by the current challenge "When a Door Closes" utilizing the #5935 Fairytail House set.  This is the cutest set and makes the cutest teeny cards.  Back in December 2024, I created a Teeny Shoe card utilizing this set.   Here is the link to that post.  https://artimpressionsstamps.blogspot.com/search?q=teeny+shoe

For this challenge, I used the Teapot stamp and die and placed it on a teeny tiny hexagon card.  It's approx. 2 1/4 x 2 1/4 inches.  


I created the hexagon card by die cutting two pieces from heavy cardstock.  I scored one of the hexagons about 1/4" from the top and folded towards myself.  I placed glue on the scored fold and adhered the other hexagon to it creating the card base.  I then die cut another hexagon out of pattern paper from the #5742 Easter PP and glued that to the front of the card base.  I created a stitched frame and adhered that to the pattern paper front.

I stamped the teapot and the bee from the #5935 Fairytail Houses set onto copic friendly paper with memento black ink and colored with my copic markers listed below.  I die cut the images and cut a second bee out of heavy cardstock to create a popped up effect.  I adhered the images to the card base and stamped a sentiment in the inside and the card is ready to adhere to a gift, hand deliver or send in the mail.  A fun little card to receive!

I hope you enjoyed my card today and you decide to play along in the blog challenge "When a Door Closes".  Any card/project with a door will qualify you for a chance to win a free stamp set.  Click on the tab above for details.  We love to see your creations!

Hope you have a wonderful day!  

Copics used:  E51, E53, E55
T0, T2, T4
Y00, Y11, Y13, Y15
V12, V15, G40, G43

Sunday, August 31, 2025

When One Door Closes Gnome Home with GD Debbie Hedges

Hello Ai fans!

Every once in a while we just like to pick a talented artist and feature them as a Guest Designer.

This time we chose Debbie Hedges, and she's helping us out with our When One Door Closes challenge.


She created an amazing little gnome home and we're so excited to share it.

Please enjoy...

------------------------------------------------------------------------------------------------------------------------

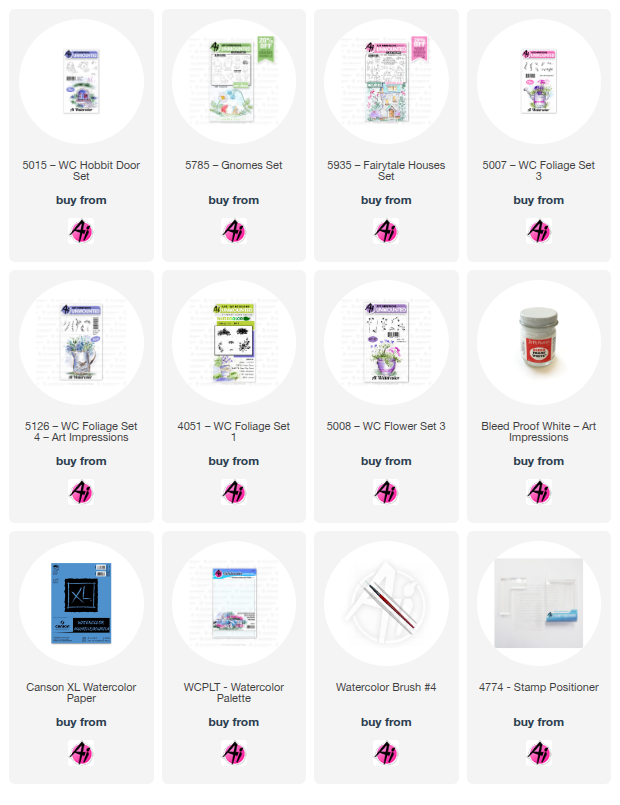
Welcome to the newest bi-weekly challenge! I am excited to share Challenge #411 When One Door Closes. The first stamp set that came to mind was #5015 WC Hobbit Door set, so I built my project around that. For this challenge, think of anything with a door . . . houses, barns, cubbies, fairy houses, cars, etc.


 I began by stamping the hobbit door in the center of my watercolor paper. I then used a ruler along the bottom of the door and lightly drew a horizon line for the base of my little “house.” I wanted the focus on the door. With my stamp positioner, I added the gnome and my three mushrooms. That gave me the base to work with for my scene. I began by painting the door in grey tones, adding shadows as needed. I then worked on the stone path, using sepia, grey and brown tones so that the stones were multi-colored and then went back and added shading to create dimension. Next I added a brown/sepia wash to create the idea of a wall for my door. I wanted it to have light and dark areas for interest. I then used the vine to climb one side of the door by stamping it once from the base of the door, then only inking portions of it to go around the arch. I used my positioner for placement. It is a great tool to preview what it will look like before you commit it to paper! I then touched each leaf with my brush to soften the color. I used a single flower bud and my stamp positioner to add the purple flowers in the vine and then touched each one with my brush to soften. My next step was to paint the mushrooms and gnome. This is not my first attempt on this project and for this one, I wanted the mushrooms to have added color – not just yellow and orange. So, they are shades of yellow at the base, to orange, to red and then some purple at the top of the largest mushroom. The base of the mushroom are shades of brown and I added some brown lines for ridges. For the gnome, I used the same red for his hat, and gave him a steel blue jacket, green pants and brown boots and belt. I added some grey tones to his white beard for shadows and used a flesh tone marker for his nose – adding pink to the bottom for shading. To finish this up, I needed to add teeny tiny grass along my horizon line along the base of the wall. I created a paper mask for the mushrooms and the gnome and just used post-it tape to protect the door area. Once the grass was stamped, I used the fine tip of my green marker to add some stalks of grass in front of the mushrooms. I also used the grass to stamp some grass along the steps on the stone path. Once that was stamped, I pulled the color out and then created a wash of green for the foreground. I then used the taller grass to create a clump of grass behind the gnome. I love to add a few leaves to the top of a project to finish it off. It gives the feeling that tree branches are hanging down. So, I used the leafy branch – it is one of my favorites – and just stamped it a few times along each top corner of my project. I then added water to each leaf to soften it. With a ruler and a pencil, I lightly added some horizontal lines to give the idea of siding and added a few vertical lines in random spots along with a couple dots for nails. All of this was very faint. Then with Dr. Ph Martins white paint, I added a small dot highlight to the door handle, a single dot in the middle of each flower bud, multiple dots on the mushrooms, and small dots on the grass along the path so it looks like tiny white flowers. There are a few random tiny white dots on my foreground as well. I then added dots to the top of the tall grass clump to create three daisies. When it was fully dry, I added orange dots for centers. I also added some white paint for dimension on the gnome’s beard. I hope you like it and will give it a try! Here are the stamps I used for this project along with the links for the stamp sets.


Thank you so much Debbie for your beautiful creation and inspiration.

You can enter your "door" craft HERE.

Thursday, August 7, 2025

Gnome Frame by Dori Mendiola

Happy Thursday AI Friends!

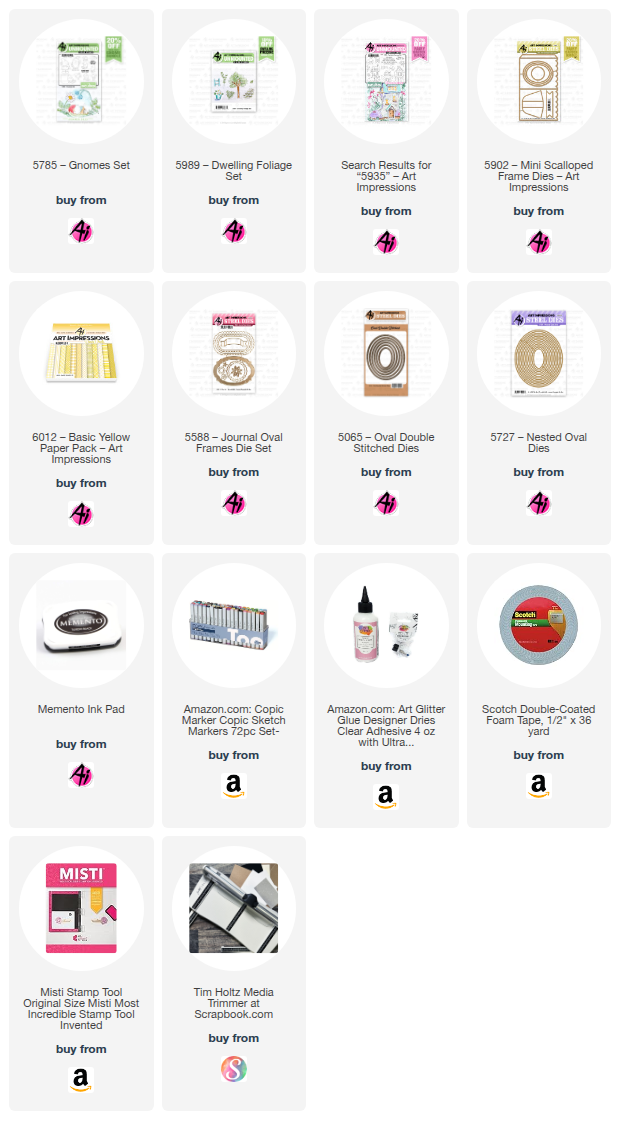
Today I have a cute little frame that fits right in with the current blog challenge called "Stitches and Scallops".  I love this little #5902 - Mini Scallop Frame set.  It makes the cutest little display card for a desk, mantel, shelf or anywhere for that matter.  This one with the gnomes brings a smile to my face.
        

I began by stamping the images onto copic friendly paper with Memento black ink and coloring with my copic markers listed below.  The gnomes (5785 - Gnomes set) and the bees (5935 - Fairytale Houses) were cut using their corresponding dies that are included in these sets.  
The scene was stamped onto a 3 x 2 1/2" piece of copic friendly paper.  The tree stump is from the 2025 freebies part 1 - #5999 - Exclusive Stump House (still available, just request in the note section on your order).  If you don't have that freebie, you can use the stump from the KH5951 - Foxes set and draw in the door and window.  I colored, free hand, the walkway and the grass.  Don't look too close because they are pretty rough.  😞  The leaves were stamped with Memento black ink using the 5989 - Dwelling Foliage set and colored with my copic markers.

I die cut the frame from a piece of striped paper from the 6012 - Basic Yellow PP using the #5902 - Mini Scallop Frame die.  I also die cut the oval opening using the #5727 Nested Oval die.  I then die cut a stitched oval frame to place on the outside of the oval opening using the #5065 - Oval Double Stitch die with a slightly larger nested oval from the #5727 - Nested Oval dies.

I popped the gnomes up on foam tape and adhered one to the top of the stump and the other to the outer side of the stitched oval frame.  I adhered one bee directly to the image and the other to the outer frame.  Lastly, I cut the sentiment banner from the #5588 - Journal Oval Frame set and stamped the sentiment from the #5785 Gnomes set onto the center of the banner.  

Oops, almost forgot the easel.  Make sure to die cut one from the #5902 - Mini Scallop Frame die and adhere to the backside of the scallop frame so that it stands nicely.


That's it for me today.  Hope you play along and enter the challenge "Stitches and Scallops" to win a free stamp set of your choice.  It's easy and so fun (especially if you win). 😁

Have a great weekend and keep creating but make sure to share because we love inspiration!

Copics used:  E01, E11, E21, E23, E25
W0, W1, W3, W5
Y15, Y17
B32, B34
G40, G43

Monday, April 14, 2025

ABC 123 Challenge by Sharon Caudle

 Hello AI Fans!

I hope you enjoyed the weekend and had some beautiful spring weather! I just love when the early flowers start popping out of the ground and the buds start coming out on the trees! For my card today, I used the current ABC 123 Challenge that is going on right now for inspiration! Have you seen Renee's absolutely adorable baby card she made using the new dies released by Art Impressions? Oh my goodness, who wouldn't love to have that card to tuck away with their mementos!! For my card, I decided to use the adorable 5904 So Sweet Armfuls set. I just double stamped them and colored with Copic markers. One trick I used on the bear to try and make him look "fuzzy" is to take my Copic blender and just dab all over the bear after coloring him in. It moves the browns and creates the textured look you see. Since I wanted to spell out the word love, I knew this was going to have to be a slimline card, so #5940 Journal Cover Paper Pack Plaid to the rescue!!!  For the letters, I just cut them out using white cardstock and then colored them to match the outfits. I simply cut a white strip of paper to act as the sign post for them to hold. The fun daisies are from 5935 Fairytale Houses Set and the Copic markers I used are listed below. 


So that's it for me today! Thanks so much for stopping by for a visit and until next time - stay crafty!!


Copic markers used:
B91, 93, and 95
E30, 31, 33, 35, 37, 41, and 43
R12, 20, 81, 83, and 85
BV00, 02, and 04
YG02, 03, and 05
C2, 3, and 4


Monday, February 3, 2025

Double slider magical birthday card by Sharon Caudle

 Hello AI Fans!

I've got a double slider card to show you today that I created for the current Highlights Challenge. So it looks like this small, unassuming card when you first look at it. But when you pull on the pull tabs, it turns into this amazing scene. I loved creating this and I really do like how it turned out. I started by stamping all these amazing images onto a Copic freindly paper using Memento Tuxedo black ink and then coloring them with Copic markers. The colors I used are listed below. I cut the three panels and stenciled a cloud background using distress oxide ink and a cloud stencil. This card might look impressive, but it's really quite easy to assemble.  There's a piece on the inside that you wrap a slick piece of plastic baggie or something along those lines.  (I acutally used one of my doggie waste bags - unused of course...yuck!! - LOL! Then you attach one of the pull panels to the front of the baggie, and the other panel to the back of the baggie. So when you pull on them, they slide right out of their little pockets! It's really quite awesome! There are lots of You Tube videos out there that show you how to make them. Just do a search for double slider cards. You can either use dies that are made for them, or create it yourself. Either way - they are lots of fun and impressive, I think! I used several Art Impressions sets to create this. They are all linked below for your convenience. 


And the view with both sides pulled out to reveal the entire scene. 


That's it for me today! Thanks so much for stopping by for a visit and until next time - stay crafty!!


Copic markers used:
E000, 00, 11, 21, 23, 33, 51, 53, and 55
G43, 46, 82, and 85
Y000, 00, 02, 11, 13, 17, 35, and 38
B000, 00, 32, and 34
R01, 11, 12, 20, and 85
BV000, 00, and 02
RV32 and 34
BG34, 49, 90, 93, and 96
W1 and 2
C3 and 5
V01 and 04


Saturday, December 21, 2024

Janet's Top 10 for 2024

 Hello Ai Fans! It seems impossible but 2024 is coming to a close. It's been a wonderfully creative year as a design team member of Art Impressions. I am honored to be here every week to share an AI creation. It's truly a joy. As is the custom, I'm sharing with you my top 10 projects of the year. They're in no particular order as there is no way I can rank them. I love them all! So here it goes. I hope you enjoy the trip down memory lane.


I wish you all a very happy holiday and a fantastic 2025! As always, please visit the Ai store for the products I used and all the things you need for your card, journal, and tag making projects. Happy creating and see you next year!

Janet - YouTube - Blog - Facebook - Instagram - Pinterest