
Hello, and welcome back for Watercolor Weekend!

Hello, my Ai Watercolor friends and fans! Today I’m
sharing two projects featuring stamps and dies from three of the newest
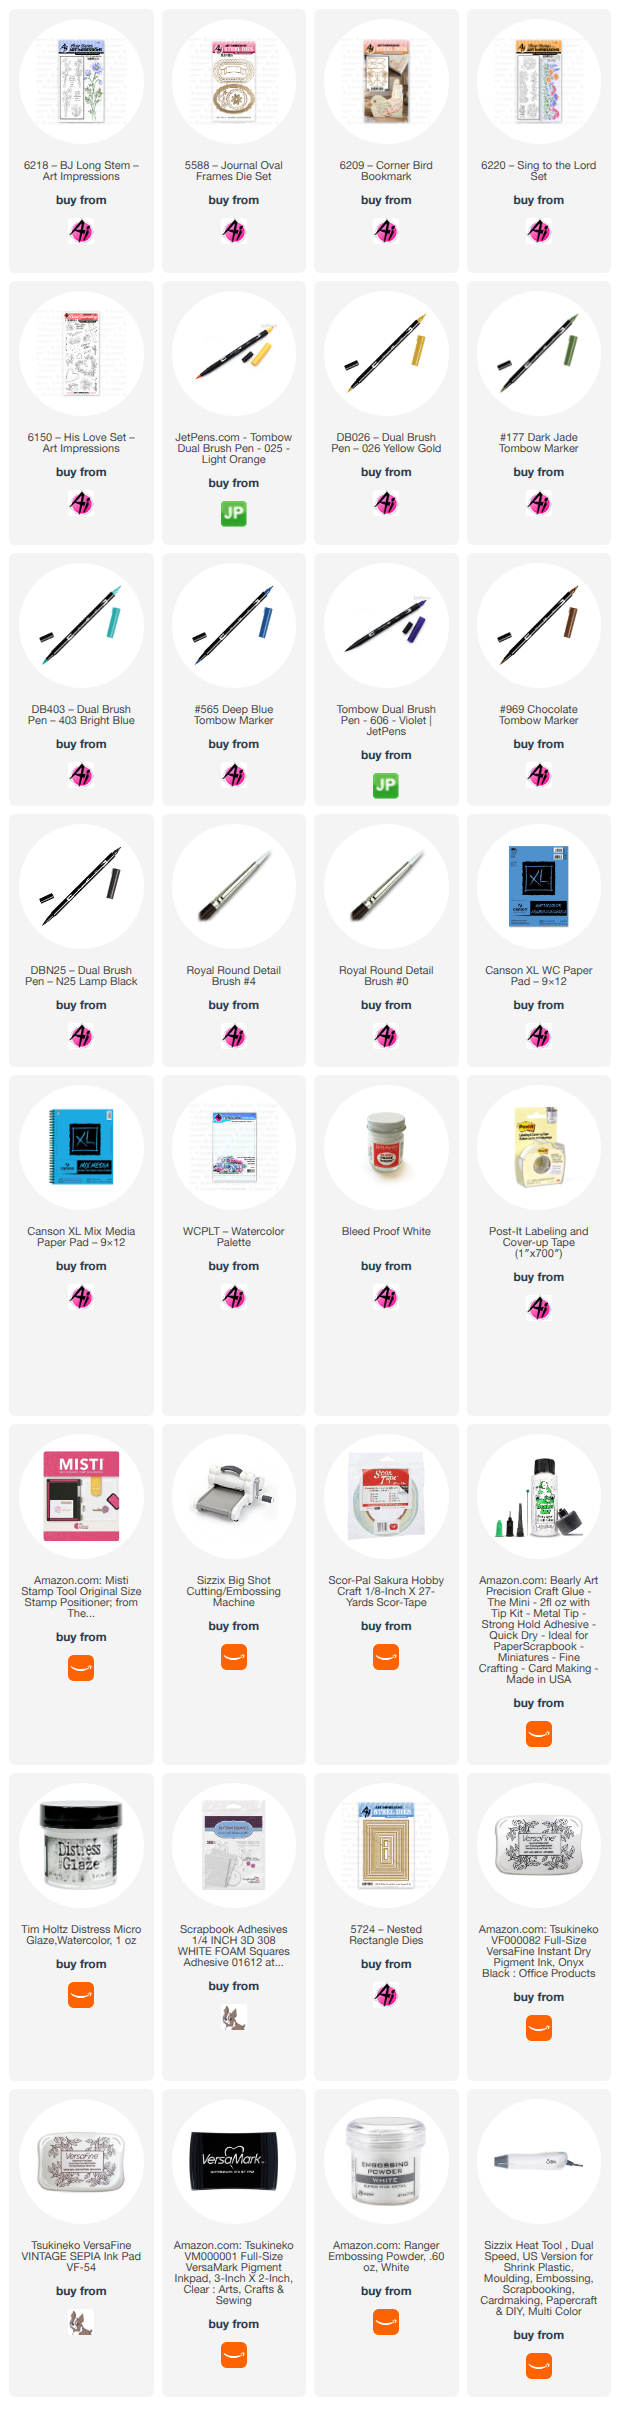
releases: 6218 – BJ Long Stem, 6220 – Sing to the Lord Set, and 6209 – Corner
Bird Bookmark. I used the first set to create the Spotlight Daffodil Card, and
combined the second and third sets to make the Floral Corner Bird Bookmarks.

Spotlight
Daffodils Card:
I just love daffodils—their structure is so elegant, and they come in so many beautiful colors. My favorites are the bright yellow ones. Using the spotlight technique allowed me to highlight those beautiful yellow blooms and really draw the eye to the focal image.
Colors and Supplies Used
Paper: Canson XL Watercolor Paper
Cardstock: Black
Brushes: No. 4 round brush, No. 0 round brush
Stamps & Dies:
- 6218 – BJ Long Stem
- 5588 – Journal Oval Frames Die Set
- 5724 – Nested Rectangle Dies
Ink for stamped images: Versafine Onyx Black Ink,
Versamark
Tombow Dual Brush Pens: 025, 026, 177, 403
Other: Foam squares, Ranger Super Embossing Powder –
White, Dr. Ph. Martin’s Bleed Proof White, Heat Embossing Tool

Creating the Background
Using a stamp platform, I stamped each long‑stem
image in Versafine Onyx Black to build the background. I made sure to position
the daffodil exactly where the spotlighted oval would later be placed.
For the spotlight image, I inked the petals with 026
and the leaves/stems with 177, stamped onto Canson XL watercolor paper, then
pulled the color from the lines with a damp brush. I brightened the petals with
025 and deepened the shadows with more 026. The stems were shaded with a mix of
177 + 565.
For the background wash, I brushed a watery mix of 403
around the flowers using a No. 4 round brush. A few highlights were added with Bleed
Proof White.
Assembly
I die‑cut the stamped background using the Nested Rectangle
Dies (5724) and adhered it to an A2 black cardstock base. Next, I die‑cut the
painted daffodil image with the oval from Journal Oval Frames (5588) and die-cut
the scalloped oval from black cardstock. After layering them, I added foam
squares and aligned the spotlight image over the background.
For the sentiment, I stamped the greeting from 6218 in
Versamark clear
embossing ink on black
cardstock and heat‑embossed it with Ranger Super Fine White Embossing Powder. To complete the card, the
sentiment was attached with foam squares.
I really enjoyed making this project. The simple black‑and‑white
stamped background creates the perfect foundation for the spotlight technique.
I can’t wait to try this approach with more Art Impressions images.

Floral
Corner Bird Bookmarks:
The new 6209 – Corner Bird
Bookmark die is such a delight to use—and these bookmarks come together
quickly. You can absolutely make them with cardstock and patterned papers, but
I decided to create my own patterned papers using images from 6220 – Sing to
the Lord and 6150 – His Love.
Colors and
Supplies Used
Paper: Canson
XL Mix Media Paper
Cardstock: Purple
Brush: No. 0 round brush
Ink for stamped images: Versafine Vintage Sepia
Tombow Dual Brush Pens: 177, 606, 026, 969, N25
Stamps & Dies:
- 6209 – Corner Bird Bookmark
- 6220 – Sing to the Lord Set
- 6150 – His Love Set

Stamping & Painting
I began by die‑cutting the tail, wings, and chest
pieces from Canson Mix Media Paper.


Using Versafine Vintage Sepia, I stamped the floral
vine from 6220 repeatedly across the tail and wings. For the chest, I stamped
the mini hearts from 6150 to fill the shape.
.jpg)
The images were painted with 177 and 606, deepening
the flower centers and leaves with additional layers. The eye was painted with 969,
with a dot of N25 for the pupil. The beak was colored with 026.

Two Ways to Build the Bookmark
The standard construction (shown in the bottom-left
finished sample) slides onto the bottom corner of a page.
To create a version that sits at the top of a page,
follow these steps:
1.
Glue the folded cardstock body piece together.
2.
Attach the tail feathers to the outside, facing downward, gluing only at
the top so the feathers remain open to slide over the page.
3.
Die‑cut two extra chest pieces from purple cardstock to extend the body
and glue them over the tail feathers.
4.
Add the wing, chest, beak, and eye pieces as usual.
Now you have a second way to enjoy these adorable
bookmarks!

Thank you so much for spending a little creative time with me today. I can’t wait to see what you create with these new sets—be sure to tag us on social media. Until next time, Happy Painting!

1 comment:
Diane, everything you create is absolutely amazing! Just gorgeous!
Post a Comment