Showing posts with label 5588 Journal Oval Frames. Show all posts

Wednesday, August 5, 2026

Friends Gnome Matter What by Dori Mendiola

 Happy Wednesday AI Friends!

My card today fits the new blog challenge - Floral Frenzy and features two new stamp sets - #6220 - Sing to the Lord and #6221 - Frameworks Set 3 along with the cute little gnomes from the #5785 - Gnomes set.  I personally think you can put gnomes on anything and it just creates cuteness overload!  Wouldn't you agree?

I stamped the images onto copic friendly paper with Memento black ink and colored with copic markers listed below.  I used the corresponding dies to cut the gnomes.  The florals are one stamp from the stamp set.  I colored the full stamp image and then cut it into thirds using a small circle die.  I stamped the frameworks image onto a 4" square piece of white cardstock.  I adhered a colored floral image into each of the frameworks.

To make the "Book Cradle" card style:  There are several tutorials showing how to make this fun fold but I watched the one from Dawn's Stamping Thoughts and made a slight change to it.

Start with a base white cardstock measuring 4 x 8.  Score on the long side at 1/2, 4 and 7 1/2.  Fold and burnish each score as a mountain fold.

For the cradle base: Cut a 4 x 5 inch white cardstock piece.  Score at 1/2, 1 1/2, 2 1/2, 3 1/2, 4 1/2 on the long side.  Burnish at 2 1/2" as valley fold.  Glue the second fold (as mountain) up to the 2 1/2" leaving the first 1/2" as a tab.  Do the same on the other side.  You should be left with 1/2" single width of cardstock, then 1" double width on next two folds and then lastly, a 1/2" single width tab.  

Make the support stand that fits at the bottom of the base:  Cut a 4 x 2 1/2" piece of cardstock.  Score along short side at 1/2, 1 1/4 and 2.  Shape into a W.  Glue the 1/2" tabs of this stand to the inside bottom of the base piece.  See below (bottom of card).  

Adhere the card base 1/2" tabs to the cradle base 1/2" tabs.   The card should fold flat and pop up when standing.  Finish decorating with mat layers and pop up the gnomes with foam tape.  Add the sentiment to the bottom using the banner from the #5588 - Journal Oval Frames.


Once you make one of these cards, you will find out how fun and easy it is to make plus so cute when on display.  I'm hooked so you may see more of these in my future posts.  😁

Make sure to join our blog challenge for a chance to win a free stamp set of your choice.  It's easy, just check out the tab above.  

Have a wonderful day and keep creating!

Copics used:  W0, W1, W3
E00, E02, E21, E23, E25
B0000, B000, B01
G40, G43, G46
Y13, Y15, Y17
RV10, RV32, RV34

Saturday, July 25, 2026

Spotlight Daffodils Card and Floral Corner Bird Bookmarks by Diane Mason

  Hello, and welcome back for Watercolor Weekend!


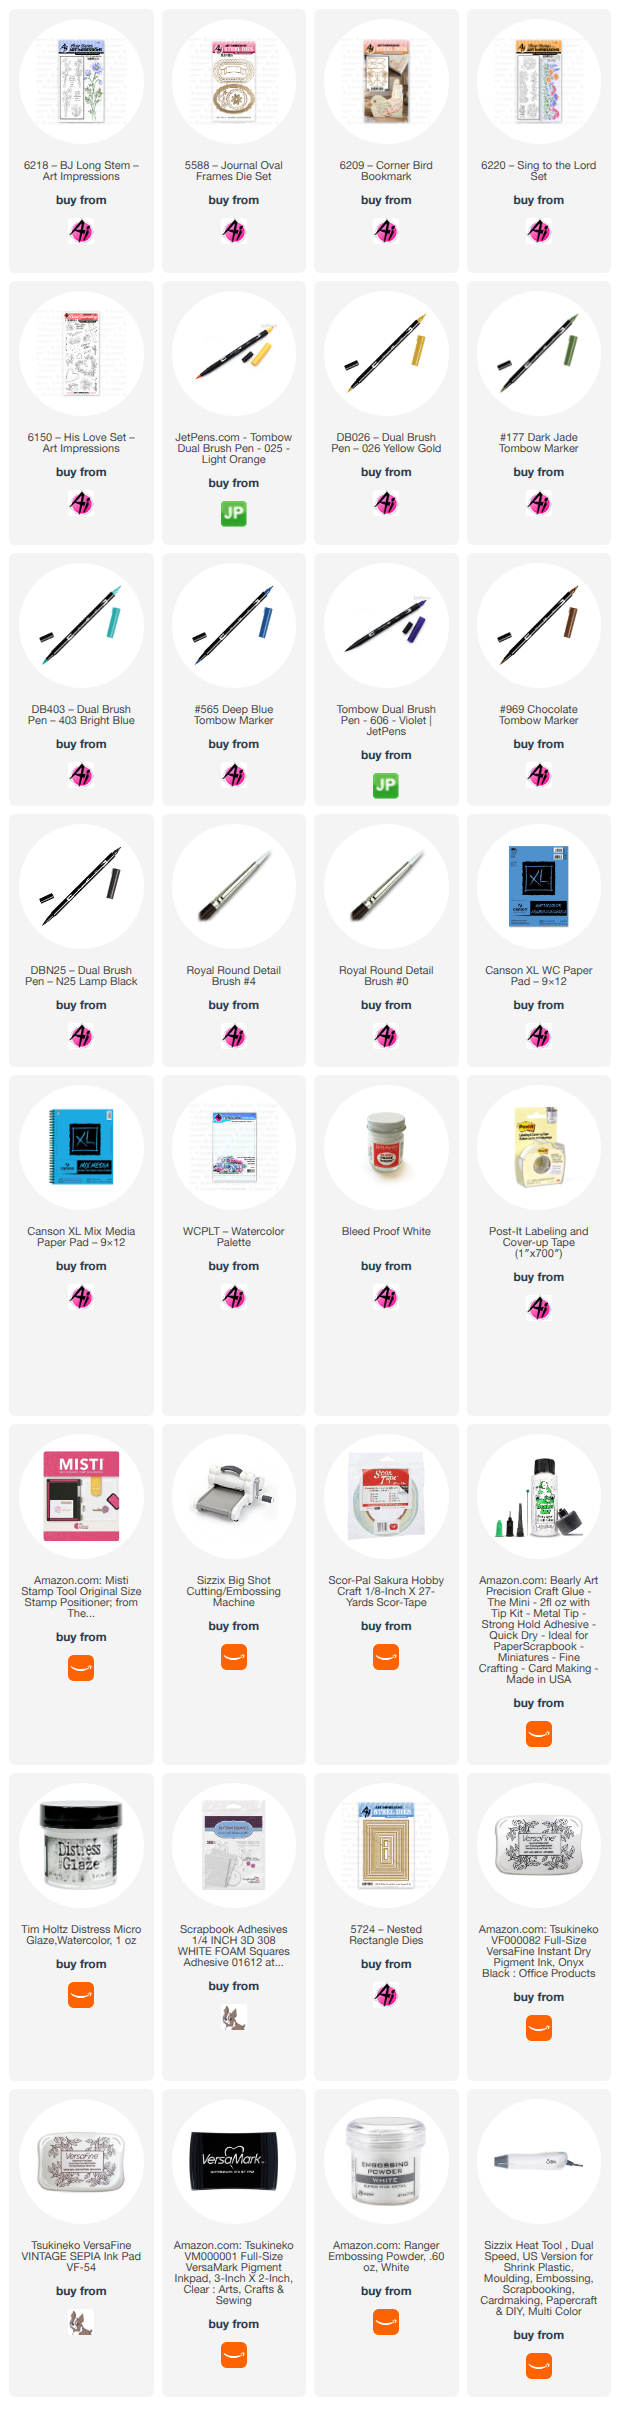
Hello, my Ai Watercolor friends and fans! Today I’m sharing two projects featuring stamps and dies from three of the newest releases: 6218 – BJ Long Stem, 6220 – Sing to the Lord Set, and 6209 – Corner Bird Bookmark. I used the first set to create the Spotlight Daffodil Card, and combined the second and third sets to make the Floral Corner Bird Bookmarks.

Spotlight Daffodils Card:

I just love daffodils—their structure is so elegant, and they come in so many beautiful colors. My favorites are the bright yellow ones. Using the spotlight technique allowed me to highlight those beautiful yellow blooms and really draw the eye to the focal image.

Colors and Supplies Used

Paper: Canson XL Watercolor Paper

Cardstock: Black

Brushes: No. 4 round brush, No. 0 round brush

Stamps & Dies:

  • 6218 – BJ Long Stem
  • 5588 – Journal Oval Frames Die Set
  • 5724 – Nested Rectangle Dies

Ink for stamped images: Versafine Onyx Black Ink, Versamark

Tombow Dual Brush Pens: 025, 026, 177, 403

Other: Foam squares, Ranger Super Embossing Powder – White, Dr. Ph. Martin’s Bleed Proof White, Heat Embossing Tool

Creating the Background

Using a stamp platform, I stamped each long‑stem image in Versafine Onyx Black to build the background. I made sure to position the daffodil exactly where the spotlighted oval would later be placed.

For the spotlight image, I inked the petals with 026 and the leaves/stems with 177, stamped onto Canson XL watercolor paper, then pulled the color from the lines with a damp brush. I brightened the petals with 025 and deepened the shadows with more 026. The stems were shaded with a mix of 177 + 565.

For the background wash, I brushed a watery mix of 403 around the flowers using a No. 4 round brush. A few highlights were added with Bleed Proof White.

Assembly

I die‑cut the stamped background using the Nested Rectangle Dies (5724) and adhered it to an A2 black cardstock base. Next, I die‑cut the painted daffodil image with the oval from Journal Oval Frames (5588) and die-cut the scalloped oval from black cardstock. After layering them, I added foam squares and aligned the spotlight image over the background.

For the sentiment, I stamped the greeting from 6218 in Versamark clear embossing ink on black cardstock and heat‑embossed it with Ranger Super Fine White Embossing Powder. To complete the card, the sentiment was attached with foam squares.

I really enjoyed making this project. The simple black‑and‑white stamped background creates the perfect foundation for the spotlight technique. I can’t wait to try this approach with more Art Impressions images.

Floral Corner Bird Bookmarks:

The new 6209 – Corner Bird Bookmark die is such a delight to use—and these bookmarks come together quickly. You can absolutely make them with cardstock and patterned papers, but I decided to create my own patterned papers using images from 6220 – Sing to the Lord and 6150 – His Love.

Colors and Supplies Used

Paper: Canson XL Mix Media Paper

Cardstock: Purple

Brush: No. 0 round brush

Ink for stamped images: Versafine Vintage Sepia

Tombow Dual Brush Pens: 177, 606, 026, 969, N25

Stamps & Dies:

  • 6209 – Corner Bird Bookmark
  • 6220 – Sing to the Lord Set
  • 6150 – His Love Set

Stamping & Painting

I began by diecutting the tail, wings, and chest pieces from Canson Mix Media Paper.

Using Versafine Vintage Sepia, I stamped the floral vine from 6220 repeatedly across the tail and wings. For the chest, I stamped the mini hearts from 6150 to fill the shape.

The images were painted with 177 and 606, deepening the flower centers and leaves with additional layers. The eye was painted with 969, with a dot of N25 for the pupil. The beak was colored with 026.

Two Ways to Build the Bookmark

The standard construction (shown in the bottom-left finished sample) slides onto the bottom corner of a page.

To create a version that sits at the top of a page, follow these steps:

1.     Glue the folded cardstock body piece together.

2.     Attach the tail feathers to the outside, facing downward, gluing only at the top so the feathers remain open to slide over the page.

3.     Die‑cut two extra chest pieces from purple cardstock to extend the body and glue them over the tail feathers.

4.     Add the wing, chest, beak, and eye pieces as usual.

Now you have a second way to enjoy these adorable bookmarks!


Here are a few more bookmarks I’ve made for extra inspiration.

Thank you so much for spending a little creative time with me today. I can’t wait to see what you create with these new sets—be sure to tag us on social media. Until next time, Happy Painting!
Tuesday, August 12, 2025

Santa Puppets by Reneé Matarese

 Hello Ai fans!

I just absolutely LOVE the entire Art Impressions Puppet Series!


 I made my two puppet cards for the current Stitches & Scallops challenge.

My stitched rectangle and little zig zag stitches make my card qualify for the challenge.


My little sack is actually the Santa head.
It doubles nicely as a perfect little bag for all the toys.


I wanted to make my first Santa a more "fun" Santa and this one is a more traditional St. Nick.
I used two little Diamond Dots for his eyes.


You still have about a day and a half left to enter the challenge. If you can't make that deadline, be sure to check in on the blog after noon EST for the new challenge.

Thursday, August 7, 2025

Gnome Frame by Dori Mendiola

Happy Thursday AI Friends!

Today I have a cute little frame that fits right in with the current blog challenge called "Stitches and Scallops".  I love this little #5902 - Mini Scallop Frame set.  It makes the cutest little display card for a desk, mantel, shelf or anywhere for that matter.  This one with the gnomes brings a smile to my face.
        

I began by stamping the images onto copic friendly paper with Memento black ink and coloring with my copic markers listed below.  The gnomes (5785 - Gnomes set) and the bees (5935 - Fairytale Houses) were cut using their corresponding dies that are included in these sets.  
The scene was stamped onto a 3 x 2 1/2" piece of copic friendly paper.  The tree stump is from the 2025 freebies part 1 - #5999 - Exclusive Stump House (still available, just request in the note section on your order).  If you don't have that freebie, you can use the stump from the KH5951 - Foxes set and draw in the door and window.  I colored, free hand, the walkway and the grass.  Don't look too close because they are pretty rough.  😞  The leaves were stamped with Memento black ink using the 5989 - Dwelling Foliage set and colored with my copic markers.

I die cut the frame from a piece of striped paper from the 6012 - Basic Yellow PP using the #5902 - Mini Scallop Frame die.  I also die cut the oval opening using the #5727 Nested Oval die.  I then die cut a stitched oval frame to place on the outside of the oval opening using the #5065 - Oval Double Stitch die with a slightly larger nested oval from the #5727 - Nested Oval dies.

I popped the gnomes up on foam tape and adhered one to the top of the stump and the other to the outer side of the stitched oval frame.  I adhered one bee directly to the image and the other to the outer frame.  Lastly, I cut the sentiment banner from the #5588 - Journal Oval Frame set and stamped the sentiment from the #5785 Gnomes set onto the center of the banner.  

Oops, almost forgot the easel.  Make sure to die cut one from the #5902 - Mini Scallop Frame die and adhere to the backside of the scallop frame so that it stands nicely.


That's it for me today.  Hope you play along and enter the challenge "Stitches and Scallops" to win a free stamp set of your choice.  It's easy and so fun (especially if you win). 😁

Have a great weekend and keep creating but make sure to share because we love inspiration!

Copics used:  E01, E11, E21, E23, E25
W0, W1, W3, W5
Y15, Y17
B32, B34
G40, G43

Tuesday, July 8, 2025

Hello card with GOLD paint! by Reneé Matarese

 Hello Ai fans!

Today I'm sharing the second card that I made for the
Spritz, Splatter AND PAINT challenge here on the Art Impressions Challenge Blog.


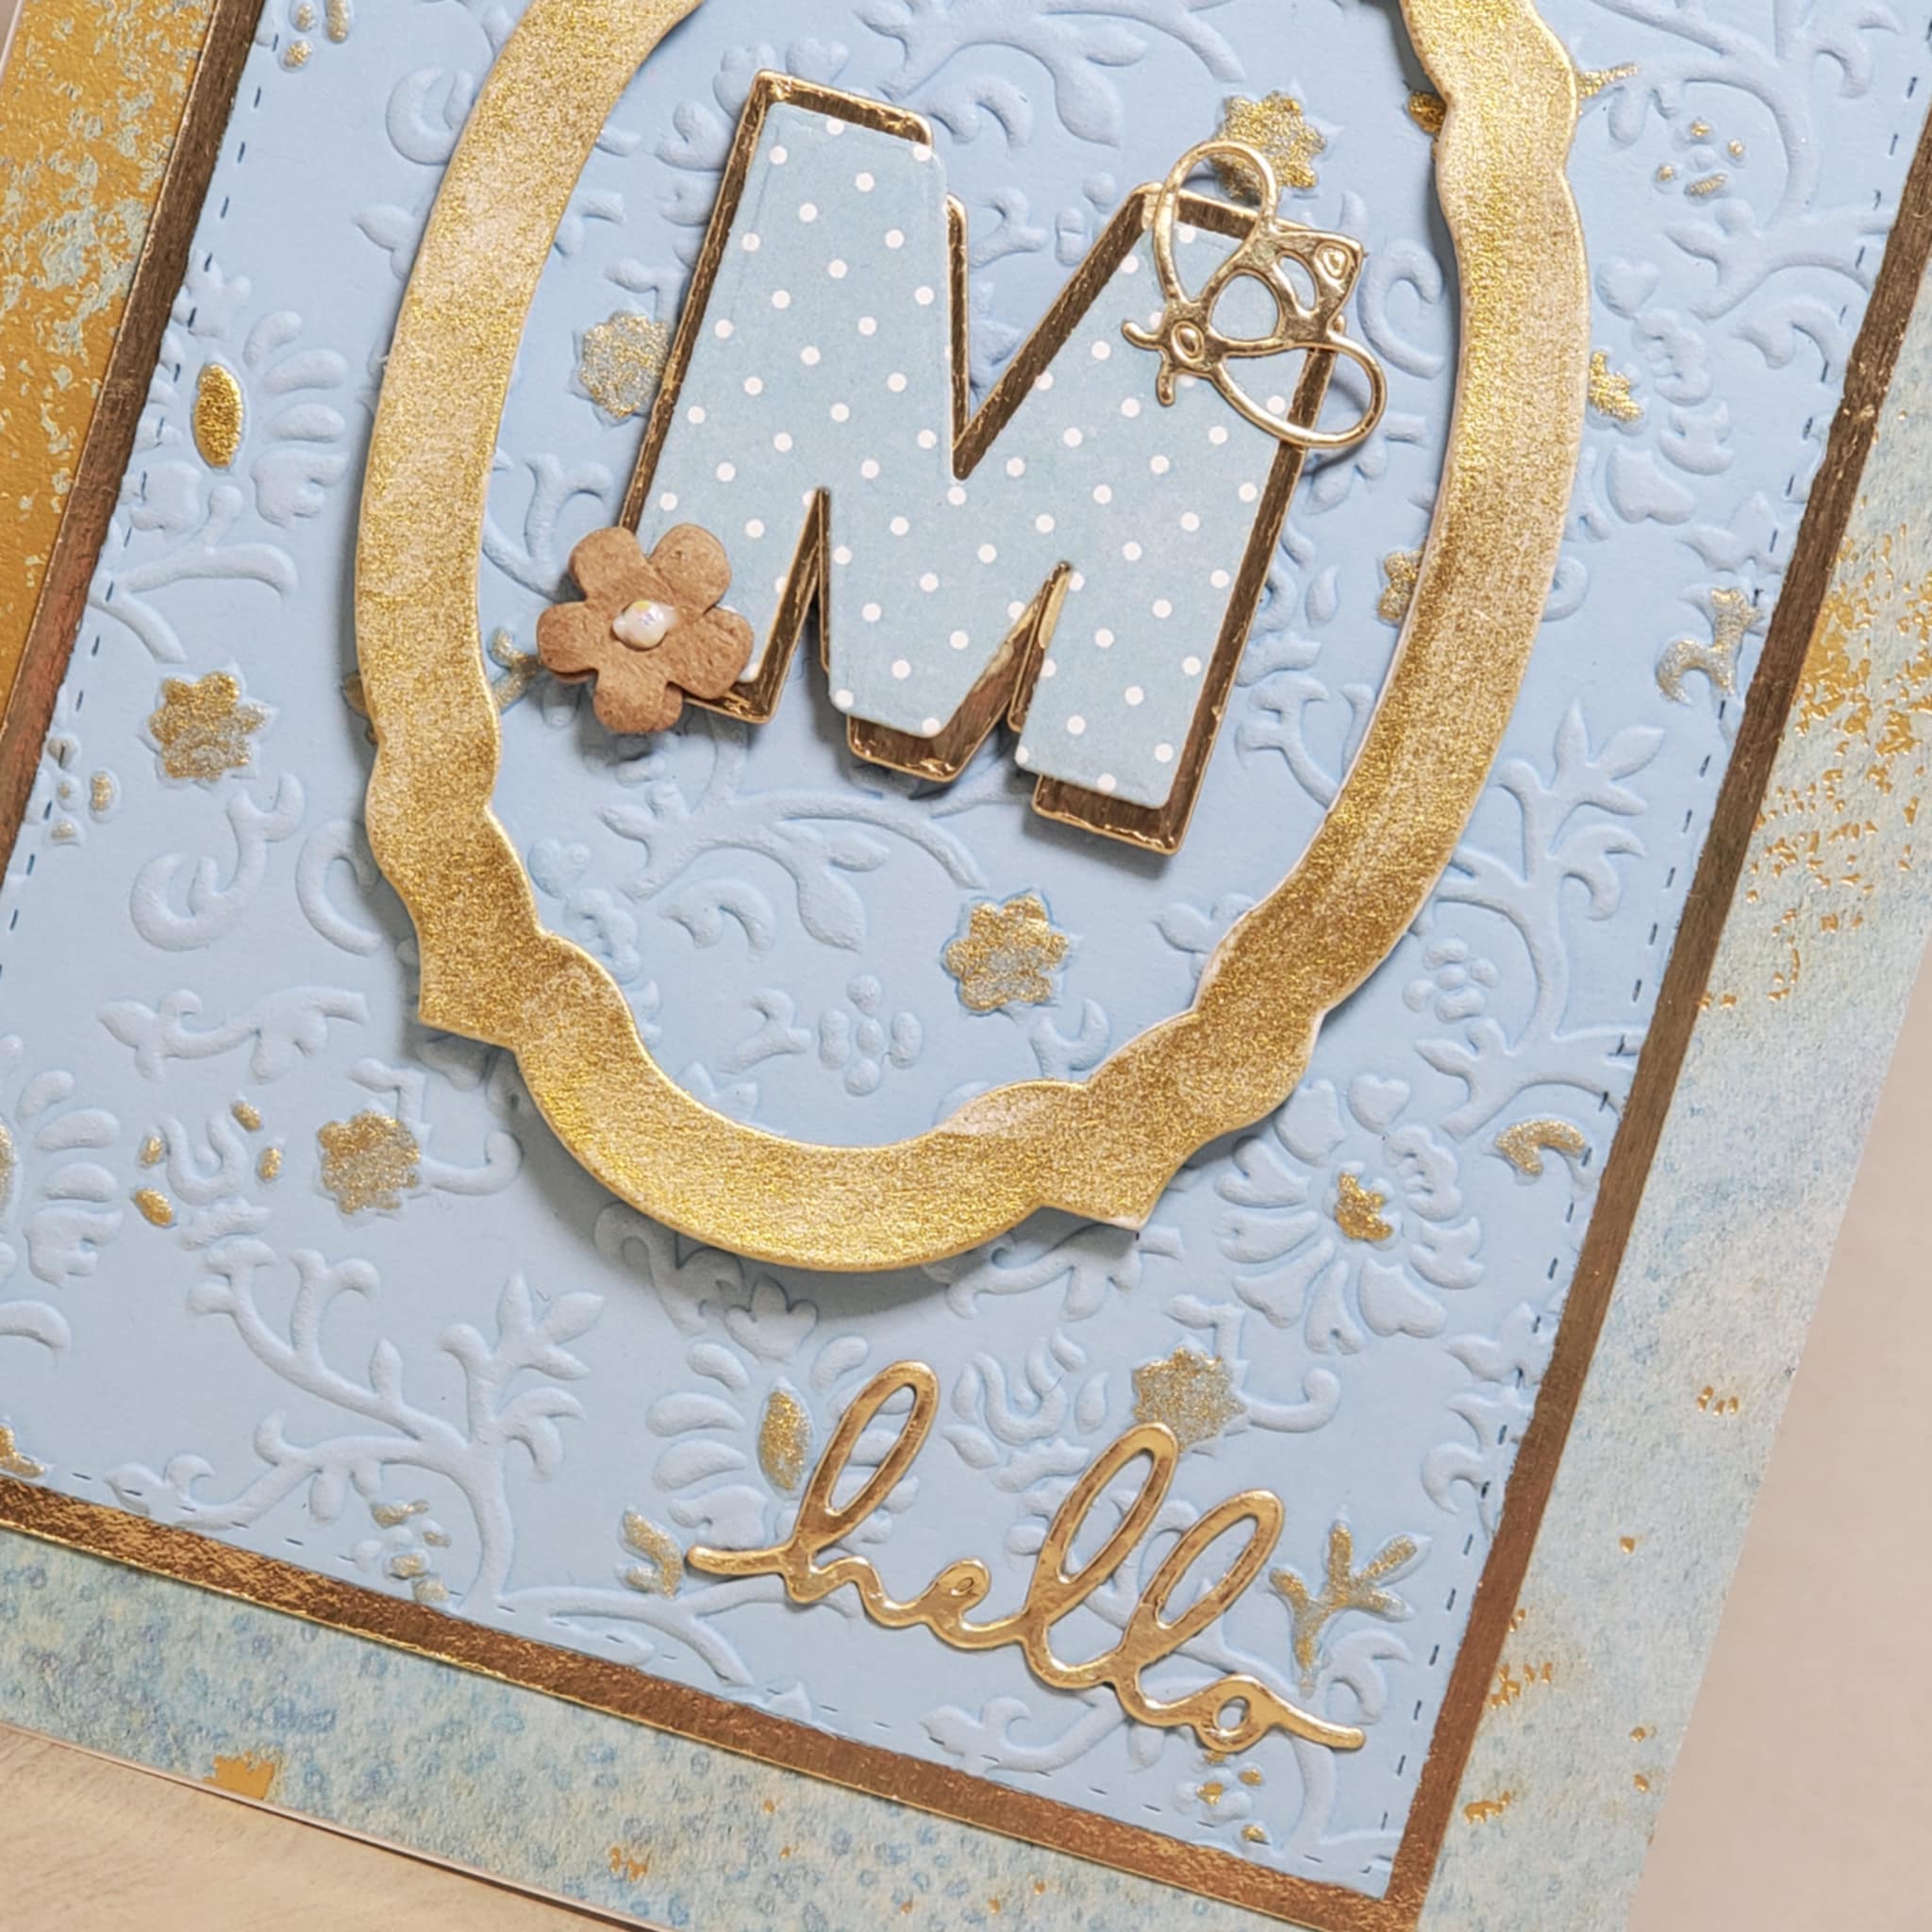
I started by embossing a light blue piece of cardstock and then I chose certain raised parts of it to paint with the new Winsor & Newton Gold paint from Art Impressions.


I also die cut two pieces of Canson watercolor paper. One, I painted gold. The other was glued to the back of it to make it sturdier because I wanted to pop up my frame.


Inside the frame I added the recipients initial, a little flower and (of course) a bee!


A little hello finished it off.


Be sure to enter your creation that uses paint in some form on your project.

Thursday, July 3, 2025

SPRITZ, SPLATTER AND PAINT! Challenge #407

 Hello Ai fans and welcome to the latest Bi-Weekly Challenge.

This one is Spritz, Splatter AND PAINT!

The reason behind this fun new challenge?
There is amazing new gold paint available at Art Impressions!


You can splatter this on your projects, add highlights, paint paper, stamp with it...yes, you heard me...It is SO gorgeous and versatile.

To enter our challenge it doesn't have to be gold. You can use the ever popular Dr. Ph Martin's Bleed Proof White, some spritzes you may have on hand or any other paint that you like to craft with.

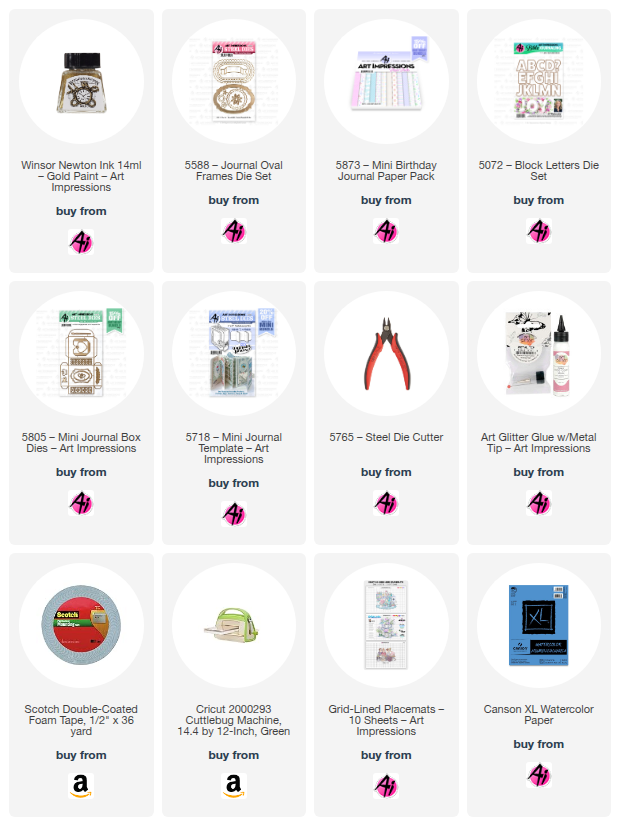
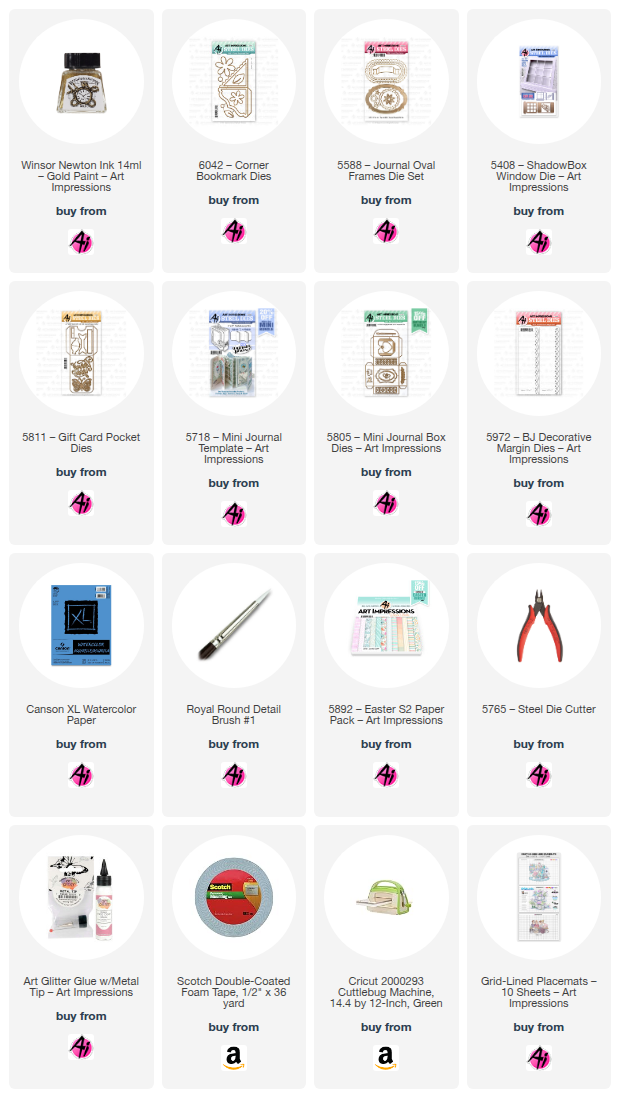
Today I've created a card where I painted Canson XL WC Paper Pad – 9×12 and then die cut a frame from 5588 – Journal Oval Frames Die Set. Then, when I was almost finished, I took a paint brush and spattered little dots all over.

Read my post to hear all about it.


I die cut my frame and then painted it gold with a large brush. I used watercolor paper so that there would be less warping and then I cut a second piece to glue it to so that it would lay flatter and be thicker so that I could pop it up on dimensional foam tape.


My layered flower is from the new 6042 – Corner Bookmark Dies.


That beautiful gold border peeking out from under the frame was a happy accident. I used the 5972 – BJ Decorative Margin Dies on my recent PEACE Christmas card and this was the leftover remnant. I liked the way the "throw away" part looked so I embossed it and also painted that gold.


I die cut my two Hellos from 5408 – ShadowBox Window Die and 5718 – Mini Journal Template and the bees are from 5805 – Mini Journal Box Dies. See those tiny little pink hearts near the hello? Read on to see where those came from.


After I die cut the butterfly from 5811 – Gift Card Pocket Dies I was cleaning up the scraps. I noticed that two of the little pieces looked like hearts so I saved those.


After my card was completely assembled, I took my Royal Round Detail Brush #1, dipped into the paint and used my finger to TAP on the brush, spattering beautiful gold dots all over.


Look at all that golden goodness!! I feel like this is one of those things that you never missed because you didn't have it, but then once you have it, you wonder what on Earth you did without it!??? LOL!
I used the end of my paintbrush to curl the petals and leaves after I used brown ink to "age" the edges a bit.


Before we get to the current challenge let's see who won our last challenge, LEON Day!

For our Top Spot we selected Cindy P.


Please contact Leah at Feedback@artimpressions.com
to claim a free stamp set of your choice!!
Be sure to grab our badge to display on your social media too!


Our Lucky Random Winner was Mary Bernard


Please contact Leah at Feedback@artimpressions.com
to claim a free stamp set of your choice!!
Be sure to grab our badge to display on your social media too!


Now onto our challenge!
I hope I've inspired you to try out some paint on your projects! It doesn't have to be gold. You can use the ever popular Dr. Ph Martin's Bleed Proof White, some spritzes you may have on hand or any other paint that you like to craft with.

Be sure to enter your creation for the chance to win a free stamp set from Art Impressions. 
We award one Top Spot and one Lucky Random Winner and each will win a free stamp set from Art Impressions.

✻ Please make a new card or handmade crafty creation. You can make any item you wish; this is not limited to cards! (unless specified)

✻ Limit two submissions per person.
 ✻Please include your first name and last initial on your submission. You may include your entire last name, but it's not necessary.
✻We love to comment on your entries, but keep in mind if you use a private group or a platform that you need to sign up for, we probably won't be able to.
✻ The Ai Challenge is open to everyone, international submissions are welcome!
✻ Include a link back to the Ai Blog or grab our button on the top right of our sidebar!
✻ Share the Ai love if you can, by clicking and commenting on your fellow crafters.
✻ Make sure to get your link up by the deadline to enter your creations.
✻ Good luck and happy stamping! 

You are invited to the Inlinkz link party!

Click here to enter