

Hello everyone! InLinkz/Linkdeli have been glitching on and off since last week. If you'd like to enter the challenge and you can't get your photo to upload, scroll down to the comments section. Paste a link to your project there. I'll count it just like as if you had uploaded your photo. When the random winner is selected I'll begin counting the comments in order received continuing on from the ones entered with photos through InLinkz. For example, right now, 2 people managed to get their photos uploaded. The first person to leave their link in the comments would be #3 and so forth. So sorry for the inconvenience. I hope they work things out soon.
Happy August everyone! August is one of those months where everything is
blooming in Oregon and the flowers are loving the warm weather.

For my August project, I wanted something simple with flowers. This project could be used for multiple themes and it would be easy to add a sentiment as well as the hummingbird. I started by inking the daisy flower corner in Pumice Stone ink. I stamped if off once on WC paper and then stamped it in the bottom right of my watercolor paper. Once that was in place, I lined up the border die and cut that out so I would have my square to plan the rest of the flower placement. I cut a mask for the flower with Post-It Note tape and then used my stamp positioner to line up the flower bud along the bottom right edge. With my stamp positioner, I also carefully added a few extra leaves here and there to fill in areas with more foliage.
For the upper left corner, I used Post-I Note tape to cover up the square cut-outs. I used my stamp positioner to stamp the first flower bud and leaves, then covered that with a mask and stamped the second bud. Once those were in place, I then used the positioner for placement of the hummingbird. I painted the daisies first in shades of purple. I started with a deep lilac (#61) wash and then added layers of color in violet (#8) – keeping the darker areas closer to the center and staying within each petal. For the flower centers, I started with a wash of brilliant yellow (#43) and then added shading with pumpkin (#87). For the buds, I followed the same process with purple and kept the darker area closest to the stem. Leaves were next and I used three colors. I started with a brilliant yellow (#43) wash, then added light green (#11) where I wanted to show the light hitting the leaf. Then I added more than one layer of olive green (#15) for the darker accents, making sure to let the layers dry in between.
My next step was to add a wash of sky blue (#75) around the flowers and foliage, leaving light and dark areas. I mainly use a #1 brush when I paint, but once I get to the larger areas, I switch to my #4 brush. I left the area around the hummingbird lighter. My last step was the hummingbird. I started with an olive green (#15) wash on the wings and the upper part of the body. I added aubergine (#93) on the body and a little blue (#3) to the wings for added color. Hummingbirds can have so many color combinations! I then carefully kept layering color, making sure to keep the area around the eyes lighter. I used my Micron to darken the eye and even with it so small, left a highlight. I also added the feet and a little black on the beak with
my Micron for definition. Then I signed and dated the project!
I still use Marvy Le
Plume markers for my projects. Most of these can be converted
to Tombow colors, but choose colors that work for you. These just
happen to be some of my go-to
colors for any project I work on.
(Here is the link for the Tombow conversion chart:
https://www.artimpressions.com/shop/art-impressions-most-loved-color-conversion-chart/)

Happy Stamping! As
always, I hope you will give this project a try! Don’t forget to
enter the Monthly Challenge for a chance to win a free stamp
set of your choice!
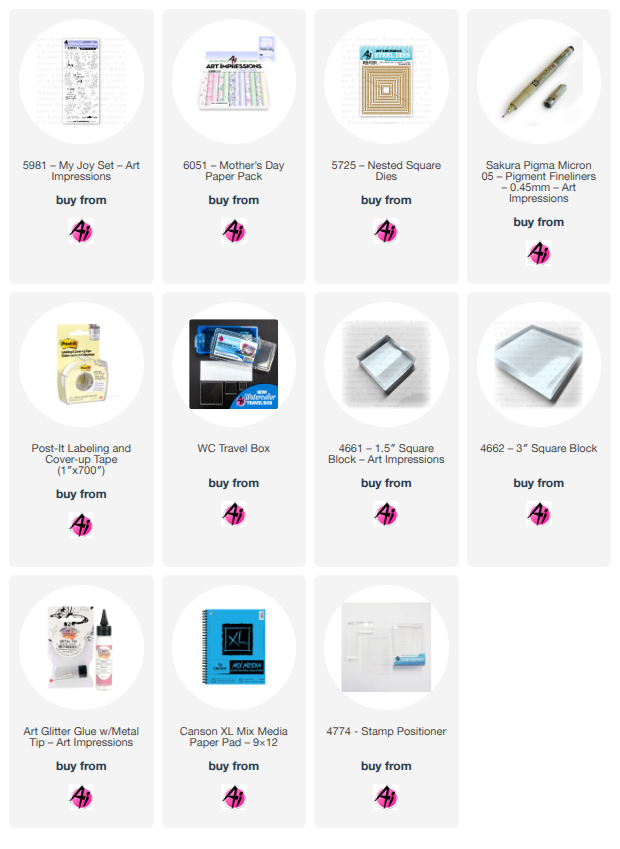
Other supplies:
Pumice Stone Distress Ink
#1 Connoisseur Brush
#4 Connoisseur Brush
Marvy Markers

#1 and #13 came up next.
3 comments:
Debbie this is so pretty! Love it!
Congrats to challenge winners Lynn, Michelle and Andrea! Loved your beautiful cards!
Just sending a link for my August entry. Thank you so much! https://www.facebook.com/photo/?fbid=1397831759114185&set=gm.2223163811604638&idorvanity=922882401632792
Post a Comment