Showing posts with label 6216-Mercy Set. Show all posts

Saturday, September 19, 2026

Simple Beauty by Gennette Houghton


Hello, and Welcome to Watercolor Weekend.  Art Impressions released the most beautiful sets for Bible Journaling and they are great elements for cards as well.  I am so excited to work with these sets some more!

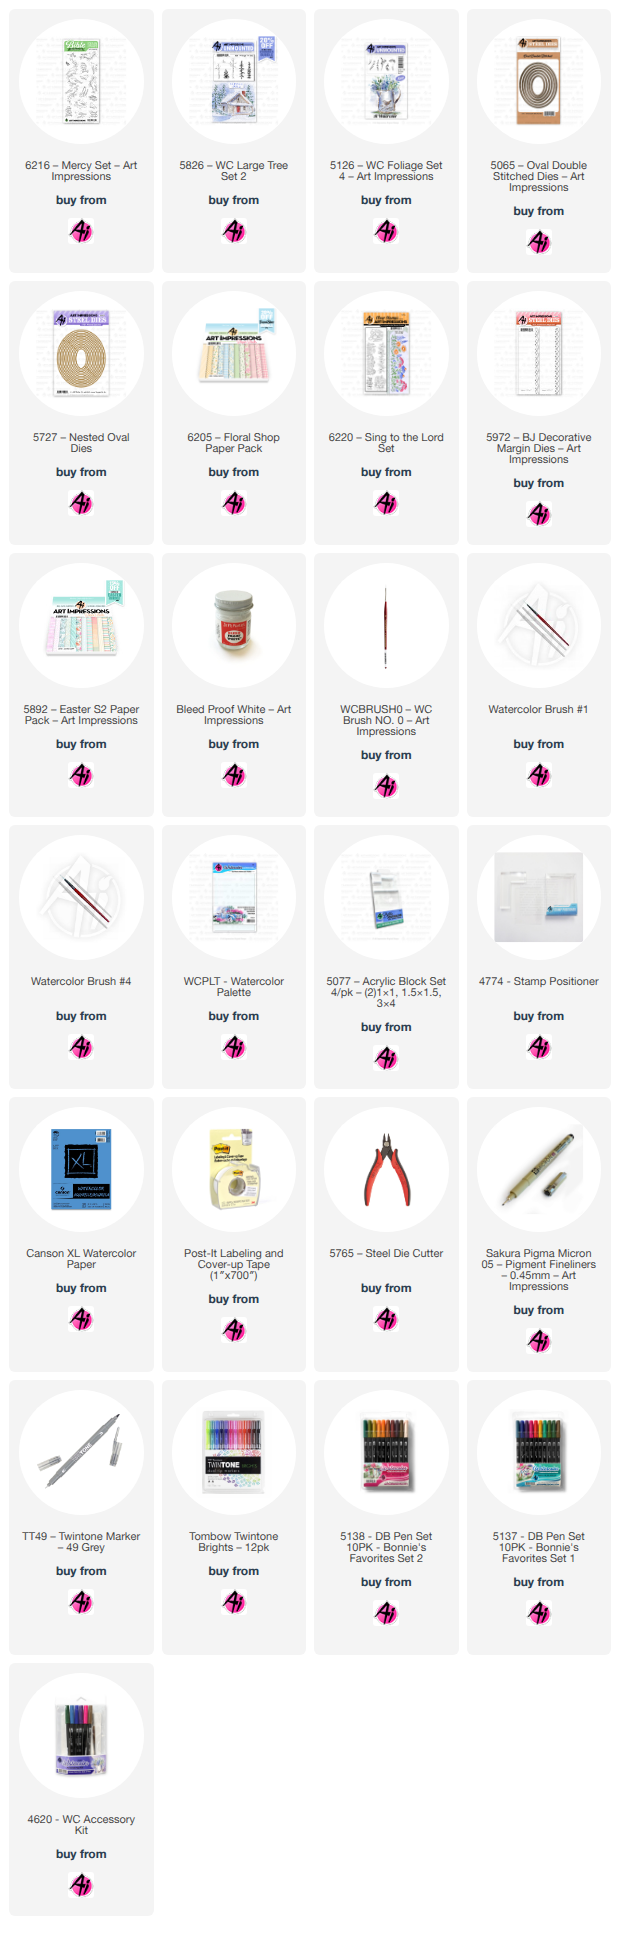
Isn’t this guy the cutest thing ever!!!!  I fell in love with him the very first time I saw him!  I used 6216 Mercy Set, I started by stamping in Distress Ink Pumice Stone after stamping off once and placed it on my watercolor paper.  I created a mask for the bird and leaf and used liquid masking fluid to cover the water drops.  I then used the 2nd from smallest 5065 Oval Double Stitched Dies to trace a guide around the image, and then will use it to cut my project out.  I took a pencil and ruler to put in a guide for the horizon line, and used a black micron on the bird’s eye.  055, 025, and N15 was used on the main part of the body.  For the beak and the little tiniest of toes I used 946.  The small section of white under the wing I shaded with 565.  I added some highlights on the head with some Bleed Proof White.  I started with 126 on the leaf and then shaded with 177, leaving the area under the water light.  I then added in some 565 and 025 in the water and added some highlights with Bleed Proof White as well.  Using the horizon line I colored the ground with 969, darkening under the leaf for a shadow.  526 was used for the sky before I put the foliage and flowers in.  After masking the image I used 5826 WC Large Tree Set 2 for the grass in 177 and two small spots at the base with 969, stamping multiple times on both sides.  I then took the leafy branch from 5126 WC Foliage Set 4 and used 126 and then drawing a line up both branches with 177.  I then stamped in the flowers from the set in 177 and 526, darkening the centers of the flowers with more 526 after pulling the color out.  Tiny dots were also added with Bleed Proof White.  I softened all of the foliage with a damp brush finishing off my image.  I decided to leave the pencil guide in for the oval and shaded around it with 535.  I then used the die to cut out my image, and used 5727 Nested Oval Dies, 8th from the largest to cut out a mat.  6205 Floral Shop Paper Pack was used to mat my card base.  I used an embossing folder on some solid cardstock for the band, and popped my image up with foam tape. 

For my 2nd card I used 6220 Sing to the Lord, such a beautiful set, and Bonnie out did herself this time!!  I started by cutting my watercolor paper down to 4 ¼ by 5 ½ since I plan on matting my card base with it.  I then used my stamping platform because I plan on extending the line of wildflowers.  I used Distress Ink Pumice Stone and stamped off once each time.  I lined up the stamp to the left edge first, and then lined the stamp back up on the right to go completely across the paper.  I used 126 and 177 for most of the stems and leaves, on a few I used 192 and 249.  For the purple sprigs I used 676, the daisies I used N60 and N52 to shade the petals.  The centers I used 055, 025, and 026, and then added a bit of Bleed Proof White on the petals to brighten them a bit.  For the 2 little flowers I used 905, and the yellow flowers I used the same combinations as I did for the centers of the daisies.  For the Coneflowers I started with 685, it was more purple than I wanted so I went over it with a little 725.  For the centers I used 947 and shaded with 969, I also added a couple of dots of BPW.  I added in some 526 in the background.  I decided to take a ruler and pencil to create an edge at the bottom of the flowers and extended any of the foliage to meet up with the line that I needed too.  I then “shaded” the line with 725 to match the paper I chose from 5892 Easter S2 Paper Pack.  I used the 5972 BJ Decorative Margin Die to create a border in a matching solid cardstock and topped it with the paper I had picked, finishing off my card.  I was going to add the included sentiment but I decided not to.  I never have been big on putting sentiments on the front of a card, it leaves my options open for what the card can be used for.  Thank you so much for joining me today, and I hope you enjoyed my cards.  Until next time!  Create….Share….Inspire!


Saturday, August 22, 2026

Blessings in Poppies by Janet


Hello Ai fans. If you come here enough, you will know that I favor bright and bold colors. Today is a perfect example of it. Color makes me happy and somehow pastels and light shades alone rarely work for me. It's true from wardrobe, my home, and my artistic card making. Today's card once again showcases a dark fuchsia that's tamed down by some quiet yellow, cream and kraft cardstock choices.

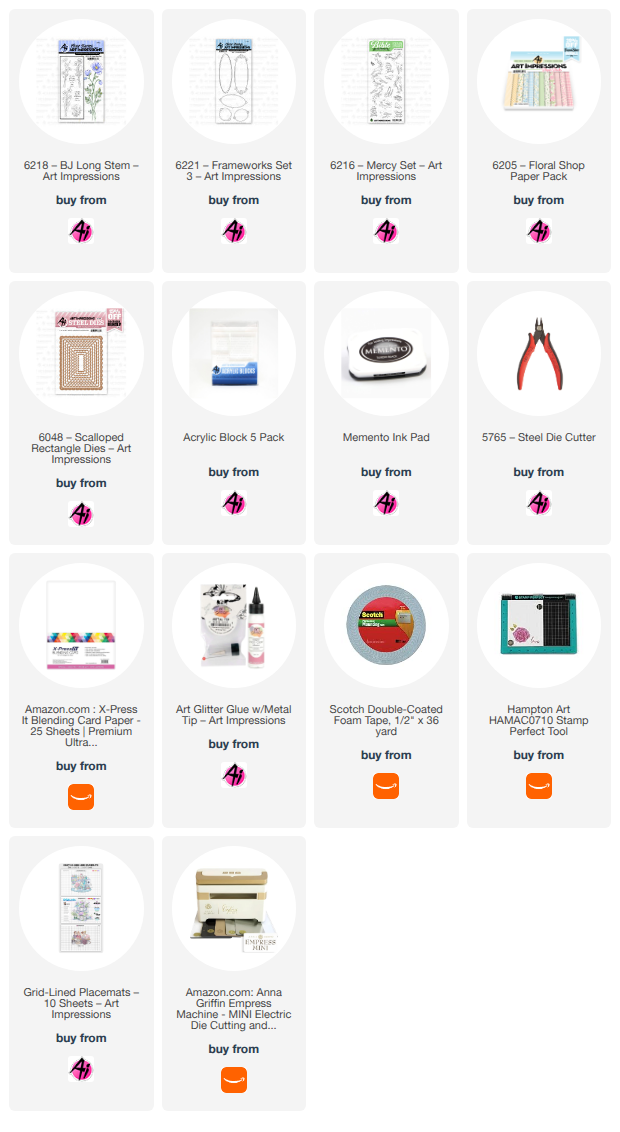
To create my project, I started by stamping an oval frame from the 6221 - Frameworks Set 3. Then I stamped in the poppy flowers using one of the floral images in 6218 - BJ Long Stems. I colored the poppies and the frame in reddish orange colors with Copic markers. I also colored a light blue background into the blank space in the frame. I stamped another round frame from the same set and stamped a sentiment from the 6216 - Mercy Set. I colored the background in blue here as well. Once complete, I fussy cut the frames and set them aside.

The next step was to use two dies from the 6048 - Scalloped Rectangle Dies. The inner mat was cut out of a nice pale yellow and cream striped paper design found in the 6205 - Floral Shop Paper Pack. The exterior scalloped frame was cut from from Stardream Metallic cardstock in Jupiter. I stacked these two mats on top of a kraft A2 card base. Then I mounted the two frames on the card. To add a delicate touch and additional texture, I included a cream chiffon bow enhanced with a cream ribbon rose. 

While this card has a strong burst of color, it doesn't take away from the flower image and sentiment. In fact, it enhances the colors in the poppy and ties the entire card together. I hope you agree that the neutral cardstock colors play nicely with the dark fuchsia cardstock and reddish orange hues.

Thanks for stopping by and spending time with me and Art Impressions today. Please visit the Ai store to pick up your favorite stamps, dies, papers, accessories, and supplies, including all the supplies I used in this card. 

Happy Crafting!


Monday, August 10, 2026

His mercies bookmark by Sharon Caudle

 Hello AI Fans!


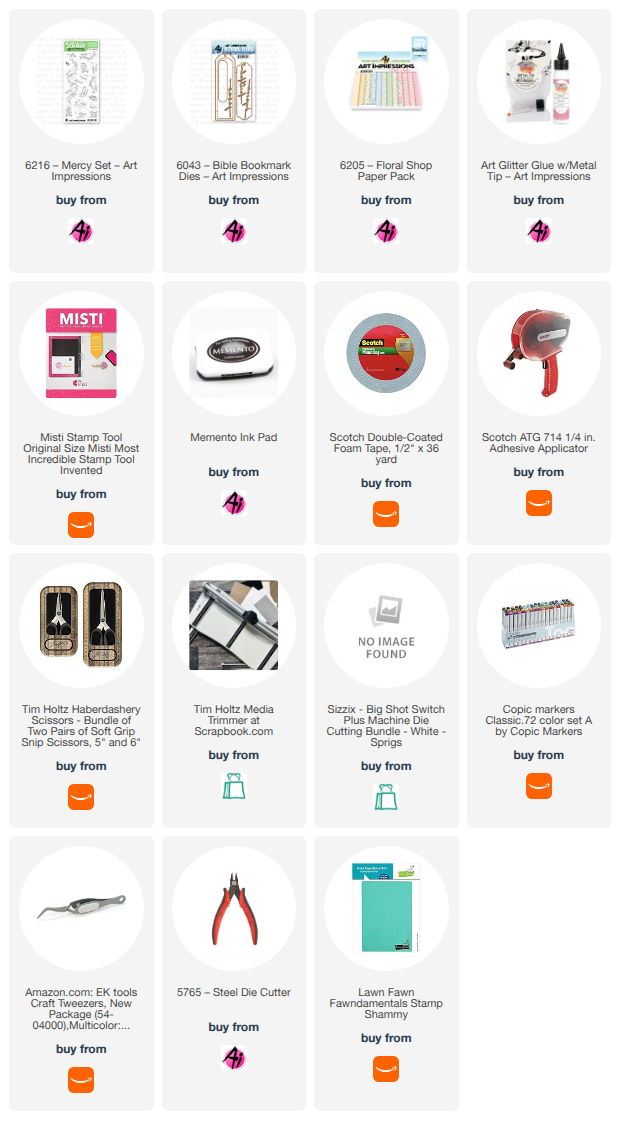
If you haven't purchased the new #6216 Mercy Set from Art Impressions yet, what are you waiting for? This set is so gorgeous and has beautiful sentiments too! For this bookmark I used #6043 Bible Bookmark Dies. After die cutting the white portion, I centered the two bird stamps with the sentiment in the middle of the bookmark with my Misti stamp platform. That made it super easy to line them all up and stamp them without worry that I could stamp them in the exact same place if needed (and of course I needed). I stamped them using Memento Tuxedo Black ink so I could color them with Copic markers. I'm sorry I forgot to write down the colors I used. After coloring them, I simply adhered it to the Bookmark base that I cut using #6205 Floral Shop PP and added a ribbon. I ended up with an amazingly quick gift that I would be proud to give to anyone! And who doesn't need more bookmarks?? This would also qualify for the current challenge Floral Frenzy!! I hope you're entering with your fabulous creations! 


So that's it for me today! Thanks so much for stopping by for a visit and until next time - stay crafty!


Saturday, August 8, 2026

All Things Beautiful by Janet

Hello Ai fans and welcome to the weekend and the Ai blog! Today's project features several new sets now available at the store. It shows off images from several sets and how they can be combined to create pretty collages and scenes.

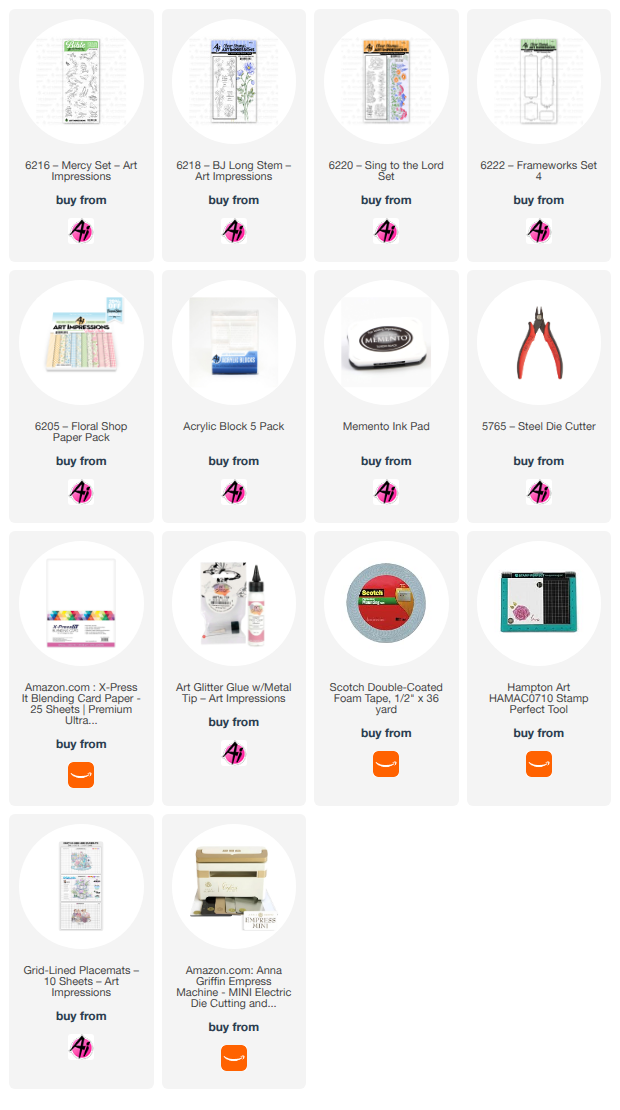
My card starts with an aqua A2 card base. I cut a slightly smaller rectangle out of the 6205 Floral Shop PP. Then I used a die from the 5727- Nested Oval Set to cut out a frame which nests all my card elements nicely. I used a punch to the shaped corners on the soft striped paper which I mounted with foam tape on the blue card base.

Next I stamped and colored the flower image from the 6220-Sing to the Lord set. I colored the flowers to resemble one of my garden favorites, blue hydrangeas. I stamped the bible verse from the 6218-BJ Long Stems set in a frame found in the 6222-Frameworks Set 4. Then I colored a bird from the 6216-Mercy Set. I fussy cut all the images and arranged them in the oval window. As filler, I added a few silk leaves and a matching bright blue and white polka dot bow. Finally a few blue glitter enamel dots were added as accents.   

This card is full of dimension, pretty colors, nature images and a reminder of God's role in making all things in the world including the earth's bountiful and beautiful natural birds and fauna.

Thanks for stopping by and spending time with me and Art Impressions today. Please visit the Ai store to pick up your favorite stamps, dies, papers, accessories, and supplies, including all the supplies I used in this card. 

Happy Crafting!


Tuesday, August 4, 2026

Floral Frenzy Story Tile card by ReneƩ Matarese

 Hello Ai fans!
The current challenge on the Art Impressions Challenge Blog is
Floral Frenzy!

Who on this planet doesn't love flowers?
You don't have to grow them or keep fresh flowers
in your house, but doesn't everyone love flowers?


I love the 6158 – Story Tile Template Die.
You can place an image in every section, or you can fill them with
sentiments or even just pretty paper. It's a great way to have an instant layout
for a card.


Friday, July 31, 2026

Birds of a Feather! Card by Tasha

 Happy Friday Art Impressions friends! 

Tasha here sharing a card inspired by the current Floral Frenzy Challenge. Art Impressions has so many beautiful floral sets, and I had fun combining two new sets to create this colorful design.

I started with one of my favorite dies, the 6158-Story Tile Template Die, and selected flowers that would fit perfectly into each tile. The floral images I used are from the 6218-BJ Long Stem Set and the 6220-Sing to the Lord Set. Both sets include so many pretty flower stamps, and they work beautifully together!

Instead of filling every tile with flowers, I added two little birds from the 6216-Mercy Set. These sweet birds were the perfect addition and helped bring the design together. To finish the card, I stamped a bird-themed greeting from the 5980-Song Birds and Feeders Set to coordinate with the stamped images.

I love how the mix of flowers and little birds created a cheerful card full of color and springtime inspiration. Thanks for stopping by, and I hope you are inspired to create something beautiful for the Floral Frenzy Challenge!


Sunday, July 26, 2026

A Masculine Watercolor Birthday Card and a Card for a Friend.


Hello Crafty Fiends and Happy Watercolor Weekend!

Today, I want to share two projects that are completely different in purpose.

For the first project, a friend asked me to create a masculine watercolor birthday card for her husband. Knowing he loves the ocean and owns a boat, I designed the card with that theme in mind.


To start, I used the lighthouse and cliff stamps from the Light of the World set (6126). I inked everything except the tree using Tombow markers 969 and 565, and stamped the tree using Tombow marker 177. I then pulled the colors from the stamp and painted the lighthouse and the cliff.


Next, I painted the tree and some background foliage using branches from the Branches Set (4964) and the Large Tree Set (5373). I also added the sky.


To add the ocean, I drew a line and masked the sky to create a straight horizon. I built up the ocean using different shades of blue, and then added a few wave lines using bleed-proof white. I kept it looking like a calm ocean without too much foam or waves.


For the sentiment, I used the Large Letter Die Set (5910) to cut the letters "HPPY" three times—twice in white and once in blue. I layered and glued them together with the blue letters on top. For the letter "A", I used the sailboat from the Sail Mini Dies set (5325). I added a few lines to one of the sails using a red marker (856) and a little gray for shadow. Finally, I added a "Birthday" stamp and cut a coordinating blue mat to be glued around the card.


I am really happy with how this card turned out, and I hope you like it, too!


                                              My second card:  Thinking of You card


I want to share the details of the second card I made. I am making this card for a friend who is going through a difficult time, and I hope it brings a smile to her face and lets her know that I am thinking of and praying for her.

Since she loves birds, I designed this card specifically with her in mind:


  - Background & Stamping: I started by sketching the paper using the die from Story Tile Die Set (#6158) and then stamped the birds from the Mercy Set (#6216). I left one space open for a sentiment from the Cottage Charm Set (#6179). 


- Painting: To give the birds a realistic look, I researched different sparrow species online for reference. Once the painting was dry, I applied a thin layer of Distress Glaze to seal it.    


 - Assembly: I cut the frame twice—once in black and once in kraft paper for the top layer. Finally, I glued the frame and mat together onto a matching kraft-colored card base.


Thank you for taking the time to read my blog. I hope these cards inspire your own creations. Please feel free to reach out if you have any questions.

Happy crafting and watercolor painting!


Tuesday, July 21, 2026

Focus on Faith with Sara Furr: Mercy Sparrows

 Blessings dear friends, and welcome to my second edition of Focus on Faith for the month of July.


 I have to tell you that I am totally in love with the new "Mercy Set"! These birds and florals are just so beautiful!


I started with a piece of Canson XL Bristol Smooth cardstock cut to 4 1/4 x 5 1/2. I stamped my image using Versafine black ink,  and then watercolored my birds and florals using dye ink  markers.  


After my watercolor was all dry I went back in with colored pencils to add shading and fine detail to each of my little birds.


**Make sure that your colored pencils have a very sharp point and they will add in beautiful sharp details to each of your images to give them ton of depth.

I added a blue wash in the background for my sky.

After my images were all dry , I decided to tear my focal piece down into a single strip that I would put in the center. I sat that aside to work on my background. I cut a piece of pattern paper to be 4 x 5 1/2" and adhered that to my card base. I then created another panel that is 3 3/4 x 5 1/2", and I embossed that with a floral embossing folder. I then added some blue ink to the raised embossing with a blending brush and then rubbed a Silver pigment ink lightly over the top of that. I distressed the edges of the cardstock with the edge of a scissors. I then cut several sprigs of detailed leaves, and ink blended blue ink at the base of each leaf,  and added them to the back of my focal strip with the birds.  Before adding the focal piece to my card base,  I added a strip of crocheted lace in the background, then adhered my focal piece down with foam tape. I tied a gingham bow and added that to the left side of my card with a large glue dot. To add a couple finishing touches,  I added some pink pearls to the centers of my flowers, and some silver pearls on my berries and in the background.


For my inside I used a piece of Canson XL Bristol Smooth cardstock cut to 4 x 5 1/4" and stamped the sentiment "His eye is on the sparrow" and "Hallelujiah", both from the Frameworks Sentiments set, in Black Versafine Ink using my stamping tool to make sure I got the placement just right. 


The phrase "His eye is on the sparrow" means that God is intimately aware of and deeply cares for every single detail of your life. It is a message of comfort, meant to reassure you that you are immensely valuable to God and that He is always watching over you.


I also stamped one of the single birds from the Mercy Set, and the sentiment "His mercies are new every morning ", in Black Versafine Ink.  I again layed down a base of watercolor and added in fine details with colored pencils.

That finishes up my card for today. I love how it turned out, and I hope that you like it too. Thank you so much for joining me today!  I hope that you got inspired,  and if you haven't already,  I hope that you can get this set!  It is definitely a favorite of mine,  as I really love birds. 

God bless you,  and keep watch over you!
Sara Furr- The Crafty Farm Chick 


Other products used:
Die cutting machine 
Paper cutter
Embossing folder
MISTI stamping tool
Versafine ink in Black 
Silver pigment ink pad
Dye ink markers
Colored pencils
Scissors
Watercolor brush
Glue dots
Foam tape
Gingham ribbon
Pattern paper
Blue Cardstock
Canson XL Bristol Smooth cardstock 
Pink and Silver pearls
Crochet Lace

Sunday, July 19, 2026

Birds, Blooms & Dimensional Designs by Simone Carr


Hello Crafty Friends!

Art Impressions has some really beautiful patterned paper packs, and I feel like the designs get better and better with each new release. Some of the patterns are simply too pretty to hide behind layers, so I wanted to create a card that showcases both the patterned paper and my watercoloring. I've admired eclipse-style cards for a long time but had never made one myself, so I decided to give it a try!

I started with a 5" × 5" card base and cut the top layer to 4⅞" × 4⅞". Next, I cut a piece of cardstock measuring 4¾" × 4¾", along with five strips of patterned paper measuring ½" × 4¾". Be sure to keep the strips in order so the pattern stays aligned.

I adhered the first strip directly to the cardstock. For the second strip, I added 2 mm foam tape before placing it next to the first strip. I continued alternating between adhesive and foam tape until all five strips were attached, creating the eclipse effect.

Next, I cut another piece of cardstock measuring 2⅛" × 4¾" and a piece of Strathmore Bristol Smooth Paper measuring 2" × 4⅝". After adhering them together, I placed the panel into my stamping platform.

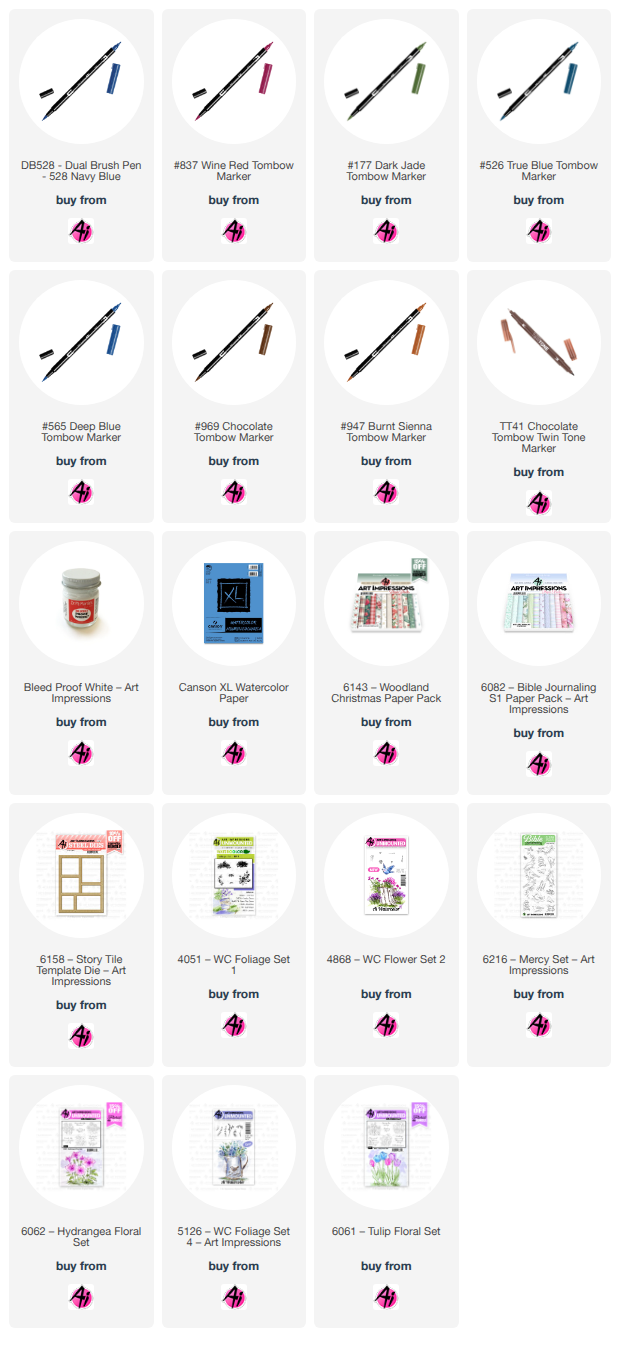
I stamped the image using Distress Ink Lost Shadow and the sentiment using Versafine Clair Twilight. Once the ink was dry, I colored the image using the Tombow markers listed in the materials section below.

To finish the card, I added 2 mm foam tape to the stamped panel and adhered it beside the patterned paper strips. After attaching everything to the card base, I finished the design with a few embellishments for a little sparkle.

The finished card measures 5" × 5".


Materials Used

Stamps

• 6216 – Mercy Set
• 6061 – Tulip Floral Set

Paper

• 6082 – Bible Journaling S1 Paper Pack
• Strathmore Bristol Smooth Paper

Inks & Mediums

• Distress Ink – Lost Shadow
• Versafine Clair – Twilight
• Pitt Artist Pen – Black
• TwinTone Marker – Brown
• 2 mm Foam Tape

Tombow Markers

• 947, 969, 985 – Bird
• 528, 565, 177, 985 – Flower
• 526, 565 – Sky

For my second card, I reached for one of my favorite products—the Story Tile Die. While there are currently four stamp sets designed specifically for this die, it's also a wonderful way to showcase many of your other Art Impressions stamps.

I started by die cutting the tiles from Canson Watercolor Paper. Before stamping, I arranged the images on the tiles to determine the layout I wanted. Once I was happy with the placement, I stamped the images using Distress Ink Lost Shadow.

After everything was stamped, I colored the images using the Tombow markers listed in the materials section below.

Next, I selected a patterned paper from the Woodland Christmas Paper Pack that complemented the scene and die cut it using the Story Tile Die. I adhered the patterned paper frame to a second frame cut from watercolor paper for added stability and dimension.

To finish the card, I adhered the layered frame to an A2 card base and glued each watercolor tile back into place. I stamped the sentiment using Versafine Clair Nocturne to complete the design.

I hope these two cards inspire you to look at your stamps and dies in new ways and create something uniquely your own. Thanks for stopping by, and happy crafting!


Materials Used

Stamps & Dies

• 6158 – Story Tile Die
• 6216 – Mercy Set
• 6062 – Hydrangea Flower Set
• 4051 – Foliage Set 1
• 5126 – Foliage Set 4
• 4868 – Flower Set 2

Paper

• 6143 – Woodland Christmas Paper Pack
• Canson Watercolor Paper

Inks & Mediums

• Distress Ink – Lost Shadow
• Versafine Clair Nocturne
• Pitt Artist Pen – Black
• TwinTone Markers – Brown, Purple
• Dr. Ph. Martin's Bleed Proof White

Tombow Markers

• 947, 969, 985 – Birds
• 985 – Daisies
• 837 – Small Flowers
• 606 – Petunia
• 177 – Leaves, Grass
• 401 – Water in Leaf
• 526 – Sky
• 565 – Shadows