Showing posts with label 6055 Water of Life. Show all posts

Wednesday, April 1, 2026

April 2026 Monthly Challenge: Springtime Bunny by Debbie Hedges

 Hello Ai fans and welcome to our April Monthly Guest Designer Challenge!
This time Debbie has the sweetest little bunny for you.
After you read through her post and admire her card, be sure to
scroll down to see who our March winners were.

Happy April everyone! It’s almost Easter and I am enjoying spring flowers in bloom!


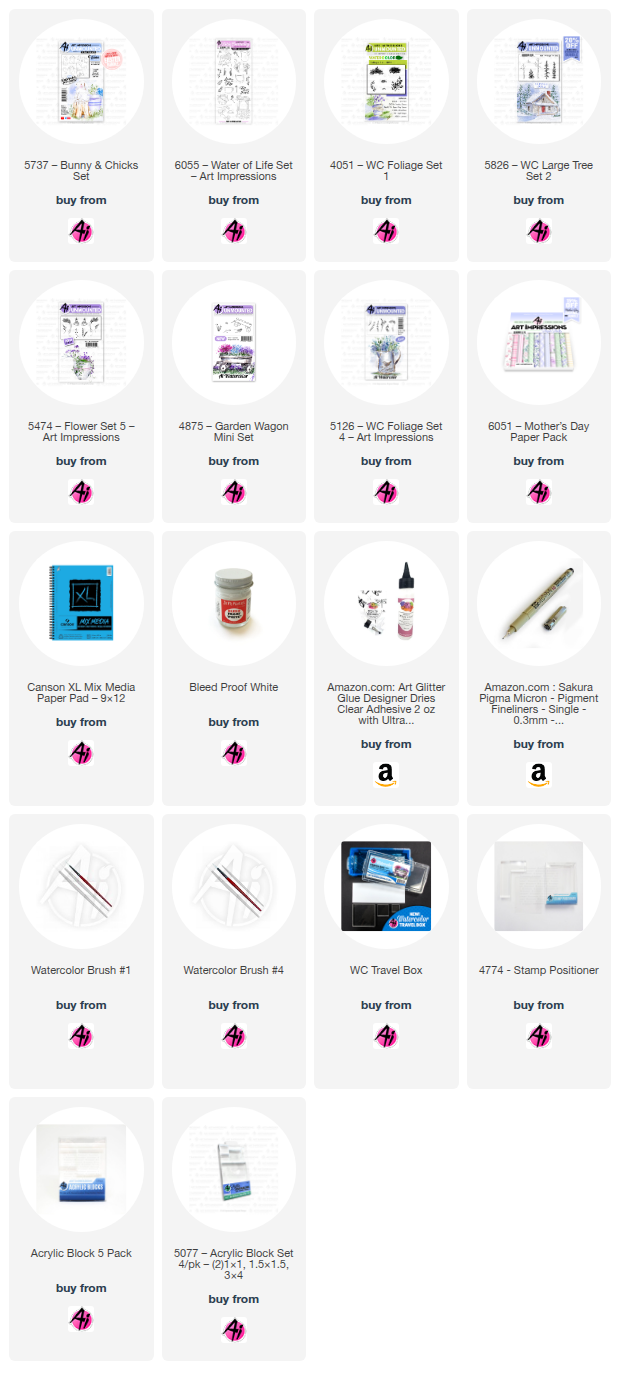
or my April project, I wanted a simple scene with a bunny in a meadow with some rocks and flowers surrounding him. I used the left facing bunny #5870 Peeking Bunny and stamped him on the right side in Pumice Stone Distress Ink. Then I inked a few of the rocks from #5378 WC Stone Creek Scene in Pumice Stone Distress Ink and stamped them to the left of the bunny.

Using #75 sky blue, I added sky, adding color so there were light and dark areas and also some white space to show clouds. I usually add sky first so I don’t have to work around the flowers later. I then painted the bunny in #84 taupe. I used #67 bubblegum pink for his ears and once he was dry, used my black Micron to darken his eyes. I colored the rocks next, leaving a highlight on the top and using a variety of grey and brown tones (#40 brownish grey, #21 dark grey, #45 sepia, #15 olive green, and #84 taupe).

Next, I made a mask of the bunny and stamped grass on both sides of him in #15 olive green, using the teeny tiny grass (#4051) and the grass from #5826 WC Large Tree Set 2. I also added some grass along the bottom right of my project. I pulled the color out of the lines and then used a single flower from #6055 Water of Life Set to stamp the flowers on the right in #79 grape.

For the flowers on the left, I started by inking the small vine stamp from #5126 Foliage Set 4 and stamped it several times for light and dark to create the base of the plant (I made a mask of the rocks to protect them for this step). I used #15 olive green for the foliage. The long stem is also from set #6055 and I inked it in #93 aubergine and used my stamp positioner to stamp it 3 times and then touched each bloom with my brush to soften the color. The tall grass is from #4875 Garden Wagon Mini set. I inked it in #15 olive green and inked the ends in #8 violet. Using my positioner, I stamped it twice. I then used the fine tip and added a few more flower bud dots in violet. I added the hint of a tree by inking leaves from #5126 and stamping them twice in the left corner of my project.

To finish up, I used #15 olive green to anchor the rocks and bunny by adding some “ground” as grass along the base of the rocks, bunny and grass. With Dr Ph Martin’s Bleed Proof White, I added dots to the bunny tail so it would look fluffy – but left the shading at the base. I also added a few dots along the ground and in the grass I added at the bottom right. I also used the fine point of my taupe marker to darken areas on the bunny and rocks for shading.

I still use Marvy Le Plume markers for my projects.  Most of these can be converted to Tombow colors, but choose colors that work for you. These just happen to be some of my go-to colors for any project I work on. (Here is the link for the Tombow conversion chart: https://www.artimpressions.com/shop/art-impressions-most-loved-color-conversion-chart/)


I hope you’ll give this project a try and please be sure to post your version so we can all enjoy it! Also, don’t forget to enter the Monthly Challenge for a chance to win a free stamp set! Happy stamping!


Now let's see who won our March Challenge!

Our Lucky Random Winner was: #3


Please contact Leah at Feedback@artimpressions.com
to claim a free stamp set of your choice!!

The winner of a freebie from me is #18


Please email me at Renee@artimpressions.com
with your full name and address and I'll send you a photo of the freebies I have available for you to choose from.

Now for our new monthly challenge, here are the rules.

 ✻ Please make a new card or handmade crafty creation using either stamps, dies and or designer paper from Art Impressions. You can make any item you wish; this is not limited to cards! (unless specified)

✻ Limit two submissions per person.
One random winner will receive a free stamp set from Art Impressions and one random winner will receive a freebie stamp from me.
 ✻Please include your first name and last initial on your submission. You may include your entire last name, but it's not necessary.
✻We love to comment on your entries, but keep in mind if you use a private group or a platform that you need to sign up for, we probably won't be able to.
✻ The Ai Challenge is open to everyone, international submissions are welcome!
✻ Include a link back to the Ai Blog or grab our button on the top right of our sidebar!
✻ Share the Ai love if you can, by clicking and commenting on your fellow crafters.
✻ Make sure to get your link up by the deadline to enter your creations.
✻ Good luck and happy stamping!

You are invited to the Inlinkz link party!

Click here to enter

Tuesday, March 17, 2026

Focus on Faith Easter card with Sara Furr


Blessings Ai Friends, and welcome back to another edition of "Focus on Faith" with me, Sara Furr! I am so glad you are here with me today! Here were are in the middle of March already, with Easter coming just around the corner, so I knew I wanted to create a pretty Easter card for you today! I hope you like it as much as I enjoyed creating it!


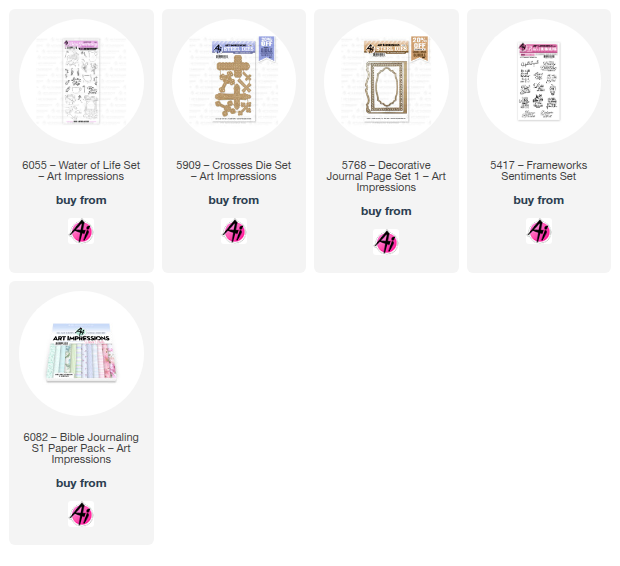
I started my project by pulling out my floral dsp from Art Impressions, and I chose a pretty blue floral and a blue gingham from the "Bible Journaling S1" paper pack. I already had a cross cut from the "Crosses" die set, so I pulled that out as well. I cut a fancy white panel from the "Decorative Journal Page" Die set and used all of those elements to start building my card.

I decided to use some of the pretty florals from the "Water of Life" stamp set. I began by placing my cross die cut,that I had cut from a fine glitter paper, in the center of my white die cut panel, and decided how I wanted to arrange my florals coming off either side of the top and bottom, behind the cross. I set the cross aside, and I began
stamping the outline posies and also one of the leaf branches in Black Momento ink, and I colored the florals with alcohol markers in a very light blue and green. Then, I went into each floral and added in details with the fine point of a dye ink marker in 2 darker shades of blue. I then added some foliage and flowers in the background stamped using dye ink markers. To blend and add in some blue shading, I used a very light greenish blue alcohol marker. Once I was happy with my background florals, I glued down my cross die cut. 
Next, I stamped the Hallelujah from the "Frameworks Sentiments" stamp set onto a piece of white scrap cardstock with Black Versafine Ink, let it dry a bit, and then fussy cut it out with my detail scissors, and popped it up with tiny pieces of foam tape. I applied foam tape to the back of that focal panel and set it aside.


I distressed the edges of both the gingham panel and the floral panel, and added foam tape to the back of the gingham panel and adhered that to the floral panel on the right side. I wrapped and tied a crinkle bow off to the left hand side with a white button tied to the middle of the bow. That whole panel was adhered to my white card base. Lastly, I adhered down the popped up focal panel with my pretty floral spray and cross with the Hallelujah sentiment. 


And that finishes my card for today. I hope you like it and that maybe you got inspired to create some pretty Religious Easter creations as well. I wish could have gotten the Religious Easter sets, as there are so many that I would love to get, but I just don't have the money, so I made do with what I have. After all, you can't go wrong with pretty florals and Crosses, right?! Haha.
I hope you all have a very happy and Blessed Easter with your family, and I will see you back here on the Tuesday just after Easter. 

Wishing you all many Blessings, 
Sara Furr- The Crafty Farm Chick 


Here is a list of all the products I used:

#5909 Crosses die set
#5417-Frameworks Sentiments set 
#5768- Decorative Journal Page 1 die set
#6055- Water of Life set
#6082- Bible Journaling S1 paper pack


Sunday, November 9, 2025

Ode to November and a Gift for You by Gennette Houghton


Hello and Welcome to Watercolor Weekend!  Fall is my favorite time of year, the sunlight is golden and the air is crisp. For my first card I printed off one of my favorite poems called November on 90lb watercolor paper. Unfortunately, I waited until after I made my card to do a little digging.  I wanted to know where this poem originated from, to learn some history on the poem and the person who wrote it.  Come to find out Clyde Watson is not the author of this poem, even though you will find her name attached to it all over the internet, but it was actually penned by Elizabeth Coatsworth who was born in 1893. So just know that the actual author on this is incorrect. 

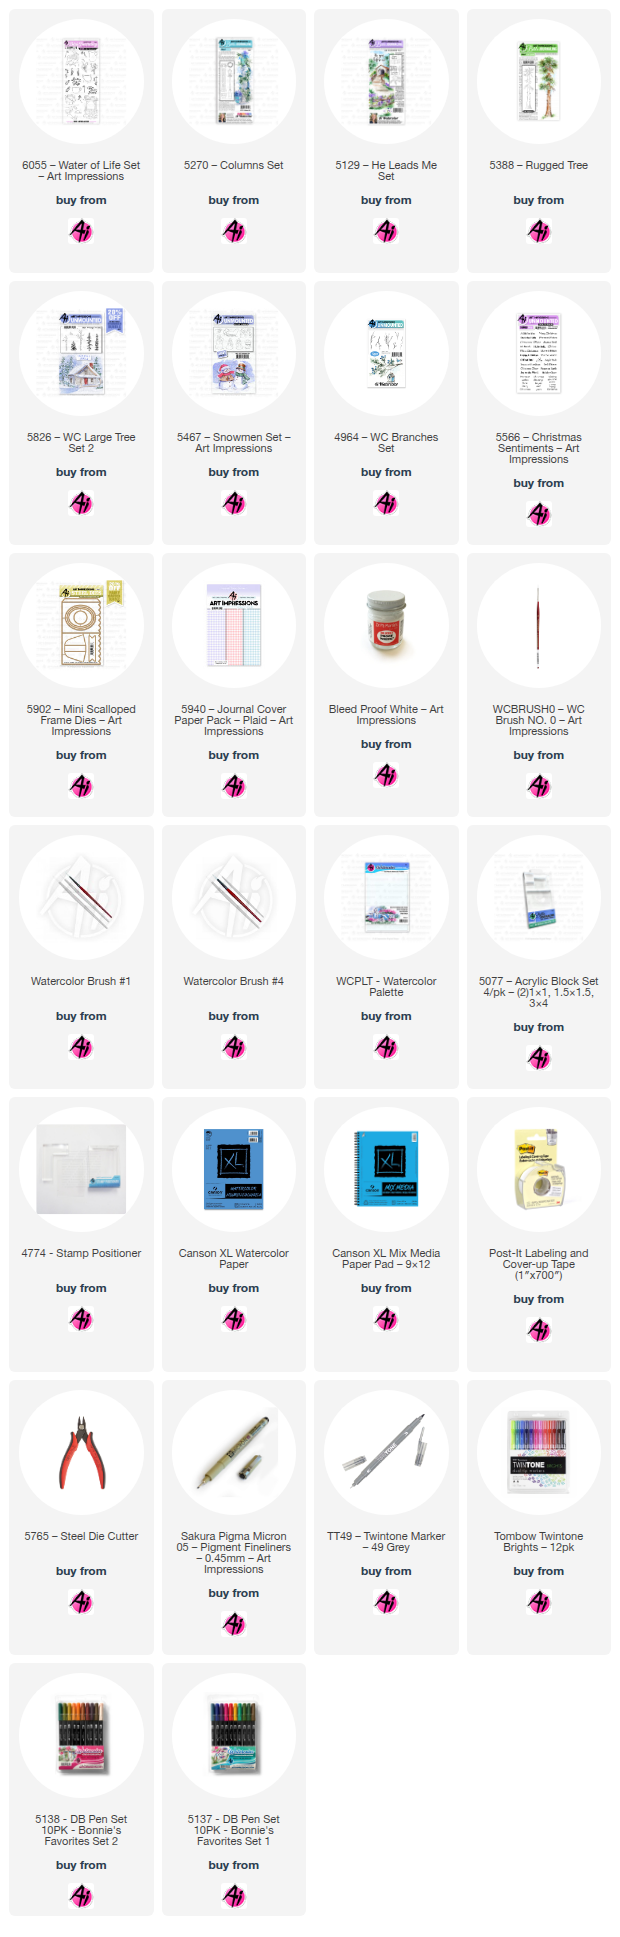
After printing the poem, I cut my piece down to an A2 size, and started choosing what stamps I wanted to use to depict this poem.  I started with the bucket from 6055 Water of Life Set in N79 and stamped off once. Not knowing exactly how this was going to go, I wanted my lines to be fairly light so they wouldn’t compete with the printed poem and used N79 for each stamp and stamped them all off once.  I then chose 5270 Columns Set for the lamp post. I used 5129 He Leads Me Set for the fence, masking off part of the lamp post first. Wanting something more on the right side I went with 5388 Rugged Tree Set.  

Since my lines were already pretty light I didn’t worry about pulling color out. Starting with the bucket I added a mixture of 565 and 969 to get that old weathered wood look, for contrast I used 879 on the bands and handle. I wanted to create the look of ice in the bucket so I started with 526 lightly adding just a hint of 565 for a shadow along the edge of the ice.  I then added 969 to the tree.  For the lamp post I start with a mix of 565 and 969 to get some of the shadow areas in, and I love using a combination of 027 and 373, adding each color in separately in different areas creating an almost patina effect. For the lantern part I started with 055 for the base color, adding in 025 to deepen the area leaving the middle alone, and 026 was added along the edges.  For the fence I started again with a mix of 565 and 969 adding in more 565 for deeper shadows. Being that the fence goes into the poem I wanted to keep this light.  A mix of 027 and 177 was used on the ground and a mix of 526 and 249 (yes, 249, lightly) for the sky.  5826 WC Large Tree Set 2 has a grass stamp that is my absolute favorite to use for nature scenes. I used 228 with a couple of spots with 027 to give the look of grass that is starting to fade and dry out around the bucket, post, and tree. I then decided I actually wanted the grass to be a little taller by the tree so I used the grass that is included in the Water of Life Set and used the same colors.  A branch from 4964 WC Branches set in 879 was used to create a vine along the fence being careful not to stamp across the lamp post, I ended up masking with post-it tape just to be safe.  I then used 3 Twintones for the berries, 25 Red, 76 Carrot Orange, and 04 Chrome Yellow.  I used some Dr. Ph. Martin’s Bleed Proof White to add some flowers by the tree. I recently bought some Winsor and Newton Iridescent Medium to try out. It reminds me of Wink of Stella, its silver based and can be used to mix in with your colors. I thought this would be a good choice to try to create frost. Like Wink of Stella, the light has to hit it just right to see it, so I didn’t really get what I was hoping for.

For my 2nd project I decided to turn the 5902 Mini Scalloped Frame into a gift tag.  

I die cut paper from 5940 Journal Cover Paper Pack Plaid, and then with the largest oval included in the set I created an opening on the front panel. I then took some light blue solid cardstock and cut it down to 2 11/16 by 3 3/16, centered that behind the original oval opening and traced with a pencil. I took the next size down oval and centered that in the outline and die cut it.  I glued this to the inside behind the opening to create a frame. I then did the same thing with a piece of watercolor paper and used the traced outline as a guide for my scene.  

5467 Snowmen Set was stamped in N49 after stamping off once.  For the hat I used N15, and 526 was used on the band, shading the sides and leaving a highlight in the middle. A black micron was used on the eyes and mouth. I started creating contours of the snowman’s body with N52 and then darkened the more shaded areas with 565, mainly focusing under the hat and scarf.  I started by shading the scarf with 565 first and then added 526 to create a plaid pattern.  N15 was used on the buttons of the snowman.  993 and 933 was used on the carrot nose.  I used a mix of 526 and 565 for the sky before adding in the branches from 4964 WC Branches set in 879.  Bleed Proof White was used to create the snow on the hat, branches and ground, shading with 565 to give it texture and dimension.  I then glued the watercolor piece to the framed area, and then glued the 2 halves together.  I used the sentiment from 5566 Christmas Sentiment Set in VersaFine Clair Twilight, added an eyelet and ribbon to finish off the tag.  Thank you for joining me today, and I hope you enjoyed my projects! Until next time, Create….Share….Inspire!