Showing posts with label 5566 Christmas Sentiments. Show all posts

Saturday, July 11, 2026

Christmas In July Challenge - Santa Gift Card Holder by Janet


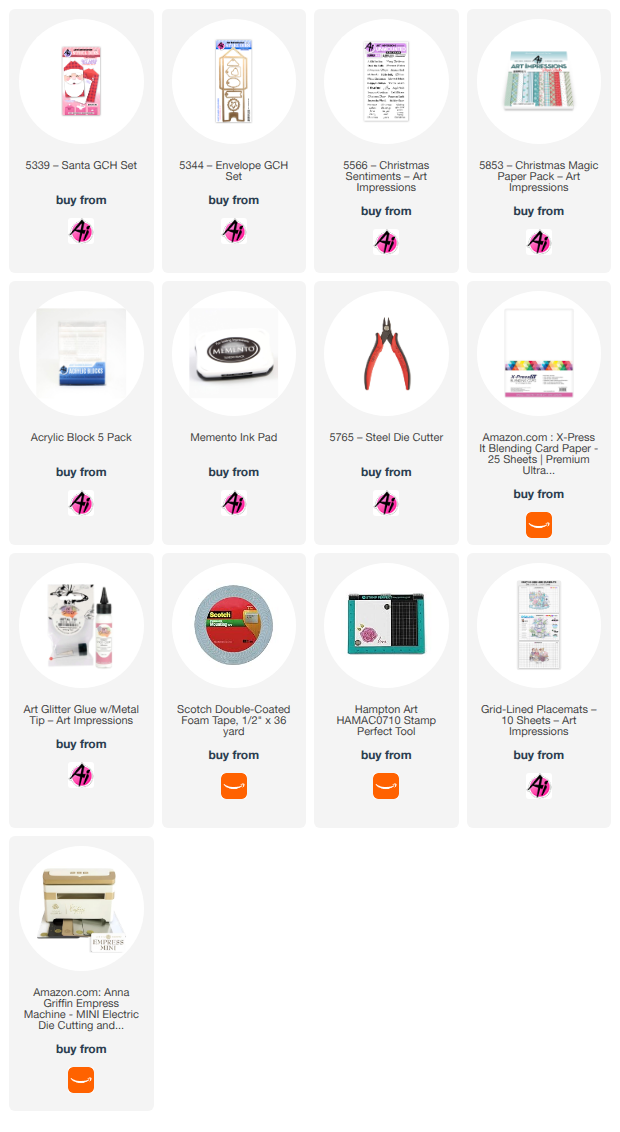
It's the second week of the Christmas in July Challenge. I love getting a jump start on holiday card making and it's also a good time to make some gifts like my Santa gift card holder. This is a fun little project you can make in so many ways. You can use any colors or kind of paper you want. For mine, I imagined him in his Christmas pajamas that have messages of peace, hope and joy. These are sentiments the world really needs right now. This cheerful paper pattern can be found in 5853 - Christmas Magic PP.

I made this using two Ai Gift Card Die Sets. The base is created using 5344 - Envelope GCH Set. The Santa face is created using the companion set 5339 - Santa GCH Set. I just love his mustache and his rosy cheeks! To make his cheeks a little more rosy, I broke out the old fashioned chalk set I've had for decades. It still comes in handy once in a while!

The gift card holder is pretty easy to assemble but once you glue the envelope together, I find that it's best to start by adding the hat pieces and next work from the bottom up. This way, I'm able to make sure his facial features are in the right places and not too crowded. I also added a tag to his hat. The die for that is included in the envelope set, along with other handy shapes you can cut and use on the gift card. I chose the sentiment from the 5566 - Christmas Sentiments set. Love how it turned out!

Thanks for stopping by and spending time with me and Art Impressions today. Please visit the Ai store to pick up your favorite stamps, dies, papers, accessories, and supplies. 

Happy Crafting!

Saturday, July 4, 2026

Christmas in July Challenge - Christmas Keepsake by Janet

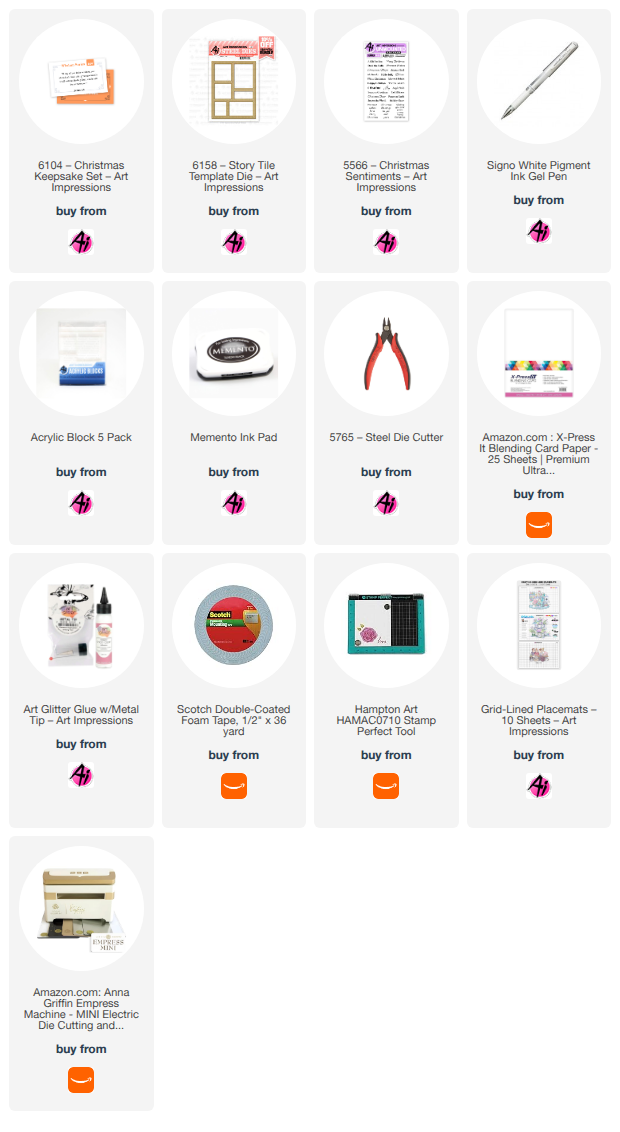
It's July and that means I can break out the Christmas sets without ANY sheepishness for being into Christmas early! Like many of you, holiday cardmaking is my favorite time of the year so when July rolls around, it's time for Christmas in July projects. Conveniently, Art Impression's current challenge is Christmas in July so I'm taking full advantage of it!

This charming little Christmas Set is 6104 Christmas Keepsake. It come with matching dies so after I stamped and colored the images, I cut them out so I could place them in the frames of  6158 - Story Tile Template Die. Before I placed the frame and images on a card base, I used a stencil to create a background that reminds me of pine boughs. Then I put some of the images straight on to the card and others are lifted on foam tape for additional dimension. I stamped the sentiment from the 5566 - Christmas Sentiments set. I added some white highlights using a Signo White Ink Gel Pen. Finally I added some red and green bling in the corners and the middle to add a little more shine to the project.
I hope you'll join us for this super fun challenge. I look forward to seeing all the projects that are created.

Thanks for stopping by and spending time with me and Art Impressions today. Please visit the Ai store to pick up your favorite stamps, dies, papers, accessories, and supplies. 

Happy Crafting!


Saturday, December 13, 2025

A Storybook Christmas by Janet

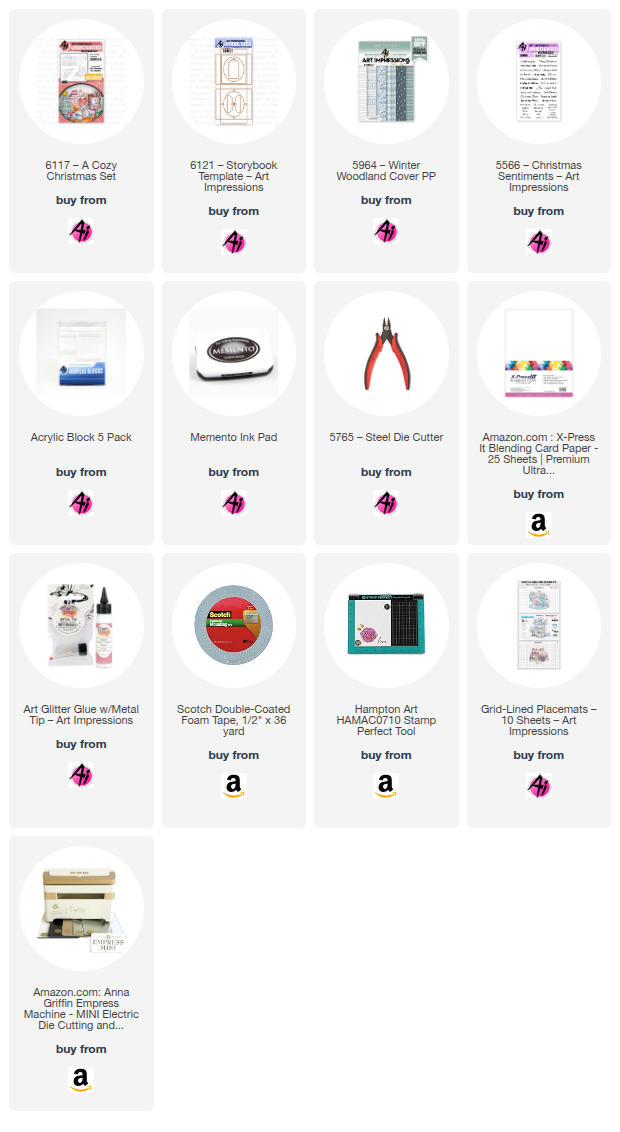
Today's project is a fun storybook ornament made with the 6121-Storybook Box Template. I've chosen the 9117-A Cozy Christmas companion set for the inside of the box. This is a charming set of images featuring a mommy bunny and her sweet baby bunny. They are sitting in their cozy living room with a fire, stockings, and gifts ready for Christmas day. 

To make the box, I cut the main portion from a design made from a pattern included in the 5964-Winter Woodland Cover Paper Pack. The vignette is created by cutting three inserts with an oval cut in the middle. There are three images in the stamp set that perfectly fit in the ovals. These are then stacked on top of the fireplace scene which is glued to the back of the box. The inserts are raised with foam tape so that when each is stacked on top of each other, great dimension is achieved.


The cover is made with one of the dies in the box template. To decorate the top of the box, I added a tag from an included die with a sentiment from 5566-Christmas Sentiments Set. I added a few gold stars and blue gems to make it pop. 

The final touches are the the attached tab which allows it to be strung with twine and a matching bow. The result is a charming box with a sweet scene inside. 

Thanks for joining me on the blog today. As always, find your favorite stamps, dies, papers, and accessories at the Ai Store!

Happy Crafting!

Janet - YouTube - Blog - Facebook - Instagram - Pinterest  

Friday, December 5, 2025

Christmas in the Woods! Card by Tasha

Happy Friday Art Impressions friends!
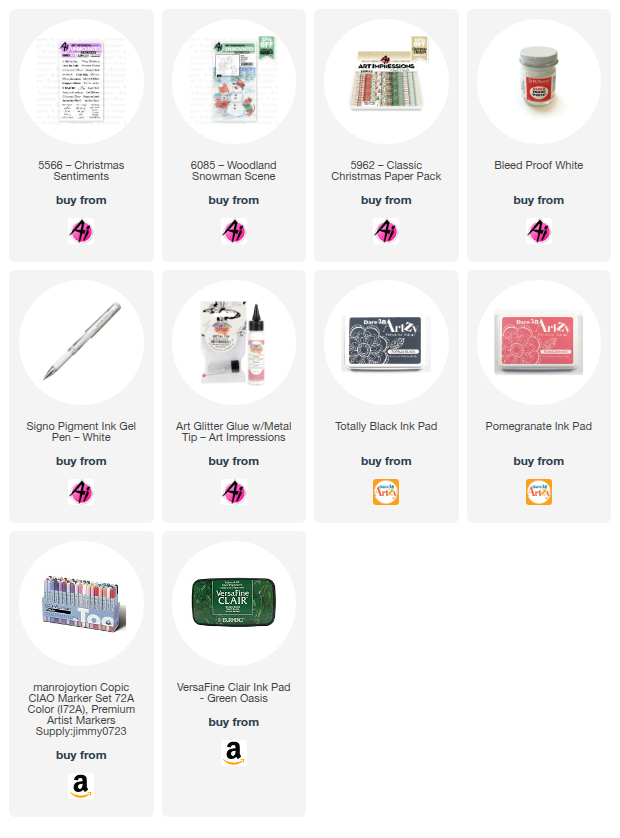
Tasha here sharing a Holiday card created with the new 6085-Woodland Snowman Scene stamp set. Now that we’re officially in December, it’s the perfect time to finish (or start!) those holiday cards and projects, and this sweet snowman scene is wonderful for sending warm Christmas wishes to someone special.
To build my scene, I stamped the snowman and added a cluster of pine trees behind him to give the design a cozy woodland feel. I used Bleed Proof White to paint snowy highlights on the trees, add texture to the ground, and create soft falling snowflakes; this little detail really brings the winter magic to life.


For the sentiment, I stamped “Merry Christmas” in bright red ink on a crisp white banner and attached it to layers of Green, Red, and White cardstock. A festive plaid patterned paper ties everything together and adds that classic holiday charm.

I hope this card inspires you to get creative and enjoy a little crafty time this season! 


Sunday, November 9, 2025

Ode to November and a Gift for You by Gennette Houghton


Hello and Welcome to Watercolor Weekend!  Fall is my favorite time of year, the sunlight is golden and the air is crisp. For my first card I printed off one of my favorite poems called November on 90lb watercolor paper. Unfortunately, I waited until after I made my card to do a little digging.  I wanted to know where this poem originated from, to learn some history on the poem and the person who wrote it.  Come to find out Clyde Watson is not the author of this poem, even though you will find her name attached to it all over the internet, but it was actually penned by Elizabeth Coatsworth who was born in 1893. So just know that the actual author on this is incorrect. 

After printing the poem, I cut my piece down to an A2 size, and started choosing what stamps I wanted to use to depict this poem.  I started with the bucket from 6055 Water of Life Set in N79 and stamped off once. Not knowing exactly how this was going to go, I wanted my lines to be fairly light so they wouldn’t compete with the printed poem and used N79 for each stamp and stamped them all off once.  I then chose 5270 Columns Set for the lamp post. I used 5129 He Leads Me Set for the fence, masking off part of the lamp post first. Wanting something more on the right side I went with 5388 Rugged Tree Set.  

Since my lines were already pretty light I didn’t worry about pulling color out. Starting with the bucket I added a mixture of 565 and 969 to get that old weathered wood look, for contrast I used 879 on the bands and handle. I wanted to create the look of ice in the bucket so I started with 526 lightly adding just a hint of 565 for a shadow along the edge of the ice.  I then added 969 to the tree.  For the lamp post I start with a mix of 565 and 969 to get some of the shadow areas in, and I love using a combination of 027 and 373, adding each color in separately in different areas creating an almost patina effect. For the lantern part I started with 055 for the base color, adding in 025 to deepen the area leaving the middle alone, and 026 was added along the edges.  For the fence I started again with a mix of 565 and 969 adding in more 565 for deeper shadows. Being that the fence goes into the poem I wanted to keep this light.  A mix of 027 and 177 was used on the ground and a mix of 526 and 249 (yes, 249, lightly) for the sky.  5826 WC Large Tree Set 2 has a grass stamp that is my absolute favorite to use for nature scenes. I used 228 with a couple of spots with 027 to give the look of grass that is starting to fade and dry out around the bucket, post, and tree. I then decided I actually wanted the grass to be a little taller by the tree so I used the grass that is included in the Water of Life Set and used the same colors.  A branch from 4964 WC Branches set in 879 was used to create a vine along the fence being careful not to stamp across the lamp post, I ended up masking with post-it tape just to be safe.  I then used 3 Twintones for the berries, 25 Red, 76 Carrot Orange, and 04 Chrome Yellow.  I used some Dr. Ph. Martin’s Bleed Proof White to add some flowers by the tree. I recently bought some Winsor and Newton Iridescent Medium to try out. It reminds me of Wink of Stella, its silver based and can be used to mix in with your colors. I thought this would be a good choice to try to create frost. Like Wink of Stella, the light has to hit it just right to see it, so I didn’t really get what I was hoping for.

For my 2nd project I decided to turn the 5902 Mini Scalloped Frame into a gift tag.  

I die cut paper from 5940 Journal Cover Paper Pack Plaid, and then with the largest oval included in the set I created an opening on the front panel. I then took some light blue solid cardstock and cut it down to 2 11/16 by 3 3/16, centered that behind the original oval opening and traced with a pencil. I took the next size down oval and centered that in the outline and die cut it.  I glued this to the inside behind the opening to create a frame. I then did the same thing with a piece of watercolor paper and used the traced outline as a guide for my scene.  

5467 Snowmen Set was stamped in N49 after stamping off once.  For the hat I used N15, and 526 was used on the band, shading the sides and leaving a highlight in the middle. A black micron was used on the eyes and mouth. I started creating contours of the snowman’s body with N52 and then darkened the more shaded areas with 565, mainly focusing under the hat and scarf.  I started by shading the scarf with 565 first and then added 526 to create a plaid pattern.  N15 was used on the buttons of the snowman.  993 and 933 was used on the carrot nose.  I used a mix of 526 and 565 for the sky before adding in the branches from 4964 WC Branches set in 879.  Bleed Proof White was used to create the snow on the hat, branches and ground, shading with 565 to give it texture and dimension.  I then glued the watercolor piece to the framed area, and then glued the 2 halves together.  I used the sentiment from 5566 Christmas Sentiment Set in VersaFine Clair Twilight, added an eyelet and ribbon to finish off the tag.  Thank you for joining me today, and I hope you enjoyed my projects! Until next time, Create….Share….Inspire!


Sunday, August 31, 2025

Bonus Watercolor Weekend with Simone Carr

 Hello Ai fans!

We're so lucky that August has 5 Sundays!

That means a bonus Watercolor Weekend which means even more inspiration for you.


Let's welcome Guest Designer Simone Carr and see what pretty things she's created.

--------------------------------------------------------------------------------------------------------------------------

Hello fellow crafters!

I’m excited to be back on the blog to share my latest cards with you. Since fall is right around the corner, I thought it would be the perfect time to create a project that could work as either a Welcome Fall card or even a Thanksgiving card.

For this design, I reached for one of my favorite sets from last year—the Woodland Critters Set. I knew right away that the sweet little hedgehog needed to take center stage!

I started by inking the wheelbarrow (from the Harvest Wheelbarrow Set) with Tombow 565 and 969. I stamped it first onto masking paper, then onto Canson watercolor paper. To make room for the hedgehog, I left off the second handle when stamping the wheelbarrow. After cutting the wheelbarrow mask, I placed it over the stamped image.

Next, I used the stamp positioner to tuck the hedgehog perfectly into place and inked him with the same 565 and 969. Then I added in the small pumpkin, creating another mask so I could easily layer over it. Using the stamp positioner again, I built up the scene with pumpkins and apples, inking them with 565 and 969 (stamped off) for a softer look.

Once the stamping was complete, I removed the masks and began adding color to bring the entire image to life.

Materials Used

Tombow Dual Brush Pens:

856, 905, 925, 946, 933, 055, 098, 026, 312, 879, 947, 027, 992, 526, 177, 969, 565

Stamp Sets:

5597 Harvest Wheelbarrow

5059 Harvest Set (Apples + Grass)

4051 Foliage Set

5487 Front Porch Halloween Set (Small Pumpkin)

5953 Woodland Critters Set

5063 Rectangle A2 Die Set

5838 Fall Patterned Paper

For my second card, I went with a more wintery theme—not necessarily Christmas, but something versatile that could work as a birthday card, a thank you card, or really just a cheerful design for the colder months. It’s also a fun way to use up those paper scraps we all have on hand!

I began by stamping the sleigh image on Canson watercolor paper using Memento Toffee Crunch ink. For coloring, I used:

Sleigh: 026, 947, N55

Mouse: a mix of 969 + 565, plus 725, 025, 296

Hedgehog: 992, 947, 555

Present: 493, 195 + white gel pen for highlights

The finished card measures 5 1/2" x 4 1/4". To build the background, I ran a piece of white cardstock through a snowflake embossing folder, then trimmed it down to 3" x 4 1/4".

Next, I dug into my scrap pile and pulled out a few pieces from the Winter Woodland patterned paper pack. I cut them into flags and arranged them over the embossed panel to decide on their placement. Once I was happy with the layout, I glued them down, then added a thin strip cut from the leftover embossed paper on top for a clean finish.

The top panel is 2 1/2" x 4 1/4", and I popped the die-cut critters up with foam tape for extra dimension. To finish the card, I cut a small tag, stamped my sentiment (masking part of the stamp so it would fit), and tied a bit of string to it. I tucked the string under the present so it looks like part of the image, which adds a fun little detail.

Materials Used

Dies & Stamps

5133 Flag Double Stitched Dies

5953 Woodland Critters Set

5566 Christmas Sentiments

5543 Journal Template Set

5963 Winter Woodland Patterned Paper

Markers & Paper

Tombow Dual Brush Pens: 026, 947, 992, N55, 555, 493, 296, 195, 725, 025, 969, 565

Canson Watercolor Paper

Bonus Card

I wanted to share a little extra inspiration to show another way of creating this second card using the same methods. For this version, I used the 5191 Feast Mode set. Instead of patterned paper, I stamped my image on Bristol Smooth cardstock and simply adhered the flags underneath.

It’s a quick variation that gives the design a fresh look—and a great reminder that you can easily adapt these techniques with the supplies you already have on hand.

I hope I’ve inspired you to give it a try!

-----------------------------------------------------------------------------------------------------------------------------

Thank you so much Simone for these darling cards.

We hope you're inspired to try something like these. While you're here, be sure to enter our Bi-Weekly Challenge. The theme this time is "When One Door Closes." Make something with a door on it, whether it's stamped or die cut.


Monday, June 23, 2025

Jingle Bells, Jingle Bells, Jingle all the way! by Sharon Caudle

 Hello AI Fans!

So have you ever heard of Leon Day? I just recently learned myself, so I wouldn't be surprised if you have not. It's actually Noel spelled backwards, and since June 25th is half way to Christmas, Art Impressions is having a Leon Day challenge. Make anything you want for the holidays and get a head start! As you know, Christmas will be here before you know it!  So I created a little decoration that is perfect to put in a small space in your home or on your desk at work. I love that this can be tucked just about anywhere to bring that festive feeling to life! I started out by using 5902 Mini Scalloped Frame Dies cutting the frame out of a heavy weight cardstock. I then cut a piece of 5853 Christmas Magic PP to layer on top. Instead of using the oval dies that came with the Mini Scalloped Frame set, I grabbed 5727 Nested Oval Dies and used those to layer it up.  I used one size smaller to place inside the top layer, and to create some dimension, I popped it up with a layer of foam tape from the bottom. The adorable images are from 5459 Christmas Mice Set. I stamped them onto a Copic friendly paper using Memento Tuxedo Black ink and then colored them with Copic markers. The Christmas Mice set comes with matching dies, so it was so easy to cut them out and place them into the frame. I wanted it to look like he was singing, so used the Jingle Bells sentiment from 5566 Christmas Sentiments Set, and just repeated it below, offsetting it a bit. I just used a black marker to hand draw some musical notes (sorry, I didn't do a very good job with those). 


So that's it for me today! Thanks so much for stopping by for a visit and until next time - stay crafty!!


Thursday, June 19, 2025

LEON Day! Challenge #406 Week #1

Hello Ai fans and welcome to our latest challenge!
LEON Day!

You might be asking yourself "What is LEON Day?"
I just recently learned myself.
Leon Day takes place on June 25th. Leon is Noel spelled backwards and June 25th is halfway to Christmas. So, we're asking you to make something Christmas or winter themed for our challenge.

June 25th will be extra special for me next week because my daughter's birthday is June 25th and she's turning 25, it's called a Golden Birthday. This is because the day of your birth (25th) matches the age you are turning (25). She even has an extra 25 in hers because the year matches as well so hers is called a Beddian birthday. Super cool.

Lynn is our Featured Artist for this challenge and she created the cutest little gift tags and has a wonderful video tutorial for you. 

Be sure to scroll all the way down to find the winners of our last challenge.

Now, let's look at Lynn's fabulous Christmas gift tag project!

--------------------------------------------------------------------------------------------------------------------

Hello Ai Fans!!!

Watch video tutorial here!!! 

I know it's only mid-June but... today's tags were inspired by the current Ai "LEON Day!" Blog Challenge! Leon is Noel backwards and is a great way of celebrating the half-way point to Christmas and the holidays!

I thought this would be a fun way to get a bunch of holiday gift tags done and ready to add to Christmas gifts! We will create 6 tags, and I will talk a little bit about mass producing these tags in an easy and efficient way in today's video!

We will be using the Ai Mini Christmas Village Set (5977) to create all 6 of these tags. These tiny little images will be perfect for some quick and easy coloring and cutting. This set is part of the Ai Village Series and will coordinate perfectly with your Village Freebies, and the three add-on sets (Ai Village Signage, Ai Village Vehicles, and Ai Village Accessories).

Let's begin by stamping and coloring all of the images using the Zig Clean Color Real Brush Pens in the following colors: Blender, Sugared Almond Pink, Deep Red, Scarlet Red, Peach Pink, Yellow, Lt Green, Green, Ice Blue, Lt Blue, Cobalt Blue, Violet, Lt Brown, Beige, Mid Brown, Dk Gray.

For the tags we will be using the stitched label die from the Ai Decorative Journal Page 1 Set (5768). Let's die-cut these from some Kraft 100lb cardstock.

Next, we will add some white ink around the edges of the tags, to soften the look a bit. Then we will use the Dr Ph Martin's Bleed Proof White Ink to spatter some "snowflakes" around each of the tags.

Now let's stamp a bunch of sentiments from the Ai Christmas Sentiments Set (5566) and cut these into thin sentiment strips. We will be attaching these to some pretty holiday papers from the Ai Christmas Paper Pack S2 (5812). This is the fun part.... just selecting some fun patterned papers to go behind each of the sentiments! We can attach these to each of the tags!

Let's pop up each of the images on our tags and then for some sparkle and bling we will add some clay peppermint candies and some pretty gems.

Finally, we will add some red/white baker's twine to each of the tags. These are an easy and fun project to make ahead and to have on the ready for the holidays or to give as a gift to a friend!

Thank you so much for joining me today! Have a fun and crafty day!!!

Ai Mini Christmas Village Set (5977)

Ai Christmas Sentiments Set (5566)

Ai Decorative Journal Page 1 Die Set (5768)

Ai Christmas PP S2 (5812)

Dr. Ph Martin's Bleed Proof White Ink

Signo Gel Pen - Gold

Signo Gel Pen - Silver

Signo Gel Pen - White

-------------------------------------------------------------------------------------------------------------------------

We hope you love Lynn's little tags and tutorial as much as we do!

Not quite ready for Christmas? This idea could be changed up for any occasion.


Now let's see who won our Blossoms & Blooms challenge.

Our Top Spot went to Betty Crunk for her FABULOUS window sills lined with flowers.
5511 – Floral Truck Set

Please contact Leah at Feedback@artimpressions.com
to claim a free stamp set of your choice!!
Be sure to grab our badge to display on your social media too!


Our Lucky Random Winner was Gabriella B.


Please contact Leah at Feedback@artimpressions.com
to claim a free stamp set of your choice!!
Be sure to grab our badge to display on your social media too!
Be sure to enter your creation for the chance to win a free stamp set from Art Impressions. 
We award one Top Spot and one Lucky Random Winner and each will win a free stamp set from Art Impressions.

✻ Please make a new card or handmade crafty creation. You can make any item you wish; this is not limited to cards! (unless specified)

✻ Limit two submissions per person.
 ✻Please include your first name and last initial on your submission. You may include your entire last name, but it's not necessary.
✻We love to comment on your entries, but keep in mind if you use a private group or a platform that you need to sign up for, we probably won't be able to.
✻ The Ai Challenge is open to everyone, international submissions are welcome!
✻ Include a link back to the Ai Blog or grab our button on the top right of our sidebar!
✻ Share the Ai love if you can, by clicking and commenting on your fellow crafters.
✻ Make sure to get your link up by the deadline to enter your creations.
✻ Good luck and happy stamping! 


You are invited to the Inlinkz link party!

Click here to enter

Sunday, December 8, 2024

A Vintage Christmas Ornament by Jami


I’m so happy to be back to making cards! It feels like it’s been forever since I had the opportunity to create one. 

I drew inspiration from creative people on the internet who were using metal cookie cutters as outlines to make quick Christmas cards. While my card wasn’t fast, I enjoyed every minute of the process! I lightly outlined the cookie cutter shape using a pencil on watercolor paper. Then, I stamped my image inside the ornament with a waterproof black stamp pad.

At first, I wasn't sure where I wanted to take the card, so I started by painting the Mini Christmas Village images.  I made a mask using computer paper to act as a stencil for sponging the edges of the ornament. I have included a photo below.  Next, I painted freehand details on the ornament using metallic watercolor paints. 

For the greenery, I used the Watercolor Mini Wreath Set and the Watercolor Branches Set to paint in some pine branches. I also used Dr. Ph Martin's white paint to depict the snow and splattered some additional snow onto the card. To add more color, I splattered some green metallic paint as well.

For the sentiment, I used the Journal Oval Frames for the flowers and banner, while the leaf came from the Journal Rectangle Banner Frames. Finally, I added some gems to give the card more sparkle and fun!

The markers used were the following: 249, 177, 565, N55, 985, 837, 856 and 526


I hope you all enjoy my card and that everyone has a fabulous holiday season!