Showing posts with label 5417 Frameworks Sentiments. Show all posts

Tuesday, September 15, 2026

Focus on Faith: Fall Fox by Sara Furr

Blessings, my friends, and welcome to the second edition of my "Focus on Faith" for the month of September. 


Fall will be fast approaching my neck of the woods, and I honestly couldn't be happier! I LOVE Fall, and all it has to offer; the beautiful, rich colors, the smells, the harvest of fruits and vegetables, sweater weather, comfort foods, and hot beverages. I'm really looking forward to the cooler weather and slowing down just a bit from the chaos of my busy life!


So, I thought I would create a Fall scene with one of my FAVORITE Art Impressions Stamp sets.... The Foxes, and one of my favorite Bible verses, Psalm 46:10 "Be still, and know that I AM GOD", a verse that I find myself repeating when I try too hard to control all the chaos and drama in my life.
This is a call to stop worrying, quiet your mind, and remember God's power and presence. Focus on peace: Breathe slowly and remind yourself that you do not have to carry all your burdens alone. I thought this scene portrayed that "peace".


I stamped my fox onto Watercolor paper with Versafine Onyx black ink and watercolored the scene with Tombow markers 847, 925, 879, 969, N49. 


I masked off the left side of my fox before I added the foliage using the branch and leaves from the Foxes set, and I also used the leafy foliage from the Foliage set. 


When my scene was dry, I went back in with couple colored pencils, to add more depth and shading. I  then stamped the sentiment with Versafine Onyx black ink, and then die cut out the scene with the largest Scalloped Square die. I matted my focal piece to a square of green polka dot dsp from the Classic Christmas paper pack.


I chose this color because it creates a sharp contrast to the reds and oranges I used for my scene, and it really makes that fox come to life. Isn't he handsome? I just love this stamp so much!

I pray that you feel God's loving arms wrapped around you, keeping you safe, and freeing you from the worries of life. God has this! You can depend on it!

God bless you and keep you!
Sara Furr- The Crafty Farm Chick 

Supplies used:
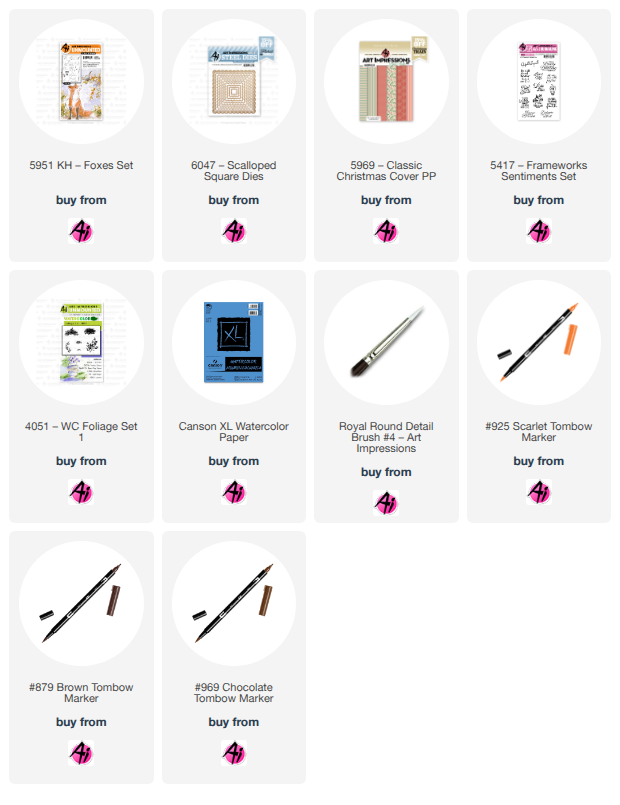
#KH5951 Foxes set
#5417- Frameworks Sentiments set
#4051- Foliage set 
#5969- Classic Christmas PP
#6047- Scalloped Square dies
Canson XL Watercolor paper
Watercolor brush
Versafine Onyx black ink pad
Tombow markers: 847, 925, 879, 969, N49

Tuesday, September 1, 2026

Focus on Faith with Sara Furr: Lacy Pink Church

 Blessings my dear friends, and welcome to my first edition of Focus on Faith for the month of September.


If you have been following me, you know that I like to use several different kinds of medium to color and create my projects.

 This week, I have a lovely little country church scene I created using colored pencils and dye ink markers. 


I just stamped the front flowers and the church with Versafine Onyx black ink and colored them up with colored pencils. I stamped the foliage (tree, leaves, shrubs, and grass) with dye ink markers.


 To create the sky and the grassy foreground, I just turned my pencils sideways to swipe them across my cardstock and blend them into each other. I added some tiny white accents to the flowers and grass with Dr. Ph Martin's Bleedproof white paint.


If you have any questions on how I created this, please feel free to leave me your questions in the comments section. 
I pray you all have a very blessed month and I will see you soon.

Blessings to you all, 
Sara E. Furr- The Crafty Farm Chick 

Supplies used:

Canson XL Bristol Smooth cardstock 
Colored Pencils
Dye ink markers
Versafine Onyx black ink pad
Stamp platform
Paper cutter
Scissors
Lace
Sewing machine
Foam adhesive 

Tuesday, July 21, 2026

Focus on Faith with Sara Furr: Mercy Sparrows

 Blessings dear friends, and welcome to my second edition of Focus on Faith for the month of July.


 I have to tell you that I am totally in love with the new "Mercy Set"! These birds and florals are just so beautiful!


I started with a piece of Canson XL Bristol Smooth cardstock cut to 4 1/4 x 5 1/2. I stamped my image using Versafine black ink,  and then watercolored my birds and florals using dye ink  markers.  


After my watercolor was all dry I went back in with colored pencils to add shading and fine detail to each of my little birds.


**Make sure that your colored pencils have a very sharp point and they will add in beautiful sharp details to each of your images to give them ton of depth.

I added a blue wash in the background for my sky.

After my images were all dry , I decided to tear my focal piece down into a single strip that I would put in the center. I sat that aside to work on my background. I cut a piece of pattern paper to be 4 x 5 1/2" and adhered that to my card base. I then created another panel that is 3 3/4 x 5 1/2", and I embossed that with a floral embossing folder. I then added some blue ink to the raised embossing with a blending brush and then rubbed a Silver pigment ink lightly over the top of that. I distressed the edges of the cardstock with the edge of a scissors. I then cut several sprigs of detailed leaves, and ink blended blue ink at the base of each leaf,  and added them to the back of my focal strip with the birds.  Before adding the focal piece to my card base,  I added a strip of crocheted lace in the background, then adhered my focal piece down with foam tape. I tied a gingham bow and added that to the left side of my card with a large glue dot. To add a couple finishing touches,  I added some pink pearls to the centers of my flowers, and some silver pearls on my berries and in the background.


For my inside I used a piece of Canson XL Bristol Smooth cardstock cut to 4 x 5 1/4" and stamped the sentiment "His eye is on the sparrow" and "Hallelujiah", both from the Frameworks Sentiments set, in Black Versafine Ink using my stamping tool to make sure I got the placement just right. 


The phrase "His eye is on the sparrow" means that God is intimately aware of and deeply cares for every single detail of your life. It is a message of comfort, meant to reassure you that you are immensely valuable to God and that He is always watching over you.


I also stamped one of the single birds from the Mercy Set, and the sentiment "His mercies are new every morning ", in Black Versafine Ink.  I again layed down a base of watercolor and added in fine details with colored pencils.

That finishes up my card for today. I love how it turned out, and I hope that you like it too. Thank you so much for joining me today!  I hope that you got inspired,  and if you haven't already,  I hope that you can get this set!  It is definitely a favorite of mine,  as I really love birds. 

God bless you,  and keep watch over you!
Sara Furr- The Crafty Farm Chick 


Other products used:
Die cutting machine 
Paper cutter
Embossing folder
MISTI stamping tool
Versafine ink in Black 
Silver pigment ink pad
Dye ink markers
Colored pencils
Scissors
Watercolor brush
Glue dots
Foam tape
Gingham ribbon
Pattern paper
Blue Cardstock
Canson XL Bristol Smooth cardstock 
Pink and Silver pearls
Crochet Lace

Tuesday, May 19, 2026

Focus on Faith: Joy & Blessings with Sara Furr

Blessings my dear friends. Today,  I have two projects to share with you for my Focus on Faith, and both creations have the theme of Joy. Joy in the Lord, Joy comes in the morning, and Joy in all our blessings. 


My first creation is an A2 card that is bright, sunny, and full of gorgeous colors adorning my stained glass window, along with touches of gold.


 I stamped my focal image from the "Stained Glass Window" set with Encore Gold Ink (pigment) onto Canson Bristol Smooth cardstock and then heat embossed the image with Gold embossing powder. I colored the stained glass window with alcohol markers and then fussy cut out the window and applied foam tape behind.


 I created a card base from a golden yellow cardstock and cut a layer of a soft yellow and embossed it with an embossing folder from my stash and distressed the edges with the edge of a pair of scissors. I added a white doily to the right edge and cut off the excess. Then,  I added a strip of lace, and I adhered a strip of pale yellow cardstock just over the edge of the lace that looks like little sunshines. I then wrapped a piece of cream colored chiffon ribbon around the top of that strip and tied a bow off to the left side.


 I added that embossed panel with foam tape. I made a nest of gold metallic thread and adhered that to the back of my Stained glass window and adhered it to the doily. Finally, I added 3 Gold pearls to the top left corner of the embossed panel.


For the inside, I stamped the sentiments "Hallelujiah" and "Joy comes in the morning" with Encore Gold Ink and again heat embossed it in Gold embossing powder. When it was all cooled, I used a blending brush to add some yellow behind the sentiment to look like the sun in the sky.

This is an excellent reminder that we should arise with the sun every morning and thank God for the gift of life, and the beauty of the Earth, and the day before us. Every day is gift, one we are not guaranteed!!!


My second creation is a 6x6 card that I designed to coordinate with my first card.
I stamped the Daffodils from the "Tulip Floral set" with black Memento ink onto a circle die cut, and I colored the image with alcohol markers. I added foam tape behind it and adhered it to my white doily and added more foam tape behind that.


 I added that to my card base and distressed layers, including a layer of beautiful dsp from the "Easter S2 Paper pack" following the same steps as above in my first card. I cut the "Joy" die cut once from Gold mirror cardstock, and once from yellow fun foam and adhered them together with liquid glue and popped it up off to the left hand side of my focal image. 


For the inside, I created some more layers and stamped the sentiment " May each day bloom with joy and blessings" with black Versafine ink.

I pray that you find joy in Christ, and in each and every single day he has given us to enjoy. Never take these beautiful moments for granted! Life is beautiful, and we have so many things to be thankful to God for.
I hope my projects have inspired you to create something "Joy" and "Faith" filled.

Many blessings to you all,
Sara Furr- The Crafty Farm Chick 

Art Impressions products used:
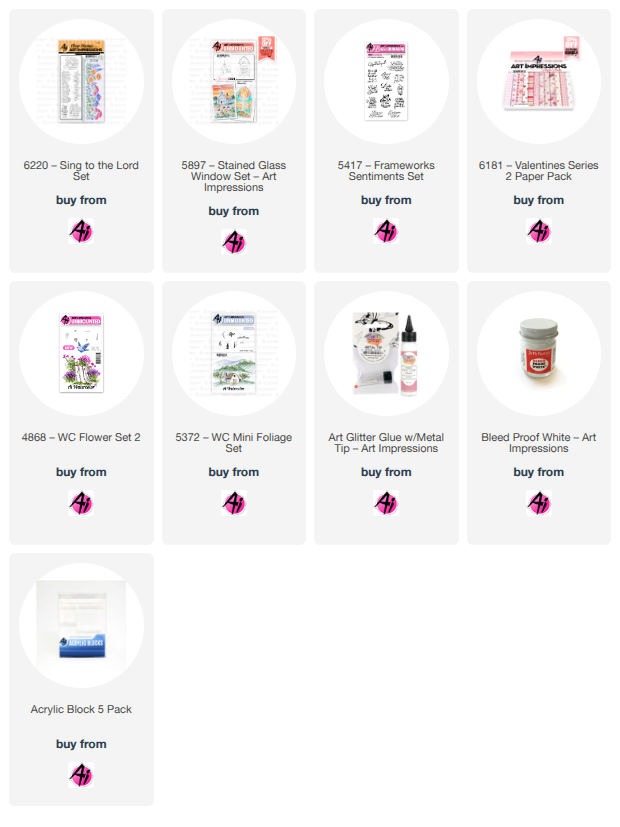
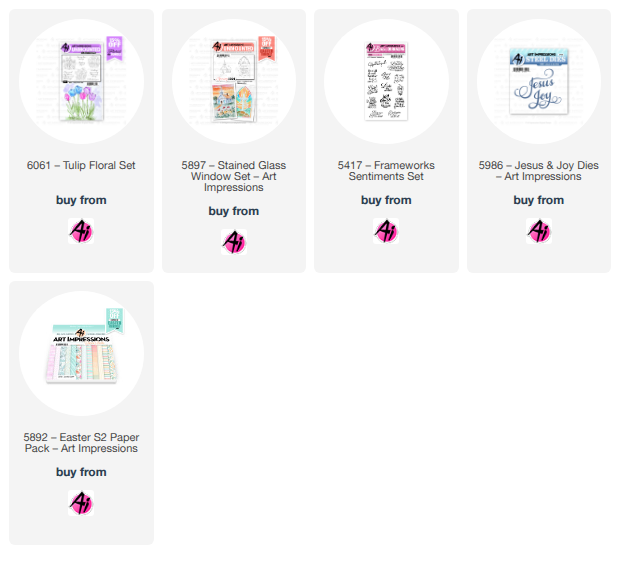
5897-Stained Glass Window set
5417- Frameworks Sentiments 
5986- Jesus & Joy Dies
6061-Tulip Floral set
5892- Easter S2 Paper Pack

Other supplies:
Paper cutter
Scissors for distressing edges of cardstock and cutting out window image
MISTI stamping tool
Alcohol markers
Embossing folder
Die cutting machine
Doilies 
Circle die
Gold pearls
Gold metallic thread
Chiffon Ribbon
Blending brush
Encore Gold Ink
Gold embossing powder
Heat tool 
Adhesive 
Canson Bristol Smooth cardstock
Black Memento Ink
Black Versafine Ink

Tuesday, March 17, 2026

Focus on Faith Easter card with Sara Furr


Blessings Ai Friends, and welcome back to another edition of "Focus on Faith" with me, Sara Furr! I am so glad you are here with me today! Here were are in the middle of March already, with Easter coming just around the corner, so I knew I wanted to create a pretty Easter card for you today! I hope you like it as much as I enjoyed creating it!


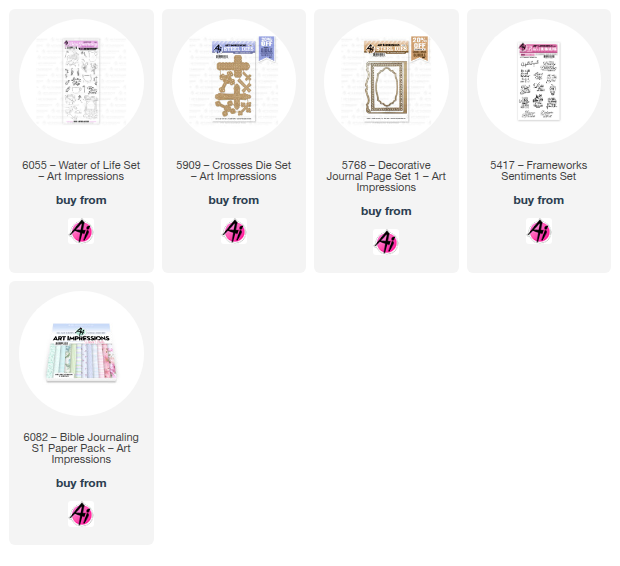
I started my project by pulling out my floral dsp from Art Impressions, and I chose a pretty blue floral and a blue gingham from the "Bible Journaling S1" paper pack. I already had a cross cut from the "Crosses" die set, so I pulled that out as well. I cut a fancy white panel from the "Decorative Journal Page" Die set and used all of those elements to start building my card.

I decided to use some of the pretty florals from the "Water of Life" stamp set. I began by placing my cross die cut,that I had cut from a fine glitter paper, in the center of my white die cut panel, and decided how I wanted to arrange my florals coming off either side of the top and bottom, behind the cross. I set the cross aside, and I began
stamping the outline posies and also one of the leaf branches in Black Momento ink, and I colored the florals with alcohol markers in a very light blue and green. Then, I went into each floral and added in details with the fine point of a dye ink marker in 2 darker shades of blue. I then added some foliage and flowers in the background stamped using dye ink markers. To blend and add in some blue shading, I used a very light greenish blue alcohol marker. Once I was happy with my background florals, I glued down my cross die cut. 
Next, I stamped the Hallelujah from the "Frameworks Sentiments" stamp set onto a piece of white scrap cardstock with Black Versafine Ink, let it dry a bit, and then fussy cut it out with my detail scissors, and popped it up with tiny pieces of foam tape. I applied foam tape to the back of that focal panel and set it aside.


I distressed the edges of both the gingham panel and the floral panel, and added foam tape to the back of the gingham panel and adhered that to the floral panel on the right side. I wrapped and tied a crinkle bow off to the left hand side with a white button tied to the middle of the bow. That whole panel was adhered to my white card base. Lastly, I adhered down the popped up focal panel with my pretty floral spray and cross with the Hallelujah sentiment. 


And that finishes my card for today. I hope you like it and that maybe you got inspired to create some pretty Religious Easter creations as well. I wish could have gotten the Religious Easter sets, as there are so many that I would love to get, but I just don't have the money, so I made do with what I have. After all, you can't go wrong with pretty florals and Crosses, right?! Haha.
I hope you all have a very happy and Blessed Easter with your family, and I will see you back here on the Tuesday just after Easter. 

Wishing you all many Blessings, 
Sara Furr- The Crafty Farm Chick 


Here is a list of all the products I used:

#5909 Crosses die set
#5417-Frameworks Sentiments set 
#5768- Decorative Journal Page 1 die set
#6055- Water of Life set
#6082- Bible Journaling S1 paper pack


Tuesday, February 3, 2026

Focus on Faith Gift Set by Sara Furr

Greetings my dear friends, I am back today with another Faith filled project. This time I'm featuring a gift set including a card and coordinating necklace to go with it for a friend. 


I started out by making the necklace. I cut two 1 1/2" squares of watercolor cardstock and on one square I inked up one of the roses from the "His Love" stamp set with a purple, for the petals and a jade green marker for the leaves, and then stamped it inside my Misti stamping tool. Leaving the square in the corner of my Misti, I pulled color from each outline and added in more color where the shadows or darker areas would be. Then I reinked my Stamp with the 2 markers and re-stamped the image over top of the watercoloring to add the outlines back into the image. I then added a wash of blue around my floral image, then let that dry. In the right hand corner I added some watered down coral to add some warmth to the sky. In the left hand bottom corner I added a tiny bit of the Jade green to act as grounding. I then set that aside to dry and worked on the back of the necklace.


On the second square of watercolor cardstock I stamped the cross, and again while leaving the cardstock in my Misty stamping tool, I pulled color from the outline with a damp brush, and then re-inked the cross and stamped the image again over the top to add the outlines back in. I then stamped the sentiment over top of the cross with Black Versafine ink. Once my first panel was dry I stamped the sentiment over top of the right hand corner of the Rose in Black Versafine Ink. Once both panels were dry I encased them, back to back, in the two pieces of glass and put them inside of the metal necklace casing. I added a jump ring and chain. To the chain, I tied a piece of seam binding ribbon that I had hand dyed with re-inkers, and a little water, and scrunched and left to dry.


With my necklace gift complete, I moved on to creating the coordinating card. 


For that, I began by cutting a 6x12 piece of 2 tone jade colored cardstock for my card base, and folded it in half. I then created two layers on top of my card base. The first layer is out of the back side(which is a shade lighter)of the jade colored cardstock a cut at 5 1/2 x 5 1/2, and the second layer is a purple polka dot designer paper cut at 5 1/4 x 5 1/4, and that is out of the Mother's Day paper pack. I distressed the edges of both layers with the edge of a scissors. I then created another layer using a square lace doily die cut out of Jade colored glimmer paper and the top layer out of watercolor cardstock. On that watercolor square I did the same process as I did for the necklace. I started out by stamping the image as I individually colored the roses in purple and the leaves in green. I moistened the ink with my breath and then stamped on to the watercolor paper. I pulled color from the lines with a damp brush, and then re-inked the entire stamp again with the individual markers, and re-stamped the outlines back in. Once dry, I stamped the sentiment in the center of the heart-shaped wreath with black Versafine ink. I added fun foam behind my stamped image, and more fun foam behind the doily layer. Before adding my focal piece down, I added a strip of white lace and some purple organza ribbon and a bow off to the right side. I then added my focal piece on top finishing the front of the card. 

I then moved on to the inside of the card, in which I placed a strip of designer paper from the Bible Journaling series 1 paper pack that had a foliage print with the coordinating colors that I had used for the front in purples and greens. I cut a mat of jade cardstock, 4 1/2 x 4 1/2, and then cut another doily die cut out of white cardstock. I stamped "He will sustain you" at the bottom in black Versafine. I cut a cross from the "Crosses die set" out of the Jade colored glimmer paper and added that to the top of my inside focal piece. Both Sentiments on the card are from the "Frameworks Sentiments" stamp set.


And that finishes my faith inspired gift set, ready to give to a dear friend.

Do you like to make little gifts like this for your friends? I do!😊

This is the list of all the supplies I used to create my little gift set.

Art Impressions Supplies used:

[ ] 6150- His Love

[ ] 5417- Frameworks Sentiments 

[ ] 5909- Crosses die set

[ ] 6051- Mother's Day PP

[ ] 6082- Bible Journaling S1 PP


Other supplies

[ ] Misti stamping tool

[ ] Paper cutter

[ ] die cutting machine

[ ] Watercolor brush

[ ] Watercolor cardstock

[ ] Glimmer paper

[ ] Two-tone cardstock

[ ] Lace doily die cut ( From Divinity Designs)

[ ] Necklace frame and glass and chain

[ ] Seam binding ribbon, lace, and organza ribbon

[ ] Assortment of markers

[ ] Scissors, glue, tape, and fun foam


Thank you all for joining me for another Faith filled project I hope you will join me again February 17th.

Blessings to you all,

Sara Furr-The Crafty Farm Chick 

Tuesday, January 20, 2026

Focus on Faith: Joy Comes in the Morning by Sara Furr

 Greetings my dear Art Impressions friends!


God gives us so many blessings! Besides the gift of his love, one of his greatest gifts is that of this beautiful world that we live in! His blessings are new everyday. Every morning we wake up to the beauty of the sunrise.


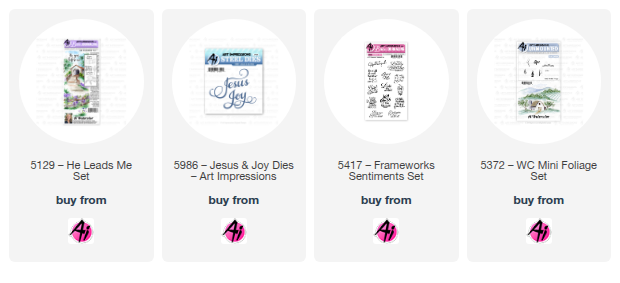
I'm here today to share with you a card inspired by a photograph of a sunrise that I took on our farmstead. I have been wanting to use the stamp set #5129- "He Leads Me", so I "imagined" a covered bridge that would have crossed over the creek next to our barn. This was my inspiration photo..


And this is my Faith Inspired "Joy Comes In The Morning" creation...


As you can tell, this is watercolor, and Sara is NOT a watercolor artist, haha, but I am trying, so bear with me on this, ok? I will be showing my process photos of how I have created this scene.

To start, I stamped my covered bridge and a single tree from the stamp set with a combo of Starry Sky and Soft Suede markers onto a140# cold press watercolor card front.


Then I applied Daffodil Delight, Crushed Curry, and Cherry Cobbler ink to create my sun. I watered down some Starry Sky and dabbed that in to create some moody blue sky, making sure to leave some bits of white showing. I also added a bit that to the inside of the bridge for shadow.


I then used some post it tape to mask off my sun and added a mixture Basic Black and Chocolate Chip ink to create my skyline silhouette and I added in some slightly watered down Starry Sky for the creek water and some Evening Evergreen for the grass and landscape fading down to the creek, and for the foliage on my tree. I added a bit of brown inside the bridge, roof, tree, and fence posts.


Next, I added in some pine trees, shrubs, and grasses using #5372- WC Mini Foliage Set in Evening Evergreen and Mossy Meadow ink (darker in background and lighter in foreground), and I added some watered down Baked Brown Sugar for the dirt on the road. 


I blended those out a tiny bit with a damp brush, and then added in another tree on the right side and I added a bit of yellow and red to the water to be a reflection of the sunrise. I then added in the the very tops of the shrubs with Starry Sky and repeatedly stamped some little "blue wildflowers" in the grass and on the edge of the creek. Once that was dry I added some sparkle pen "dots" to the flowers for accents. You can't see them in my photo, but you can in real life! Haha. There is also a shimmery dew of sparkle on the water and the objects in the foreground that I was unable to capture, but you can see when tilted in the light.


I then finished by adding the shadows and a bit of color to the covered bridge, and then I stamped the sentiment "Joy comes in the morning", from the #5417-Frameworks Sentiments set in Black Versafine Ink.


I then signed my creation and cut the panel down to 5x3 3/4" and mounted it to a white Postage Stamp die cut, and then popped that up on a piece of Silver Holographic cardstock. I again added funfoam to the back of that panel. I created a 5x7card Base of Soft Succulent cardstock and added a panel of vellum that I embossed with a Pinecones & Berries embossing folder. Before adding my main focal panel, I added a small piece of floral lace so that when the panel is applied the lace is just peeking out of the edge.


For the inside of card I watercolored another sunrise panel and added the sentiments "Jesus", from #5986-Jesus & Joy Dies, and stamped "Light of the world" from the Frameworks Sentiments with Black Versafine ink.


And that finishes my project for today. Here is a list of all the supplies I used:
(All Art Impressions products are linked below)

♡Stamp sets:
#5129-He Leads Me,
#5417- Frameworks Sentiments,
#5372- WC Mini Foliage

♡Dies:
#5986- Jesus & Joy Dies (AI)
Postage Stamp die- (Unity)

♡Inks:
 Stampin' Write markers in: Basic Black, Chocolate Chip, Soft Suede, Baked Brown Sugar, Cherry Cobbler, Crushed Curry, Daffodil Delight, Evening Evergreen, Mossy Meadow, and Starry Sky.
Black Versafine ink

♡Cardstock:
S.U. Soft Succulent
Your Paper Insider: Ultra White Smooth cardstock 100#,
Glama Natural Clean vellum,
Silver Holographic Diamonds 12pt cover,
Cold press Watercolor card fronts 140#,
Dark Blue Curious Skin 91#

♡ Misc.: 
Double sided tape,
paintbrush, water,
Spellbinders Pine branches & Berries embossing folder,
Gelly Roll Sparkle Pen

Pheeeww, that was a lot, I know! If you are still with me, I thank you from the bottom of my heart for reading this! Please know that I truly cherish you!
God's blessings to you all, and I pray you have a very blessed week! I hope you will join me again February 3rd for another Faith Inspired project!

Blessings,
Sara Furr- The Crafty Farm Chick

Ps. If you visit my Instagram page @sarae.furr_thecraftyfarmchick you can see a video of my card up close and in action.