Showing posts with label 6072–Father’s Day PP. Show all posts

Thursday, April 30, 2026

Hunter's surprise card by Dori Mendiola

 Happy Thursday AI Friends!

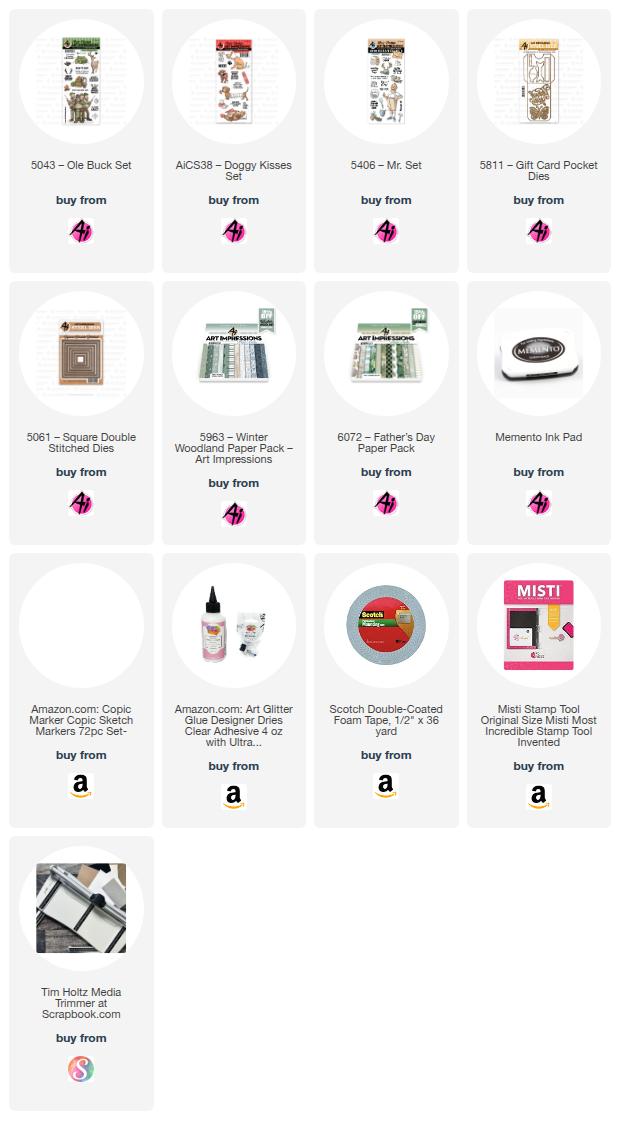
I had way too much fun making this card for the "Feeling Crafty" blog challenge.  I just love this image from the #5043 - Ole Buck set.  These guys are a "hoot", so adding a little bit of extra humor just fit.  Well, actually, their pup is the one that added the humor.  Check out the pull tab and see who's wearing the deer horns.  😄  I'm not really sure why I found this so funny, maybe it's because what hunter hasn't had their dog run off during a hunt.  This one just decided to disguise himself.  LOL!

Peek a Boo!                                                                                   


    This is a gate fold 5" x 7" card with a magnetic closure under the left panel and a pocket on the right panel.   I made the card base by cutting two 5" x 11" panels, one from white cardstock and one from craft cardstock.  I scored and burnished both at 7".   Flip the cardstock pieces so that the folds are on opposite sides facing up.  Adhere the long craft cardstock panel to the inside of the long white cardstock panel.  This will leave a gate fold craft piece on the left and the white on the right.  Trim the white side down to 3 1/2".  Cut a piece of 3 1/2 x 5" craft paper and a piece of 3 3/8 x 4 7/8" pattern paper.  Using the middle square of the #5061 - Square Double Stitch dies, cut a piece out of the center of the pattern paper panel.  Using the #5811 - Gift card pocket die, partial die cut the pocket (see pic below) using craft cardstock.  Adhere the pattern paper square to the front of the pocket.  


Adhere the pattern paper with the hole in it to the 3 1/2" x 5" craft panel.  Adhere this panel over the white fold edge of the card base.  Adhere the pocket over the square hole on the pattern paper panel.  

The images were stamped onto copic friendly paper with Memento black ink and colored with copic markers listed below.  The main image was cut with the largest die of the square stitched dies and mounted onto a piece of pattern paper and then matted onto a piece of craft cardstock.  The hat with deer horns is from the #5406 - Mr. Set and the dog is from the #AICS38 - Doggy Kisses set.  I fussy cut the dog and brought his tail end closer to his front end.  I colored his bandage as a sweater and made the flowers look more like a weed since he is out in the hills.  The hat was cut with the corresponding die and fit perfectly on his head.  I placed the dog onto the pocket insert so that only the horns peeked out of the pocket.  I tied a pull tab with the target onto the horns.  I added a couple of the sentiments from the #5043 - Ole Buck set and called it done.

 Hope you decide to enter the blog challenge for a chance to win a free stamp set of your choice.  

Thanks for joining me today!  Hope you have a wonderful weekend!
Keep creating!
Copics used:  E000, E00, E11
E30, E31, E33, E35, E41, E43, E44, E47
E95, E97         R20
BG90, BG93, BG96
B91, B93, B95, B97
YG91, YG93, YG95

Monday, April 27, 2026

Happy Retirement card by Sharon Caudle

 Hello AI Fans!

Today I'm showing you a card I made for a friend that recently retired. I really like #4900 Reel Great Guys Set and think it's perfect for a retirement card. So that's what I reached for. I stamped the image onto a Copic friendly cardstock and then colored it with the Copic markers listed below. I kept it very simple and didn't really add any embellishments other than some twine. The gorgeous paper is from #6072 Father's Day PP. Since I matted the papers with Kraft cardstock, this works perfectly for the current challenge #426 Feeling Crafty! I hope you join in the challenge for a chance to win a free stamp set! 


So that's it for me today! Thanks so much for stopping by for a visit and until next time - stay crafty!!

Copic markers used:
E000, 00, 11, 31, 33, 40, 41, 42, 43, 81, 84, and 87
C1, 2, 3, and 4
W1 and 2
R20 and 27
G40 and 43
BG01, 70, 72, and 75


Monday, September 8, 2025

Happy Retirement card by Sharon Caudle

 Hello AI Fans!

I've got a retirement card to show you today that features the fun stamp set #4932 Pack Your Bags. I stamped this overloaded retiree with a Memento Tuxedo Black Ink onto some Copic friendly paper and then colored him up using the markers I listed below. I then cut him out using #5724 Nested Rectangle Die Set. Then sentiment came from #5187 Happy Trails Set.


I love the paper in 6072 Father's Day PP so much! The colors and designs of this paper are truly gorgeous! I used two different pieces for this card. The backpack print as the main piece, and then I used the second piece to cut out a scalloped mat behind the main image, just to add a little something extra. 


So that's it for me today! Thanks so much for stopping by for a visit today and I hope I was able to inspire you to create! Don't forget to grab your paper and glue and join in our current challenge! You still have a couple of days! Until next time - stay crafty!!

Copic markers used:
E000, 00, 11, 34, 70, 71, and 74
G40 and 43
R20, 21, and 22
BG70, 72, 75, and 90
T1, 2, and 3
B00


Monday, September 1, 2025

Gardener Gail has come to visit by Sharon Caudle

 Hello AI Fans!

Our new Bi-weekly challenge "When one door closes" is going strong and if you haven't looked at all the DT and GDT creations, I really urge you to do so! They always blow me away with their talent!! We were even blessed to have Debbie Hedges join us as a Guest Designer this month!!  So please do yourself a favor and scroll through the blog to look at all the amazing works of art!

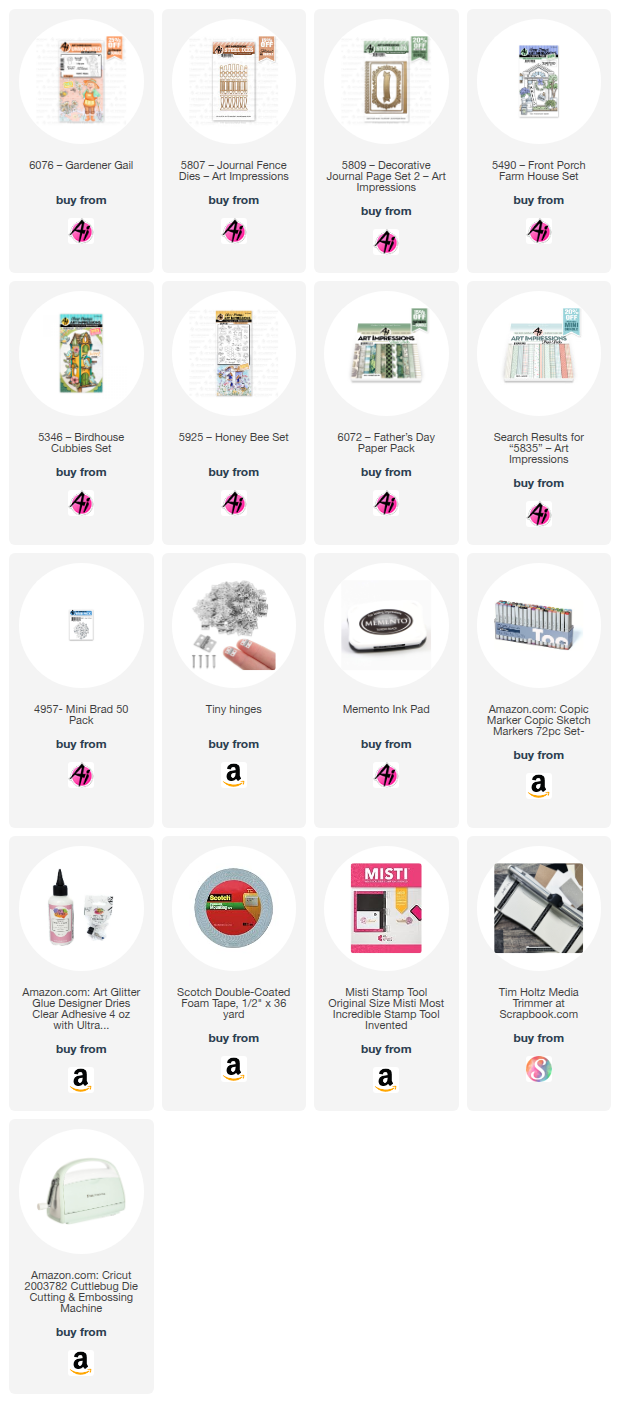
 So.... I'm going to make a big confession here. I have had this screen door die for probably almost 15 years and I have NEVER used it. When I saw the theme of this challenge I decided it was finally time. I grabbed 6076 Gardener Gail and went to work. I used quite a few sets from Art Impressions to create this, and they're all linked below.  I wanted the door to actually open on the front of the card, so I found some miniature hinges on Amazon and the tiny brads from Art Impressions are the PERFECT size for them! Don't you think? I used a larger brad for the inside and outside doorknob.  I simply spread the tines all the way out and glued them in place. The screen in the door actually came with the die and is sandwiched between several layers of the die cuts. The die was made by Cheery Lynn Designs if you want to try and find one. I doubt it is still manufactured after all these years, but I would be surprised if there isn't some kind of substitute die you could use. 


 I wanted it to look like the inside of the house of the front and to be able to see Gail through the screen door. I took just a strip of the paper from 6072 Father's Day PP to use as the floor.  I just needed a small strip, so I actually just cut it out of the back cover of the paper. That way I didn't have to cut into a full sheet for a small strip! Don't overlook using both the front and back cover pieces in the paper packs! I then added a small strip of white cardstock to look like the baseboard. 


I used the fishtail banner from 5809 Decorative Journal Page 2 to cut out the sentiment and pop it up on the top of the door.  I had to make sure to watch where I glued it so the door would still open. Here's a picture with the door open.  


And finally the inside of the card when it's fully opened. 


I used plants from 5490 Front Porch Farm House to place next to the door. For behind Gail, I cut a couple fences using 5807 Journal Fence Dies and pieced them together. The branch came from 5346 Birdhouse Cubbies Set and the bee and birdhouse from 5925 Honey Bee Set. I tied the birdhouse to the branch with a piece of twine and just let it dangle freely. I thought that was just a fun touch. So that's it for me today! Thanks so much for stopping by for a visit and until next time - stay crafty!!

Copic markers used:
E000, 00, 04, 11, 33, 35, 37, 51, 53, 55, 95, 97, and 99
W0, 2, 3, 4, and 5
G40, 43, and 46
C1, 2, 3, 4, and 5
YG00, 13, 17, and 67
Y15, 17, 18, 32, 35, and 38
R02, 12, 81, 83, and 85
B00, 91, 93, and 95


Sunday, June 15, 2025

"Provider, Protector, Leader" and "Live Life in Full Bloom" Cards by Diane Mason

  Hello, and welcome back for Watercolor Weekend!


Hello Ai Watercolor friends, and Happy Father’s Day to all the amazing dads out there! Thanks for stopping by for Watercolor Weekend. I’ve got two fun projects to share with you today — one for Father’s Day and one for a birthday.


“Provider, Protector, Leader” Father’s Day Card:

Art Impressions recently released five new Watercolor Foundation stamp sets: 6065 – Lakehouse Foundation, 6066 – Classic Truck Foundation, 6067 – Wild Buck Foundation, 6068 – Hiker Foundation, and 6069 – Outdoorsmen. These Foundation stamps make it easy to create the perfect scene — just add some florals and foliage, and you’ve got a finished design in no time!

For today’s Father’s Day card, I used the 6068 – Hiker Foundation Set, but with a twist! When I inked it with 565/969, I left out the hiker. Instead, I thought it would be adorable to feature a Papa Bear and his cubs walking along the path. The bears are from the newly released 6064 – WC Bear Set.

To plan my scene, I started by creating a “road map.” I placed the Foundation stamp in my stamp platform and inked only the scene—leaving out the hiker—onto a sheet of plain paper. Then I stamped the bears into the layout. This road map helped me visualize stamp placement, identify areas that might need masking, and decide where to add pencil details.

With the road map still in my stamp platform, I positioned the two cubs over the stamped image. Then I swapped in my watercolor paper and inked the cubs with 565/969, stamping off once to remove excess ink before transferring them to the watercolor paper. Next, I referred back to my road map and placed the Foundation stamp accordingly. Since it's a clear stamp, aligning it is easy. I inked the areas indicated on my road map—leaving out the hiker and a few of the rear path lines that would overlap with the bear—using 565/969. To finish the scene, I stamped the Papa Bear. I masked a small section of the hill at the back left of the path so his leg wouldn’t stamp over it, then inked the bear with 565/969 and stamped him into place.


With all the elements of the scene in place, it was time to start painting. I began by brushing in the sky and water using a mix of 555 and 565, taking care to keep the areas near the trees light so I could add foliage later. Using a pencil, I lightly sketched the path in front of the bear and added a few lines behind him.

Next, I pulled color from the stamped lines to create contours and shadows. I painted the bears with 947 and 969, remembering to leave their faces lighter. For the rocks, I added color with 565, 969, and 947, and I used 565 and 969 again to paint shadows on the mountains. The two tree trunks in the background were painted with 977 and 969, while the fir tree was painted with 947 and 969.

The following stamps and colors were used to add the foliage and flowers:

  • Tree leaves: 5372 – WC Mini Foliage Set (leaf bunch), 177, 133
  • Large fir tree: 4960 – WC Fir Trees Set (fir branches), 249
  • Branches near trees: 4964 – WC Branches Set (small branch), 177, 969
  • Leafy vines near the trees: 5126 - WC Foliage Set 4 (vine), 177
  • Flowers: 4868 - WC Flower Set 2 (blue flowers - small flowers), 555, 249; 5009 – WC Mini Flower Set (red flowers - dots), 856
  • Small fir trees in the distance: WC Mini Foliage Set (fir tree), 249
  • Grasses: 4051 – WC Foliage Set 1 (small and large grass), 177

For the path, shadows of 969 and 565 were added. The dirt edges of the path were painted with 969. I used a brown TwinTone marker to add details to the bears' faces and bodies, as well as details to the trees, rocks, and path. Dr. Ph. Martin’s Bleed Proof White was used to dot in the blue flower centers.

I die-cut the painting and green mat using dies from 5724 – Nested Rectangle Dies. The patterned paper on the card base is from 6072 – Father’s Day Paper Pack.

For the interior of the card, I used stamps from 6064 – WC Bear Set and 6063 – Just For Him Set. The sentiments and paw were inked with Versafine – Vintage Sepia.

And just for fun, I partially stamped a peeking bear on the back of the card and centered the “Fierce and Fearless!” sentiment at the bottom.

“Live Life in Full Bloom Card” Birthday Card:

For my second project, I painted a simple and elegant birthday card featuring a gold-matted hydrangea. It’s a softer design with a classic feel — perfect for someone who loves timeless florals.


For the hydrangea image, I used the newly released 6062 – Hydrangea Floral Set. I inked the flowers with 526 and 636, and the leaves with 177. After stamping, I used a damp brush to pull out the color and soften the lines, giving the painting a natural, blended look.

To add depth, I layered more 526 and 636 onto the petals, and dropped in touches of 177 to add shadows and shape to the leaves. I used a turquoise blue (84) TwinTone to dot the flower centers and added a few details to the petals. Finally, I pulled color from the stamped image to create a soft watercolor background, tying everything together.


I die-cut the painting and the gold mat using two square dies from 5725 – Nested Square Dies. To create the gold mat, I painted the edges of my watercolor paper with Gansai Tambi metallic Yellow Gold (#903) watercolor paint. The card base was covered with lilac cardstock and matted with patterned paper from 6051 – Mother’s Day Paper Pack. I die-cut a lilac scalloped square from 6047 – Scalloped Square Dies. The painting with the gold mat was popped up with foam tape onto the scalloped square and adhered to the card front.


I die-cut a scrap of watercolor paper with a tag die from 5952 – Portfolio Template Die Set. I needed the tag to have two holes, so I placed the die-cut back into the die, turning it so when I ran it through my die-cutting machine, it would cut the second hole (or I could have used an appropriately sized handheld hole punch to punch the hole). I carefully painted the decorative edge with the same metallic gold paint. To make a lilac mat for the tag, I traced around the outside edge of the tag die with a pencil and cut out the shape with scissors. Centering the tag onto the mat, I used a pencil to mark the holes and then used a hole punch to punch the holes. I stamped the sentiment from 6062 – Hydrangea Floral Set in Versafine Onyx black ink and popped it up on the mat with foam tape. Gold and white Baker’s twine was looped through the holes. The ends of the twine were wrapped around to the back side of the card front and secured in place with clear tape, and then covered with a rectangle of white cardstock to hide the ends.


For the interior of the card, I die-cut a rectangle from white cardstock using a die from 5063 – Rectangle A2 Double Stitched Dies and attached a decorative strip of patterned paper to the bottom edge to create a mat. Versafine Onyx Black ink was used to stamp the sentiment from 6061 – Tulip Floral Set and Happy Birthday from 6063 – Just For Him Set.

That’s all for now—thanks so much for stopping by for Watercolor Weekend! Until next time, Happy Painting!