Hello, Ai Watercolor Friends!
I’m happy to share my first Watercolor Weekend of 2025 with you. January 1st
marked my 2nd anniversary as a member of the Ai Watercolor Design Team, and
it’s been a wonderful two years. Today, I have two “Tweet” Valentine’s Day
cards to share with you. Let’s get started!
My first card draws
inspiration from a recent watercolor tutorial by Bonnie Krebs that featured
birdhouses. Although I’ve had this set for quite some time, I realized I had
never used the birdhouse image—so I decided it was the perfect opportunity!
While I’ve designed this card as a Valentine’s Day card, the image is versatile
and could easily work for other occasions like birthdays, thinking of you, or
just saying hello to a friend.
I started by inking the
birdhouse image from 5739 – Birdhouse
Village Set with 565 and 969, stamping it off once before applying it to
my watercolor paper. Next, I stamped the flower images from the same set, using
743 and 856 for the ink. To create depth, I masked areas as needed to
allow the flowers to overlap.
Using a damp brush, I pulled
color from the lines of the birdhouses to create shadows and contours, adding
dimension to the image. For the flowers, I pulled color from the stamped lines
as well and enhanced their shapes and details with additional color from my
palette. For the fine details on the petals I used a Strawberry Red and Fuchsia
Pink TwinTone marker.
I painted and decorated the
birdhouses with 743, 856, 565, 407, and 947. Additional details were added to
the birdhouses using a Brown TwinTone marker, a Navy TwinTone, Dr. Ph Martin’s
Bleed Proof White, and a good old #2 pencil.
The bluebird’s body was
painted with 535 and his tummy was painted with a mix of 856 and 947. A brown
TwinTone was used for the beak, eye, and feet.
Before adding the greenery, I
brushed in a watery sky with 407. I placed masks back over the flowers before
stamping in the leaves from 5920 – Long Stem foliage Set. I inked just the top portion of the stamp in 177 and stamped the leaves in randomly surrounding the
flowers. I used a stamp positioner to help with this process. I pulled the ink
from the leaves with a damp brush and added a touch of 133 for highlights and
more 177 for shadows. Once dry, I pulled more color from the outside edges of
the leaves to blend and fill in the background. Additional leafy vines from 4051
– WC Foliage Set 1 inked in 249 and repeating the process as above. I then
added a little watery 177, 249, and a bit of 565 where needed.
I painted the flower centers
with white and shaded then with 565. Additional tiny filler flowers were dotted
in with a #1 round brush.
I didn’t have any suitable sentiment stamps in my stamp stash, so I
created the interior sentiment using a font from my computer. I inked just the
bird with N25 and stamped just above the blue cardstock strip. The three tiny
hearts were drawn in using the fine point of a Strawberry Red TwinTone marker.
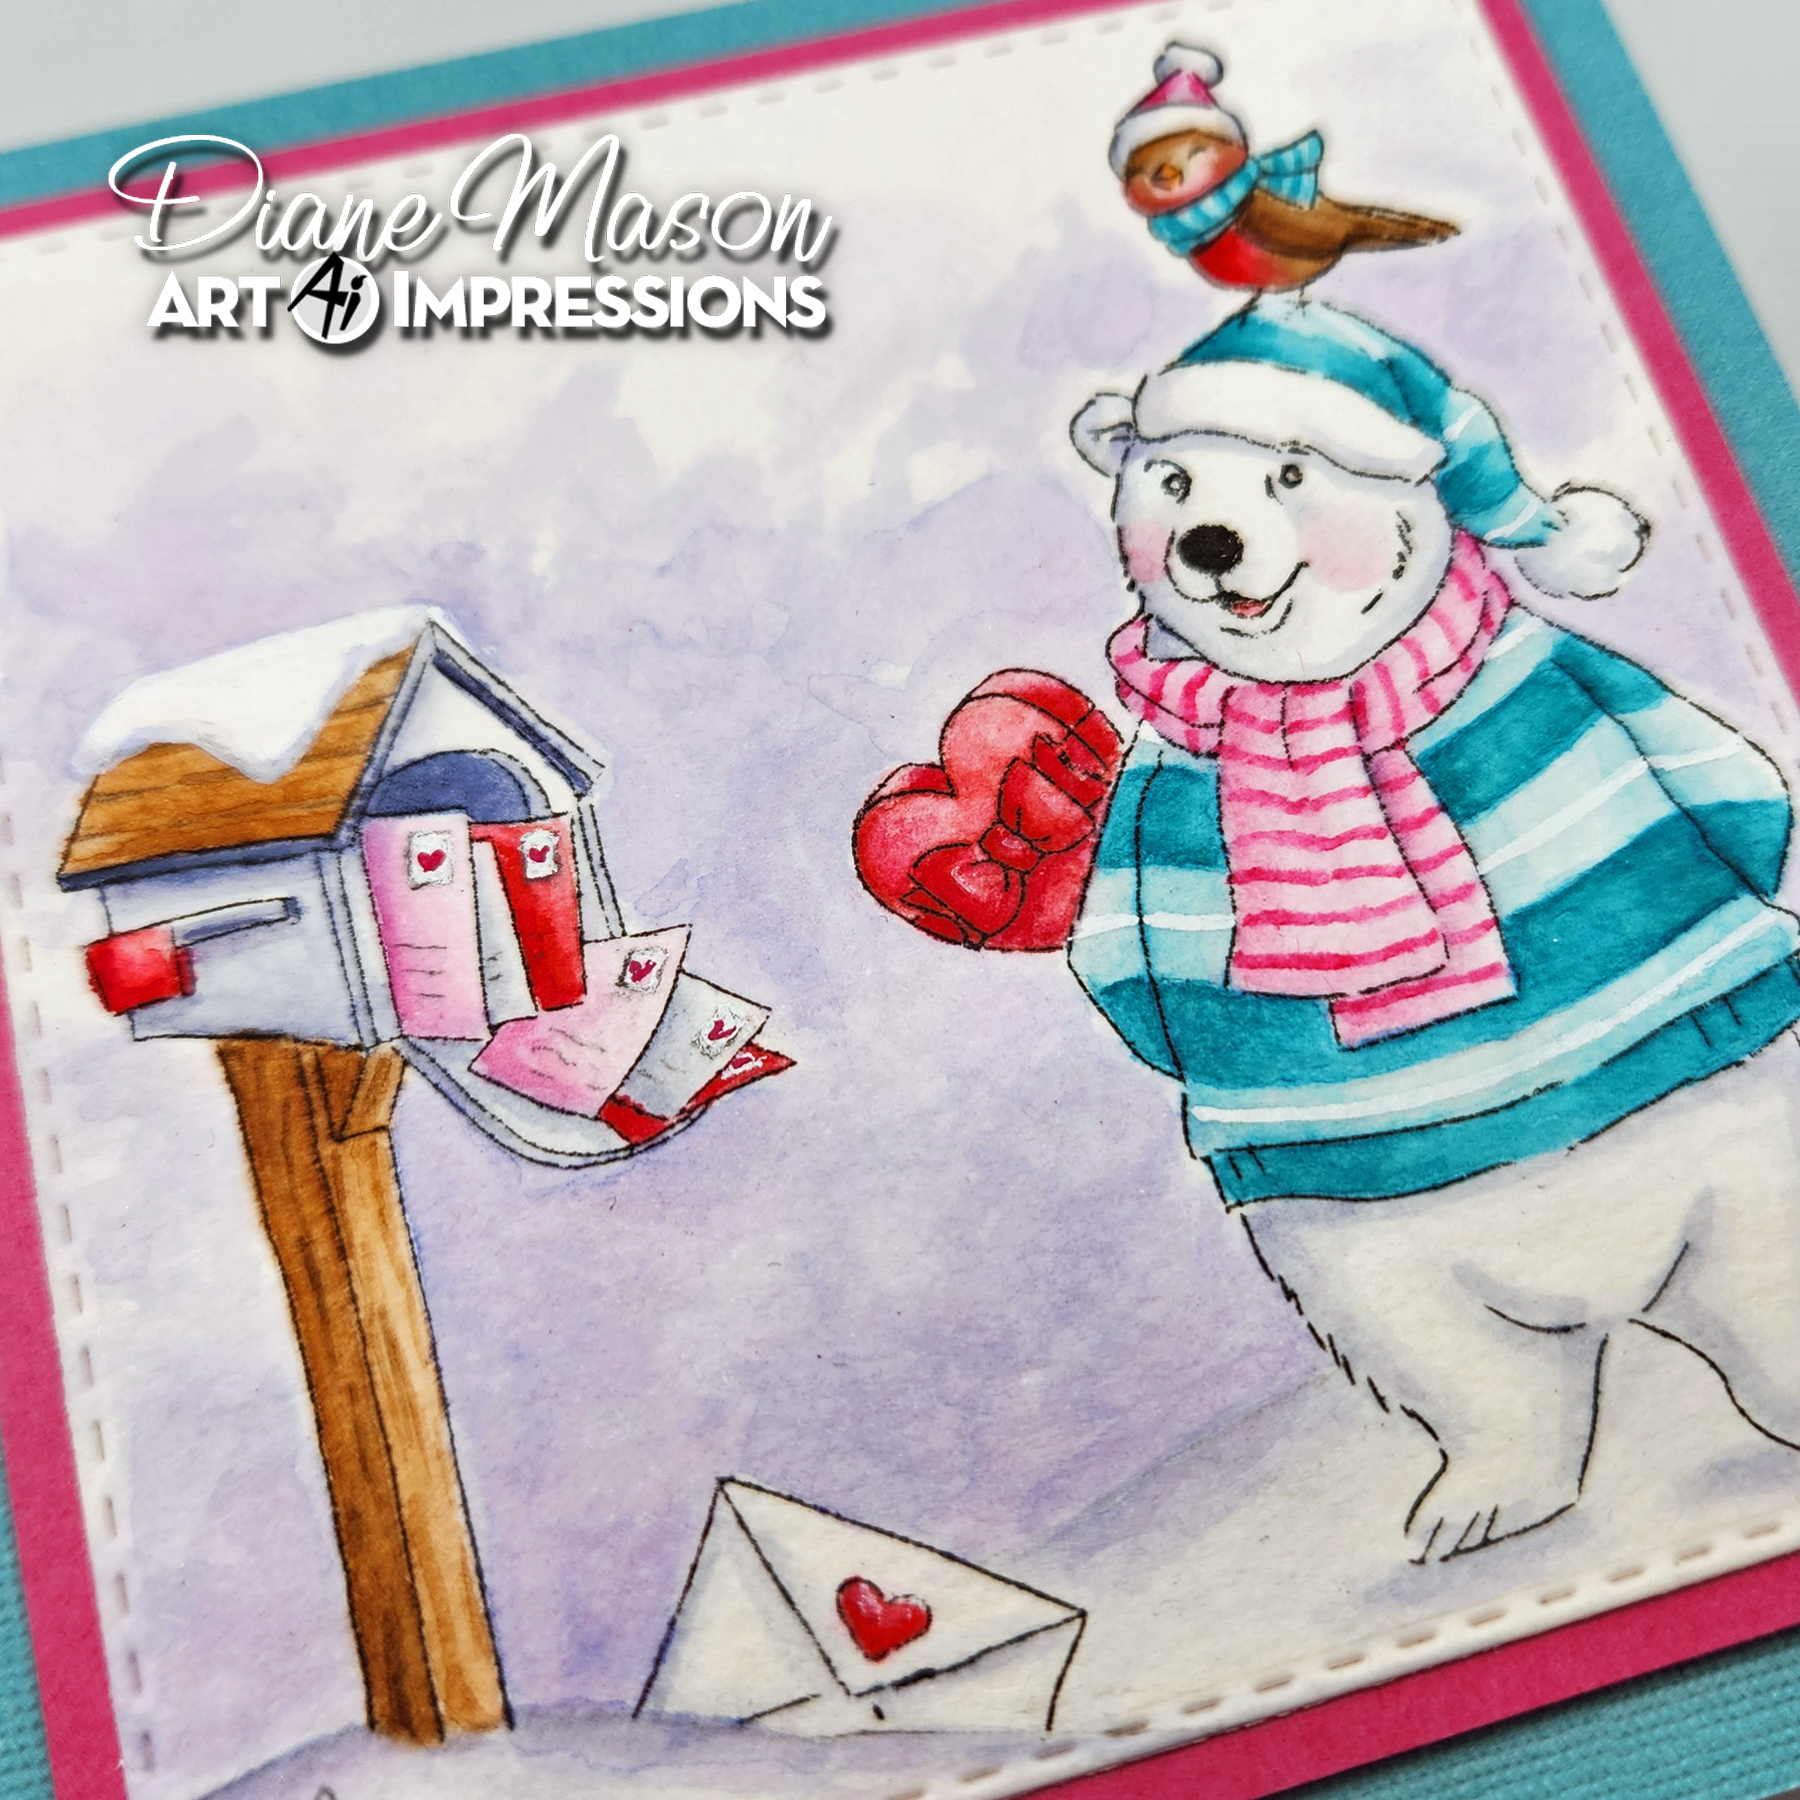
For my second Valentine’s
card, I made a slight modification to the bear stamp from 5954 – Woodland Bears
Set. This adorable bear is just too cute to pack away until next Christmas!
Since February is often chilly and snowy in much of the U.S., I thought, why
not create a snowy Valentine scene?
Using a stamp platform, I
inked the mailbox and bear stamps with Versafine Onyx Black ink, leaving off
the candy cane. I then masked the bear’s sleeve and stamped in a heart shaped
box of candy from 5221 – Sending Love Cubbies. Next, I used a pencil to sketch
in some snowy mounds. I masked off just below the pencil line near the mailbox
and stamped in an envelope from 5221 to make it appear to have fallen in the snow.
This bear is very popular—just look at all those Valentine’s he has received!
I brushed in a watery winter
sky with 565 and added shadows to the edges of the snow mounds.
Now I’m going to let you in on a little secret, I have a love/hate
relationship with the 565 marker. It’s a beautiful color, but I don’t always
like how it looks because it tends to look a little too purple-y. As mentioned
above, I did use 565 for the sky and a little more on the snow mounds. However,
I used a different marker to shade the bear and the mailbox. To get those nice
blue tones, I used a Marvy LePlume II marker in No. 86 African Violet! Feel free
to continue to use 565 in its place, but for me, I’m loving this marker for
shadows.
I used the following colors to
paint the mailbox, bear and bird: 856,
743, 403, and 947. For darker shadows on the post, I added a little 969. And to
darken some of the red areas, I used 847. For the stripes on the pink scarf, I
used the bullet tip of 743 to draw in the lines and then went over the lines
with a damp #1 round brush. Details were added to the envelopes with a pencil,
Dr. Ph. Martin’s Bleed Proof White and a Strawberry Red TwinTone. Dr. Ph.
Martin’s was used for white stripes on the bear’s sweater and the snow on top
of the mailbox. A brown TwinTone was used to add details to the post and roof
of the mailbox. To finish off the bear, I added a little watery 856 to create
his rosy cheeks. The painting was die cut using the largest square from 5061 –
Square Double Stitched Dies.
For the interior of the card, I
changed the sentiment and repeated the same process as the first card.
I hope you have enjoyed and been inspired by today’s cards. Thank you again
for stopping by for Watercolor Weekend. Until next time, Happy Painting!