Showing posts with label 5963 Winter Woodland Paper. Show all posts

Tuesday, June 9, 2026

Sending Love for Father's Day by Reneé Matarese

 Hello Ai fans!

Our current challenge here on the blog is called Enjoy the Ride.
The challenge is to use something that you ride on or in. When you enter your
creation using something from Art Impressions, you become eligible to win
a free stamp set. Good luck!


My card was created for my Father-in-Law for Father's Day.
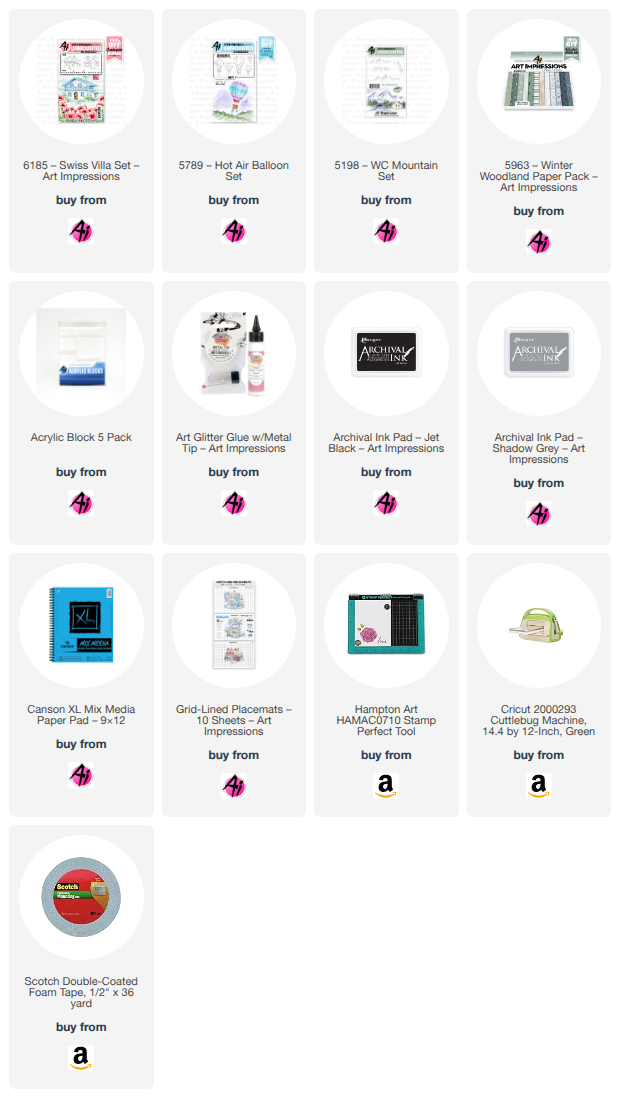
I used 3 different images that are a "ride." A plane, two hot air balloons and a scooter.
My craft room is in the process of moving right now and is spread out across 4 rooms
It's a pain lugging my Copic markers from place to place to I've been using my 
Watercolor Pencils and colored pencils quite a bit lately. It's nice to be using them
again. I forgot how much I enjoy the look I get from those. I used Art Impressions
Mixed Media paper and ink because they're compatible with the water. Links for
everything are below.


I stamped the mountains three times, trimmed them by hand, and layered them to add dimension.
I then fussy cut all of the other stamped images and popped those up as well, to give
the entire card a nice 3-D effect. The plane, scooter, wood pile and lamp post 
are retired Village Ad-ons.


Thursday, April 30, 2026

Hunter's surprise card by Dori Mendiola

 Happy Thursday AI Friends!

I had way too much fun making this card for the "Feeling Crafty" blog challenge.  I just love this image from the #5043 - Ole Buck set.  These guys are a "hoot", so adding a little bit of extra humor just fit.  Well, actually, their pup is the one that added the humor.  Check out the pull tab and see who's wearing the deer horns.  😄  I'm not really sure why I found this so funny, maybe it's because what hunter hasn't had their dog run off during a hunt.  This one just decided to disguise himself.  LOL!

Peek a Boo!                                                                                   


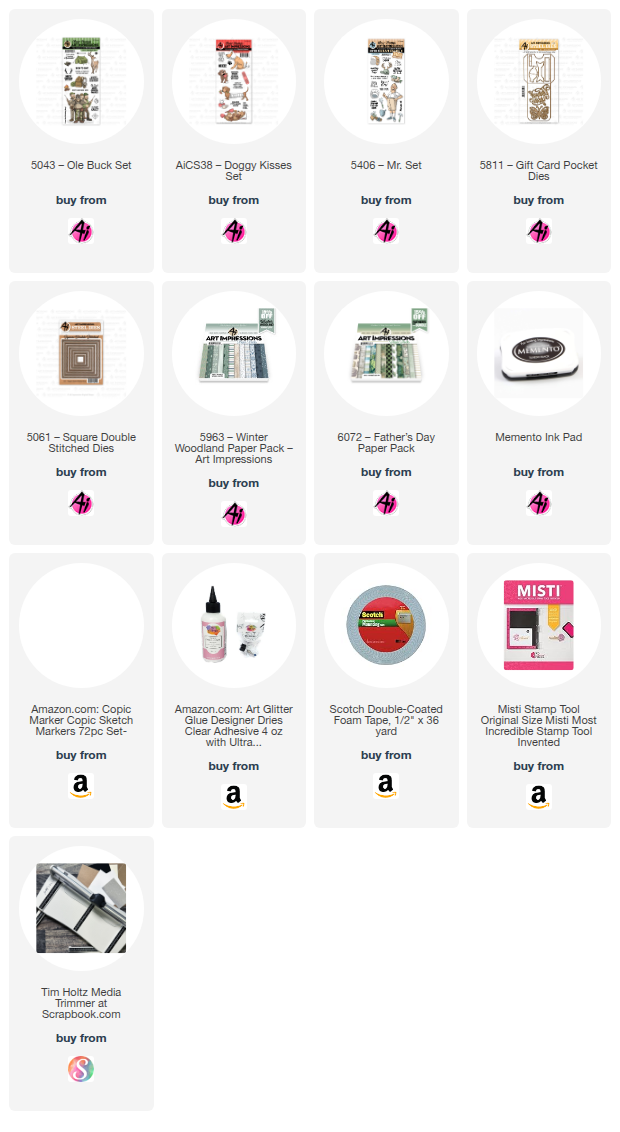
    This is a gate fold 5" x 7" card with a magnetic closure under the left panel and a pocket on the right panel.   I made the card base by cutting two 5" x 11" panels, one from white cardstock and one from craft cardstock.  I scored and burnished both at 7".   Flip the cardstock pieces so that the folds are on opposite sides facing up.  Adhere the long craft cardstock panel to the inside of the long white cardstock panel.  This will leave a gate fold craft piece on the left and the white on the right.  Trim the white side down to 3 1/2".  Cut a piece of 3 1/2 x 5" craft paper and a piece of 3 3/8 x 4 7/8" pattern paper.  Using the middle square of the #5061 - Square Double Stitch dies, cut a piece out of the center of the pattern paper panel.  Using the #5811 - Gift card pocket die, partial die cut the pocket (see pic below) using craft cardstock.  Adhere the pattern paper square to the front of the pocket.  


Adhere the pattern paper with the hole in it to the 3 1/2" x 5" craft panel.  Adhere this panel over the white fold edge of the card base.  Adhere the pocket over the square hole on the pattern paper panel.  

The images were stamped onto copic friendly paper with Memento black ink and colored with copic markers listed below.  The main image was cut with the largest die of the square stitched dies and mounted onto a piece of pattern paper and then matted onto a piece of craft cardstock.  The hat with deer horns is from the #5406 - Mr. Set and the dog is from the #AICS38 - Doggy Kisses set.  I fussy cut the dog and brought his tail end closer to his front end.  I colored his bandage as a sweater and made the flowers look more like a weed since he is out in the hills.  The hat was cut with the corresponding die and fit perfectly on his head.  I placed the dog onto the pocket insert so that only the horns peeked out of the pocket.  I tied a pull tab with the target onto the horns.  I added a couple of the sentiments from the #5043 - Ole Buck set and called it done.

 Hope you decide to enter the blog challenge for a chance to win a free stamp set of your choice.  

Thanks for joining me today!  Hope you have a wonderful weekend!
Keep creating!
Copics used:  E000, E00, E11
E30, E31, E33, E35, E41, E43, E44, E47
E95, E97         R20
BG90, BG93, BG96
B91, B93, B95, B97
YG91, YG93, YG95

Monday, January 5, 2026

Shadow Box card using the Storybook Template

 Hello AI Fans and Happy New Year!!

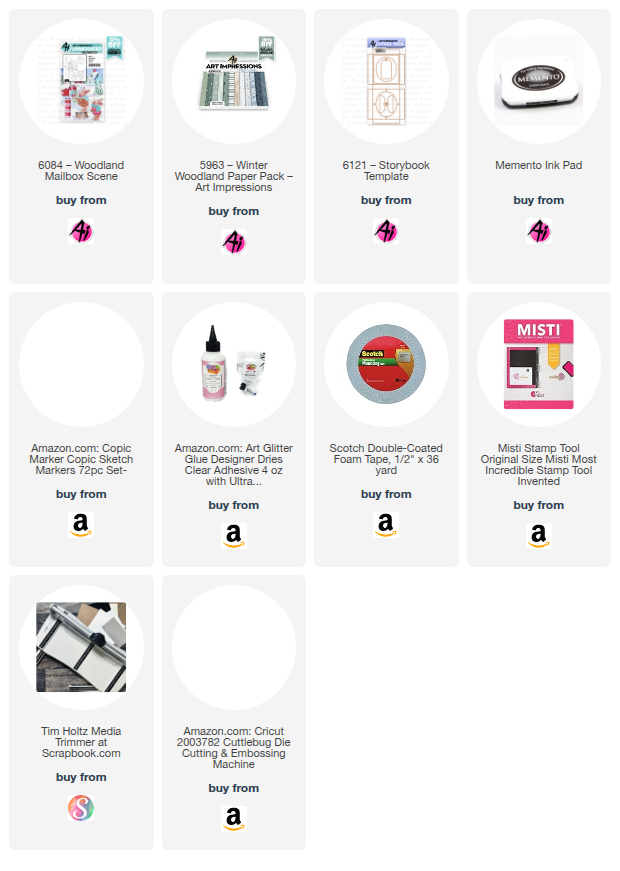
Wishing you all a very happy and prosperous new year for 2026!! I'm super excited to see what all Art Impressions has in store for us this year! I'm ready for some fun and crafting, how about you?! So today I've got a little shaker box I made using #6121 Storybook Template along with #6084 Woodland Mailbox Scene. The Storybook Template is so perfect for all of the recently released Woodland Scenes. They fit perfectly! All you have to do is glue a piece of acetate on the back of the front and it so easily turns into a shaker!! Add a hanger and you have another beautiful ornament for the tree, too!! I simply stamped the image onto some Copic friendly paper and colored it up with Copic markers. Cut it out and glued it to the inside back of the Storybook Template die and voila! So quick and easy! The paper is from #5963 Winter Woodland PP. 


So that's it for me today! Thanks so much for stopping by for a visit and until next time, stay crafty!!


Monday, December 8, 2025

A Christmas Story by Sharon Caudle

 Hello AI Fans! 

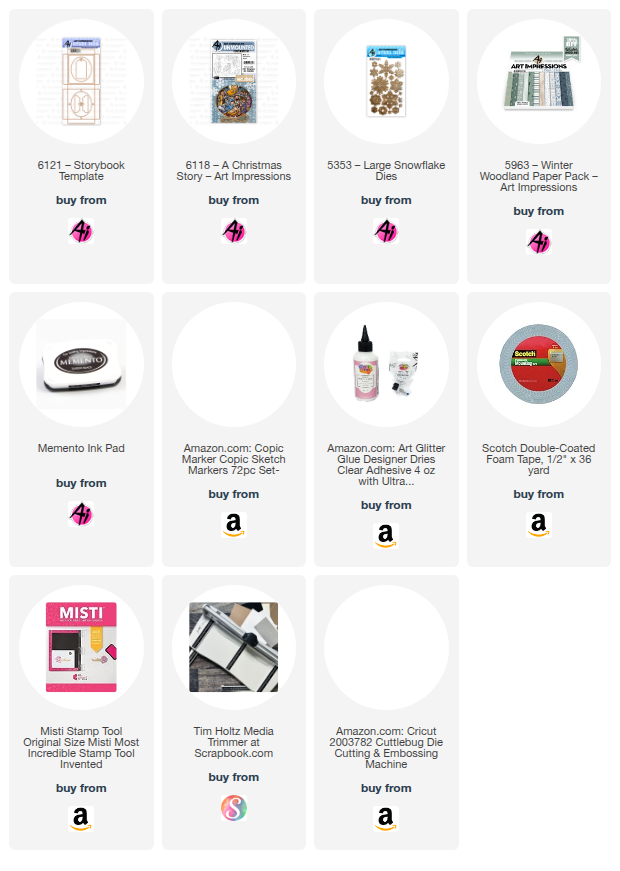
I have so loved all of the new releases by Art Impressions this year! One of my favorites is the new #6121 Storybook Template Die Set and the stamp sets that go along with it. I chose to show you #6118 A Christmas Story in my post today. I know some may not agree with me, but I do believe that Jesus is the reason for the season, and this Nativity Set makes such a beautiful ornament for either displaying on your tree or just to tuck on a shelf somewhere. The details that Bonnie added to this set is just truly spectacular!! I started by stamping all the images onto a Copic friendly paper and then coloring them with Copic markers. Once done, I die cut them out with the included dies and layered them up inside the amazing box. I think this is really super easy to create an amazing ornament that is perfect for gifting to friends and family. The Storybook Template also has a die so you can create a hanger for the ornament. You can make it as simple or as elaborate as you want. I went the simple route with this one as I wanted all of the focus to be on the amazing scene. I added a simple twine bow and some snowflakes from #5353 Large Snowflake Dies


A view from the top to show the dimension of the box. 


 Another view to show the layers on the inside. The depth is truly amazing. 


Thank you so much for stopping by for a visit today, and until next time - stay crafty!!


Saturday, November 29, 2025

Warm Hugs by Janet

Hello everyone! I hope all of our US friends had a great Thanksgiving earlier this week. You know what that means....Christmas crafting is HERE!!!!! Today I'm showing off the card I created for the Flurries Forecasted challenge going on at the blog this week.

This card features one of the cute snowman images found in the new 6107 - Snowman Hugs Set. These two snow people are heartwarming. The hugging snowman is especially touching. She is hugging with such pure adoration! I also used one of the many sentiments in this set for the card.

For the snowy background, I chose a paper from the 5963 - Winter Woodland PP. It perfectly works for all snowy skies and it makes this card especially good for the Flurries Forecasted challenge.

Thanks for joining me on the blog today. As always, find your favorite stamps, dies, papers, and accessories at the Ai Store!

Happy Crafting!

Janet - YouTube - Blog - Facebook - Instagram - Pinterest  


Sunday, August 31, 2025

Bonus Watercolor Weekend with Simone Carr

 Hello Ai fans!

We're so lucky that August has 5 Sundays!

That means a bonus Watercolor Weekend which means even more inspiration for you.


Let's welcome Guest Designer Simone Carr and see what pretty things she's created.

--------------------------------------------------------------------------------------------------------------------------

Hello fellow crafters!

I’m excited to be back on the blog to share my latest cards with you. Since fall is right around the corner, I thought it would be the perfect time to create a project that could work as either a Welcome Fall card or even a Thanksgiving card.

For this design, I reached for one of my favorite sets from last year—the Woodland Critters Set. I knew right away that the sweet little hedgehog needed to take center stage!

I started by inking the wheelbarrow (from the Harvest Wheelbarrow Set) with Tombow 565 and 969. I stamped it first onto masking paper, then onto Canson watercolor paper. To make room for the hedgehog, I left off the second handle when stamping the wheelbarrow. After cutting the wheelbarrow mask, I placed it over the stamped image.

Next, I used the stamp positioner to tuck the hedgehog perfectly into place and inked him with the same 565 and 969. Then I added in the small pumpkin, creating another mask so I could easily layer over it. Using the stamp positioner again, I built up the scene with pumpkins and apples, inking them with 565 and 969 (stamped off) for a softer look.

Once the stamping was complete, I removed the masks and began adding color to bring the entire image to life.

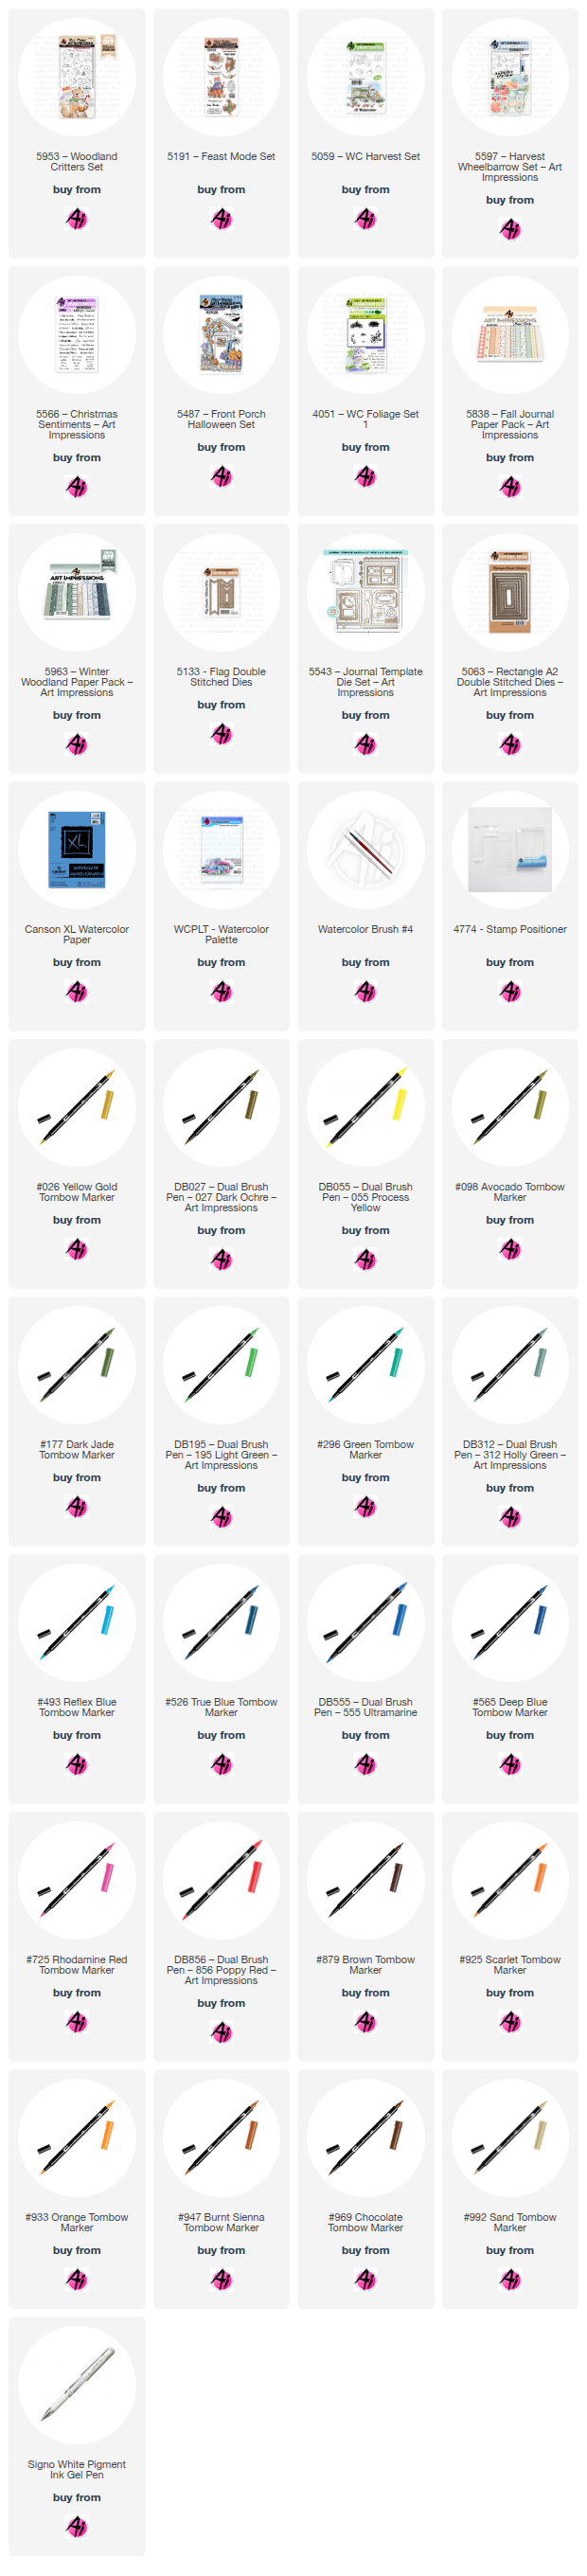
Materials Used

Tombow Dual Brush Pens:

856, 905, 925, 946, 933, 055, 098, 026, 312, 879, 947, 027, 992, 526, 177, 969, 565

Stamp Sets:

5597 Harvest Wheelbarrow

5059 Harvest Set (Apples + Grass)

4051 Foliage Set

5487 Front Porch Halloween Set (Small Pumpkin)

5953 Woodland Critters Set

5063 Rectangle A2 Die Set

5838 Fall Patterned Paper

For my second card, I went with a more wintery theme—not necessarily Christmas, but something versatile that could work as a birthday card, a thank you card, or really just a cheerful design for the colder months. It’s also a fun way to use up those paper scraps we all have on hand!

I began by stamping the sleigh image on Canson watercolor paper using Memento Toffee Crunch ink. For coloring, I used:

Sleigh: 026, 947, N55

Mouse: a mix of 969 + 565, plus 725, 025, 296

Hedgehog: 992, 947, 555

Present: 493, 195 + white gel pen for highlights

The finished card measures 5 1/2" x 4 1/4". To build the background, I ran a piece of white cardstock through a snowflake embossing folder, then trimmed it down to 3" x 4 1/4".

Next, I dug into my scrap pile and pulled out a few pieces from the Winter Woodland patterned paper pack. I cut them into flags and arranged them over the embossed panel to decide on their placement. Once I was happy with the layout, I glued them down, then added a thin strip cut from the leftover embossed paper on top for a clean finish.

The top panel is 2 1/2" x 4 1/4", and I popped the die-cut critters up with foam tape for extra dimension. To finish the card, I cut a small tag, stamped my sentiment (masking part of the stamp so it would fit), and tied a bit of string to it. I tucked the string under the present so it looks like part of the image, which adds a fun little detail.

Materials Used

Dies & Stamps

5133 Flag Double Stitched Dies

5953 Woodland Critters Set

5566 Christmas Sentiments

5543 Journal Template Set

5963 Winter Woodland Patterned Paper

Markers & Paper

Tombow Dual Brush Pens: 026, 947, 992, N55, 555, 493, 296, 195, 725, 025, 969, 565

Canson Watercolor Paper

Bonus Card

I wanted to share a little extra inspiration to show another way of creating this second card using the same methods. For this version, I used the 5191 Feast Mode set. Instead of patterned paper, I stamped my image on Bristol Smooth cardstock and simply adhered the flags underneath.

It’s a quick variation that gives the design a fresh look—and a great reminder that you can easily adapt these techniques with the supplies you already have on hand.

I hope I’ve inspired you to give it a try!

-----------------------------------------------------------------------------------------------------------------------------

Thank you so much Simone for these darling cards.

We hope you're inspired to try something like these. While you're here, be sure to enter our Bi-Weekly Challenge. The theme this time is "When One Door Closes." Make something with a door on it, whether it's stamped or die cut.


Friday, June 27, 2025

Season's Greetings! Card by Tasha

 Happy Friday Art Impressions Friends!

Tasha here sharing a new card inspired by the current Art Impressions LEON Day! Challenge. Can you believe we’re already halfway to Christmas? LEON (which is “NOEL” spelled backward) is the perfect time to start thinking about winter cards, and I had so much fun creating this snowy design!


For my project, I used the adorable 5954-Woodland Bears Set. I just love this little bear and the sweet bird; it’s such a cozy winter scene! I stamped the main image with black ink and used the coordinating die to cut it out before coloring the image with Copic Markers.


To build the background, I layered white cardstock to look like a snowy hillside and added several pine trees behind the bear to create a forest effect. For the sky, I used a snow print pattern paper with falling snowflakes; it really adds a winter feel.

To complete the card, I added layers of silver glitter paper for some sparkle, along with green, white, and blue cardstock. I also included a piece of Art Impressions’ winter-themed patterned paper to tie everything together.

I hope you enjoyed today’s card and feel inspired to join the LEON Day! Challenge; it's a great excuse to start your holiday crafting early!

Have a wonderful weekend!


Saturday, November 23, 2024

Woodland Beary Christmas! by Janet

Hey everyone. I'm loving the new sets that are out right now. I've used one here on my card today. It's called 5954-Woodland Bears Set. It's another of the Woodland series and it doesn't disappoint! There are so many adorable images in it. Of course it features bears and I've used just one of the those images on this card. The presents, cart, evergreen, and the sentiment and the snowflakes are all include. So very cute!!

To make this card, I started by stamping and coloring the images I had chosen, knowing I was going to put them in a frame like this one. I decided to add a bit of texture and something a little different for me by using printed paper from the new 5963 - Winter Woodand PP to piece the bear's sweater. I used additional patterns from the papers behind the frames. To give a little more shading to the sweater, I added some light gray marker shadows which is very subtle but I think makes a difference. I also used some white and glitter embossing powder on the hats of the bear and bird. It doesn't photograph that great but in person it's a neat look. There's a fabulous little evergreen in this set so I decided to stamp that using a glue pad and then I sprinkled fine green glitter on it. Once it dried, I tucked it behind the packages in the cart. It looks super that way. I could see creating a small forest of these trees. It makes me happy and I know that tree is going to come in handy for many cards in my future!

Once I cut everything out with the included dies, I arranged the images and added some additional bling. In one of the windows I stamped the sentiment and snowflakes and heat embossed them in white. 

I sure had fun working on this card. I hope I gave you some inspiration to try it too. Thanks so much for joining me here at the blog today. As always, please visit the Ai store for the products I used and all the things you need for your card, journal, and tag making projects. Happy creating!

Janet - YouTube - Blog - Facebook - Instagram - Pinterest  


Tuesday, November 19, 2024

Deer Shaker Card for Under the Dome Challenge by Reneé Matarese

Hello Ai fans!

Welcome to the Under the Dome Challenge at Art Impressions. 
I had so much fun making this shaker dome card. It's got a masculine feel, but I as a woman, would also LOVE to receive a card like this.


I used a bunch of Art Impressions products and you can find them all linked below.


I live in the country and seeing deer is a daily occurrence for us. I love watching them stroll through our yard. It's hunting season and we always breath a sigh of relief when we see our regulars show up the next day.


Friday, November 15, 2024

Winter Wishes! Card by Tasha!

 Happy Friday Art Impressions friends! 

Tasha here sharing a card inspired by the current "Under the Dome" Challenge. This challenge is all about shaker cards and I thought is was a great time to make a Christmas shaker card.

My project features one of the penguins from the new 5929-Christmas Train Set. This set has several cute penguin stamps to choose from and this little guy was the perfect size to fit inside the plastic dome. I also created a little snowy background before adding the winter themed sequins; these colors are so pretty!


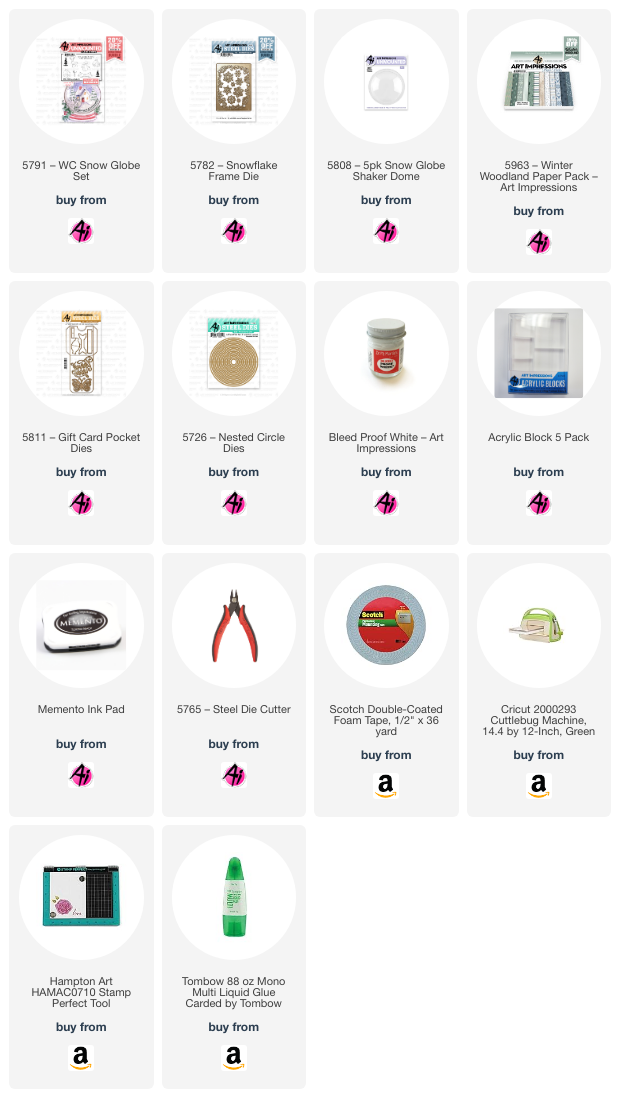
After my shaker was completed, I added a sparkly silver glitter layer, a scalloped red frame, and layers of black card stock, silver glitter paper, and a candy cane pattern paper. I also attached a snowflake pattern paper from the 5963-Winter Woodland Paper Pack to coordinate with the scene.

Lastly, I added a simple "Winter Wonderland" greeting before adhering the card to a white card base.

Thank you for checking out today's card and I hope you will join in this fun challenge!