Showing posts with label 5807 Journal Fence Dies. Show all posts

Monday, August 31, 2026

Thinking of Home by Sharon Caudle

 Hello AI Fans!

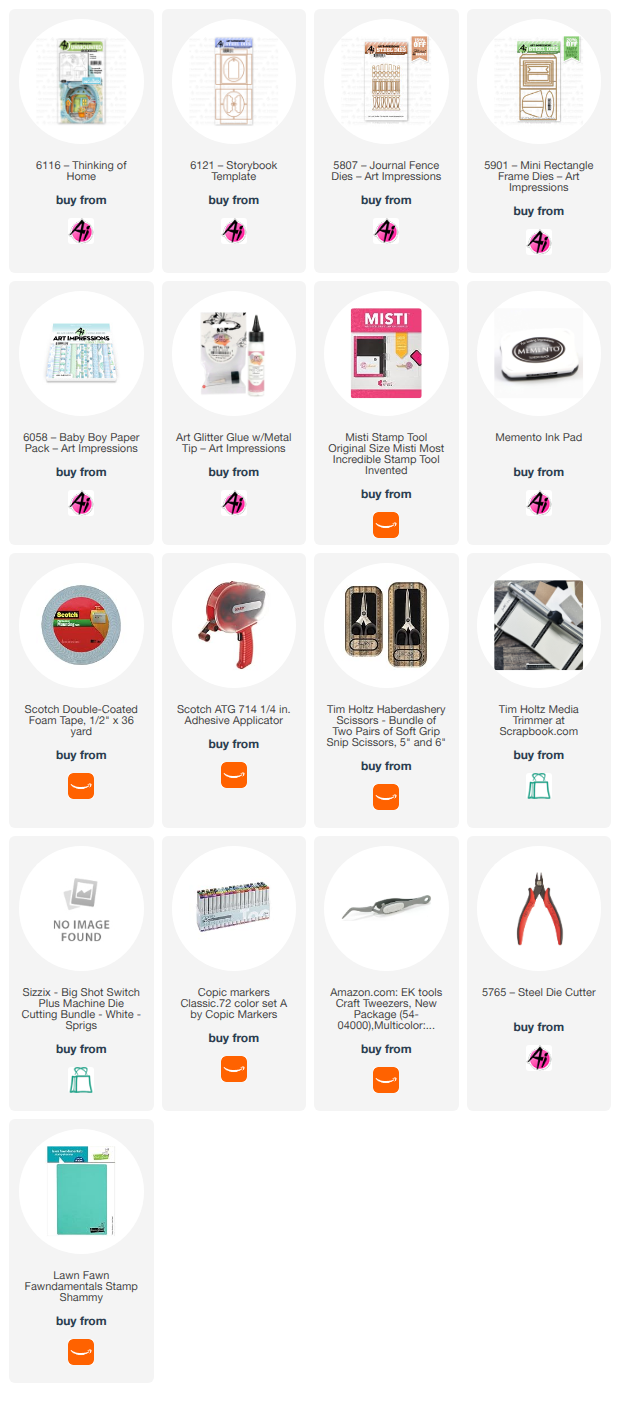
I don't have a card for you today. Instead I created a little box that would be so cute to tuck into a small corner of a shelf in your home. All you have to do is change up the colors that would complement your decor! I used the new #6116 Thinking of Home Storybook stamp and die set just released by Art Impressions! It's perfect for a decoration around your home, or imagine how cute it would be to gift it to someone that is moving into a new house or apartment? For the base, I used #6121 Storybook Box Template. These pieces are so easy to put together once you stamp, color, and die cut the pieces! I stamped the images onto a Copic friendly cardstock and then colored and die cut them out. I added a fence die cut with #5807 Journal Fence Dies and then I cut out an easel stand for the back out of heavy cardstock using #5901 Mini Rectangle Frame die set. The grass and clouds were cut from dies in my stash. That cute cloud paper came from #6058 Baby Boy PP.  That cute sleeping kitty helps this fit our current challenge #435 Furry Friends too! 


So that's it for me today! I hope this inspires you to join in on our Furry Friends challenge! Thanks so much for stopping by for a visit and until next time - stay crafty. 


Monday, July 6, 2026

Get your happy on by Sharon Caudle

 Hello AI Fans!

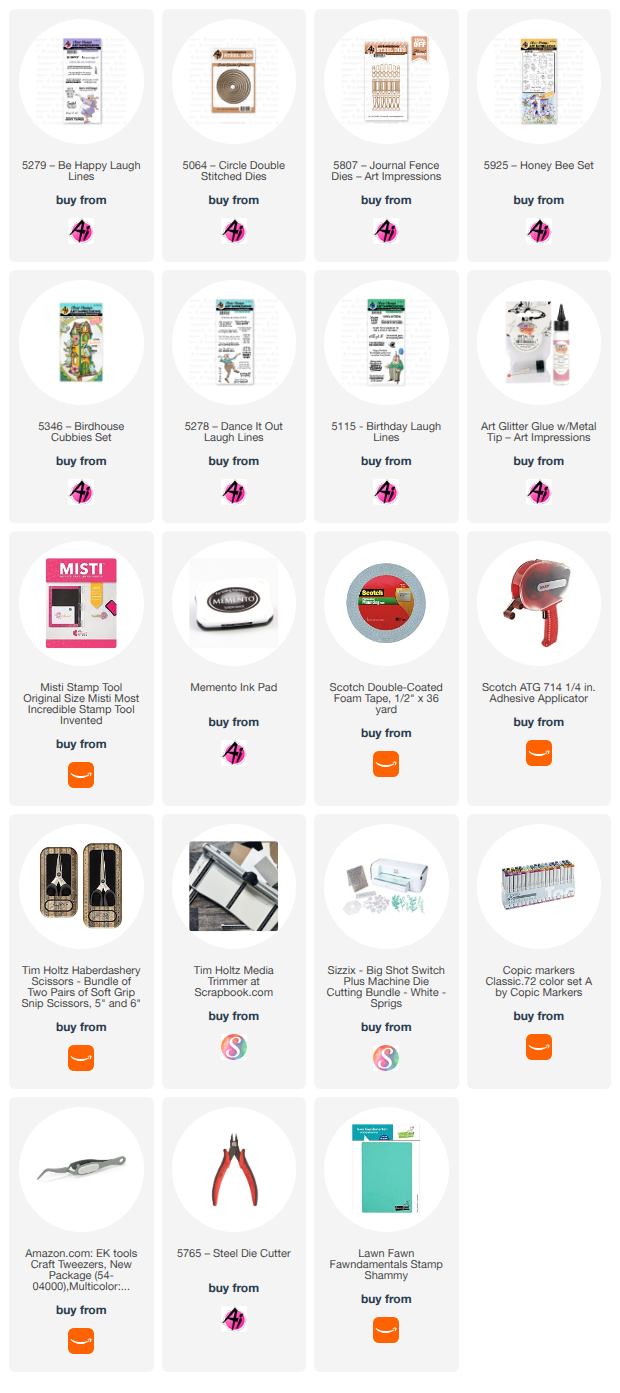
Hope you had a wonderful and safe 4th of July weekend if you're in the states and celebrated! I've got a fun card to show you today! Have you ever jumped on a trampoline? Well this lady is out having the time of her life helping someone celebrate their birthday! Watch a clip of the video below to see her in action! It's so much fun watching her jump around! I started by stamping #5279 Be Happy Laugh Lines onto a Copic friendly paper and fussy cutting her out after coloring her. I found this video on how to make the mechanism to make her jump. It's really pretty easy and you don't need any special dies to make it! 


The sentiment get your happy on is also from the same stamp set #5279 Be Happy Laugh Lines. The bird is from #5346 Birdhouse Cubbies Set, the flowers from #5925 Honey Bee Set, and the fence from #5807 Journal Fence Dies. I just clipped off one fence post from the die as it was just a little too wide for what I needed. The other pieces just came from my stash. 


For the inside sentiments I used #5278 Dance it out Set and #5115 Birthday Laugh Lines for the two different sentiments. 


So that's it for me today! Thanks so much for stopping by for a visit and until next time - stay crafty!!


Thursday, May 7, 2026

3D Tunnel card by Dori Mendiola

 Happy Thursday AI Friends!

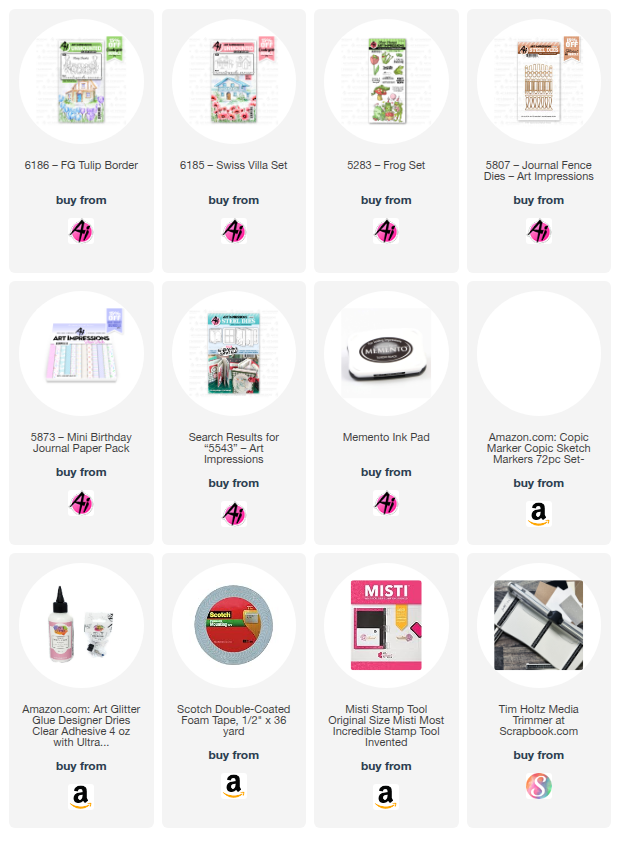
Today I’m sharing a 3D tunnel card featuring two of the newest Countryside series stamp sets: #6186 – FG Tulip Border and #6185 – Swiss Villa.  This beautiful release includes four cottages and three floral borders, all designed to mix and match for creating layered scenic cards.  Each of these images also works wonderfully on its own, making it easy to craft a simple yet striking card with just a single image.  Be sure to check out the sample projects posted on the website under each set.

To create this tunnel card, cut two 2 1/4" x 5" pieces of heavy cardstock.  Score and burnish along short side at 1/2", 1", 1 1/2", and 2".  Fold to create a tube and adhere the 1/4" tab to the inside of the tube. See pic below.  

Cut two 1 1/2" x 8 1/4" pieces of heavy cardstock and score along the long side at 1", 4", 5" and 8".  Fold (all valley) and burnish.  Adhere the 1/4" tab to the inside of the 1" tab.  Glue the two tubes inside one of these tower panels, centering within the 1" sides.  See pic below.  Flatten the card back and forth to adhere the glue in place.  Take the other tower panel and glue the bottom of the two tubes to the inside of this panel.  Make sure to line up so that the card will lay flat, by folding the card back and forth.

Cut pattern paper pieces to fit each of the outer edges and the inside tubes.  Cut arches or ovals using nesting dies to create the tunnel effect.  I also cut a fence using the #5807 - Journal Fence set and layered that between the cottage and the floral border layer.  


I stamped the images onto copic friendly paper with Memento black ink and colored with my copic markers listed below.  I fussy cut both the cottage and the flower border.  I adhered the floral border to the front oval die and the cottage to the back panel made up of the inside oval piece and cloud pattern paper.  I added the sentiment onto a banner die from the #5543 - Journal Template die set.  Lastly, I added some grass die cut pieces, a frog from the #5283 - Frog set, and the sun die from my stash.

This card will fit nicely into an A2 envelope when flat.

I hope you enjoyed my card today and I thank you for joining me.

Have a great day and keep creating!

Copics used:  E51, E53, E55
Y13, Y15, Y17
B21, B24
G20, G21, G24

Monday, March 9, 2026

Thinking of You by Sharon Caudle

 Hello AI Fans!

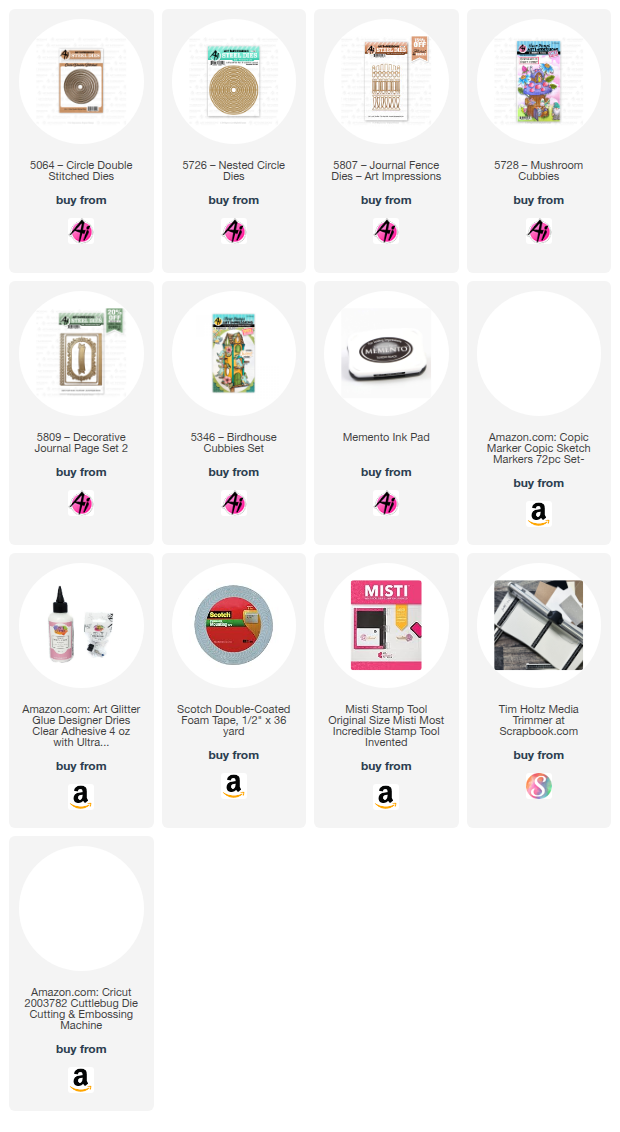
Happy Monday! I think there's only like 11 or 12 days before it is officially Spring - on the calendar anyway! So I've got a card for you today that has flowers and cute little bugs in hopes that Spring arrives soon! I turned this one into a spinner card, so the ladybug spins all the way around the flowers. I wanted to start with some flowers, so I used the flower stamp and die from #5346 Birdhouse Cubbies. I used a grass die from my stash for the center panel, then layered the flowers by popping up the ones in front. The butterfly, dragonfly, and snail are all from #5728 Mushroom Cubbies. Don't forget to look at all your Cubbies sets, Front Door Sets, Matchbook Sets, and so on. They all have such amazing pieces that can be either used alone or combined with other stamps to create amazing scenes!! Isn't that the cutest fence? It's from #5807 Journal Fence Dies. In order to create the open track for the ladybug to spin around, I used both 5726 Nested Circle Dies and 5064 Circle Double Stitched Dies. I had to be careful popping them up to make sure nothing got in the way of the ladybug moving around the track. Lastly, I created the sentiment using one of my very favorite banner dies from #5809 Decorative Journal Page Set 2. I just love the look of the stitching around the edge. 


So that's it for me today! Thank you so much for stopping by for a visit and until next time - stay crafty!


Monday, February 2, 2026

A Valentine for my granddaughter by Sharon Caudle

 Hello AI Fans!

If you've been affected by the widespread freezing temps, I sure hope you're starting to thaw out a little! And if not, what is better than crafting Valentines for your loved ones in your warm home? That's what I've got to show you today. Our new challenge is Love, Love Me Do (you know I love you...I'll always be true...so plee ee ee eese) Sorry...I got a little carried away with lyrics from my youth! LOL! So anyway, I decided to create a little Valentine for one of my granddaughters. I just love how it turned out, so I hope it inspires you a little. 


I just used a white gel pen to create the patterns on her hat and dress. 


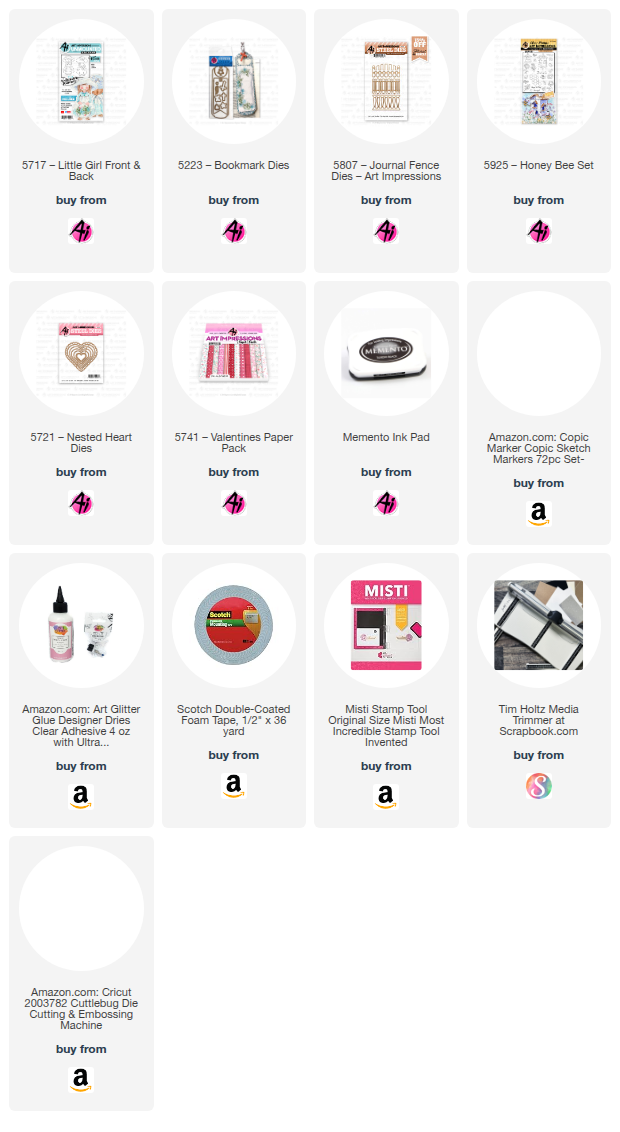
I started by pulling out #5717 Little Girl F&B stamp set and stamping her onto some Copic friendly paper. I don't know about you, but I love using pinks and reds together for Valentine's Day projects. When I cut her out, I cut a slit in her basket so I could add some pink and red hearts I cut using the heart die from #5223 Bookmark Dies. After cutting my A2 card base and adding some pattern paper from #5741, I took #5721 Nested Heart Dies and cut out a window to the inside of the card. After doing that, I glued the inked cloud paper to the inside of the card so the sky would be continuous on the front. I then took a coordinating piece of pattern paper and cut a frame for the heart window using the window size heart along with the largest scalloped heart in the set. I love framing my windows as I believe it adds a nice touch of detail. That adorable fence is from #5807 Journal Fence Dies. I just cut it twice and overlapped the edge piece to make it seamless. Of course it's popped up with dimensional tape. Daisies are my favorite flower ( I have a huge bunch of Shasta daisies in my back yard), so I just can't resist using these cute stamps from #5925 Honey Bee Set.  I'm sure you notice I use them ALL the time. LOL! That set also contains those cute bees and the dies to cut them all out so they can be used exactly like this if wanted! 

So that's it for me today! Thanks so much for stopping by for a visit and until next time - stay crafty!!


Copic markers used:
E000, 00, 11, 33, 35, 40, 42, 44, and 51
Y32 and 35
R11, 22, 24, 27, 81, 83, and 85
G43 and 46
B00


Tuesday, October 21, 2025

Meet the Bride of Frankenstein! by ReneƩ Matarese

Every Frankenstein needs a bride, so...
without further adieu...
Meet the Bride of Frankenstein! 


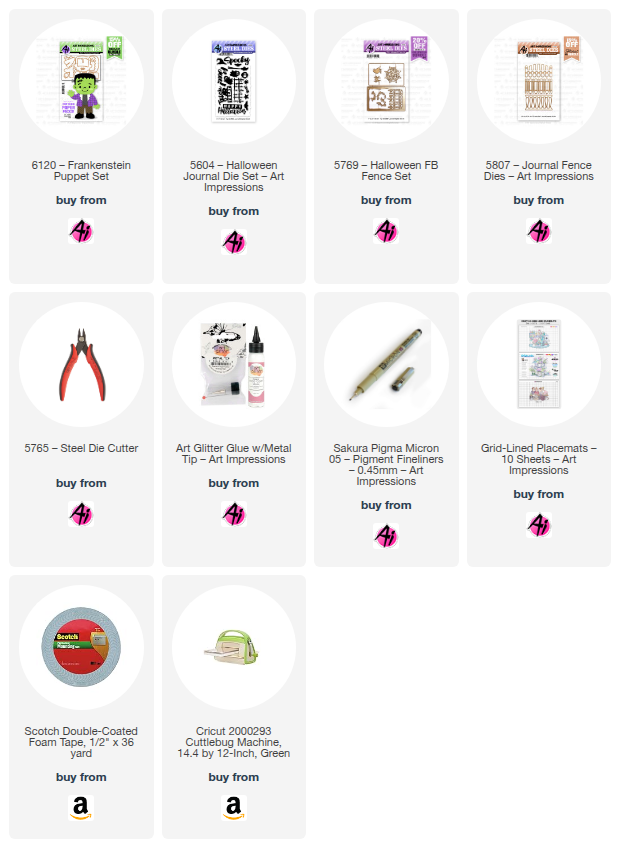
I used the 6120 – Frankenstein Puppet dies and altered them to 
create his "lovely" bride.


I used Frank's pants for sleeves on her gown and then I freehand cut
the rest of her dress. The stitches for the face served to "stitch" up the seams
and create a V on her neckline and stitches on her shoes.
I originally was planning to go with a unibrow that I cut from Frank's
hair but I changed my mind and just drew some on.


The stripe in her hair was cut from Frank's hair.


The fence is from 5807 – Journal Fence Dies

I just love this Frankenstein Puppet so much!
I enjoy that you can personalize him (even turning him into a girl)
and each time he turns out so different.

Here are two other versions that I made.


Monday, September 1, 2025

Gardener Gail has come to visit by Sharon Caudle

 Hello AI Fans!

Our new Bi-weekly challenge "When one door closes" is going strong and if you haven't looked at all the DT and GDT creations, I really urge you to do so! They always blow me away with their talent!! We were even blessed to have Debbie Hedges join us as a Guest Designer this month!!  So please do yourself a favor and scroll through the blog to look at all the amazing works of art!

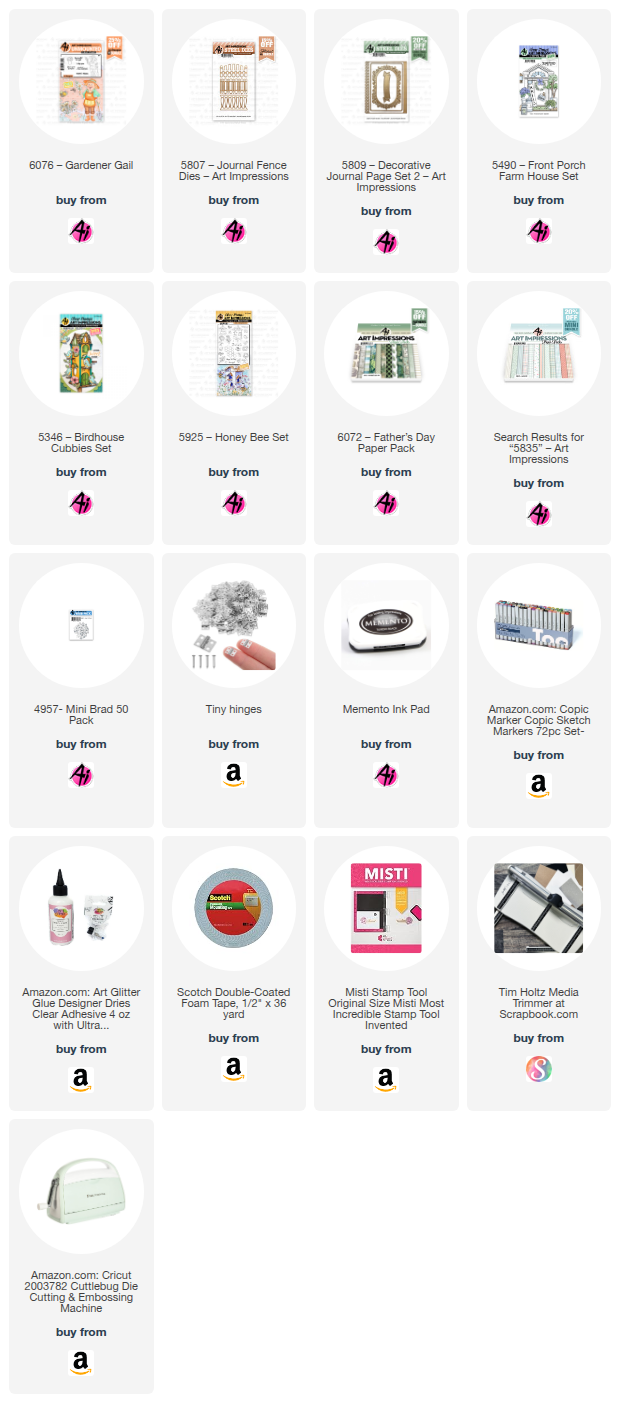
 So.... I'm going to make a big confession here. I have had this screen door die for probably almost 15 years and I have NEVER used it. When I saw the theme of this challenge I decided it was finally time. I grabbed 6076 Gardener Gail and went to work. I used quite a few sets from Art Impressions to create this, and they're all linked below.  I wanted the door to actually open on the front of the card, so I found some miniature hinges on Amazon and the tiny brads from Art Impressions are the PERFECT size for them! Don't you think? I used a larger brad for the inside and outside doorknob.  I simply spread the tines all the way out and glued them in place. The screen in the door actually came with the die and is sandwiched between several layers of the die cuts. The die was made by Cheery Lynn Designs if you want to try and find one. I doubt it is still manufactured after all these years, but I would be surprised if there isn't some kind of substitute die you could use. 


 I wanted it to look like the inside of the house of the front and to be able to see Gail through the screen door. I took just a strip of the paper from 6072 Father's Day PP to use as the floor.  I just needed a small strip, so I actually just cut it out of the back cover of the paper. That way I didn't have to cut into a full sheet for a small strip! Don't overlook using both the front and back cover pieces in the paper packs! I then added a small strip of white cardstock to look like the baseboard. 


I used the fishtail banner from 5809 Decorative Journal Page 2 to cut out the sentiment and pop it up on the top of the door.  I had to make sure to watch where I glued it so the door would still open. Here's a picture with the door open.  


And finally the inside of the card when it's fully opened. 


I used plants from 5490 Front Porch Farm House to place next to the door. For behind Gail, I cut a couple fences using 5807 Journal Fence Dies and pieced them together. The branch came from 5346 Birdhouse Cubbies Set and the bee and birdhouse from 5925 Honey Bee Set. I tied the birdhouse to the branch with a piece of twine and just let it dangle freely. I thought that was just a fun touch. So that's it for me today! Thanks so much for stopping by for a visit and until next time - stay crafty!!

Copic markers used:
E000, 00, 04, 11, 33, 35, 37, 51, 53, 55, 95, 97, and 99
W0, 2, 3, 4, and 5
G40, 43, and 46
C1, 2, 3, 4, and 5
YG00, 13, 17, and 67
Y15, 17, 18, 32, 35, and 38
R02, 12, 81, 83, and 85
B00, 91, 93, and 95


Monday, August 18, 2025

Vacation Vibes by Sharon Caudle

 Hello AI Fans!

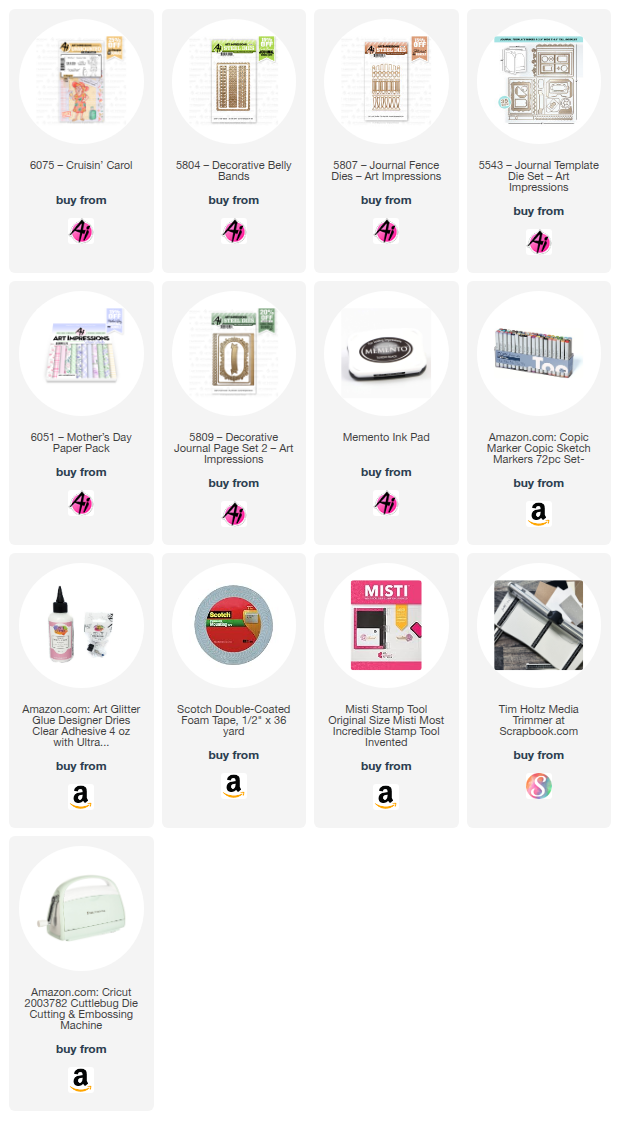
I know I probably sound like a broken record, but oh my gosh...I can't believe August is more than half way through! To me it feels like summer has just begun but the kids are already back in school! Wow! My card I'm showing you today fits right in with the current challenge "Sports and Leisure". I'm featuring #6075 Cruisin' Carol.  I stamped her with Memento Tuxedo black ink onto a Copic friendly cardstock and then colored her with the markers listed below. Do you love staycations as much as I do? Carol is definitely on a staycation in her own backyard in this card! That's me...give me a cocktail and my awesome patio, and I'm in heaven just relaxing in my chair! This was so easy to make! I just inked a cloudy summer sky using a stencil and then added a strip of die cut grass. Unfortunately, my fence kind of blends into the sky, I should have used a different color of cardstock instead of white. 


So that's it for me today! Thanks so much for stopping by for a visit and until next time - stay crafty!!

Copic markers used:
E000, 00, 04, 11, 33, 50, and 53
R01, 02, 35, 81, 83, and 85
B000 and 00
BG11, 13, 15, 45, and 49
YG13 and 17


Thursday, August 14, 2025

Sports & Leisure Challenge #410

Hello and welcome to our newest challenge!

Sports & Leisure


What exactly does that mean?

We want to see your cards or crafty projects that have a sports or favorite pastime theme. Things like sports, gardening, hiking, fishing, hunting, riding bikes or motorcycles, relaxing on the beach, cruises, reading, crafting and so much more.

You're going to be blown away by Sharon's card!
Her coloring of people is always amazing and she got SO creative with this one.
Check out her card and then check below to see who won our Stitches & Scallops challenge

Now, here's Sharon.

 Hello AI Fans!

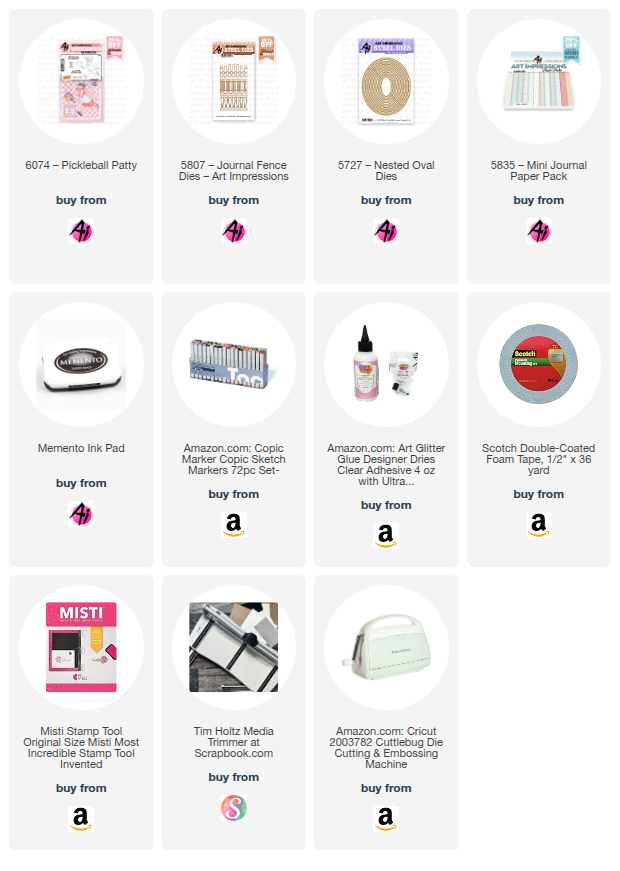
I'm super excited to be able to introduce you to our brand new Challenge #410 - Sports and Leisure!! The recently released AI People are all perfect for this challenge!! And actually so are a LOT of other Art Impressions Stamp Sets. But I chose to use the beautiful #6074 Pickleball Patty along with her twin sister Peggy!! LOL! I created Peggy by stamping a reverse image of Patty. Before stamping, I removed the ink from the ball. After stamping, I just used one of my Copic multiliner pens to finish the lines of the paddle. I'll tell you a little tidbit about Patty and Peggy, they actually believe that Serena and Venus doesn't hold a candle to their own sportsmanship and talent! There's nothing better than a confident and kind woman!! 😁 I'll be very honest, this one took me a few (cough, cough)  hours of my brain power and gluing talent. There were quite a few "rip it off and start this one again" moments. But I must admit that I love how it turned out.  I knew the type of card I wanted to make, but wasn't quite sure how I was going to go about getting it. So that's a big reason for all the trial and error. The first thing I knew I wanted to do was make a center stairstep card. If you would like to know the dimensions of the cuts and folds, just ask. I'll be happy to supply them. šŸ’› Please just message me an email for a reply.  

I'll start you out with a picture of the finished card, and then I will break down the process for you. There is a pull tab that will pull Peggy (the one on the far left in the yellow cap) across the front of the card so it looks like (with a little imagination that is) that she is running up to the net in defense. At least that was my goal. LOL! 


In the image below, you can see the center stairstep card after I'd added some decorative paper and the net across the center opening. To make the net, I simply ordered some netting material from Amazon and then cut a strip about the width I was looking to make the net. I then cut two strips of paper 1/2" wide and 6" long and scored it down the center at 1/4". I simply folded over at the score and added a healthy amount of Art Glitter Glue, pressed the netting up into it keeping it fairly straight, and then put a heavy weight on it until it dried. I used a heavy weight cardstock for it as I wanted it to be nice and sturdy.  Once that  side is fully dried, do the exact same to the bottom of the net. The slide channel that is cut at the bottom of the card front is the part of the mechanism that will allow Peggy to run across the front of the card. It is hidden by the green grass panel that is popped up in order to give the mechanism the room to work. 


Peggy is attached to the pull tab by using a strong piece of acetate. 


Patty is getting ready to slam one over to Peggy! LOL! 


Peggy is sensing what Patty is about to do, so she's ready to move over to the other side of the court to be ready!  I added a tree and fence die cut to both sides of the stairstep card. 


And there she goes!! 


Now I did find that with all the weight that was added to this card, it did not want to stand up straight. So I came up with an easy fix for that.  I decided about how far I wanted the card to spread out and measured the distance. I figured I wanted a two inch spread about half way down the card. So I cut two pieces of heavy weight cardstock four inches long. I scored it at 1", 2" and 3". So fold it as mountain, valley, and mountain. Burnish your folds, then glue them inside the card where you want them. These pieces will fold flat with the rest of the card, but it also keeps the card from splatting flat on the table. 


So that's it for me today! Thanks so much for stopping by for a visit and until next time - stay crafty!!


Copic markers used:
E000, 00, 04, 11, 17, 33, 97, and 99
BV000, 01, 02, and 04
RV32 and 34
Y26, 32, 35, and 38
G24
T1, 2, 4, and 6
R02 and 20

I mean...come ON!! How amazing is this card?! Patty "runs" to get the ball.
What an imagination Sharon has.

Now let's see who won our last challenge.

For our Top Spot we selected Kathy R.


Please contact Leah at Feedback@artimpressions.com
to claim a free stamp set of your choice!!
Be sure to grab our badge to display on your social media too!

Our Lucky Random Winner was #8 April J.


Please contact Leah at Feedback@artimpressions.com
to claim a free stamp set of your choice!!
Be sure to grab our badge to display on your social media too!

Congratulations to you both!

Now, onto our new challenge.


Be sure to enter your creation for the chance to win a free stamp set from Art Impressions. 
We award one Top Spot and one Lucky Random Winner, and each will win a free stamp set from Art Impressions.

✻ Please make a new card or handmade crafty creation. You can make any item you wish; this is not limited to cards! (unless specified)

✻ Limit two submissions per person.
 ✻Please include your first name and last initial on your submission. You may include your entire last name, but it's not necessary.
✻We love to comment on your entries, but keep in mind if you use a private group or a platform that you need to sign up for, we probably won't be able to.
✻ The Ai Challenge is open to everyone, international submissions are welcome!
✻ Include a link back to the Ai Blog or grab our button on the top right of our sidebar!
✻ Share the Ai love if you can, by clicking and commenting on your fellow crafters.
✻ Make sure to get your link up by the deadline to enter your creations.
✻ Good luck and happy stamping! 

You are invited to the Inlinkz link party!

Click here to enter