Happy Thursday AI Friends!
The frogs are a croaking in our backyard, which means summer is here! We have just the cute little ones, so I can handle them. It's the big ones that are yucky! 😝 In celebration of summer, I went frog crazy and made a cute little frame as well as gift boxes that housed a cute little porcelain frog.
Both fun little projects!

Let's start with the mini frame:
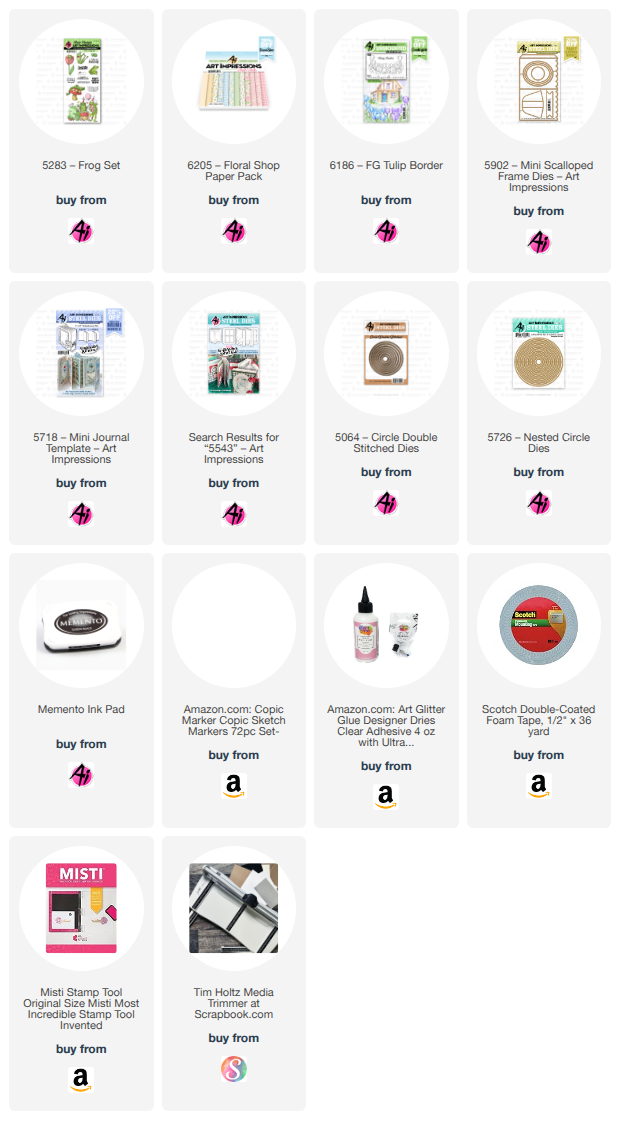
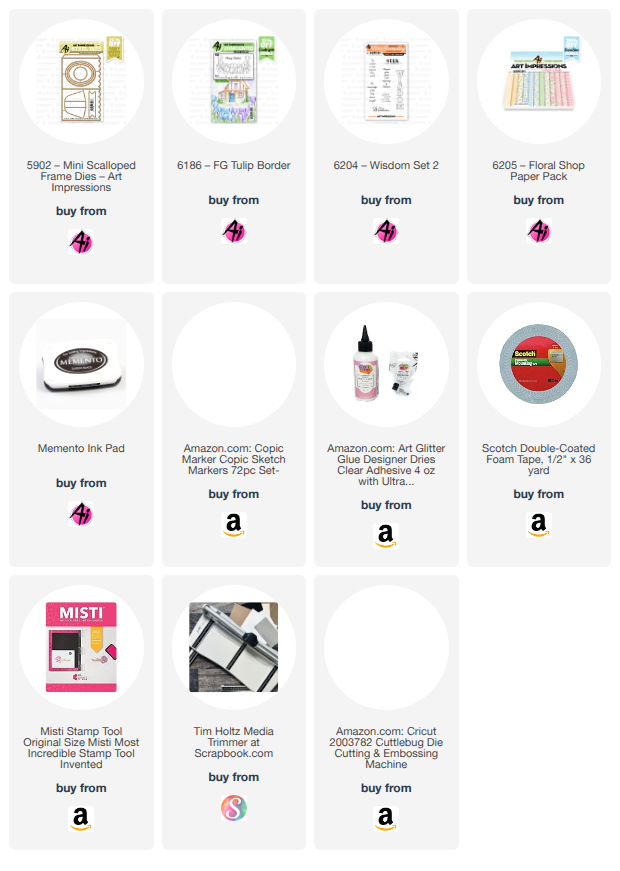
I cut the scallop frame using the #5902 - Mini Scallop Frame die with a piece of pattern paper from the #6205 - Floral Shop PP. I die cut an oval frame to cover the opening. The poppies are from the new countryside series set #6187 - FG Poppy Border and the frog in the tulip is from the #5283 - Frog set. I stamped these images onto copic friendly paper with Memento black ink and colored with my copic markers listed below. I then fussy cut these images and popped up inside the frame. I stamped the sentiment and die cut with the small scallop die from the #5543 - Journal Template die set. Lastly, I added a bow and an easel piece for the back of the frame.
For the box:
This is made from a 6 x 6 piece of paper. Final dimensions are 2 1/4"W by 2"D x 2 1/8"H.
Place your 6 x 6 piece of pattern paper diagonally onto your scoreboard at the 6" mark. Score at 5" and 7". Turn your paper 1/4 turn and score at 4 7/8" and 7 1/8". Burnish all of the score lines. Cut along score lines on both sides of two ends to make tabs. See picture below. Score at the top of each pointed end where the triangle meets the square. Fold up the edges and place glue on the tabs and line up nicely to form the box.

Using the scraps that you cut off to make the tabs and the die from the #5718 - Mini Journal Template (see pic below), I die cut decorative edges for each pointed end. I had to cut one side and then the other and piece them together onto the box (one on outside and one on inside). This will add strength for the ribbon closure. Lastly, I cut a 1/4" hole for the ribbon. Fill the box with your treat or gift and tie up with your ribbon.

Thanks for joining me today! Hope you have fun making these gift boxes and frames.
Have a great day and keep creating!

Copics used: R24, R27, R81, R83, R85
B000, G40, G43, G46
Y32, Y35, Y38