Showing posts with label Mini Scalloped Frame Dies 5902. Show all posts

Thursday, June 4, 2026

Tulip Frog Frame and Box by Dori Mendiola

 Happy Thursday AI Friends!

The frogs are a croaking in our backyard, which means summer is here!  We have just the cute little ones, so I can handle them.  It's the big ones that are yucky!  šŸ˜  In celebration of summer, I went frog crazy and made a cute little frame as well as gift boxes that housed a cute little porcelain frog.

  Both fun little projects!

Let's start with the mini frame:
    I cut the scallop frame using the #5902 - Mini Scallop Frame die with a piece of pattern paper from the #6205 - Floral Shop PP.  I die cut an oval frame to cover the opening.  The poppies are from the new countryside series set #6187 - FG Poppy Border and the frog in the tulip is from the #5283 - Frog set.  I stamped these images onto copic friendly paper with Memento black ink and colored with my copic markers listed below.  I then fussy cut these images and popped up inside the frame.  I stamped the sentiment and die cut with the small scallop die from the #5543 - Journal Template die set.  Lastly, I added a bow and an easel piece for the back of the frame. 

For the box:
    This is made from a 6 x 6 piece of paper.  Final dimensions are 2 1/4"W by 2"D x 2 1/8"H.  
    Place your 6 x 6 piece of pattern paper diagonally onto your scoreboard at the 6" mark.  Score at 5" and 7".  Turn your paper 1/4 turn and score at 4 7/8" and 7 1/8".  Burnish all of the score lines.  Cut along score lines on both sides of two ends to make tabs.  See picture below.  Score at the top of each pointed end where the triangle meets the square.  Fold up the edges and place glue on the tabs and line up nicely to form the box.  


  Using the scraps that you cut off to make the tabs and the die from the #5718 - Mini Journal Template (see pic below), I die cut decorative edges for each pointed end.   I had to cut one side and then the other and piece them together onto the box (one on outside and one on inside).  This will add strength for the ribbon closure.   Lastly, I cut a 1/4" hole for the ribbon.  Fill the box with your treat or gift and tie up with your ribbon.


Thanks for joining me today!  Hope you have fun making these gift boxes and frames.

Have a great day and keep creating!

Copics used:  R24, R27, R81, R83, R85
B000,    G40, G43, G46
Y32, Y35, Y38
Tuesday, December 17, 2024

ReneƩ's Top 10 of 2024

2024 is quickly coming to a close and I have my Top 10 favorite projects for the year.


It's never easy to narrow the list down because all of the Art Impressions stamps and dies are so wonderful! This is what I finally settled on in no particular order. I hope you enjoyed them.


Here's hoping 2025 brings you everything you're hoping for!
I can't wait to begin a new year with Ai and I can't wait to see what you create.

Thursday, September 12, 2024

Best Friends by Dori Mendiola

 Happy Thursday AI Friends!

My card today just screams friendship.  I think all of us would agree that Friends are the Best!  I don't know what I would do without my Besties!! 

I created a fun-fold card using the #5516 Friends Forever stamp set.


I stamped the image on copic friendly paper and colored with copic markers listed below.   I made the window on the front using the #5063 Rectangle A2 Double Stitched die.  I used the inside rectangle for the frame of the image and the outside stitched portion for the window frame.  I made a square 5 1/2" card but you can make this on a A2 card base as well.  For the fold piece inside, I cut a piece of 80 lb cardstock 8 1/4" x 4 1/2" and scored at 2 3/4" and 5 1/2".   If you want to make a different size card, such as an A2 (4 1/4" wide x 5 1/2" high), the inside fold piece is computed as 1.5 times the width and scoring in thirds (2 1/8" and 4 1/4").  Adhere your image to the top fold piece only, so that it will swing into the window when opened.  See picture below.

I stamped the sentiment from the #5516 Friends Forever stamp set onto a stitched circle using the #5064 Double Stitch Circle die and the frame using the circle die from #5902 Mini Scallop Frame.  I added a few enamel dots and a bow and my card is finished.

Hope you enjoyed my card today.  Keep creating!

Copics used:  E000, E01, E02, E11, E13
E31, E33, E35, E37, E41, E43
C0, C1, C3, C5
R20, R22, R24
Y32, Y35
YR000, YR21
BG70, BG72, BG75


Thursday, August 29, 2024

Panda Frame by Dori Mendiola

 Happy Thursday AI Friends!

Have you checked out the #5901 - Mini Rectangle and #5902 - Mini Scallop frame die sets, yet?  These frame sets are so fun and easy to put together, plus they make the cutest little display card for any occasion.  Today I'm sharing a Panda wobble card using the #5902 - Mini Scallop frame and the #5113 - Pand-tastic set.


I stamped the pandas on copic friendly paper and colored with my copic markers (only used the C's and R20 and R22).  Simple coloring.  I fussy cut the pandas and placed the one on a wobble and adhered the base side of the wobble to the inside of the frame.  I stamped the sentiment and paw print onto a piece of white cardstock and die cut it out with the smallest #5063 Rectangle A2 Double Stitched die.  I added a few red die cut hearts for accents.

Hope you enjoy my card today.  Keep creating!!


Tuesday, August 13, 2024

Punch Bugs make me SMILE! by ReneƩ Matarese

Hello Ai fans! 

I've been having fun with the Never Have I Ever
challenge going on right now on the blog. There
are still a couple days to enter. You could win a
free stamp set.

I have had the 5823 – Christmas Cars Set since last summer
but just used it for the first time. It's so cute! Also, as you can
see, it's not just for Christmas.


The second item on my cards that I have never used
is the 5902 – Mini Scalloped Frame Dies. These little
frame dies are the perfect size for so many Art Impressions
images. There are multiple dies so you can adjust the size
of the opening.


The flowers are from 5936 – My Hope Set.
SMILE is from 5797 – Little Things Sentiment Set.


the windshield so that it had a more "glassy" look. The cute little
flowers on the bug are a tiny stamp in the 5925 – Honey Bee Set.


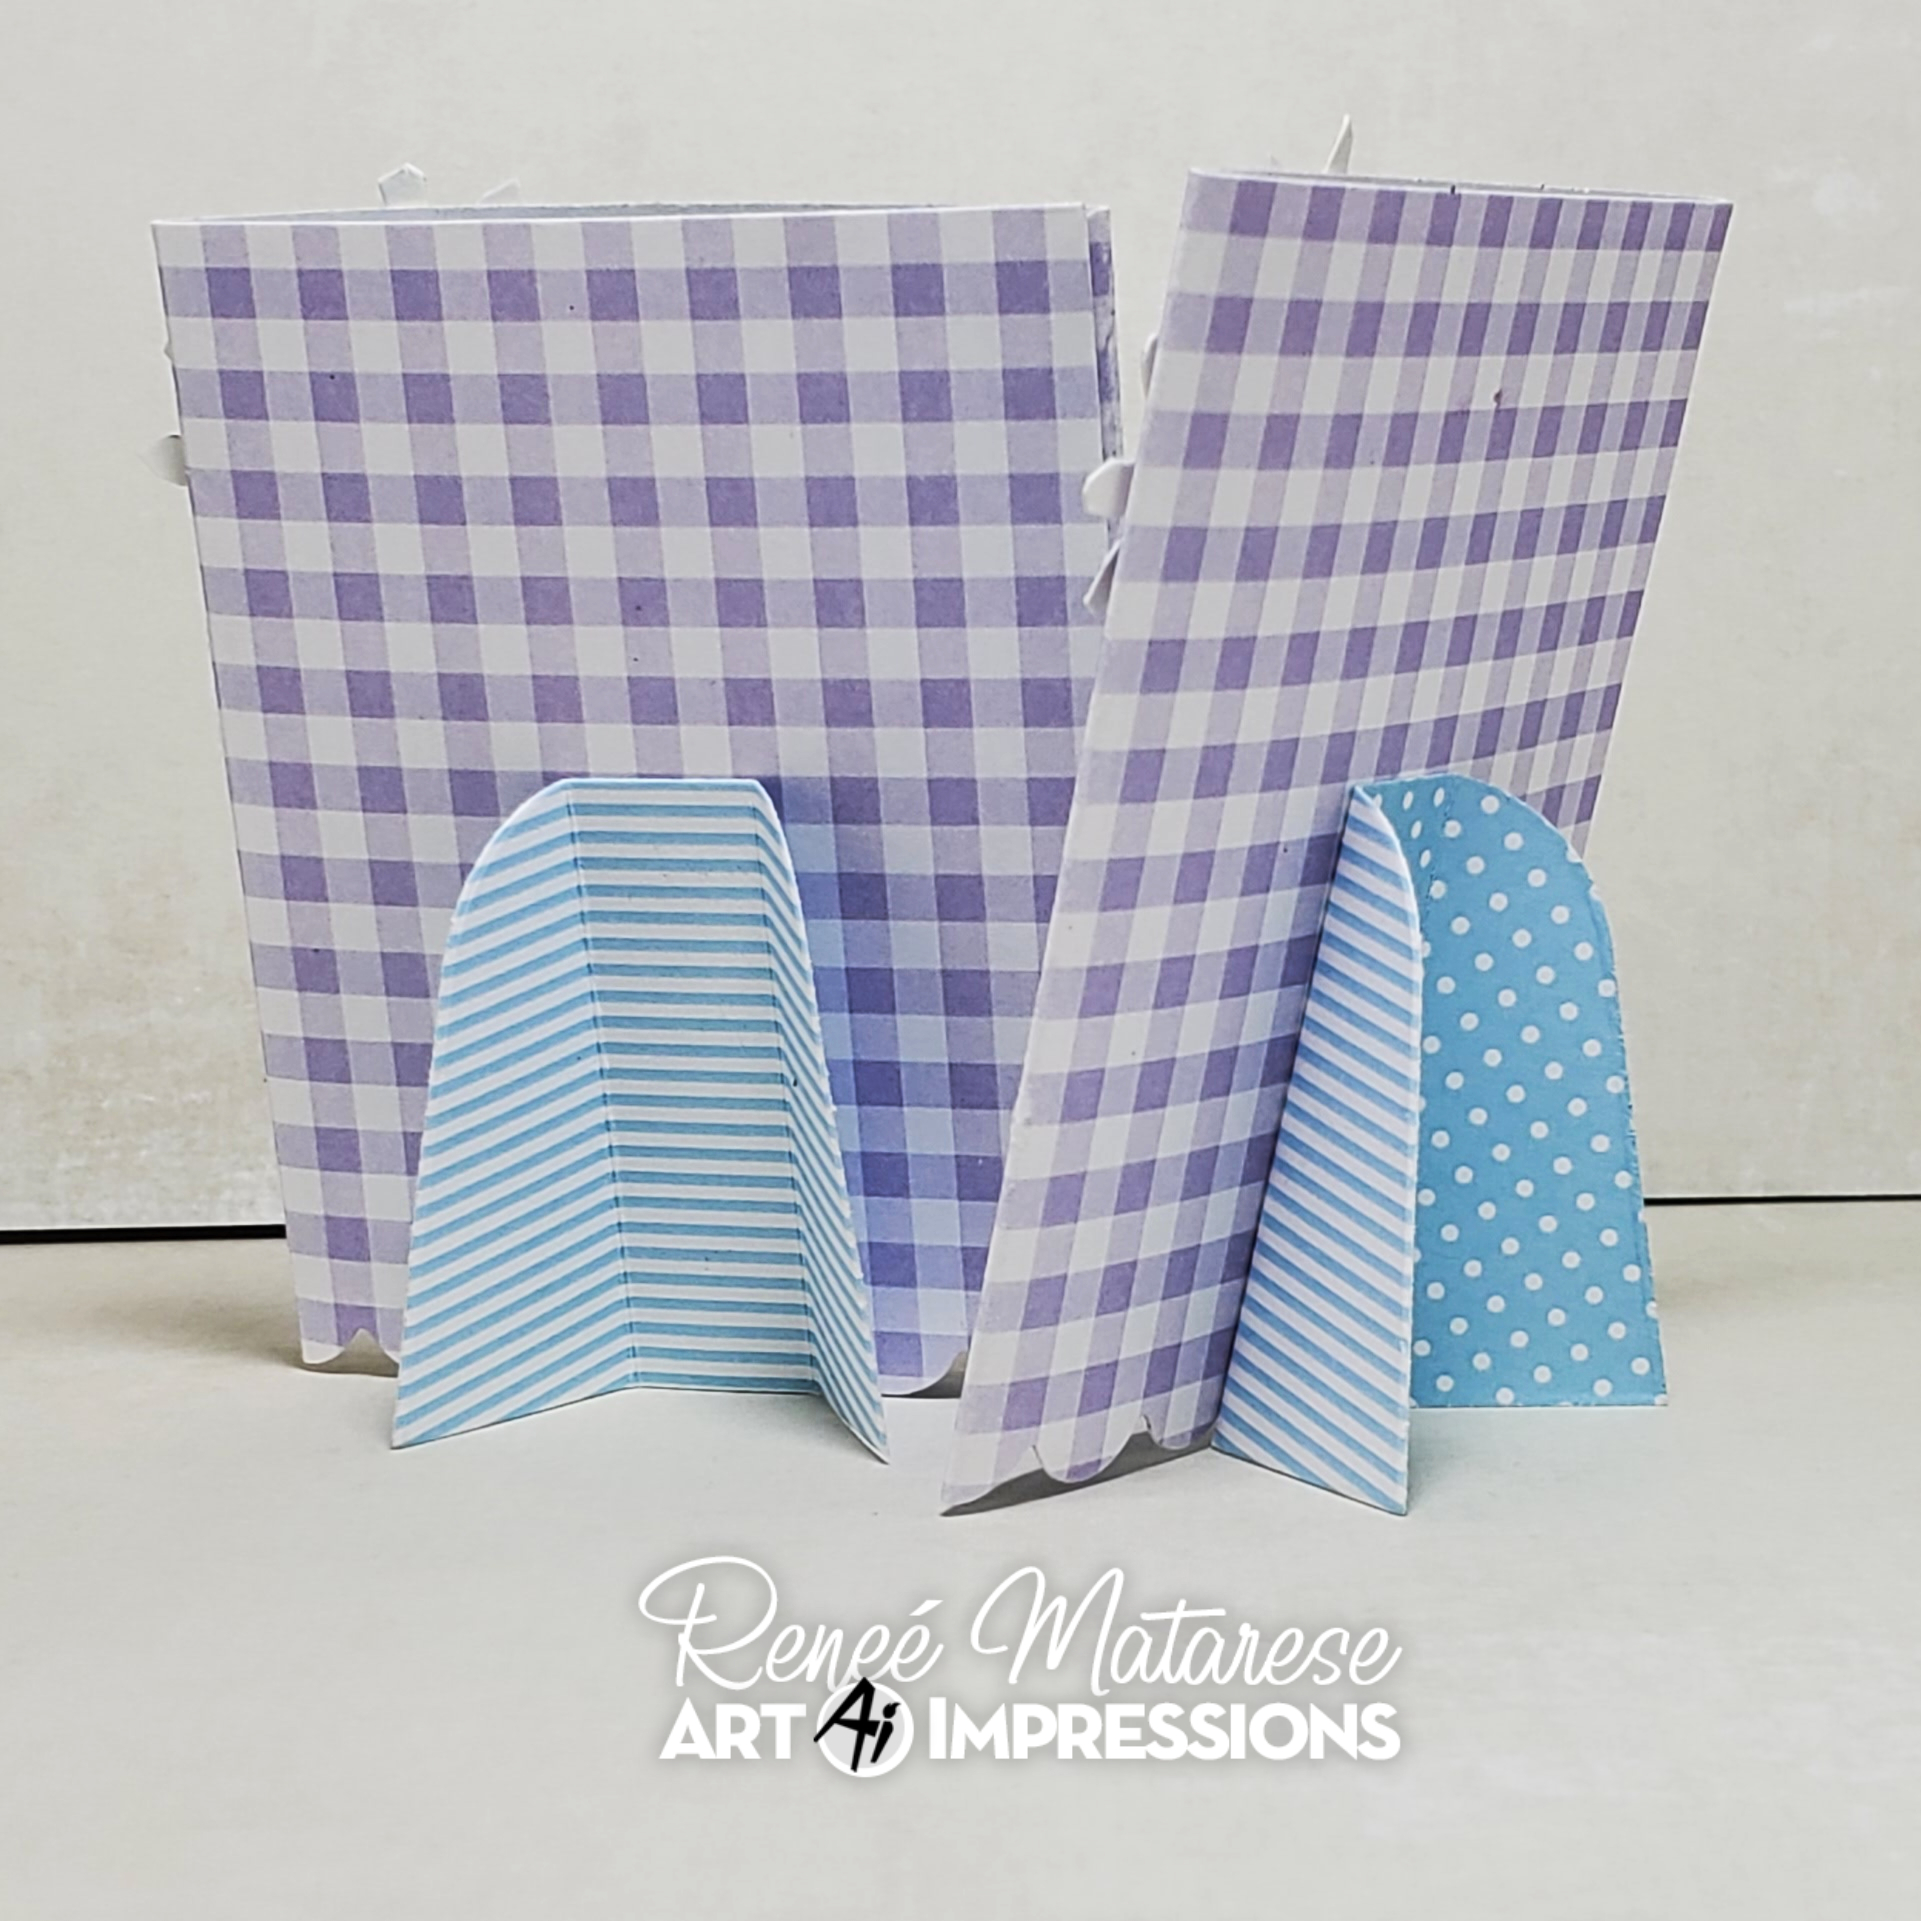
There is an easel to attach to the backs of the frames so that
they are free standing. What a great little piece of art they create.


Derwent Watercolour Pencils
Scarlet Lake 12
Light Violet 26
Kingfisher Blue 38
Turquoise Green 40
Ivory Black 67

Staedtler Watercolor Pencils
80, 124

Copic Markers
Y04, T2, B0000, B000, BV000, BV00

TwinTone
Gray, Sax Blue

Micron 005


Thursday, July 4, 2024

Critters Mini Trifold by Dori Mendiola

Happy Thursday AI Friends!

Today I wanted to share my Mini Scallop Frame Trifold.  I had soooo much fun making this and I love the way it turned out.  I used the 5902 Mini Scallop Frame die set along with the 5400 Baby Critters stamp set.  


I die cut the mini scallop frame from cardstock and then partial cut another non-tab side of the die. I matched up this partial cut with the front of the frame and cut off an edge to create the third side.  Instead of gluing the frame together, I glued the buckle from the 5718 Mini Journal Template to the tab and also the partial piece to the tab to make the trifold.  I glued the other half of the buckle to the front over the oval frames.
 
I cut an oval frame using the two larger ovals and placed over an oval die cut of striped paper from the 5832 Gnome paper pack.  I used the blue oval cut from the frame for the inside message trim.  Lastly, I cut rectangle pieces of the heart paper from the same paper pack to fit each of the trifold sides. 

I stamped all of the images from the 5400 Baby Critter stamp set with Memento black ink onto copic friendly paper.  I colored each of the images with copic markers listed below.  To add dimension, I die cut extra images to glue to the back side of the colored images.  I then adhered the images within the trifold as desired.  Lastly, I stamped the sentiment and die cut with the banner die from the Mini Scallop Frame set and adhered onto the front of the card.


 I hope you enjoyed my trifold card today.  Until next time, keep creating!


Copics used:  C00, C01, C03, C05
 B0000, B000, B00, B01, B14
E51, E53, E55, E57
Y13, Y17, YG23, YG25
R20, R22, R24


Thursday, June 27, 2024

Get Well mini frame card by Dori Mendiola

 Happy Thursday AI Friends!

Have you seen the latest release at Art Impressions?  Fairies, Castles, papers and dies, oh my!  So much was released last week!  Make sure to check it out on the website.

I am a huge fan of dies so I decided to highlight the #5902 Mini Scalloped Frame die set that was released.  This set, plus the #5901 Mini Rectangle Frame die set, are must haves.  These make creating mini cards/frames so fun and are SO cute!


I created a mini get well tunnel card using the #5499 Get Well Matchbook stamp set.  This card measures approx. 3 1/2" by 2 1/2" and props up to sit on your desk, countertop, windowsill, etc. by the use of the easel that comes with the #5902 Mini Scalloped Frame die set. 


To make the tunnel card, I cut the scallop frame out of heavy cardstock using the Mini Scallop Frame die and the largest oval from the same set.  Fold the frame at the score lines and glue the tab to the off-setting side to create the frame.   To create the middle layer of the tunnel frame, I cut a single piece (approx. 3 1/4" x 2 1/4") of heavy cardstock with the middle size oval.  The outside pattern paper, as well as the background pattern paper, are from the #5892 Easter S2 paper pack.  I used the largest oval die to cut the outside pattern paper and adhered it to the outside frame.   Adhere the background pattern piece (approx. 3 1/4" by 2 1/4") to the back of the frame.  Place a strip of glue down one side of the middle layer and adhere to the frame.  Now you are ready to decorate the frame/card.

I stamped the images on copic friendly paper and colored with my copic markers (listed below).  I then die cut each of the images out with the coordinating dies from the matchbook stamp set.  I cut off the tabs from each of the images so that I could layer them within the tunnel card.   Create your scene on each layer as you wish. 

What a fun card to receive, if you know someone who is feeling under the weather!

Make sure to visit the website and check out the new releases.
Have a great day and enjoy creating!

Copic pens used:  C00, C01, C02, C03
B000, BG000, BG53, BG57
E51, E53
R20 and R22


Tuesday, June 25, 2024

They say it's your birthday!

 Hello Ai fans!

I absolutely LOVE the new little frame die sets from 
Art Impressions.

All Art Impressions products are linked below.

This is the first project I made using them.

I didn't use them as they are intended but I really love that 
you have options in how you use them!


My friend's niece, Sophia, just turned 12 and she told me that she has 
really gotten into music. Some of her favorites are the Monkees, Beach Boys
and the Beatles so I incorporated them into my design.


I knew she would be giving some sort of gift like a check or gift card so I wanted
a sort of "pocket" and not just the normal MB Envelope. The new frame dies jumped
out at me.


I turned the frame upside down and glued the straight seam together.
The scallop was now at the top and made the perfect little pocket that stands
up and hold her little music room.


The Monkee and Beatle art was just printed from my laptop.