Showing posts with label 5718 Mini Journal Template Set. Show all posts

Thursday, August 21, 2025

Golfer Gal - Birdie Betty by Dori Mendiola

 Happy Thursday AI Friends!
I have a fun interactive card to share with you today that meets the bi-weekly challenge 
"Sports & Leisure".
By now, I'm sure, you have seen lots of cards using these fun new AI ladies.  They are just so fun, so expect to see more.  My card features #6080 -Birdie Betty.  What a fun cute golfer gal!  The expressions on these ladies are absolutely the best and the glasses add so much to their character.  Gotta love them!!

I started off by stamping the images onto copic friendly paper with Memento black ink and coloring with my copic markers listed below.  I then cut the images out with the coordinating dies that are included with the set.  The sentiments are also included with this set.

This interactive card is fairly simple but adds such a fun element to the card.  I saw this on "Purple Girl Crafts" youtube tutorial called - Diamond Slider card.

I recommend using 80 lb or less cardstock for the slider card.  If you use heavier cardstock, it doesn't seem to fold as nicely and it's too bulky.  I then mounted this to the card base (which can be heavier cardstock).

I hope you try making one of these interactive cards.  They are so fun and easy to make.

Also, make sure to join in on the blog challenge for a chance to win a free stamp set of your choice.  We love to see what you create!

Have a wonderful day and keep creating!!

Copics used:  E000, E01, E11, E51, E53, E55
N0, N1, N3
R20, R24
BV00, BV01, BV04

Tuesday, July 8, 2025

Hello card with GOLD paint! by ReneƩ Matarese

 Hello Ai fans!

Today I'm sharing the second card that I made for the
Spritz, Splatter AND PAINT challenge here on the Art Impressions Challenge Blog.


I started by embossing a light blue piece of cardstock and then I chose certain raised parts of it to paint with the new Winsor & Newton Gold paint from Art Impressions.

I also die cut two pieces of Canson watercolor paper. One, I painted gold. The other was glued to the back of it to make it sturdier because I wanted to pop up my frame.


Inside the frame I added the recipients initial, a little flower and (of course) a bee!


A little hello finished it off.


Be sure to enter your creation that uses paint in some form on your project.

Thursday, April 17, 2025

Sweet Baby Card and more Easter Treats by Dori Mendiola

 Happy Thursday AI Friends!

I have a couple of projects for you today.  The first one was inspired by the current blog challenge - ABC, 123 and then a few more Easter treat containers for the holiday.  I got carried away and was having too much fun so I just had to share!

When I think ABC, 123, I think baby and block letters.  So, guess what I created for this challenge?  Yep, a baby card with block letters on the inside.  ;)

 My card features the #5904 So Sweet Armful Elephant as well as the #5911 Large Numbers and #5912 Large Alphabet dies.  I also used the paper packs - #5742 Easter PP and #5940 Journal Cover Plaid PP.  I started with the inside of the card by cutting an A2 card base, folding in half and placing two 4 1/8" x 5 3/8" pieces of pink cardstock onto each inner side.  Depending on the number of letters, measure an even space between each and allow 3/4" for each letter.  So, for four letters, I marked, on the folded white side, at 1/2", 1 1/4", 1 3/4", 2 1/4", and so on adding 1/2" then 3/4" along the remaining fold.  Cut, away from the fold, 1" on each of the marks.  See diagram below.

Open the card and fold the 3/4" tabs to the inside so that they pop up.  Add the dot pattern paper to the inside right and left sides.  Die cut the letters from heavy cardstock and pattern paper.  Glue together and mount onto the scallop frame and then onto the left and right sides of the 3/4" tabs.  The inside of the card is finished.

For the front of the card, cut a piece of plaid cover paper 5 1/2" x 8 1/2+" (slightly larger to allow for the fold).  Adhere to the outside A2 card base and trim off any excess.  Adhere the corner edges to the plaid paper.  Your card will be thick so to create a nice closure, place a piece of ribbon around the card and adhere under the front frame.  Decorate with the elephant, number and sentiment.

For the Easter Treat envelope and basket:


I used the #5869 Easter Bunny Puppet for both of these Easter projects as well as several of the Easter paper packs.  
The envelope above was created with a piece of 6 x 6 paper.  Fold one corner across to the other creating a triangle.  Take the left point and fold over the front to the middle.  Take the right point and fold to the left point.  Adhere both of these down.  Lastly, take the front piece of the top triangle, leaving the back, and fold down over the front.  Adhere down and glue your bunny over the top.  Fill the pouch with easter goodies.
The basket was also created with a 6 x 6 piece of paper.  This is the same fold as the box from last week's post except you don't bring the sides all the way up creating a basket vs. a box.  Score at 2" and 4", turn and score again at 2" and 4".   On one side, cut the two score lines to the first fold.  On the opposite side, cut the two score lines to that first fold.  You should have three connected squares on the left of the first cut score line and three on the right of the second cut score line.  Fold in the middle pieces and then fold in the sides until the two top points, on each side, come together.  Adhere down.  For strength, I cut three 2" x 2" pieces of heavy cardstock and glued one to the bottom of the basket and one to left and right inside ends.  Using the #5804 Decorative Belly Bands, I die cut a decorative band from pattern paper and also from heavy cardstock.  Layered them together and adhered the ends to the inside of the basket.  I adhered the bunny and filled the basket with treats.


I hope you enjoyed my projects today!  Thanks for joining me!  
Make sure to enter the blog challenge for a chance to win a free stamp set.
Have a wonderful day and a very blessed Easter weekend!

Tuesday, January 21, 2025

White Monochromatic cards by ReneƩ Matarese

 Hello Ai fans!

I have two cards, well really one since they're the same, that were made for the Art Impressions Monochromatic Challenge going on right now. Click the Bi-Weekly Challenge tab above to enter.

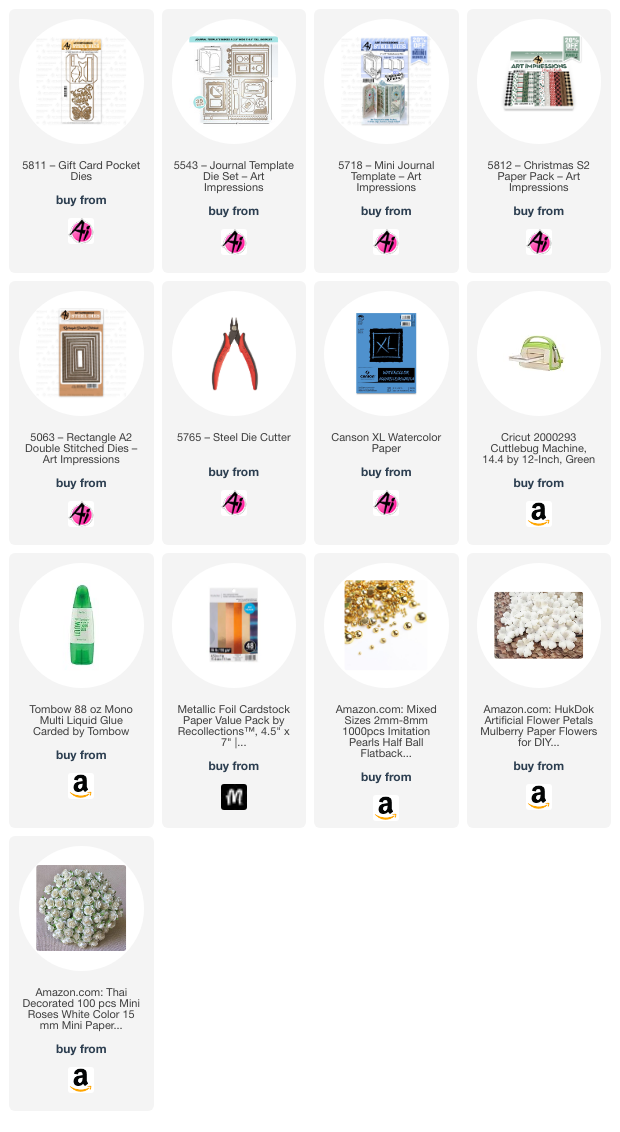
My card was made exclusively with Art Impressions dies except for the stamped sentiment which is from 5734 – Friend Sentiment Set.


All dies that I used are linked below.
I feel like my card could be for Valentine's Day, a wedding, anniversary,
or, just for a friend that makes you a better person!
I have a lot of those.


Tuesday, January 14, 2025

Golden Butterfly by ReneƩ Matarese

Hello Ai fans!

I think that every crafty person on the planet would agree that Craft Time is Golden!
My craft room is my happy place.


I always feel the need for a little extra bling around New Years.
I had fun with this one. Even though it's kind of over the top with bling and gold I still feel like it's pretty simple. I hope you like it. All Art Impressions products that I used are linked below. Be sure to enter the challenge for your chance to win a free stamp set. We choose a Top Spot and a Lucky Random Winner.


Thursday, September 5, 2024

Sweet Day by Dori Mendiola

 Happy Thursday AI Friends!

Hurry! Hurry! Hurry! and get this SSE24A Sweet Bday stamp set from Simon Says Stamp.  This set is an exclusive for Simon Says Stamp and is only sold for a limited time so hurry to their website and get your set now.  Once they are sold out, they will not be available again.


I stamped these images onto copic friendly paper and colored with my copic markers listed below.  I used #5873 Mini Birthday PP to paper piece the shirts on these cute ladies.  This just adds a cute pattern to their outfits.  I made a basic A2 top folding card and adhered it to a 5 1/2" x 8" (scored and folded at 6") base to create a fun standing card.  I fussy cut and popped up the donut stack on the bottom right of the card to add more fun donuts.  

Love this image!

Hope you enjoyed my card!

Keep creating!!
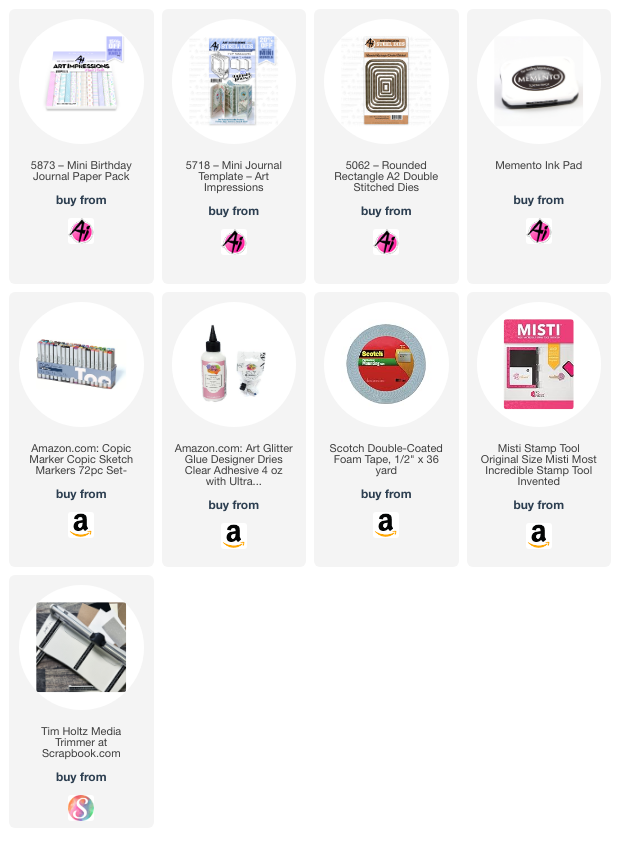
Copics used:  E000, E00, E01, E11
E21, E23, E25, E33, E35, E51, E53
C0, C1, C2, C3
YR20, YR21
R20, R22, R24
BV01, BV02, BV04
B91, B93, B95


Tuesday, July 16, 2024

Giveaway WINNERS and Bee Birthday Tag by ReneƩ Matarese

 Hello Ai fans!

I'm sure you guys have been anxiously awaiting this day!

I have the random winners of the two Art Impressions
retired exclusive sets.

Let's get right to it.

The winner of 5863 Christmas Mailbox Set is
#20 Barb E.


The winner of 5924 Garden Arch Set is
#17 Susie S.


Please contact me at Renee@artimpressions.com
with your name and mailing address so that I can 
get your sets shipped out to you.

Congratulations!!
Thank you to everyone who helped me celebrate my anniversary
with Art Impressions. I loved seeing all of your projects and this 
has inspired me to possibly do more of these giveaways!
Keep entering the challenges for your chance to win free stamp
sets and be on the lookout for more giveaways.

I hope you had fun!


*Any prizes unclaimed after 30 days
will be offered in a future giveaway*


Now let's see what I made for you today...
As you all know, I LOVE bees!

I've been "bugging" (lol!) Bonnie for YEARS for a set
and it's finally HERE!!

It's called 5925 – Honey Bee Set
though in MY mind it's called Renee's Bees!

I made a tag for a birthday gift.


I stamped the flowers and the honeycomb in gray 
so the lines weren't quite as bold.

The bees and hive were stamped with Memento Tuxedo Black.
The verse was stamped with Colorbox Fluid Chalk Ink Blue Iris.
Sadly, when I tried to link that product, I learned that Clearsnap
has gone out of business.

The hello die is from the Mini Journal Template.
All Art Impressions products are linked below.


There will be LOTS more projects in the future with 
this sweet set. I am in love!
N65 Cool Gray 5 Tombow Dual Brush

Tombow Twin Tones: Lime Green, Yellow Green, Yellow,
Candy Pink, Chocolate, Pale Purple, French Blue

Copis: C1, C3, B01, Y08, Y13, RV23, YG91

Thursday, July 4, 2024

Critters Mini Trifold by Dori Mendiola

Happy Thursday AI Friends!

Today I wanted to share my Mini Scallop Frame Trifold.  I had soooo much fun making this and I love the way it turned out.  I used the 5902 Mini Scallop Frame die set along with the 5400 Baby Critters stamp set.  


I die cut the mini scallop frame from cardstock and then partial cut another non-tab side of the die. I matched up this partial cut with the front of the frame and cut off an edge to create the third side.  Instead of gluing the frame together, I glued the buckle from the 5718 Mini Journal Template to the tab and also the partial piece to the tab to make the trifold.  I glued the other half of the buckle to the front over the oval frames.
 
I cut an oval frame using the two larger ovals and placed over an oval die cut of striped paper from the 5832 Gnome paper pack.  I used the blue oval cut from the frame for the inside message trim.  Lastly, I cut rectangle pieces of the heart paper from the same paper pack to fit each of the trifold sides. 

I stamped all of the images from the 5400 Baby Critter stamp set with Memento black ink onto copic friendly paper.  I colored each of the images with copic markers listed below.  To add dimension, I die cut extra images to glue to the back side of the colored images.  I then adhered the images within the trifold as desired.  Lastly, I stamped the sentiment and die cut with the banner die from the Mini Scallop Frame set and adhered onto the front of the card.


 I hope you enjoyed my trifold card today.  Until next time, keep creating!


Copics used:  C00, C01, C03, C05
 B0000, B000, B00, B01, B14
E51, E53, E55, E57
Y13, Y17, YG23, YG25
R20, R22, R24


Friday, May 17, 2024

Gnome Magnet Treat Box by Dori Mendiola

Happy Friday AI Friends!

Today I have a fun little treat (pun totally intended - LOL) that goes with the "Just For You" challenge.  Who doesn't LOVE Gnomes?  I decided to make a little gnome magnet to go with this treat box.  He's tucked away in a little pocket but can be removed to reside on the fridge, a teacher's whiteboard or in your scrapbook room on a magnetic surface.  

He's so darn cute!  


I used the Art Impressions #5832 Gnome paper pack for the treat box as well as the pocket that the gnome sits in.  The Gnome is from the #5785 Gnome set which has the matching dies.  I stamped the front only of this little gnome onto copic friendly paper and colored him with copic markers (see color list below).  After coloring the gnome, I covered him with a piece of clear packing tape to protect the coloring and make him sturdy.  I then die cut him with the coordinating dies and also cut a corresponding piece of adhesive magnet to attach to his back side.  I colored and die cut a few other images from #5728 Mushroom Cubbies and #5221 Sending Love Cubbies to decorate the pocket, which is from the #5718 Mini Journal Template set.  

Treat box:  Dimensions 5 x 1 1/4 x 1.  Use one piece of 6x6 paper.  Score (pattern facing up) at 1, 2 3/4, 3 3/4 and 5 1/2.  Turn clockwise (pattern facing to the right) and score at 1, 4 1/2 and 5 1/2.  Score each of the lines with your bone folder.  With pattern facing up, cut off the bottom right corner piece (s/b 1/2" x 1"). Then across that same row, snip each score point up to the nearest fold to create the bottom of the box when folded in.  Put glue on the pattern side right edge 1/2" piece (above the cut off corner).  Fold into a box shape and seal the glued edge inside.  Lastly fold in the slit pieces (small pieces first) then glue inside of one large piece and seal to create the bottom.

Fill the box with candies and give to a teacher, friend or just for you.   

Hope this brings you a smile!  Thanks for stopping by!
Copics used:  C00, C01, C02
E00, E02, E11, E53, E55, E57
 B91, B93, B95
R22, R24, R27 
YR21, YR23, YR24
YG03, YG17, YG63