Showing posts with label Envelope. Show all posts

Thursday, November 19, 2020

Enjoy the Little Things by Crystal


Hi AI fans! 

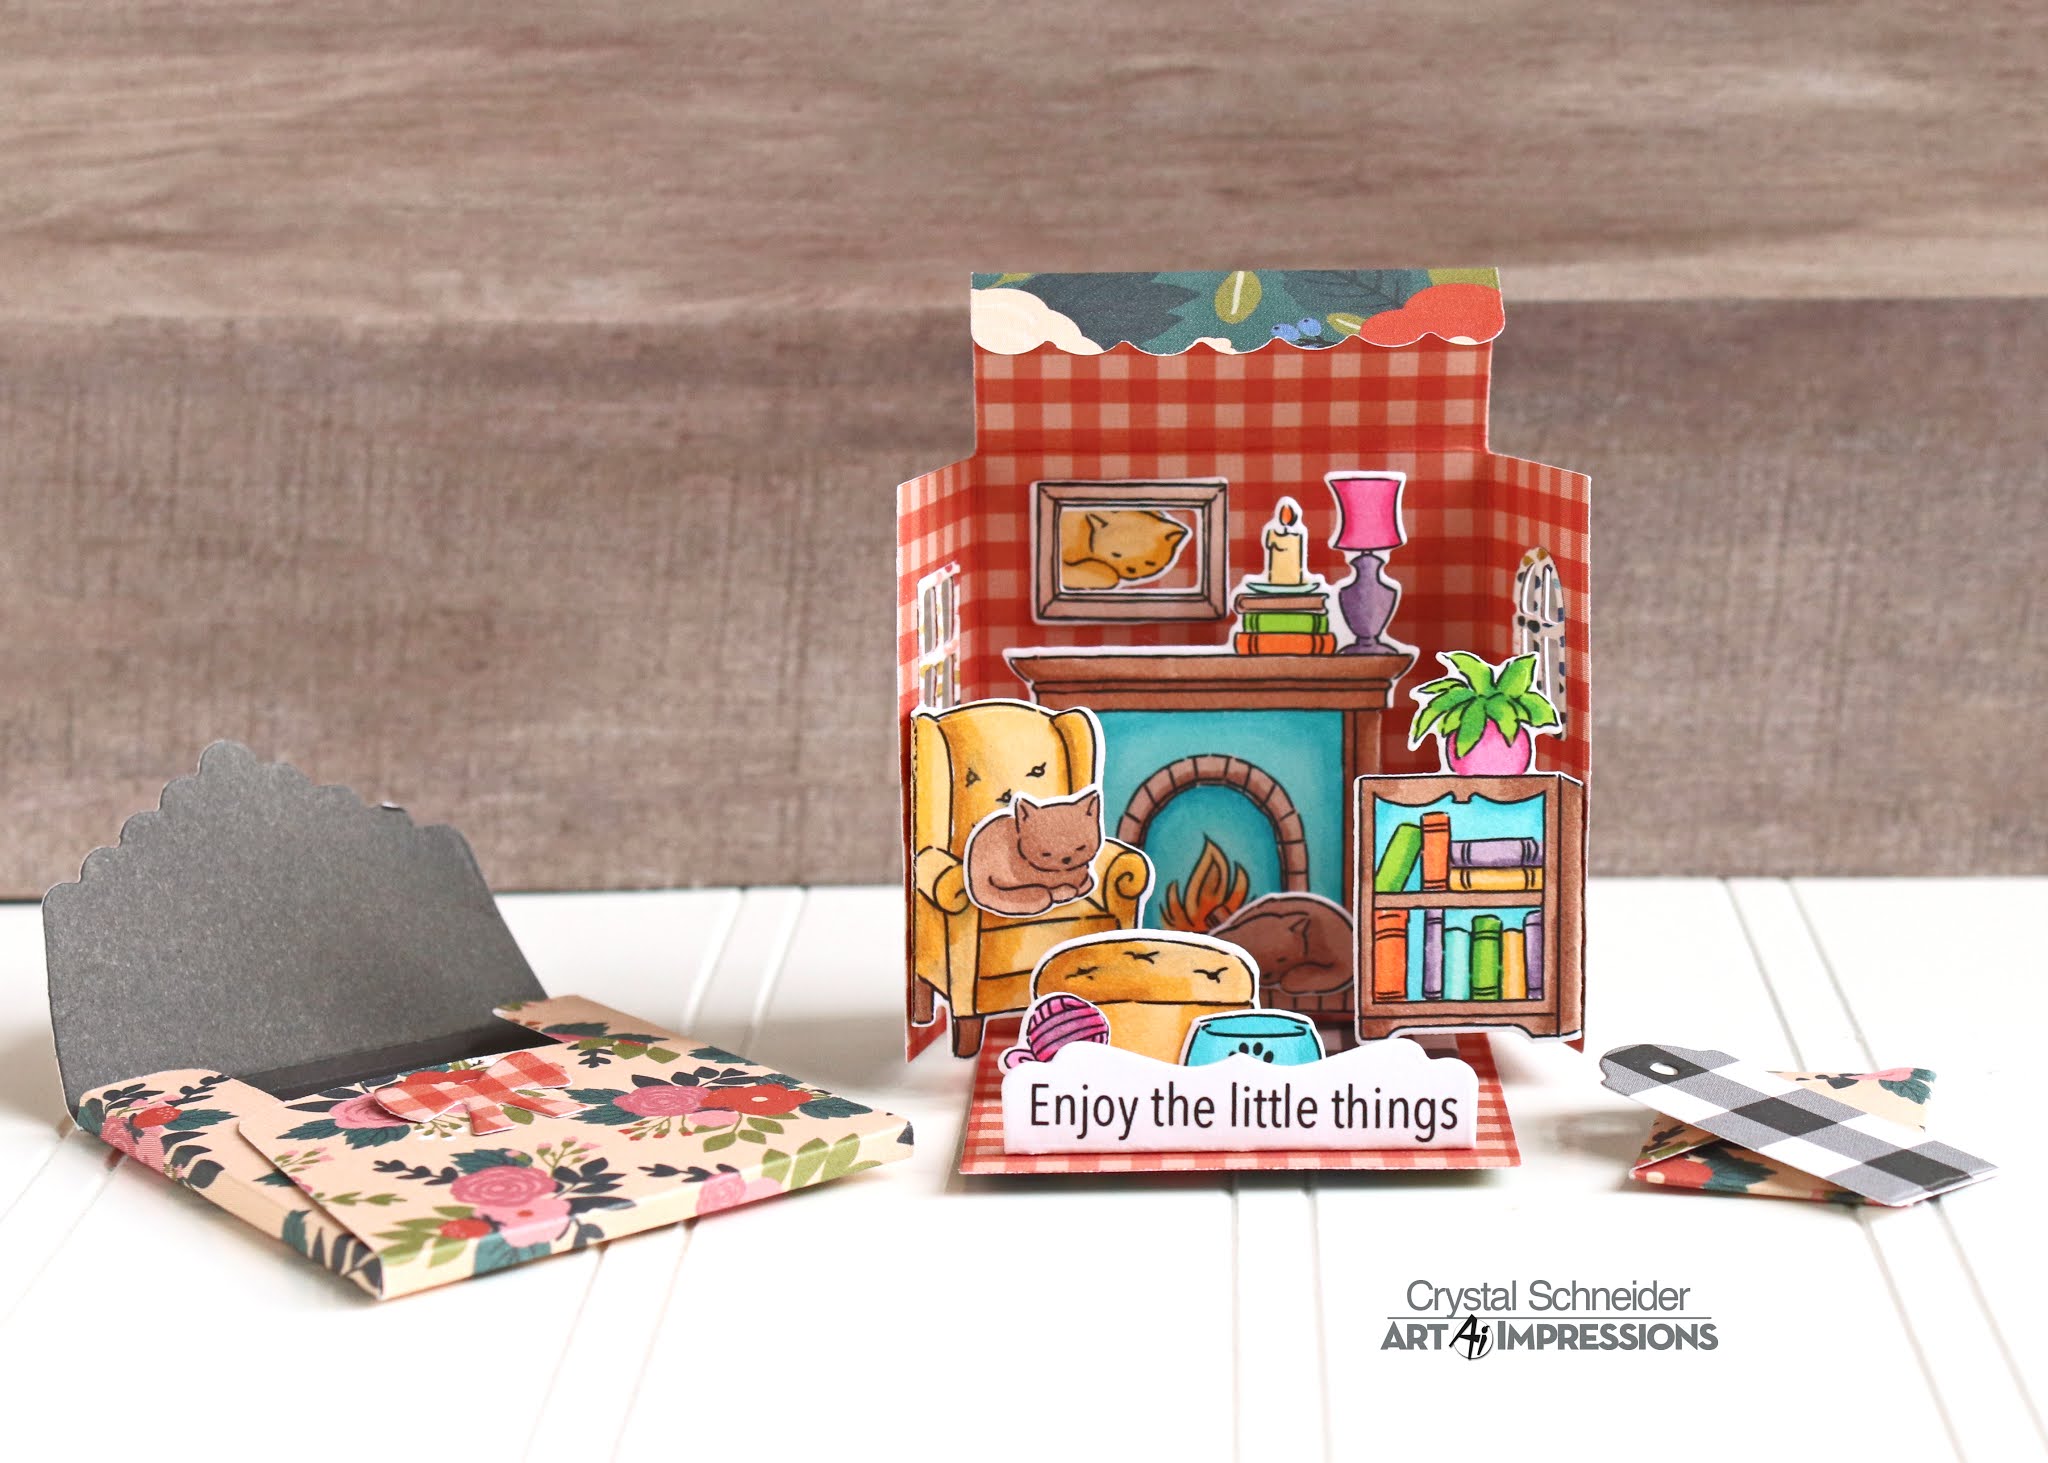
I'm so excited to share this mini card with you all today! Art Impressions has come out with some new adorable mini matchbook die sets and a matching envelop dies. They are just adorable. 


I made my card using the Den set. I stamped everything out onto smooth card stock and colored every thing in with alcohol markers. Once everything was colored in I ran it through my die cutting machine with the coordinating dies that came in the stamp set.  You do need the Template die set to make the base for the den set. 


This set is just so cute. The matching Envelope die set is a must have for this set. You can use any pattern card stock to make the envelope. I really need to get some picture next to something to show the size this is just tiny which makes it look so cute. 

They have other sets to other then just this den check out the Art Impressions Shop to see all of them. 


Happy Stamping! 


Sunday, May 26, 2013

Operation Write Home Sketch with Spectacular Set!

Hello Ai Fans!

"If you are looking for our Operation Write Home blog hop, scroll down to our Saturday post."

Today I'm sharing a thank you card since that's the theme of the blog hop.  I've also used a different type of bow since that's this week's Art Impressions challenge.
I've used sketch #165 from OWH.


I've put together a little "how to" for this pull out tag card...

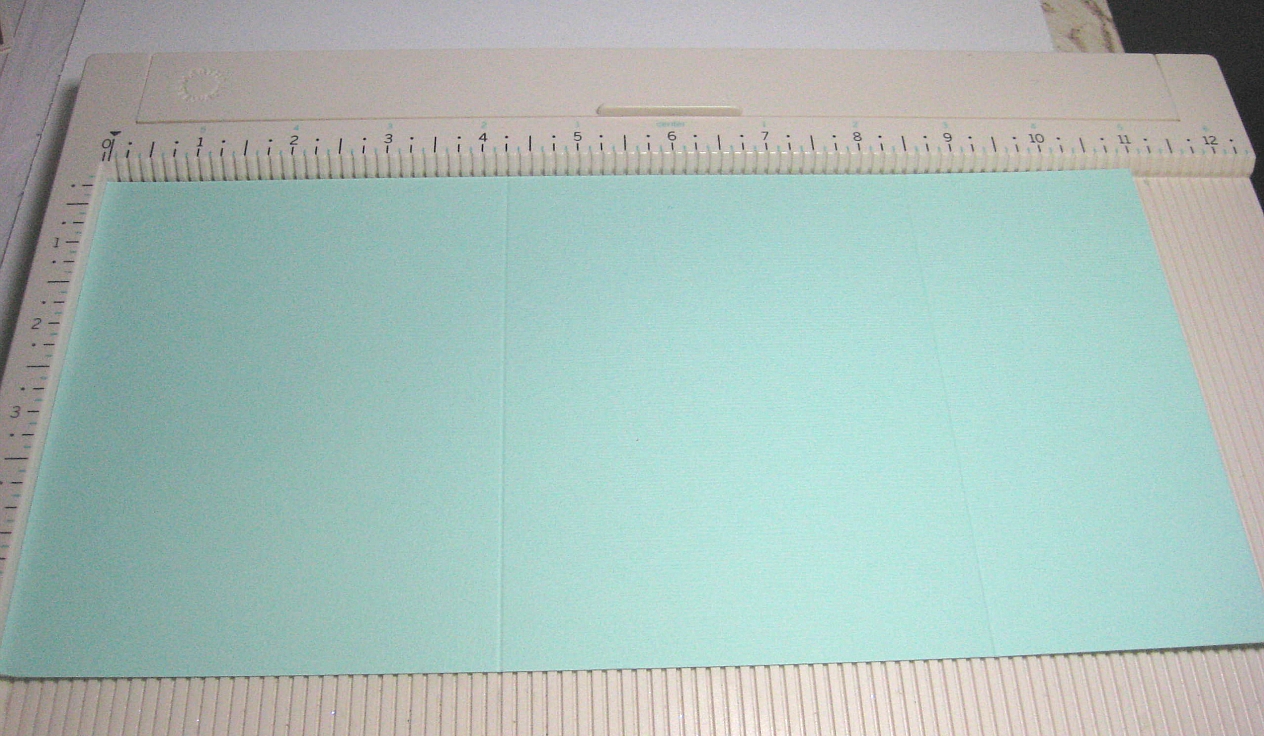
1. Cut your base paper to be 5 1/2" x 11" and score at 4 1/4" and 8 1/2".


Glue the "envelope" closed at one end and along the seam.


Cut your decorative papers for the front.
The matte (my coral piece) is 5 1/4" x 4",
the patterned paper is 5" x 3 3/4" and the peach strip is 1 1/2" x 5".  Punch your desired border design onto (2) 1" x 5" strips.


Glue all pieces together.


Cut a "half" circle with a die.  This is a lot of pieces of paper to cut through so you may need to trim it with scissors if the cut doesn't go all the way through.


Cut your ribbon lengths to be 4 1/4", 4 1/2" and 6".  The 4 1/4" piece is adhered to the card with glue lines.  The other pieces are folded and adhered to each other with glue dots.  Top with a little self adhesive dot and stamp your verse.  I used Thanks from Art Impressions.


Cut and glue your tag pieces.


Stamp, color and cut out mouse.  Stamp your verse and glue mouse to tag.
Punch your hole for the tag ribbon and you're finished.  I've used a new set from Ai called Spectacular Set.


You can personalize this on the back of the tag.


Thursday, March 21, 2013

Challenge 105 - "The Perfect Pair" Matching Card & Envelope

Hello Art Impressions Fans!

Welcome to another week at Ai! We're getting closer to our new blog launch in April and gearing up for some fun surprises!!!

This week, our challenge is "The Perfect Pair." We're looking for matching cards and envelopes. Who doesn't love receiving personalized mail? It's always fun to get a 'sneak peek' on the outside before you get to open a card. Check out the designs from our DT!

Zora
Crystal
Kerry
Reneé
Tammie
Trena

Wow! How fun are these? Great job design team!

The winner of last week's "Check Us Out" challenge is ...
Congratulations Katie! We loved all your tiny paper piecing and popped layers! Perfect patterns too! Email me at kate@artimpressions.com to receive your $10 coupon code!

Here are the guidelines for our weekly challenges:
1. Please make a new card or creation. You can make any crafty item you wish; this is not limited to cards!
2. Limit two submissions per person. You will receive extra votes if you use Art Impressions stamps!
3. Include a link back to the Ai Blog or grab our button on the top left of our sidebar!
4. Share the Ai love by clicking and commenting your fellow crafters.
5. Make sure to get your link up by Wednesday at 6 p.m. PST to enter your creations.
Good luck and happy stamping!