Are you having a fabulous summer? This week's challenge theme is "Sweet Summertime"! Today, our designers are here to share their darling summer cards with creative ways to beat the heat! Click the designer's name to view their card on their personal blog, and view the stamps used at artimpressions.com! Don't forget to leave some comment love!
We're back with another challenge this Thursday! We had a FABULOUS time celebrating our 29th Anniversary with you at the beginning of this month, and thank you for celebrating with us!
We had some fabulous card entries for our Anything Goes challenge, so let's announce the winners now!
A photo posted by maria k (@kartastudio_zaproszenia) on
Congrats, Maria! We think your one-layer card is fabulous, and shows off your lovely bright coloring! Our Picture Perfect girlfriends are look amazing! Email annelise@artimpressions.com with your address to claim your prize pack!
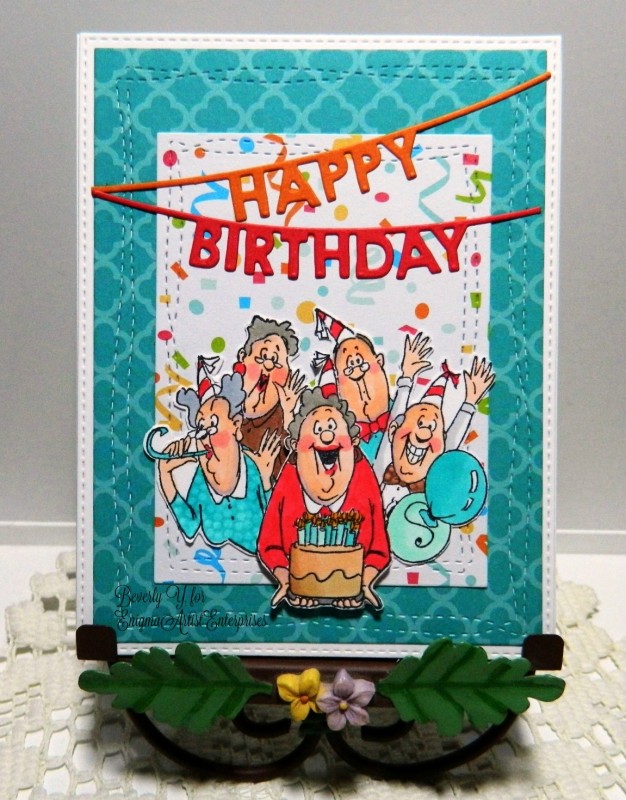
Congrats, you two! Beverly, we love your bright birthday card with our Maturing Set! They look ready to celebrate something big! And Carol, your lovely watercolor scene with Series 7 Set 2, Flower Set & Foliage Set looks great broken up in those rectangles! Such a cute idea! Be sure to email annelise@artimpressions.com with you address and the stamp set of your choice for a prize!
Thanks to everyone who entered our Anything Goes challenge! We hope you'll join us again this week! Our next challenge is called "Sweet Summertime!" Sharon is here to share her card based on our theme! Take it away, Sharon!
Hello AI Fans!
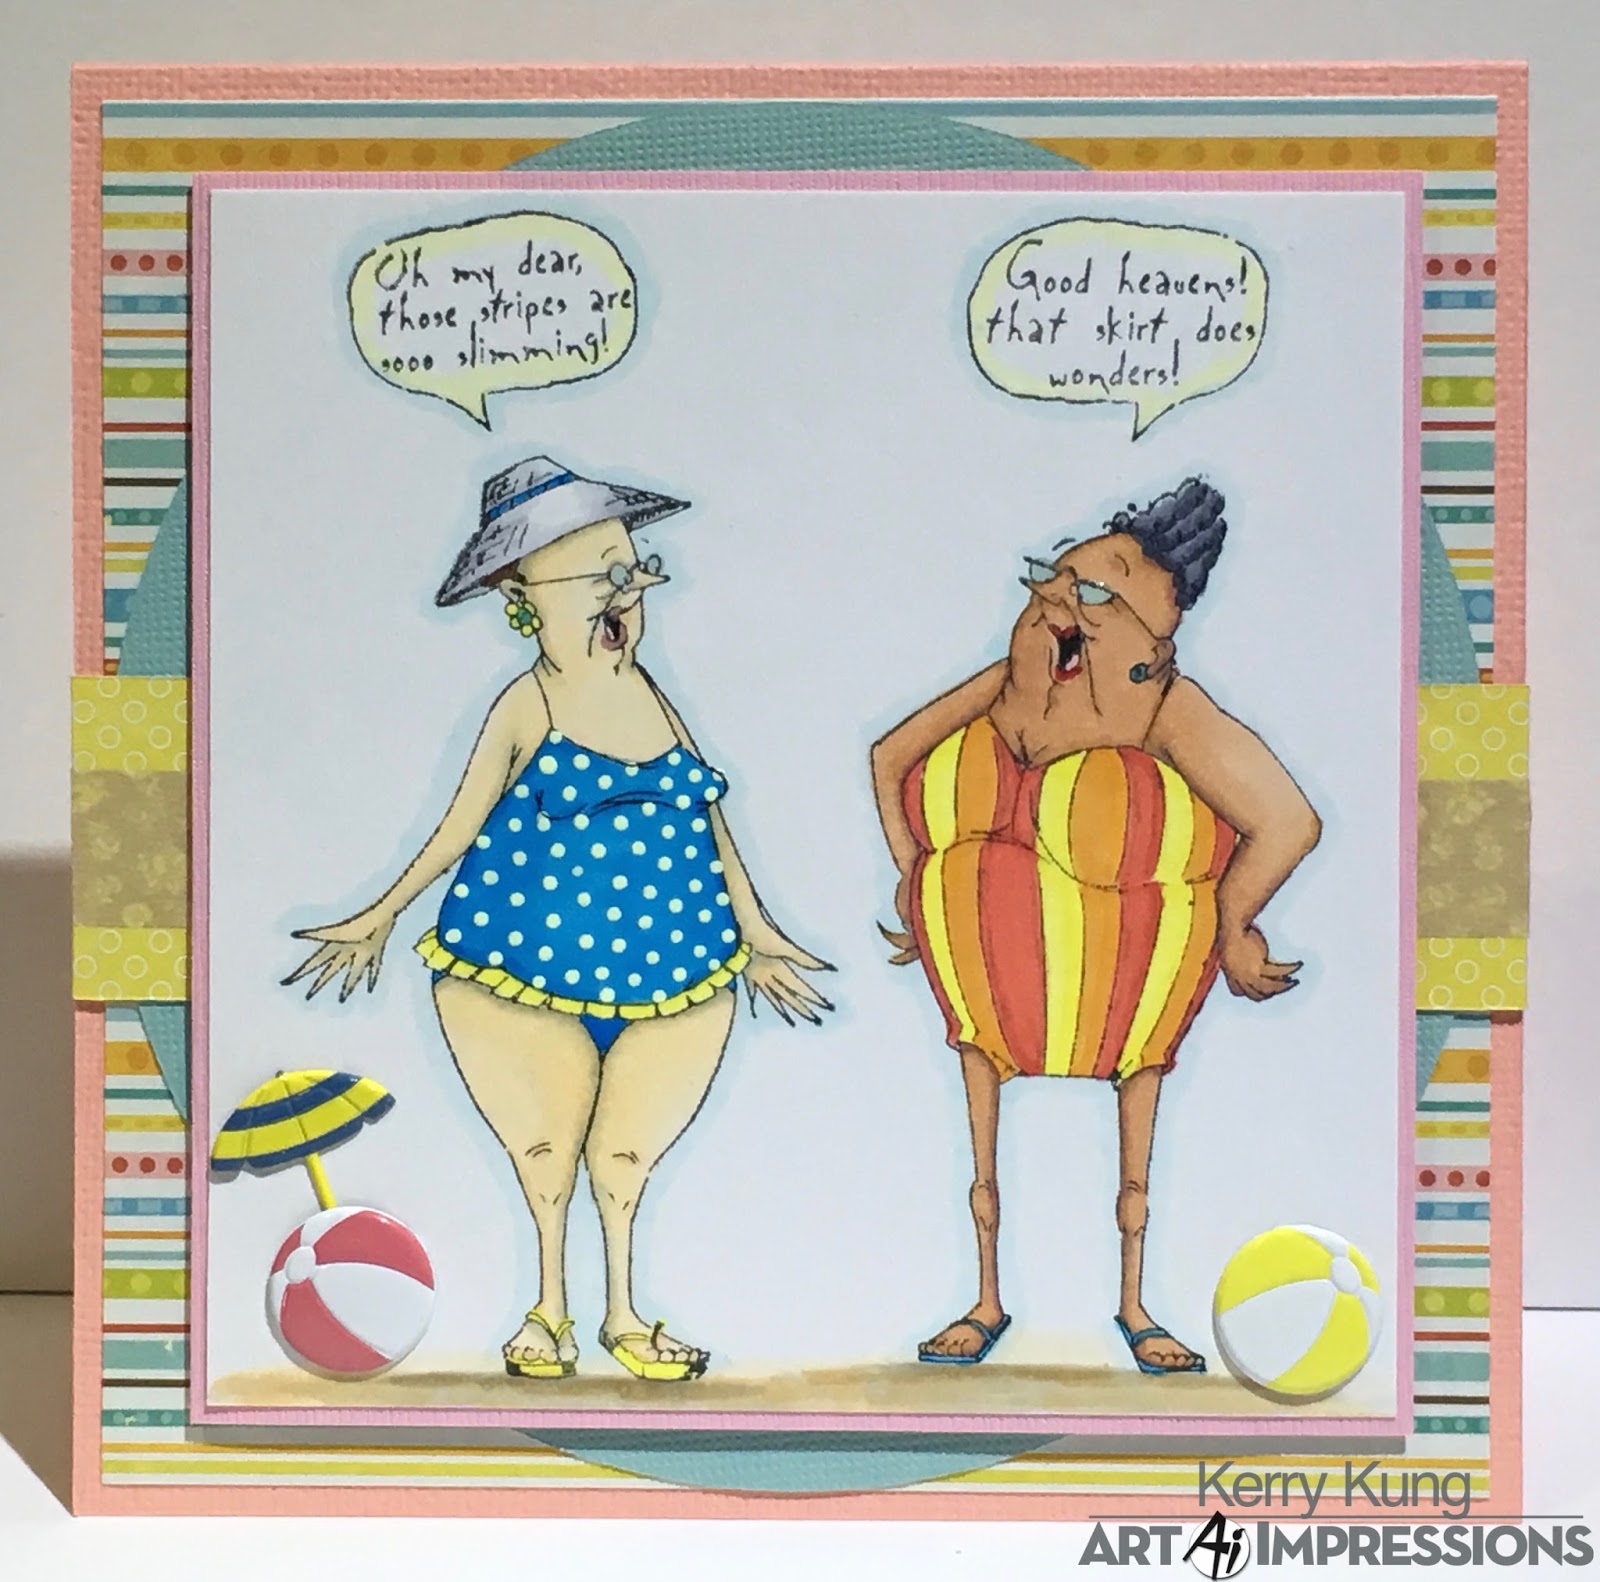
Today I'm going to show you how I created a very easy beach scene using my Copic markers and one of my favorite summertime sets#4211 Selma and Gladys Set!! Nothing elaborate here, just a very simple scene that anyone can create!!
First I colored up Selma and Gladys to match my paper.
Copic colors are listed below.
For the sand, I used E30, E31, and E33. I started with the lightest color and worked my way to the darkest at the top (the further away from the eye - the darker it will get).
Directly above the sand, use BG72 and BG75. Again, the darker color will be on top as that's the furthest from the eye.
Outline some clouds on your background paper using C1, then take your C3 marker and darken the bottom portion of the clouds. Blend it out with the C1.
With B000, start coloring in your sky making sure you keep your pen moving horizontally the way air moves. Just start next to a line and flick your pen outward.
Finish filling in the sky with the B000 and you've got an easy peasy beach scene to add to your card!!
And here is the finished product! I just added a layer of a coordinating paper and a bow made with May Arts ribbon that is yellow and orange!
Thanks so much for taking the time to stop by today and hope you have some time this week to get crafty and join our new challenge!!
Congrats! We love how the colors pop on Loungers! We can feel the summer sun! Eulalia, Email annelise@artimpressions.com with your address to claim your prize pack!
Congrats to both of you! Jodi, it looks like Selma and Gladys are ready to hit the waves! And Charne, we love your creative golf ball solution for Gordon Golfer! Be sure to email annelise@artimpressions.com with you address and a set of your choice!
We have a stampede of fabulous new stamps coming out, and our Texas line is the first! You may have already seen them at your local craft store, but now they are available at artimpressions.com!
We want to celebrate with a southern style challenge! Today we have Renee here with her Texas-inspired creation!
Hello Ai fans!!
I'm so excited to be sharing a brand new release from Art Impressions with you! They have a new line called TEXAS ZOO CREW.
The image I'm featuring is called ARAMADILLOS SET (sku#4685)
I decided to create a pull tab card. One where you pull the top of the card up and it reveals the sentiment.
For my first step I planned out my "gift box" bottom, top and ribbon. I used glue dots to adhere the ribbon. Make sure that the box bottom and the top are lined up when you place the ribbon or they won't be centered.
Next I needed to pop up the space behind the card where the tab
would fit into and slide in and out of smoothly.
Once I had the foam dots in place I adhered them all being careful to line things up and center them. The dots on top will keep the tab from going inside the package too far. It will keep the box lid in place on top of the package.
Here's what it looked like all put together but with the tab slid out to read the verse.
It slides in and out so you can personalize it.
Lastly I colored up the image to match the papers I chose. Aren't they adorable?! I'm a huge animal lover so I adore this new line. We don't have armadillos where I live so I was pretty fascinated by them when I saw them live in person in Florida. I hope you love them too!