Happy Fall, Ai fans! We're so excited to watercolor with autumn hues, and the team is here to share some lovely rustic projects today! Let's take a look at what the team created today. Remember to follow these ladies on social media by visiting the links next to their names!
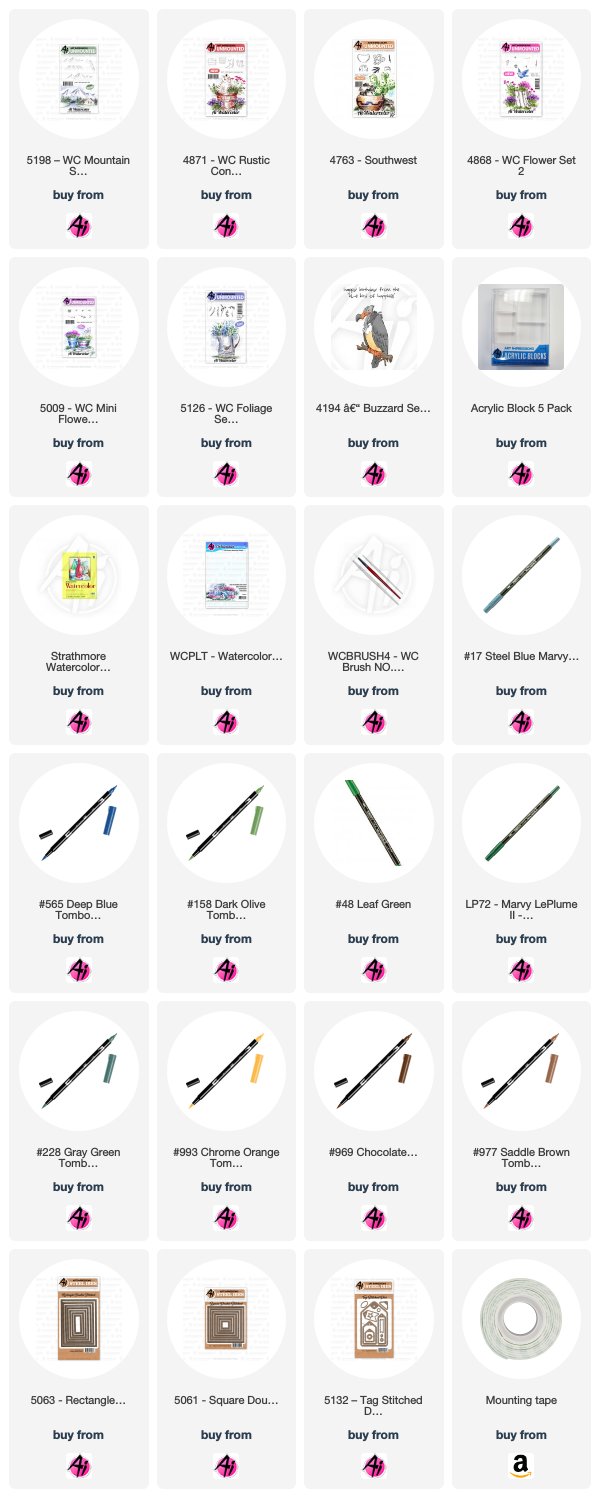
Have you seen Art Impression's new 5198 - WC Mountain Set? I'm in love with it! It comes with two sizes of traditional mountains and two sizes of Southwestern mountains. They are so easy to use yet make a wonderful impact on any scene! This is my card for the bi-monthly Watercolor Weekend on the Art Impression's blog. I stamped the mountain in 969 and pulled the color out of the lines. I watercolored them with four different colors - 977, 757, 969 and 933, trying to get that orange color of the Utah mountains that my adventurous son Brad (with his dog Sgt) always captures in his photos. I used this photo below for inspiration.
Next, I stamped the boot in 969 from the 4871 - WC Rustic Container Set then colored the bottom with 969 and the top with NO. 17 steel blue. I used the flowers from 4868 - WC Flower Set 2 and stamped them in the steel blue and 158. I stamped the cacti in 177 from the 4763 - Southwest Set and then added 228, 155, NO. 48 leaf green and No. 52 yellow green to them. I used the fine tip of the No.72 pine green to draw some of needles back in. I stamped the rocks in both 969 and 565. I stamped the flowers with 933 from the 5009 - WC Mini Flower Set on top of the round cactus. I stamped the grasses in 977 from the 5126 - WC Foliage Set 4 then added that color to the ground from the palette. I added dots with the fine tip of the sepia pen. I used 565 to add the shadows, the sky and to darken the boot heel. I cut out my scene with the largest 5061 - Square Double Stitched Die and used double sided foam tape to adhere it to the base which I cut out using the largest of the 5063 - Rectangle Double Stitched Dies. I stamped the happy birthday from the 4194 - Buzzard stamp and cut it out with the 5132 Tag Stitched Die Set.

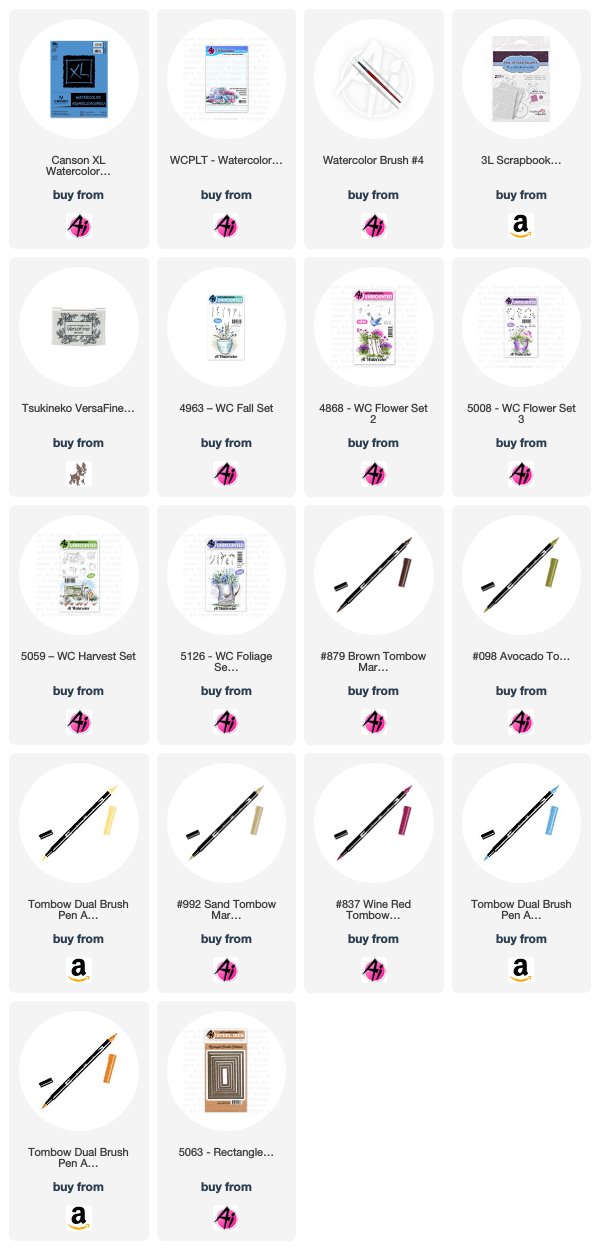
I began my wreath by tracing a 2 1/4" circle onto my Canson Watercolor paper with a pencil, to use as a guideline. I picked my colour palette of softer, faded colours of Tombow Markers. Using #098 Avocado, I coloured up the leafy branch from 5126 - WC Foliage Set 4, stamping it in first and second generation in four clusters around the circle. Using both of the vine stamps from the same set, I coloured them both up in #992 Sand and tucked them around the greenery (I love it that there are two vines bending in different directions - they make great filler stamps on a wreath!).
Now I wanted to add in the pumpkin elements before my wreath got too full, so I started with the cluster of tiny flowers from 4868 WC Flower Set 2. Using #533 Peacock Blue I stamped them 3 times in a circle in the lower left corner of my wreath, and then tucked them in three other places around the perimeter. Starting with the smaller pumpkin from 5059 - WC Harvest Set, I coloured the body in #946 Gold Ochre, and the stem in #098 Avocado. I masked it, and stamped the larger pumpkin behind it. I softened the lines with a damp #4 paintbrush, pulling out the colour - leaving the top edges white as the highlight. I picked up some #879 Brown from my palette adding shadows to the lower sections of the pumpkins, and in their crevices. I took the wheat image from 5008 - WC Flower Set 3 (I think it's supposed to be lavender, but today they are wheat stalks!) and colouring it with #991 Light Ochre - I stamped them repeatedly behind the pumpkins, and cascading below them. And finally I used one of the berry images from 4963 - WC Fall Set coloured in #879 Brown and #837 Wine Red for the berries, and tucked them in and around the wreath where I could. I only dabbed lightly with my damp brush, as I don't want the lines of the images to deteriorate with the addition of too much water. I picked up #098 from my palette, and wherever I had white space, I hand painted in a few extra leaves. The sentiment is from the 4205 - Harvest TF Set, stamped in Versafine Onyx Black ink. I die cut my panel with the 5063 Double Stitched Rectangle Die, matted it with black cardstock, and used 3D pop dots to adhere it to my kraft paper base. I added a few amber coloured tiny sparkles to finish it off.
It’s that wonderful time of year again, FALL!! It is my next favorite time of the year, Winter being first LOL. I decided to make a really sweet fall scene. I put one of the little sitting boys on the tire swing.
To start I masked off around my picture using Post-It tape. This gave me a nice clean border around my picture. I inked the tire, from the NEW Swing Set, up with 569 and 969 and stamped it slanted in the middle of the paper. I wanted it to look like it was swinging in the air. Using my #4 paintbrush, I pulled the color from the lines making sure to leave some white space in the middle of the tire.
I masked off the tire with some Post-It tape and, using my positioner, stamped the sitting boy from the Little Boys set. I stamped him off once and placed him on the tire. I pulled color out of the lines to just the shadowed areas. I didn’t pull any color into the face. I added some 47 to my palette and added it to the face, neck, arm and foot. I added 526 to my palette and added it to his overalls.
I stamped the small leaves from the Foliage Set 4 set in yellow, red and orange randomly around the top of the picture. I added some water to them to create a feeling of trees with their leaves changing into Autumn colors. I added some 569 between the trees and the boy as a sky. I added some 249 to my palette and painted in the field and mountain. I used it to also ink up the pine tree from the Trees set. I stamped these randomly to the left and right of the boy to create some depth. I added water to them.
I inked the branch from the Desert set in 969 and stamped it along the bottom of the painting. I again used my small leaves stamp inked in 757, 925 and 025. I added water to the leaves. I added some additional color between the trees to extend the grass.
Using a small ruler and my black marker, I drew a line from the trees to the tire swing. Finally, I signed and dated the picture.
I cut the painting down to 4.75 x 3.5 and mounted it on a piece of Gina K Designs Red Hot cardstock. I added that to a white card base.
I hope you get to do some water coloring this weekend! Be sure to tag us on Instagram with #AIWatercolor so we can see what you are working on.
Thank you so much for stopping by and I hope you have a great weekend!
Thanks, team! We love these projects in lovely fall colors! The reds, oranges, and browns really pop in your cards!
We hope these cards have inspired your weekend creations!
Happy Stamping!
We hope these cards have inspired your weekend creations!
Happy Stamping!


2 comments:
I love this fall card. Wish I was in the scene. [Bunny]``
Love the last card, it is so pretty and brings in the fall season so well
Post a Comment