Showing posts with label WC Harvest Set. Show all posts

Friday, September 6, 2024

For a Special Friend Card by Tasha

 Happy Friday Friends!

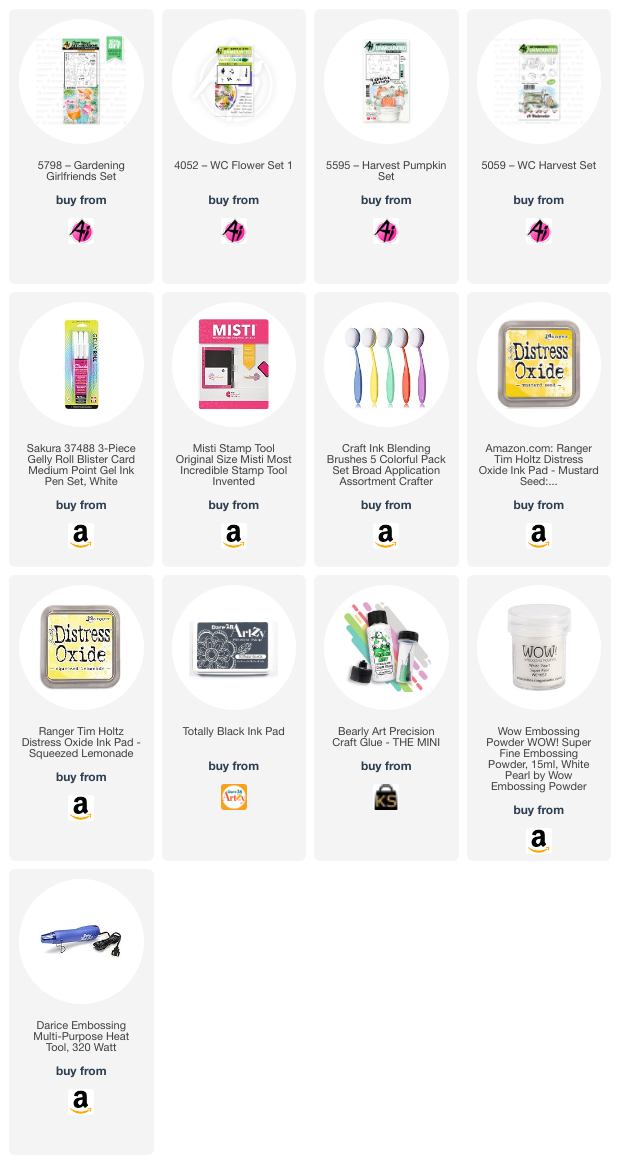
Tasha here sharing a card inspired by the current "My Favorite Peeps" Challenge. For my project I used the 5798-Gardening Girlfriends Set and 5595-Harvest Pumpkin Set to make a colorful Fall scene. 


I started by stamping the lady and used masking paper to cover her before adding the other images. Once she was masked, I stamped the apples, pumpkins, and purple flowers. The apples are from the 5059-WC Harvest Set and the flower stamp used is from the 4052-WC Flower Set 1. 

After the stamping was completed, I added stenciled yellow clouds for the sky. I thought the warm golden colors would go with the Fall theme and and love how the fluffy clouds look next to the pumpkins! 

Next, I gently removed the masking paper and colored the images with Copic Markers. For the bag holding the apples, I added a piece of scrap plaid pattern paper. I also added Distress Ink to the edges to tone down the bright white color and think it works great with the colors used on the woman's outfit.

Lastly, I stamped "Plant memories, grow love" on top of the clouds and embossed "For a special friend" on the bottom of the card. I also added layers of purple and deep yellow card stock and a pretty leaf patter paper to complete the design.

I hope you enjoyed today's project and will participate in the Art Impressions Challenge!
Have a wonderful day!


Sunday, March 27, 2022

Zuckerman Farms by Reneé Matarese

 Hello Ai fans!

The Cubbies series at Art Impressions are one of my favorite series at Art Impressions.
When I saw the 2021 farm freebies last year I immediately thought of Charlotte's Web. The pig...the rat (Oh Templeton and his rotting food..lol!)  Here, Wilbur is enjoying his new life on the farm with his new friends.


I used so many sets to create this card but it was worth it.  This scene takes me back to my childhood. I loved the book and I loved the movie.

On the front of my card I used the 
5180 – Barnyard Animal Cubbies
4934 – Holy Moley Set
5059 – WC Harvest Set
5173 – Thanksgiving Circlet MTF
4967 – WC Fence Dies
4941 – Spooktacular Set
5190 – Fright Night Set


I continued the scene to the inside of my card.  Wilbur is headed off to the state fair!
I used:


Monday, September 13, 2021

PSL Gift Card Holder by Bri Firth

Hello Ai Fans - Bri Firth here! Today, I am sharing an fall themed project featuring the Java GCH set. This project is perfect for Ai's current challenge, "Shaken, Not Stirred". Also, this gift card holder is featured on my personal blog today, check it out here

I wanted to create a generic paper coffee mug look so I used the Pathway Slimline Stencil with Brushed Corduroy Distress Oxide ink to decorate the coffee cup. I stamped and colored a pumpkin from the WC Harvest Set to make the java drink look like a favorite seasonal drink, a pumpkin spice latte! The "Just for you" sentiment is from the WC Sentiments 2 set. Finally, I used a neutral gray patterned paper for the GCH Envelope and attached the coffee cup with liquid adhesive.


Check back next week for more Ai inspiration made by me!

Saturday, August 7, 2021

Watercolor Weekend Roundup! 8-7-2021

 Hello Ai fans!

It's another Watercolor Weekend Roundup!
We have 3 amazing and very different creations from our WC Design Team.
Don't you love how different their styles and creations are?


Welcome Back! Thanks for spending some creative time with us I used the Peeking Animals set and a few other stamps to create these cute gift card tops. I wrote in the sentiments, so again they can be used for any occasion. The Paintings I started off by masking the 2x2 square on my watercolor paper. I actually used 1 piece of 4.5 x 6 for both paintings (I cut them apart after I painted them). Using the Owl from the Peeking Animals set, I inked him up with 969, stamped it off and then stamped him in the bottom right corner. I wiped the bottom of the stamp off so I could tuck the leaves from the tree around him. I added water and pulled the color out of the lines. For a darker Owl, I also added some color from my palette making sure that I kept the highlights. I masked him off and stamped in a couple of branches, I am not sure which I used but any that you have will work, they will be covered with leaves so it's really not a big deal. For the leaves, I used the vine from the Original Flower set inked with 177. I stamped it al around the owl up to the right and bottom to create a border for when you pull off the tape. Before I added the water, I pulled the mask off of the Owl and added some additional leaves around the bottom of him. I softened the lines with water, making sure to dab at the leaves, leaving some untouched. To finish up, I added some 565 to the white areas, keeping the left and top next to the tape really dark. Sign and date! For the squirrel, I stamped the squirrel, masked him off and then stamped the stump, both inked with 969 and pulled the color out of the lines. Make sure you darken in the eye (same with owl LOL) using your twintone. Next, I added some additional color to the squirrel and stump using my palette. I used a small piece of post-it tape to cover the stump and stamped in a branch and added some leaves. The leaves are from the new Mini Foliage set. I also covered the squirrel and added some leaves above him along the tape. After I removed the mask from the squirrel, I inked the mini flower bunch from the mini flowers set inked with 177 and 925 next to the squirrel. Using water, I softened everything and again added some color to the sky. Again, sign & date. Tag us on Instagram and use the #AIWatercolor tag so we can see all of your creative ideas. Thank you so much for spending your precious time with us and keep creating! SUPPLIES:   
                    DOT                        
Hello,

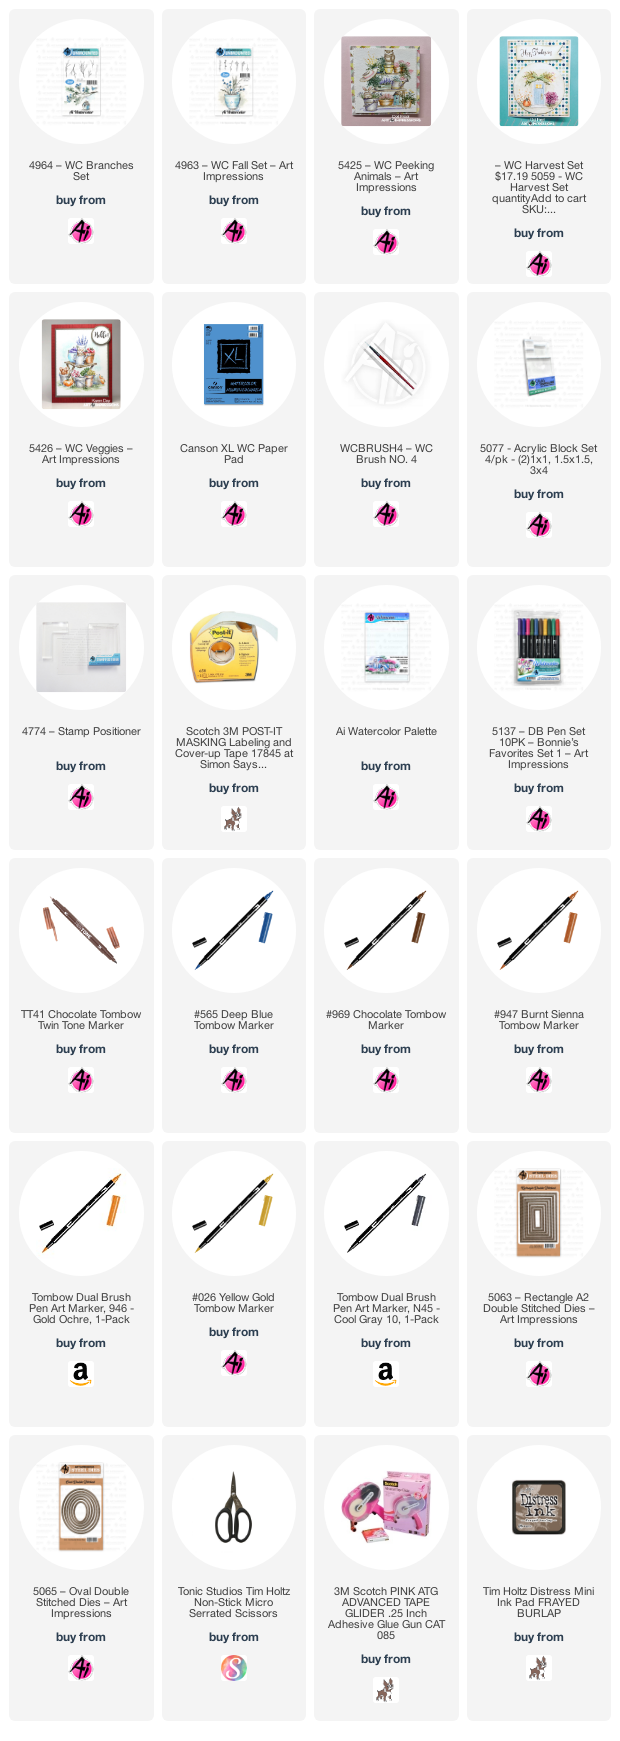
I saw something similar to this on Pinterest so I used my Ai stamps to recreate it. I LOVE owls and pumpkins so I'm pretty happy with it. If you would like to try this, stamp the pumpkin in the center from the 5426 Veggies set inked in Tombow 969 then make a mask and cover it. Next stamp the other pumpkin from that same stamp set on one side, and the pumpkin from the 5059 Harvest Set on the other side. Before removing the mask, using a stamp positioner stamp the barrel from the same set above the middle pumpkin inked in both 565 and 969. Stamp the owl from the 5425 Peeking Animals Set using 969 and a stamp positioner. Use a circle mask to cover where the moon is, then use a brush and a brown ink, fill in the background. I used a little N45 for the moon's shadows. Drip some water on the background, dry it with a paper towel and it will look like a few stars are out. Pull the color out of the lines and then watercolor the owl with N45, 969 and then color the eyes and beak with 026 - the coolest yellow ever! Definitely my favorite. When you add water to it - it's amazing! I used that same yellow on the grass from the 5059 Harvest set. I used that same yellow and the 969 for the flowers from the 4963 Fall Set and the branch is inked in 969 from the 4964 Branches set. I used the Tombow Twin Tone in brown on the stems of the pumpkins and the pumpkins were colored with 946 and 947. I used 969 and N45 on the barrel. I also used the N45 for the shadows under the pumpkins.  The little boo brad I had but I've no idea where I got it. I used the 5063 and 5065 Dies to cut out my papers. I always hope you try it and tag me. I love inspiring others as so many have inspired me. 

Ai_Dot_DT.png
Supplies used:
a439c217-65a8-4f9b-b2a8-cfbf29ffc34f.jpg

 Hello Ai Watercolour fans!
I am using three of the new Bible Journaling stamp sets in today's card!
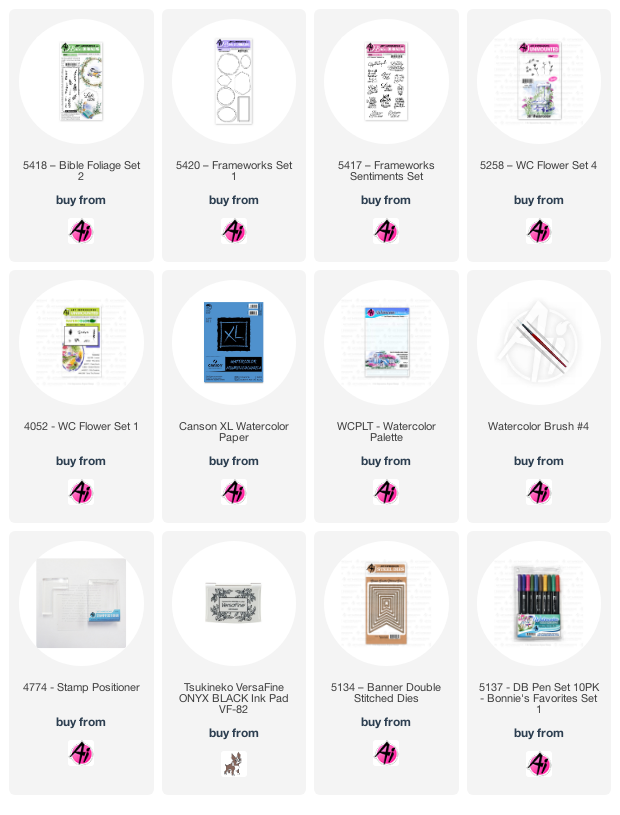
I began by planning out my image.  The clear stamps make it so easy to place the stamp sets overtop of each other, and I could easily choose which sentiment would fit inside the different frames.  I stamped everything out on scrap paper to make sure that I had my foliage placed correctly, and that my colours worked well together.  I added a light wash of #346 to the upper right and lower left areas of the image, and then coloured the larger oval from 5420 - Frameworks Set 1 in #N55 Cool Grey 7, leaving the bottom area uncoloured where my foliage would be, and stamped it on a slight angle.  With Versafine Onyx Black Ink, I stamped my sentiment from 5417 - Frameworks Sentiments Set.  With four stamps from 5418 - Bible Foliage Set 2, I stamped them in #126 Light Olive, #249 Hunter Green and #346 Sea Green, leaving an open area for the flowers.  Using Flower Set - 4052, I stamped the Leaves image in #533 Peacock Blue several times, and then used the Mini Foxglove in #565 Deep Blue to create the trailing flowers at the bottom.  To finish off, I used the trio of roses from 5258 - WC Flower Set 4 in #676 Royal Purple.
I touched everything with a damp brush, but was careful not to lose any of the definition of the images.  I used the 5134 - Banner Double Stitched Dies to cut out my shape, and glued it down to my base.  With my sewing machine, I added a wide row of zigzag stitching across the top in the same colour of thread as the roses.  A few enamel dots finished off my card.

From Tricia's fun gift card holders that she matched the sentiments to her paintings perfectly, to Dot's elegant Autumn owl card and Karen's lovely Bible Journaling card...They're all amazing!
Thank for for the inspiration.

Wednesday, November 27, 2019

Watercolor Throwback - Pumpkin Cart Video

Hello Ai Fans!

With turkey and mashed potatoes calling our name this Thursday in the USA, we are bringing you a beloved Watercolor Throwback for Watercolor Wednesday!

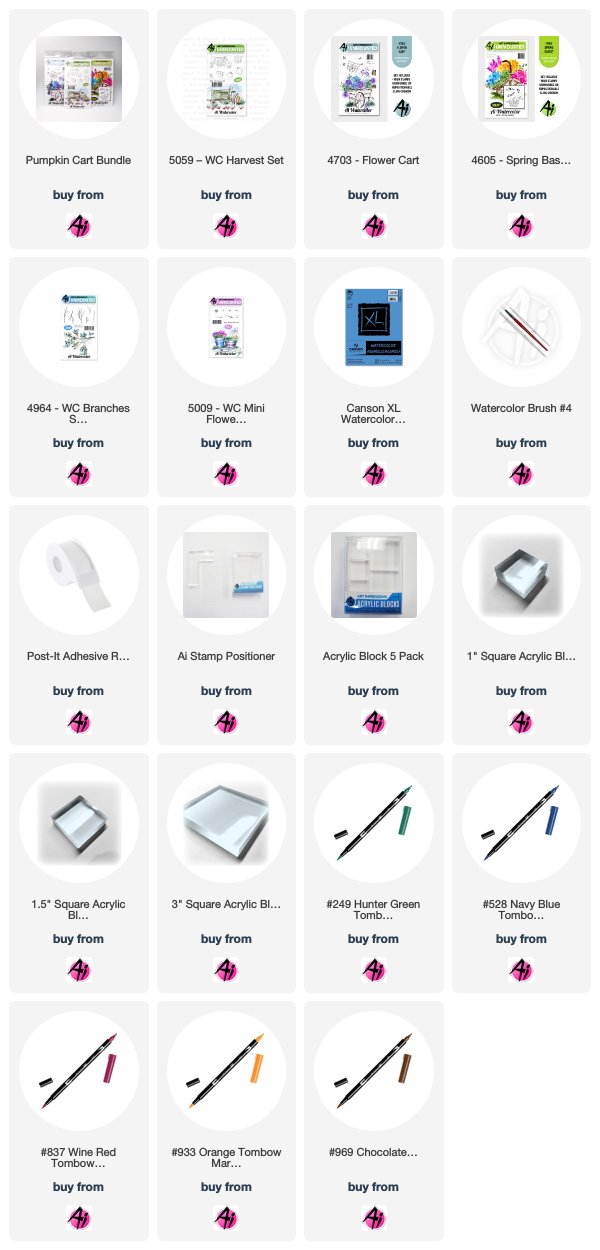
We have LOVED this project for a full year, with colorful pumpkins and a great Thanksgiving image! May you be transported to a field full of a grateful harvest. Watch as Bonnie masks in the single pumpkins from our WC Harvest Set into our Flower Cart and adds vines around the pumpkins still in the patch!

We switched to Tombow Markers in January 2019, and although this video uses Marvy Markers, we have included all the links below for the updated colors! You can also download our Color Conversion Chart to see similar colors from both product lines!

Happiest of Thanksgivings from all of us at Art Impressions! We are grateful for the most wonderful customers over the last 32 years!


View on YouTube: https://youtu.be/ZhPxh0Zqlx4


Saturday, November 2, 2019

Watercolor Weekend Roundup - Seasons Change


Happy Watercolor Weekend, Ai Fans! We are so happy to share three wonderful projects from our WC Design Team today to kick off November in a big way! Let's take a look at what Tricia, Karen, and Dot have created today!

Dot Freel - Instagram - Blog - Pinterest
Hello Friends,

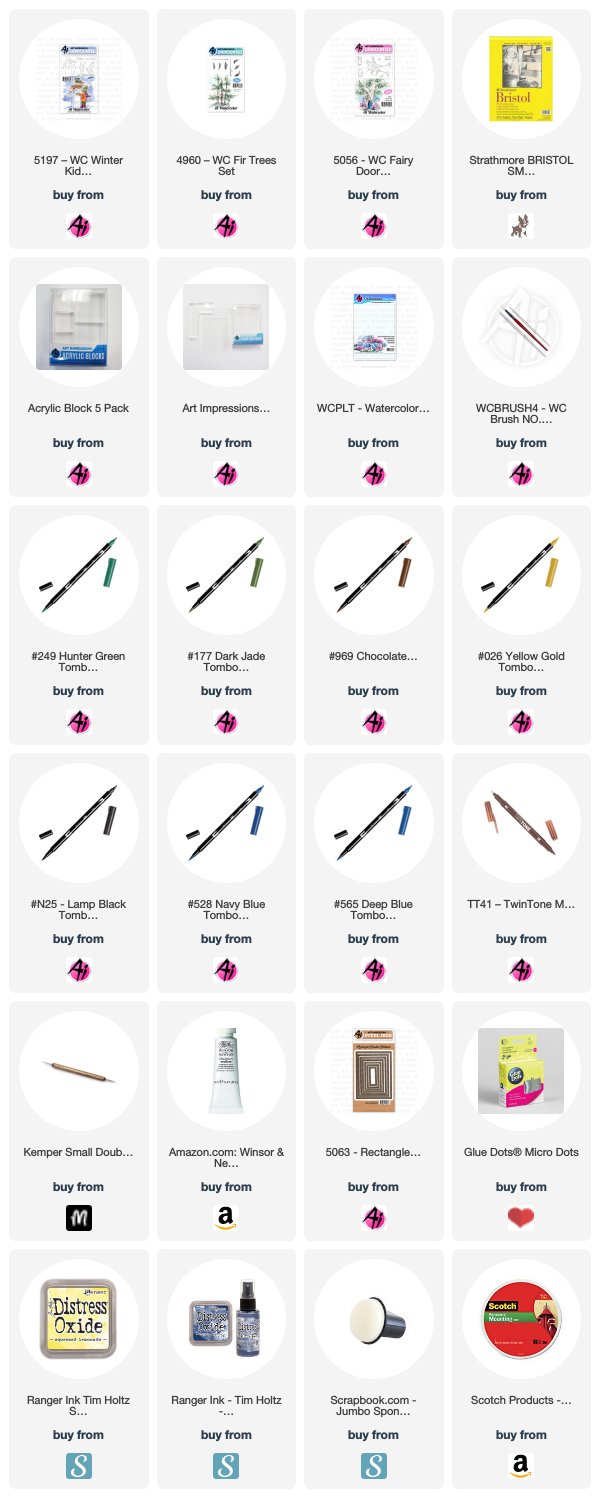
Can you believe it's already November? I can't. I'm working away on Christmas cards. I made this one with yet again, my favorite new stamp set from Art Impressions - 5197 - WC Winter Kids Set. I stamped the lamp post and little girl and fussy cut them out after I watercolored them. I painted the light post in N15 and 026 which is the prettiest shade of yellow! I used the stamp positioner to add the bird from the 5056 - WC Fairy Doors Set because the bird was the smallest one I could find. I colored the bird in with blue 528 and brown 969. I stamped the little girl in with brown (stamped off first) and then watercolored her in with 565, 969, 026, 177, NO 77 pastel peach and NO 67 bubble gum pink. I used the fine tip of the brown Tombow TwinTone pen to draw in some details, her eyelash and her hair. I added a pompom to her hat with a glue dot. I cut out a white piece of Bristol Smooth Paper using a 5063 - Rectangle A2 Double Stitched die and then I used distress inks and round sponge daubers to make the light circle and the sky background. I stamped the trees on the sides from the 4960 - WC Fir Trees Set using the brown 969 and two greens, the 249 and then the 177. I added very little water (mostly to the trunk area) so the branches would stay more detailed. I cut out the snow bank with a die and adhered it with foam tape. Then I used foam tape to adhere the lamp post and the little girl. I used 565 to add the shadows under them. I cut out that frame by using the two largest rectangle dies taped together. The last thing I did was add the snow drops using a stylus and white Gouache paint. It takes a bit of time to dry.


Karen Day - Blog - Facebook - Pinterest
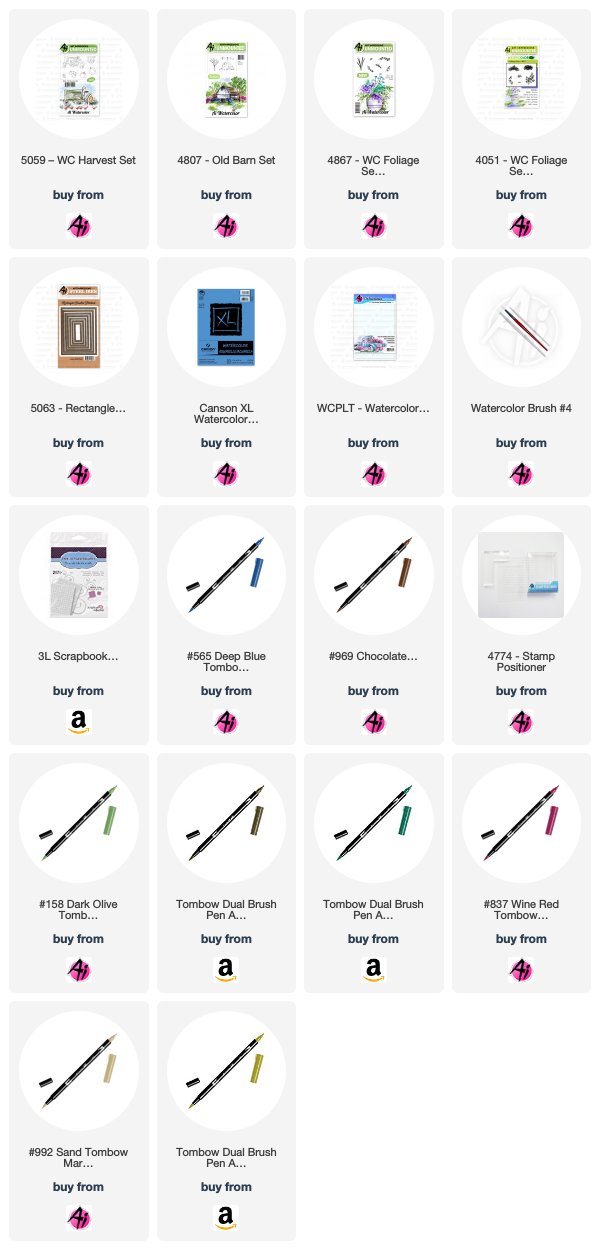
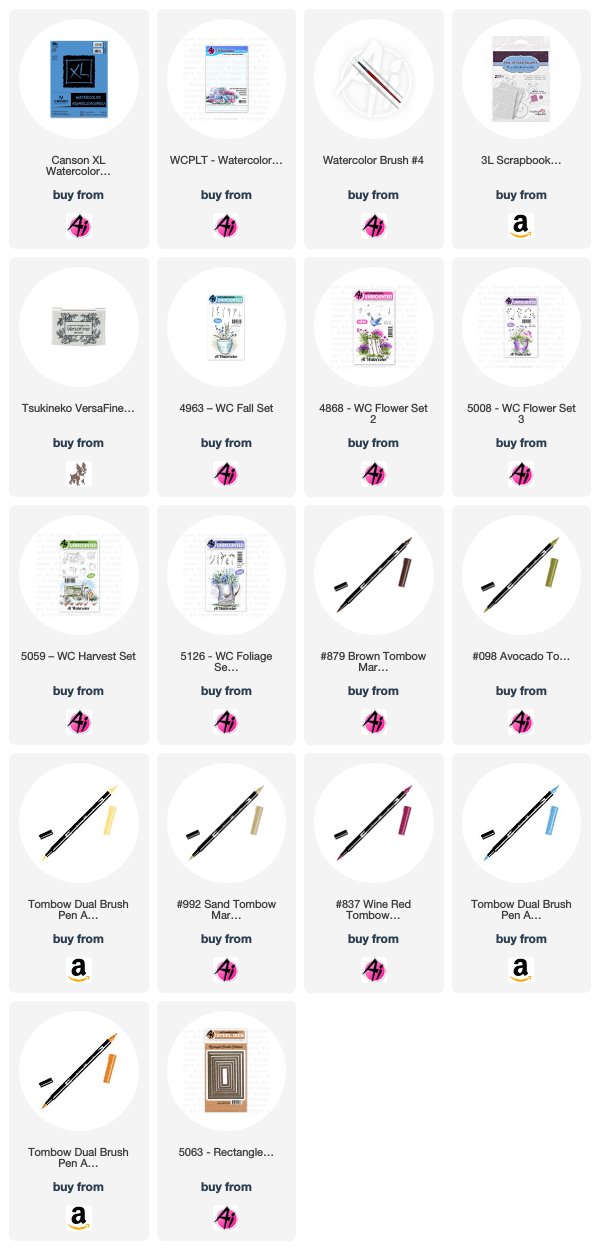
I wanted to make a masculine card, so I placed the barn from #4807 Old Barn Mini Set and the tractor from #5059 WC Harvest Set together on a large acrylic block. I coloured them both with my #969 Chocolate Dual Brush marker from Tombow, stamped it off on scrap paper, and then onto my cardstock. (I had pre cut my Canson XL Watercolor Paper with one of the #5063 Double Stitched Rectangle dies already!). I used my damp #4 paintbrush to soften the lines and pull out the colour. With a pencil, I sketched in my mountains and the hillside, and after masking the barn, I coloured the tree image from #4807 Old Barn Mini Set in #969 and stamped it twice behind the barn. I scribbled #837 Wine Red onto my palette, and picked it up with my brush, adding streaky colour to the barn, leaving lots of white areas for a weathered look. I went over it a second time on the shaded sides of the barn to darken them. I went in directly with the fine point of my #992 Sand marker to draw in the individual barn boards. #992 was also used to paint in the path to the barn. I used #N57 Warm Grey to add darker colour to the tires and seat of the tractor, and to darken up a few of the fittings on it. Then I mixed the grey with #346 Sea Green to create a teal-y shade to paint on the tractor. With my stamp positioner, I added the fence from the Old Barn set to the side of my scene, colouring it in #969 and stamping off on scrap paper first. I made a pale wash with #158 Dark Olive and painted the grassy hillsides, then with the small grass from #4051 Foliage Set and the tiny green from #4867 WC Foliage Set 2 New, I stamped in grass and some greenery around the barn. I switched to #076 Green Ochre to add in fall shrubs around the barn also. Picking up #565 Deep Blue from my palette, I used it to paint in the mountains, and to add shadows to the windows and doors of the barn, going in several times to add darker layers. I used it to add shadow lines on the fence posts, under the roof and on the undersides of the tractor. And finally, I added a few longer grasses by directly using the fine end of my #992 marker on the paper.


Tricia O'Bin - Blog - Instagram - YouTube - Pinterest - Facebook

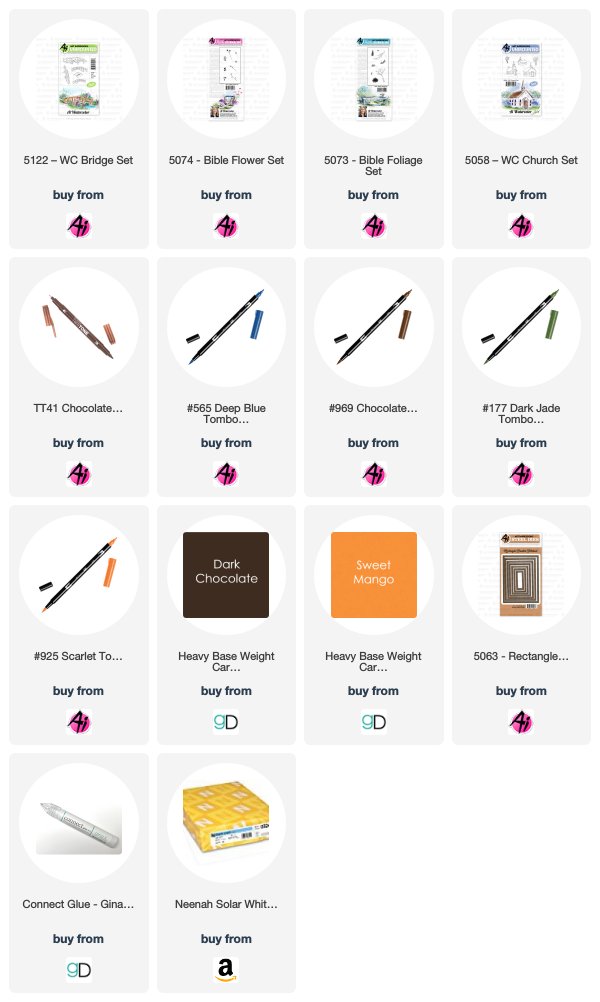
Welcome Back watercolor fans!  Can you believe it is already November?  I can’t.  I decided to create a simple Fall Bridge with some foliage to show off the colors of Autumn.  This is such a versatile card.  You can add any sentiment to it and it would work fabulously.  I love cards like that.  So thank you for stopping by and I hope you get lots of inspiration.

Project Details
I inked the large bridge from the Bridges Set with 969.  I stamped it off and then stamped it in the center of my watercolor paper.  I created a mask for the bridge.  I inked the tree from the Church set with 969 and stamped it behind to the right side of the bridge.  I removed the mask and, using my #1 paintbrush, pulled the color out of the lines. 

Next, I inked the small vine from the Bible Journaling Foliage set with 177 and stamped it several times around the center of the tree.  I added water to the leaves and let them dry. I cleaned the stamp (because I used green) and inked it up with 856 and stamped it several times along the outside of the green leaves.  I added water to the leaves.  Using my Chocolate Twin Tone marker to extend the trunks through the openings in the bridge.  I also darkened up the shadows on the bridge.

I inked the small grass from the Bible Journaling Foliage set with 177 and added it to the right of the bridge and in front of it.  I used my #4 paintbrush and pulled the color out of the lines.  Next, I added 925 to the medium dots from the Bible Journaling Flower set and added them to the tops of the grass.  I added a small amount of water to them.

I masked off my bridge and inked up the small bush from the Bible Journaling Foliage set with 177.  I stamped it several times on the left of the bridge.  I added water to soften them.  I inked up the small dots from the Bible Journaling Flower set with 025 and stamped them several times in the bush.  I added water to soften them.

I added some 569 to the water under the bridge.  Once it dried I added some additional 565 to brighten it up.  I added some 969 from my palette and pulled it out to the left and right of the bridge. I continue to add darker shadows mixing in some of the 969 with my 569.  I added 177 and 856 to create a reflection in the water (still working on this…practice, practice, practice!).

Finally, I added 565 to my palette and using water created the clouds.  Last but not least, I signed my work.

This was so much fun and I hope you got inspired!  Let’s see your work.  Tag us on Instagram!  Hope you have a creative weekend!  See you next time.


Thanks, team! Such a lovely collection of projects!

Did we inspire you this Watercolor Weekend? Let us know in the comments below! And remember, we love seeing your projects when you share them on Instagram with #AiStamps and #AiWatercolor! 'Til next time!

Happy Stamping!

Saturday, September 21, 2019

Watercolor Weekend Roundup - Rustic Fall Projects!

Happy Fall, Ai fans! We're so excited to watercolor with autumn hues, and the team is here to share some lovely rustic projects today! Let's take a look at what the team created today. Remember to follow these ladies on social media by visiting the links next to their names!

Dot Freel - Instagram - Blog - Pinterest
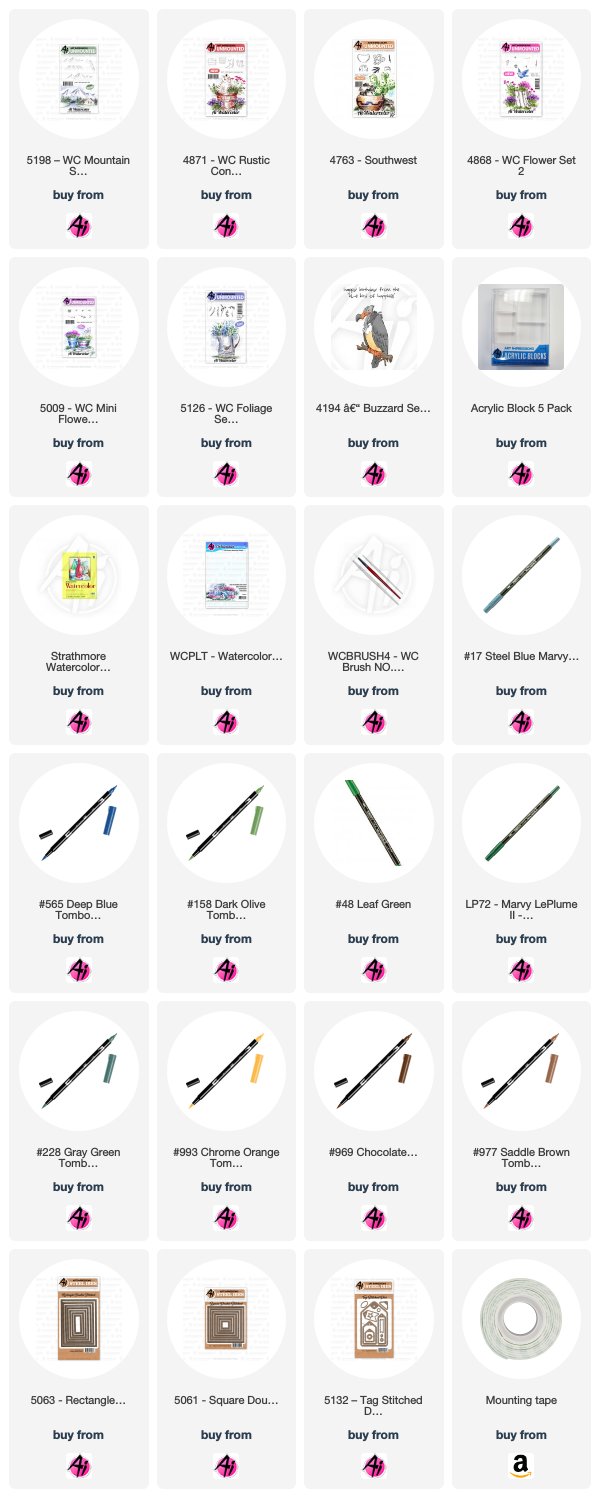
Have you seen Art Impression's new 5198 - WC Mountain Set? I'm in love with it! It comes with two sizes of traditional mountains and two sizes of Southwestern mountains. They are so easy to use yet make a wonderful impact on any scene! This is my card for the bi-monthly Watercolor Weekend on the Art Impression's blog. I stamped the mountain in 969 and pulled the color out of the lines. I watercolored them with four different colors - 977, 757, 969 and 933, trying to get that orange color of the Utah mountains that my adventurous son Brad (with his dog Sgt) always captures in his photos. I used this photo below for inspiration.
Next, I stamped the boot in 969 from the 4871 - WC Rustic Container Set then colored the bottom with 969 and the top with NO. 17 steel blue. I used the flowers from 4868 - WC Flower Set 2 and stamped them in the steel blue and 158. I stamped the cacti in 177 from the 4763 - Southwest Set and then added 228, 155, NO. 48 leaf green and No. 52 yellow green to them. I used the fine tip of the No.72 pine green to draw some of needles back in. I stamped the rocks in both 969 and 565. I stamped the flowers with 933 from the 5009 - WC Mini Flower Set on top of the round cactus. I stamped the grasses in 977 from the 5126 - WC Foliage Set 4 then added that color to the ground from the palette. I added dots with the fine tip of the sepia pen. I used 565 to add the shadows, the sky and to darken the boot heel. I cut out my scene with the largest 5061 - Square Double Stitched Die and used double sided foam tape to adhere it to the base which I cut out using the largest of the 5063 - Rectangle Double Stitched Dies. I stamped the happy birthday from the 4194 - Buzzard stamp and cut it out with the 5132 Tag Stitched Die Set.


Karen Day - Blog - Facebook - Pinterest
I began my wreath by tracing a 2 1/4" circle onto my Canson Watercolor paper with a pencil, to use as a guideline. I picked my colour palette of softer, faded colours of Tombow Markers. Using #098 Avocado, I coloured up the leafy branch from 5126 - WC Foliage Set 4, stamping it in first and second generation in four clusters around the circle. Using both of the vine stamps from the same set, I coloured them both up in #992 Sand and tucked them around the greenery (I love it that there are two vines bending in different directions - they make great filler stamps on a wreath!).
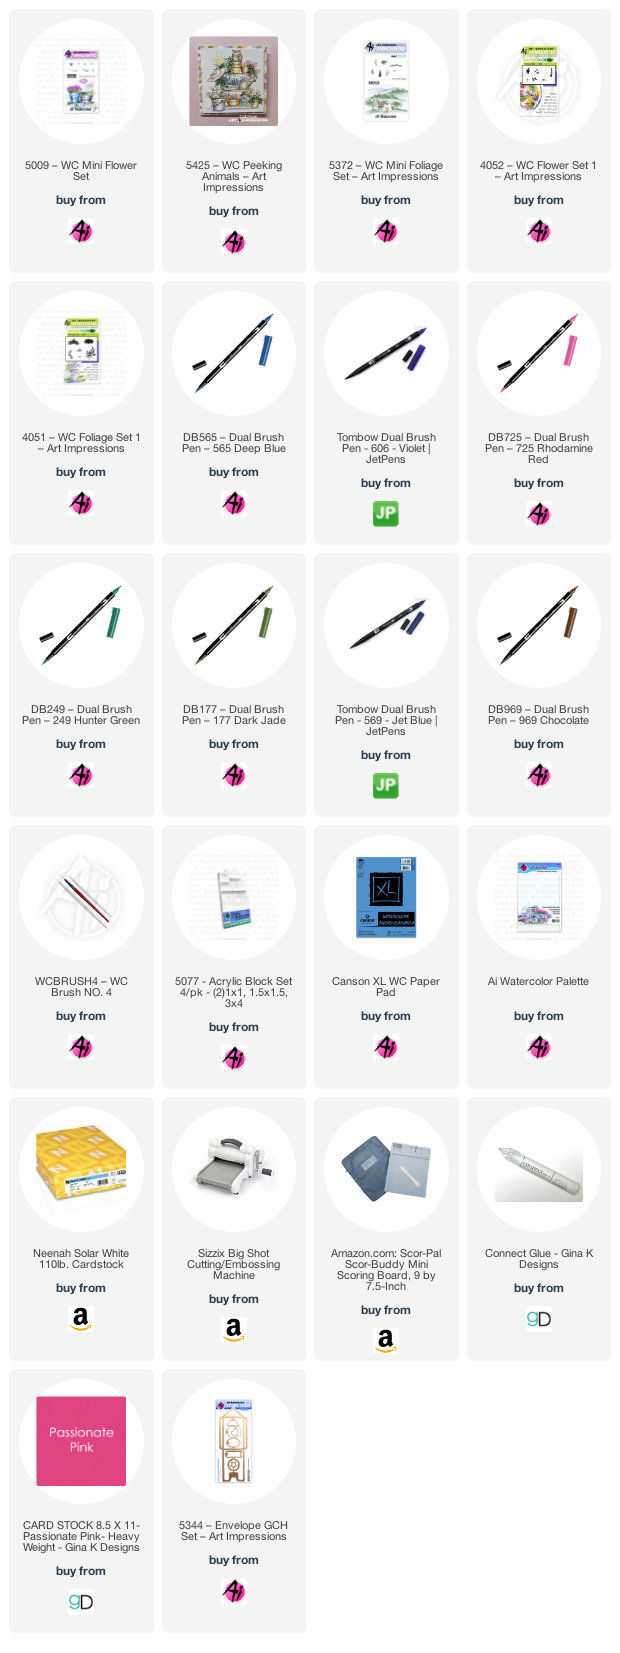
Now I wanted to add in the pumpkin elements before my wreath got too full, so I started with the cluster of tiny flowers from 4868 WC Flower Set 2. Using #533 Peacock Blue I stamped them 3 times in a circle in the lower left corner of my wreath, and then tucked them in three other places around the perimeter. Starting with the smaller pumpkin from 5059 - WC Harvest Set, I coloured the body in #946 Gold Ochre, and the stem in #098 Avocado. I masked it, and stamped the larger pumpkin behind it. I softened the lines with a damp #4 paintbrush, pulling out the colour - leaving the top edges white as the highlight. I picked up some #879 Brown from my palette adding shadows to the lower sections of the pumpkins, and in their crevices. I took the wheat image from 5008 - WC Flower Set 3 (I think it's supposed to be lavender, but today they are wheat stalks!) and colouring it with #991 Light Ochre - I stamped them repeatedly behind the pumpkins, and cascading below them. And finally I used one of the berry images from 4963 - WC Fall Set coloured in #879 Brown and #837 Wine Red for the berries, and tucked them in and around the wreath where I could. I only dabbed lightly with my damp brush, as I don't want the lines of the images to deteriorate with the addition of too much water. I picked up #098 from my palette, and wherever I had white space, I hand painted in a few extra leaves. The sentiment is from the 4205 - Harvest TF Set, stamped in Versafine Onyx Black ink. I die cut my panel with the 5063 Double Stitched Rectangle Die, matted it with black cardstock, and used 3D pop dots to adhere it to my kraft paper base. I added a few amber coloured tiny sparkles to finish it off. 

Tricia O'Bin - Blog - Instagram - YouTube - Pinterest - Facebook
It’s that wonderful time of year again, FALL!! It is my next favorite time of the year, Winter being first LOL. I decided to make a really sweet fall scene. I put one of the little sitting boys on the tire swing.

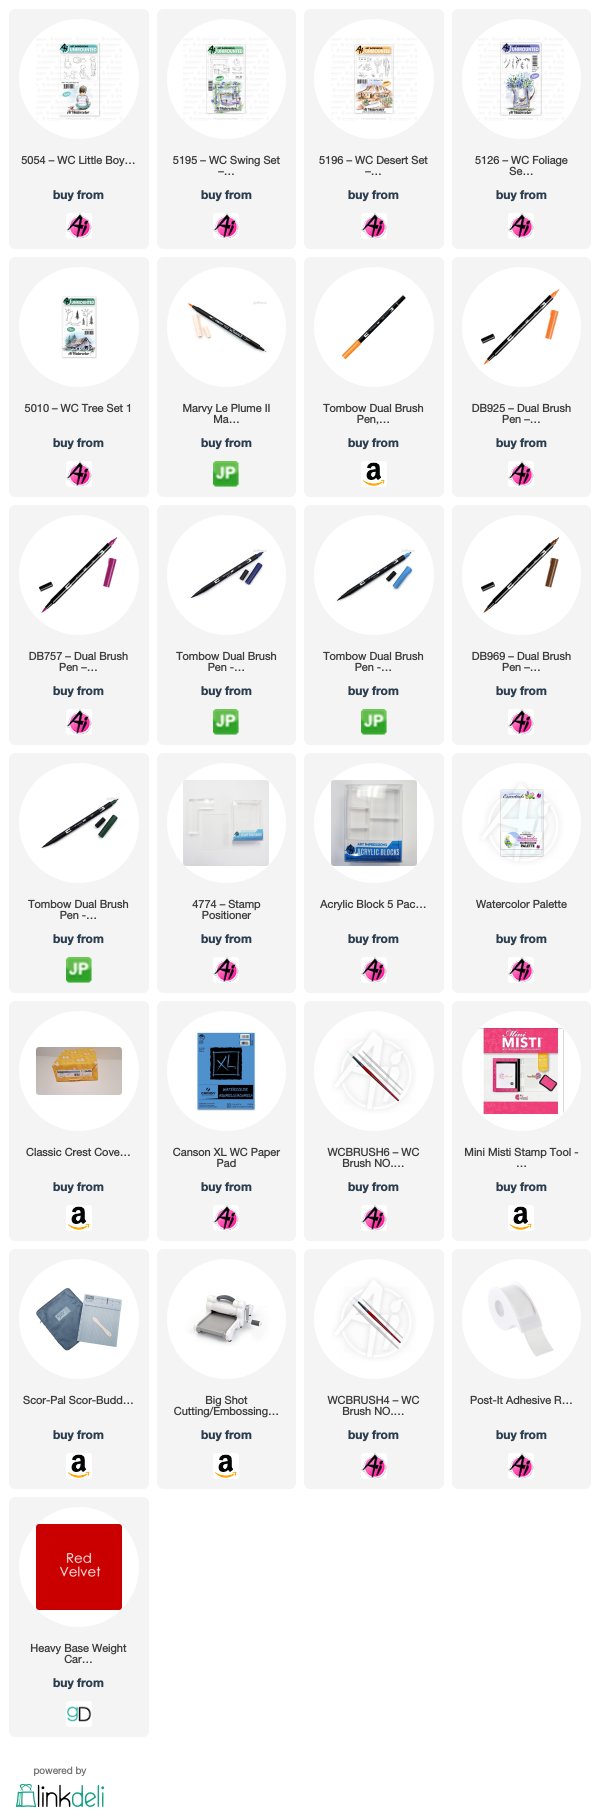
To start I masked off around my picture using Post-It tape. This gave me a nice clean border around my picture. I inked the tire, from the NEW Swing Set, up with 569 and 969 and stamped it slanted in the middle of the paper. I wanted it to look like it was swinging in the air. Using my #4 paintbrush, I pulled the color from the lines making sure to leave some white space in the middle of the tire. 

I masked off the tire with some Post-It tape and, using my positioner, stamped the sitting boy from the Little Boys set. I stamped him off once and placed him on the tire. I pulled color out of the lines to just the shadowed areas. I didn’t pull any color into the face. I added some 47 to my palette and added it to the face, neck, arm and foot. I added 526 to my palette and added it to his overalls.

I stamped the small leaves from the Foliage Set 4 set in yellow, red and orange randomly around the top of the picture. I added some water to them to create a feeling of trees with their leaves changing into Autumn colors. I added some 569 between the trees and the boy as a sky. I added some 249 to my palette and painted in the field and mountain. I used it to also ink up the pine tree from the Trees set. I stamped these randomly to the left and right of the boy to create some depth. I added water to them. 

I inked the branch from the Desert set in 969 and stamped it along the bottom of the painting. I again used my small leaves stamp inked in 757, 925 and 025. I added water to the leaves. I added some additional color between the trees to extend the grass.

Using a small ruler and my black marker, I drew a line from the trees to the tire swing. Finally, I signed and dated the picture. 

I cut the painting down to 4.75 x 3.5 and mounted it on a piece of Gina K Designs Red Hot cardstock. I added that to a white card base.

I hope you get to do some water coloring this weekend! Be sure to tag us on Instagram with #AIWatercolor so we can see what you are working on.

Thank you so much for stopping by and I hope you have a great weekend!
Thanks, team! We love these projects in lovely fall colors! The reds, oranges, and browns really pop in your cards!

We hope these cards have inspired your weekend creations!

Happy Stamping!

Saturday, December 1, 2018

Watercolor Weekend Roundup - Wreaths Three Ways!

Happy Saturday, Ai Fans! Get ready to cozy up with a cuppa and enjoy these wintery watercolor scenes from our fabulous design team! Dot, Tricia K. and Tricia O. have three beautiful and different projects to inspire your holiday creations. Let's take a peek!

Dot Freel - Instagram - Blog - Pinterest
Hello Watercolor Friends,

I have been busy making Christmas cards since I usually mail out 30-40 handmade cards. I imagined this farmer went out and cut his own tree and dragged it back with his tractor for this country Christmas card made for the Art Impressions Watercolor Weekend. I used the tractor from the 5059 - WC Harvest Set and the barn and fence from the 5011 - WC Truck Mini Set. The tree is from the 4960 WC Fir Trees Set. I added some sparkle to the snow with a Wink of Stella glitter pen. I drew the little wreath on the barn using the fine tips of the Marvy pens. I used a white Uni-ball Signo pigment pen to make the snow. 
Other Supplies: Wink of Stella glitter penUni-ball Signo pigment pen, Tim Holtz Distress Watercolor Cardstock

Tricia Kennedy - Instagram
My project for today’s Art Impressions Watercolor Weekend, “Holiday Wreath”, is a perfect gift to make this holiday season.

Being by tracing the outline of the ornament on watercolor paper twice (this is a double sided ornament). Draw a 1” circle in the middle of each piece. Stamp the small straight pine bough around the 1” until you have achieved a full wreath. Repeat. Watercolor the Art Impressions way by pulling the color from the lines. Add red and silver drops of glitter glaze, let dry. Cut out, glue back to back and place inside the ornament. Tie holiday ribbon at the top and enjoy!

Marvy Le Plume II Markers: 72 Pine Green
Other Products: 80mm Ornament from Michaels, Queen and Company Red Twinkle Glitter Glaze, Queen and Company Silver Twinkle Glitter Glaze, Ribbon, Xyron Tape Runner

Tricia O'Bin - Blog - Instagram - YouTube - Pinterest - Facebook
Til the season for wonderful winter wonderland projects. My favorite time of the year! My watercolor weekend project showcases the bench and light from the Light to my Path Set. I added the sleeping deer from the Mini Critter Set and the wreath from the Wooden Door Set. The Christmas Bench is a really simple way to create a snowy scene perfect for your Christmas Cards!

To begin I stamped the sleeping deer with Sepia and pulled the color lightly out of the lines. I continued to slowly build up the color adding Brown as well with my watercolor palette. To add the white details, I used my Uni-Ball white gel pen. I created a mask and covered the deer. 

Next I used Sepia and African Violet (on the pole and light) and stamped the Light to my Path bench and light. I pulled the color out of the lines and added some additional color to the bench, light and pole. I stamped the wreath in Pine Green onto the pole and added Crimson Lake to it once I softened the lines. I also drew in a bow. 

To create the snow, I added African Violet randomly around the background and underneath the deer. I mixed Black and African Violet and added it to the background. I also added some Brilliant Yello to the lantern and the sky. I also added some Brilliant Yellow highlights on the snow and in the sky. Once everything was dry I added some additional snow in the sky and over the project using my Sharpie white paint pen and uni-ball white gel pen. I then added some Wink of Stella clear shimmer over the deer and snow. 

I am so excited to get some of my Christmas cards done and hope you will show us what you come up with. We hope that we have inspired you! 

Scor-Pal Scor-Buddy Mini Scoring Board, 9 by 7.5-InchWink of Stella Glitter Clear Brush Pen – ClearSharpie Paint Marker white extra fineUni-Ball Signo Broad Point Gel Impact Pen White

Thanks, designers! Your projects have us dreaming of a white Christmas! We love how each of you used a wreath in your project in a different way, from a teeny tiny wreath on a barn, to a wreath over a light post, to a wreath ornament! It is so fun to see the same motif customized for any project. If you'd like to share your projects with us, be sure to tag us with #aistamps and #aiwatercolor on Instagram so we can take a peek at what you create! Til next time, have a great weekend!

Happy Stamping!