Showing posts with label WC Desert Set. Show all posts

Wednesday, January 8, 2020

NEW VIDEO! Cactus Row Watercolor

Hello Ai Fans!

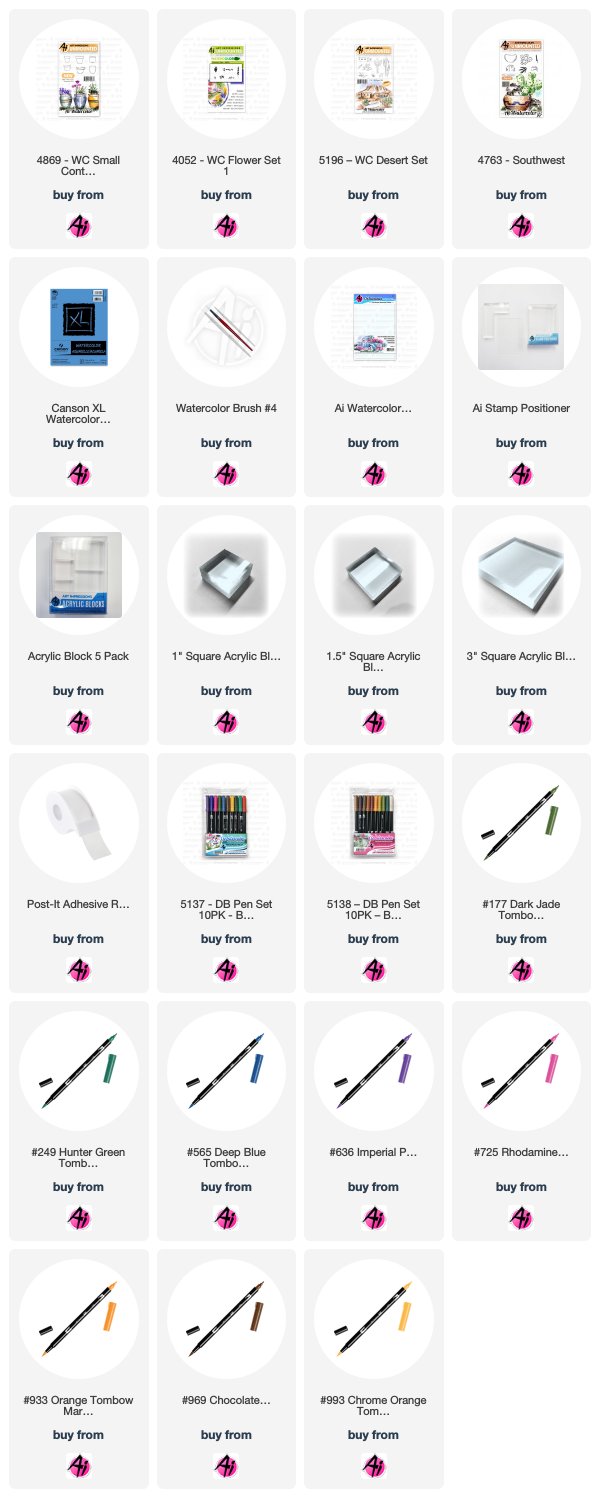
Bonnie is back with this vibrant, Southwest-inspired card, which features bright colors to light up the new year! This tutorial can be adapted to include different foliage or florals from our Watercolor series, but looks "sharp" when using our Southwest and Desert sets in versatile watercolor containers. We're certain you're going to enjoy trying a fresh new style of watercolor with your favorite instructor!


View on YouTube: https://youtu.be/Oh-yZptll0U


Saturday, October 5, 2019

Watercolor Weekend Roundup - Endless Possibilities!

Hello, Ai Watercolor Fans! We are here to kick off your weekend with inspiration to break out your stamp collection and get inky! We have something for everyone today with three unique projects, let's take a look!

Dot Freel - Instagram - Blog - Pinterest
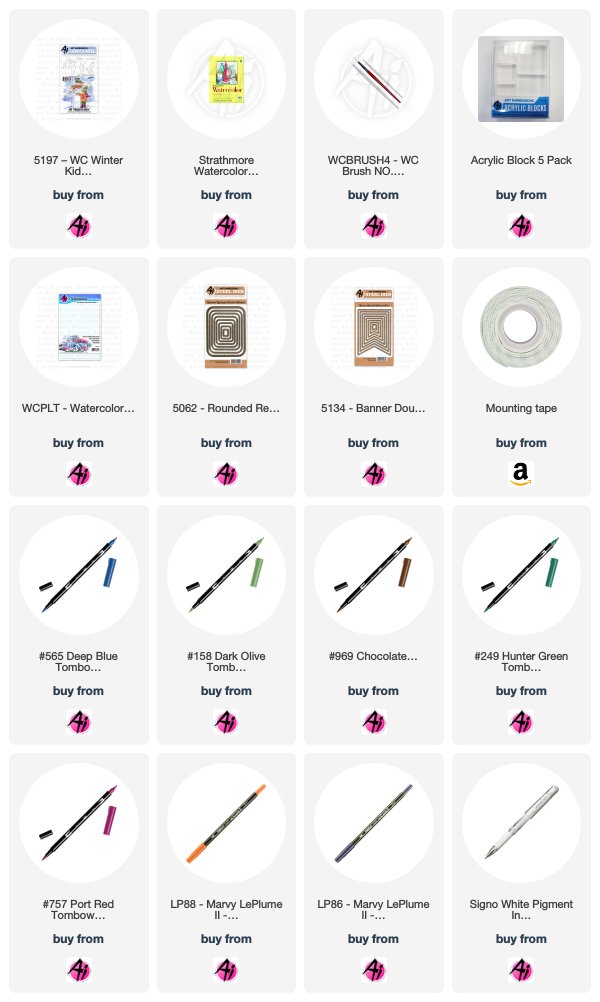
Have you seen the new stamp set from Art Impressions 5197 - WC Winter Kids Set? It is fabulous and my favorite from the new release! I made this card for the Watercolor Weekend and I'm sure I will be making many more in different ways and colors for Christmas. I inked both stamps the same way, in both 969 and 565, then I stamped it off on scratch paper first before I stamped it on my watercolor paper. I pulled the color out of the lines, then I watercolored everything. I used 757 on the snowman's hat band, gloves, scarf and the hat on the little girl and the sweater of the little boy. I used the fine tip to draw the strings on the girl's scarf. You would think I used black on the snowman's hat, boy's boots and little girl's pants but it was just the color of the 969 mixed with the 565 that came out of the 565 pen when I scribbled it on the palette. I used two greens on the clothes and scarves, 158 and 249. I used 757 and the #1 brush to paint the lines on the snowman's scarf. I used 969 on the little girl's boots and the branch arm of the snowman. I used 88 terra cotta for the carrot nose. I used 77 pastel peach on the little kids' faces and 67 bubble gum pink on their cheeks. I used African violet on the palette to paint the snow and sky and shadows on the snowman. I took my fine tipped Copic pen to darken the eyes, mouth and buttons of the snowman and to darken some of the lines of all the images, including the kids' eyelashes. I took my white Uni-ball Signo pen and added snow everywhere. I cut out my image and the background paper with the 5062 - Rounded Rectangle Dies. I typed and printed that sentiment (that you can't say without singing) on my computer and then cut it out using the 5134 - Banner Stitched Dies along with a smaller tag out of the background paper.


Karen Day - Blog - Facebook - Pinterest
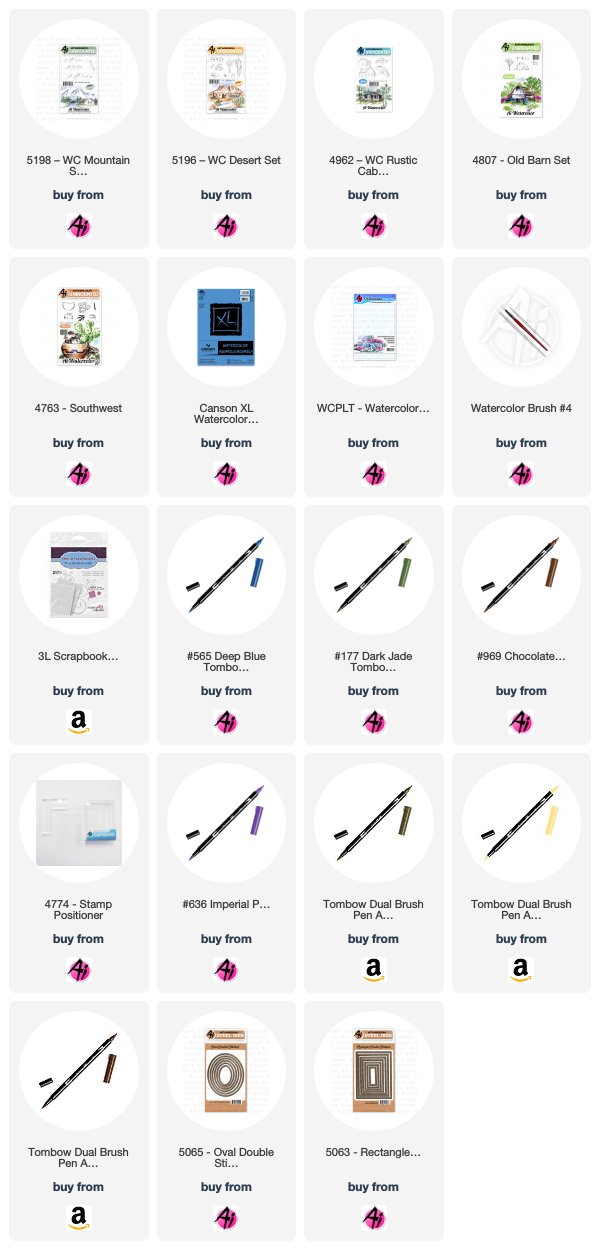
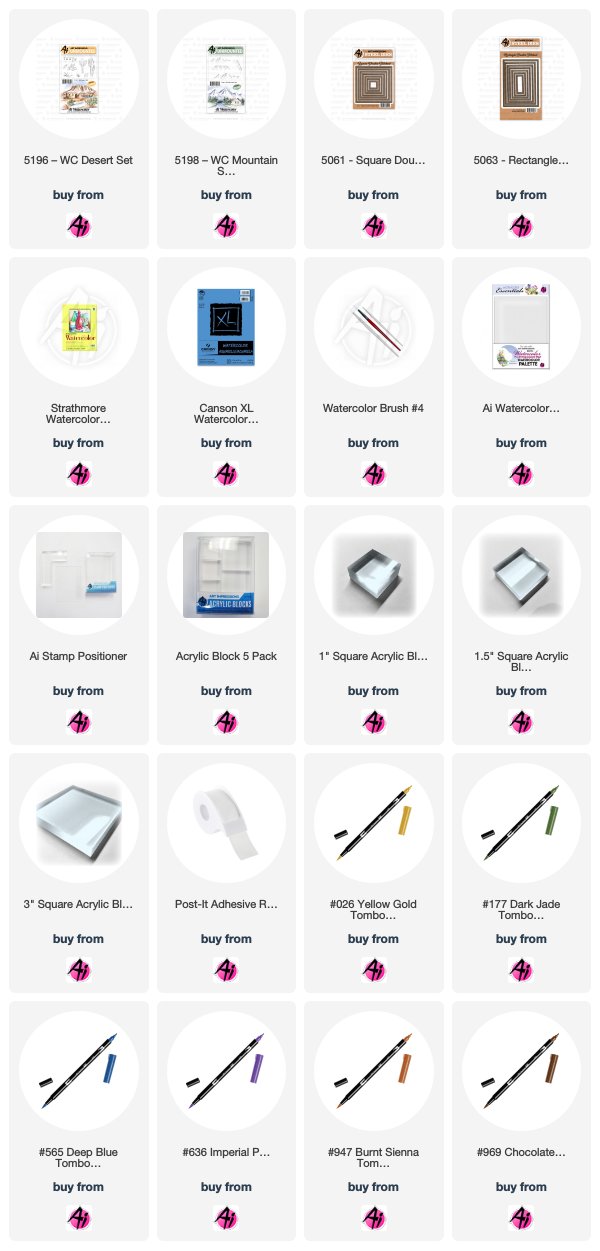
I am using two of the newest sets in the Art Impressions Watercolor line this week to create a couple of Southwestern scenes. I am just going to go through the steps to create my oval image today, and I began by cutting out the 5065 Double Stitched Oval Die from my Canson XL Watercolor paper. I chose the large flat-topped mountain image from 5198 WC Mountain Set, coloured it with my #969 Chocolate Tombow Dual Brush marker, and stamped it slightly right of center, in the top third of my oval. Since I wanted this to look like more of a ranch scene, I chose one of the buildings from 4962 WC Rustic Cabins Set. I coloured it in #565 Deep Blue, stamped it off, and coloured #969 over top of it before stamping onto my paper. With #177 Dark Jade, I coloured and stamped two of the cacti from 5196 WC Desert Set in the foreground, masking each one as I went along. Then I chose the fence from 4807 Old Barn Mini Set, and used my stamp positioner to place it where I wanted, stamping it in #969 over the masked cacti. I added the small rock image from the Desert Set in and around the cabin, fence and cacti, as well as the larger rock image from 4763 Southwest set, all in #969.

With all of my images in place, I used my damp #4 paintbrush to pull out the colour in the mountains, keeping the crevices darkest, and spreading the brown down the mountain. I did the same to the fence and rocks, spreading the brown pigment onto the ground, and creating shadows. For the cabin, I used #N57 Warm Grey 5 to add a weathered wood look to the walls, using my #1 paintbrush to also paint the suggestion of individual boards. I picked up #899 Redwood from my palette, and added a red/brown shade to the door and chimney. I pulled the green out of the cacti with my brush, keeping the top edges of them light or white as a highlighted area.

Now I scribbled some #565 Deep Blue onto my palette, using it to paint in the sky, add shadows to the mountain, cabin, fence and rocks, keeping in mind that the sun was setting on the right side of my image. I used the fine point of my #565 marker to add shadow lines directly to both cacti, and on a few other areas of my scene. I also used the fine point of #991 Light Ochre to draw small yellow lines on the top edges of the cacti, to add a sunny glow to the highlighted areas. Lastly, I picked up #636 Imperial Purple from my palette, adding touches of colour to the sky, mountains and shadows, which really helped the scenes from becoming too 'brown'. I matted my images on some warm brown cardstock, and adhered them to my patterned paper with pop dots.


Tricia O'Bin - Blog - Instagram - YouTube - Pinterest - Facebook
WOW, can you believe it is already October!!! Fall is in the air. I love this time of year. Fall in New England is the best. I wanted to use some fall colors along with one of the new shoes. I decided to make a Vintage Flower card. I wanted it to be really soft and old looking so I used some 969 and some 636 for a soft purple color. 

Card Details

I started off by inking up the Vintage shoe from the New WC Shoe Set with 969 and 636. I stamped it off a couple of times and then stamped it in the middle of my watercolor paper. I pull the color out of the lines making sure to keep the shadowed area really dark. I added some additional color from my TwinTouch brown marker. I love it's fine tip. Using my palette, I added some additional 636 to some of the darker areas on the shoe.

I took the vine from the original foliage set and inked it up with 177. I added it to each side and around the top of the shoe. I used a damp brush and softened the leaves. I took the small flowers (shaped like hearts) from the Bible Flowers Set. In order to get a balanced look, I inked the flowers in 055, 856, and 925. I stamped them 3 times each around the shoe trying to maintain an oval type shape.


Thanks, team! With such different projects today, it's a fun reminder that the possibilities are endless with our watercolor stamps! Want to cling onto the heat of summer? Paint up a desert scene inspired by Karen's creations! Ready for winter? Why not build a snowman with Dot? Just want to enjoy the fall season we are in? Make an autumn floral arrangement like Tricia's shoe bouquet! We can't wait to see what stamp this weekend! Share your creations with #aistamps on Instagram and Facebook!

Happy Stamping!

Wednesday, October 2, 2019

NEW VIDEO! Autumn Swing Watercolor

Hello Ai Fans!

The seasons are changing and the colorful leaves here in Oregon inspired this week's Watercolor Wednesday! Bonnie featured another set from our latest release - the WC Swing Set! We love the elements she pulled from the WC Desert Set, WC Foliage Set 4, WC Branches Set, and WC Flower Set 1 to add pops of red and yellows to this bench design!

Hop over to our YouTube channel if you have missed any of our latest videos and leave a comment on this video of any autumn or winter scenes you would like to see! We are excited to bring you new seasonal designs in the next coming weeks!


View on YouTube: https://youtu.be/T7MlkP_Fayw


Wednesday, September 25, 2019

NEW VIDEO! Desert Sunset Watercolor by Kendra Krebs

Hello Ai Fans!

We have a creative and colorful new Watercolor Wednesday for you this week! Kendra Krebs is back to share our NEW WC Desert Set in this circular scene with a stunning skyline! Kendra uses many of the elements from this set, but also adds some blooms to the cacti from our WC Mini Flower Set!

Make sure you are subscribed to our YouTube channel for all our latest videos, including our new release videos!


View on YouTube: https://youtu.be/P9dG1pDJkdM


Saturday, September 21, 2019

Watercolor Weekend Roundup - Rustic Fall Projects!

Happy Fall, Ai fans! We're so excited to watercolor with autumn hues, and the team is here to share some lovely rustic projects today! Let's take a look at what the team created today. Remember to follow these ladies on social media by visiting the links next to their names!

Dot Freel - Instagram - Blog - Pinterest
Have you seen Art Impression's new 5198 - WC Mountain Set? I'm in love with it! It comes with two sizes of traditional mountains and two sizes of Southwestern mountains. They are so easy to use yet make a wonderful impact on any scene! This is my card for the bi-monthly Watercolor Weekend on the Art Impression's blog. I stamped the mountain in 969 and pulled the color out of the lines. I watercolored them with four different colors - 977, 757, 969 and 933, trying to get that orange color of the Utah mountains that my adventurous son Brad (with his dog Sgt) always captures in his photos. I used this photo below for inspiration.
Next, I stamped the boot in 969 from the 4871 - WC Rustic Container Set then colored the bottom with 969 and the top with NO. 17 steel blue. I used the flowers from 4868 - WC Flower Set 2 and stamped them in the steel blue and 158. I stamped the cacti in 177 from the 4763 - Southwest Set and then added 228, 155, NO. 48 leaf green and No. 52 yellow green to them. I used the fine tip of the No.72 pine green to draw some of needles back in. I stamped the rocks in both 969 and 565. I stamped the flowers with 933 from the 5009 - WC Mini Flower Set on top of the round cactus. I stamped the grasses in 977 from the 5126 - WC Foliage Set 4 then added that color to the ground from the palette. I added dots with the fine tip of the sepia pen. I used 565 to add the shadows, the sky and to darken the boot heel. I cut out my scene with the largest 5061 - Square Double Stitched Die and used double sided foam tape to adhere it to the base which I cut out using the largest of the 5063 - Rectangle Double Stitched Dies. I stamped the happy birthday from the 4194 - Buzzard stamp and cut it out with the 5132 Tag Stitched Die Set.

Karen Day - Blog - Facebook - Pinterest
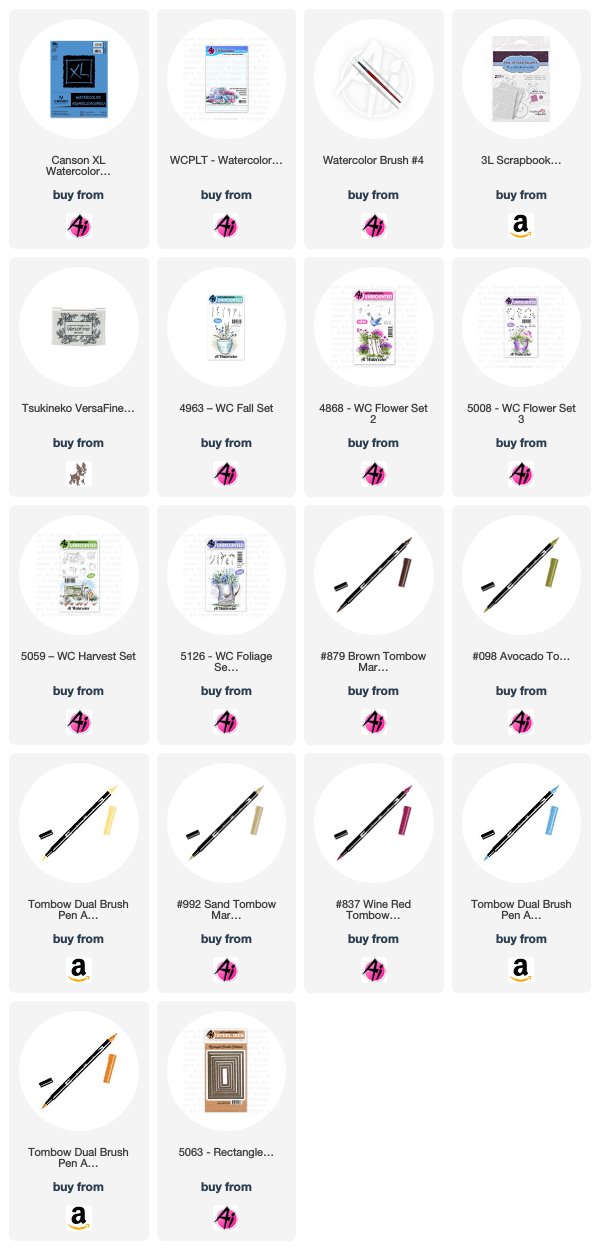
I began my wreath by tracing a 2 1/4" circle onto my Canson Watercolor paper with a pencil, to use as a guideline. I picked my colour palette of softer, faded colours of Tombow Markers. Using #098 Avocado, I coloured up the leafy branch from 5126 - WC Foliage Set 4, stamping it in first and second generation in four clusters around the circle. Using both of the vine stamps from the same set, I coloured them both up in #992 Sand and tucked them around the greenery (I love it that there are two vines bending in different directions - they make great filler stamps on a wreath!).
Now I wanted to add in the pumpkin elements before my wreath got too full, so I started with the cluster of tiny flowers from 4868 WC Flower Set 2. Using #533 Peacock Blue I stamped them 3 times in a circle in the lower left corner of my wreath, and then tucked them in three other places around the perimeter. Starting with the smaller pumpkin from 5059 - WC Harvest Set, I coloured the body in #946 Gold Ochre, and the stem in #098 Avocado. I masked it, and stamped the larger pumpkin behind it. I softened the lines with a damp #4 paintbrush, pulling out the colour - leaving the top edges white as the highlight. I picked up some #879 Brown from my palette adding shadows to the lower sections of the pumpkins, and in their crevices. I took the wheat image from 5008 - WC Flower Set 3 (I think it's supposed to be lavender, but today they are wheat stalks!) and colouring it with #991 Light Ochre - I stamped them repeatedly behind the pumpkins, and cascading below them. And finally I used one of the berry images from 4963 - WC Fall Set coloured in #879 Brown and #837 Wine Red for the berries, and tucked them in and around the wreath where I could. I only dabbed lightly with my damp brush, as I don't want the lines of the images to deteriorate with the addition of too much water. I picked up #098 from my palette, and wherever I had white space, I hand painted in a few extra leaves. The sentiment is from the 4205 - Harvest TF Set, stamped in Versafine Onyx Black ink. I die cut my panel with the 5063 Double Stitched Rectangle Die, matted it with black cardstock, and used 3D pop dots to adhere it to my kraft paper base. I added a few amber coloured tiny sparkles to finish it off. 

Tricia O'Bin - Blog - Instagram - YouTube - Pinterest - Facebook
It’s that wonderful time of year again, FALL!! It is my next favorite time of the year, Winter being first LOL. I decided to make a really sweet fall scene. I put one of the little sitting boys on the tire swing.

To start I masked off around my picture using Post-It tape. This gave me a nice clean border around my picture. I inked the tire, from the NEW Swing Set, up with 569 and 969 and stamped it slanted in the middle of the paper. I wanted it to look like it was swinging in the air. Using my #4 paintbrush, I pulled the color from the lines making sure to leave some white space in the middle of the tire. 

I masked off the tire with some Post-It tape and, using my positioner, stamped the sitting boy from the Little Boys set. I stamped him off once and placed him on the tire. I pulled color out of the lines to just the shadowed areas. I didn’t pull any color into the face. I added some 47 to my palette and added it to the face, neck, arm and foot. I added 526 to my palette and added it to his overalls.

I stamped the small leaves from the Foliage Set 4 set in yellow, red and orange randomly around the top of the picture. I added some water to them to create a feeling of trees with their leaves changing into Autumn colors. I added some 569 between the trees and the boy as a sky. I added some 249 to my palette and painted in the field and mountain. I used it to also ink up the pine tree from the Trees set. I stamped these randomly to the left and right of the boy to create some depth. I added water to them. 

I inked the branch from the Desert set in 969 and stamped it along the bottom of the painting. I again used my small leaves stamp inked in 757, 925 and 025. I added water to the leaves. I added some additional color between the trees to extend the grass.

Using a small ruler and my black marker, I drew a line from the trees to the tire swing. Finally, I signed and dated the picture. 

I cut the painting down to 4.75 x 3.5 and mounted it on a piece of Gina K Designs Red Hot cardstock. I added that to a white card base.

I hope you get to do some water coloring this weekend! Be sure to tag us on Instagram with #AIWatercolor so we can see what you are working on.

Thank you so much for stopping by and I hope you have a great weekend!
Thanks, team! We love these projects in lovely fall colors! The reds, oranges, and browns really pop in your cards!

We hope these cards have inspired your weekend creations!

Happy Stamping!

Wednesday, September 18, 2019

NEW VIDEO! Desert Scene Watercolor

Hello Ai Fans!

It's our favorite day of the week - Watercolor Wednesday! Last weekend, we were in Mesa, Arizona for the Scrapbook Expo and loved sharing our NEW WC Desert Set with so many of our fans in that area! Bonnie starts week three of our WC Mountains using the plateau in the set and features the saguaro and prickly pear cacti and adobe home from the Desert Set in this design. This is a great project to learn foreground and background and don't miss Bonnie's tip on mixing colors for the cacti!

We want to hear from you! Leave a comment over on this Desert Scene video letting us know what this scene reminds you of!


View on YouTube: https://youtu.be/sioh33Z9rqw


Thursday, August 29, 2019

NEW Watercolor Sets NOW Available! PLUS, Challenge 265 Watercolor Stamping!

New Watercolor Sets
Watercolor enthusiasts rejoice! We have FIVE new Watercolor sets available today at artimpressions.com! Bonnie's newest favorite is our WC Shoe Set, featuring footwear from baby to antique boots, which you can fill with your flowers and foliage. As we draw closer to the holiday season, Bonnie created a WC Winter Kids Set, with the littles dressed in their snow gear and one even giving a hug to a snowman. Use your critters or kids sets with our new WC Swing Set for nostalgic outdoor scenes. For our southwest friends, we included a WC Desert Set featuring cacti, an adobe house, tall grasses, rocks, and twigs. You can also use the WC Mountain Set plateaus with our Desert Set, or add a snowy mountain in the background of your watercolors! The possibilities are endless!


Watch the video below, as Bonnie introduces the summer release and all her favorite details. You can add all five sets to your collection at artimpressions.com!
 
WC Mountains   Winter Kids Winter Kids  
WC Shoe Set   Boy Shoes
Swing Set Swing Set   WC Desert Set Desert Scene  

Let's take a look at what the designers have created today! Remember, you can visit the designer's blog or social media by clicking the pink links by their name - and give them a follow while you're there for more inspiration in your feeds!

Dot Freel - Instagram - Blog - Pinterest
 
Hello Friends,

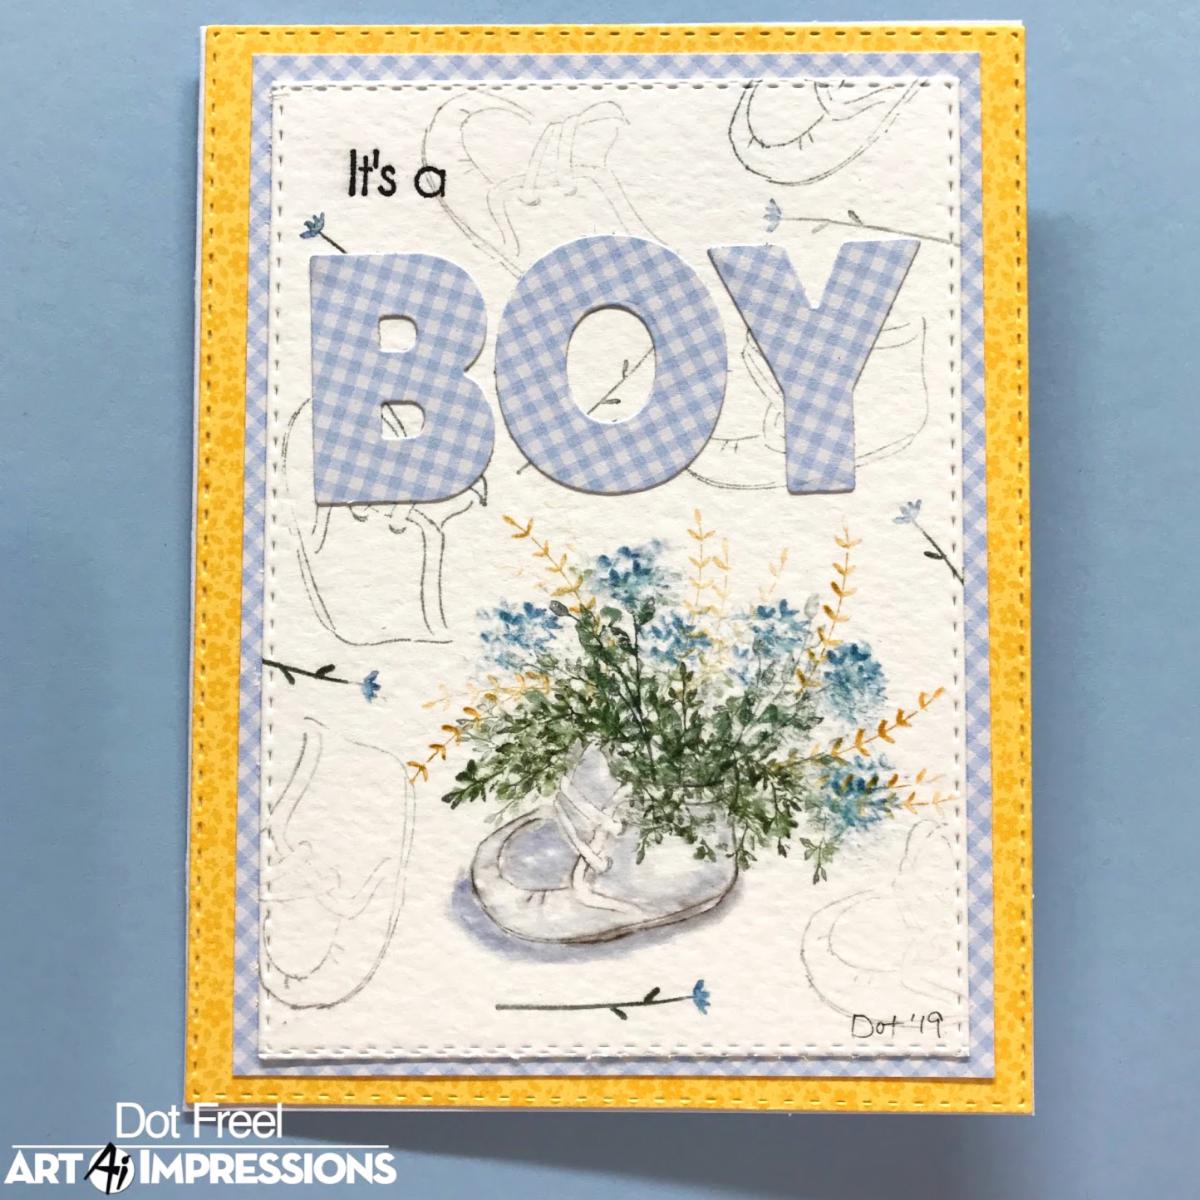
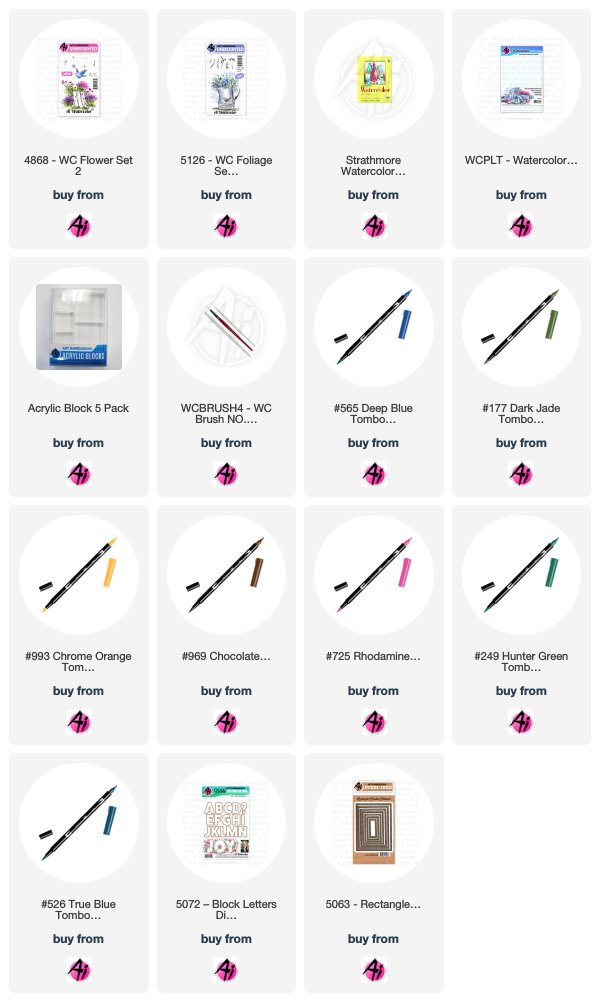
Have you seen Art Impression's brand new stamps 5194 - WC Shoe Set? There are 6 different shoes! I actually had these little white leather shoes for all three of my sons, long ago, when they were babies. Some people even had them bronzed and mounted on a plaque. I stamped the shoes in two colors, first the 969 then the 565. I stamped them off on scratch paper first and then pulled the color out of the lines. I added the foliage from the 5126 - WC Foliage Set 4 in 177 and 249. I stamped the longest ones in 105 lt. teal for the girl card and in 993 for the boy card. I stamped the heart flowers from the 4868 - WC Flower Set 2 in 725 for the girl card and in 526 for the boy card. I used 565 to paint the shadows under and on the shoes. I stamped the shoe again in random orientations all over the background using Memento grey ink. I stamped the long stem flower all over both cards as well. I used the 5072 - Block Letters Die Set to cut out the words "girl" and "boy" and ran the letters through a Xyron Create-a-Sticker. I used the 5063 - Rectangle Double Stitched Dies to cut out the background pieces and the watercolored pieces to complete my cards.


Karen Day - Blog - Facebook - Pinterest
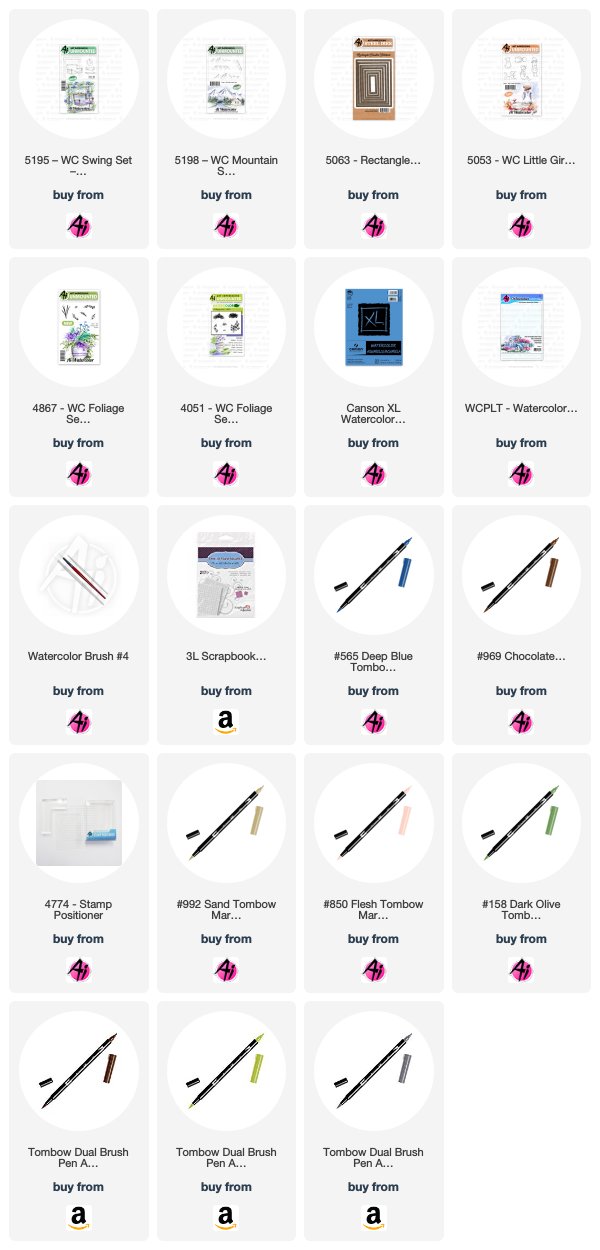
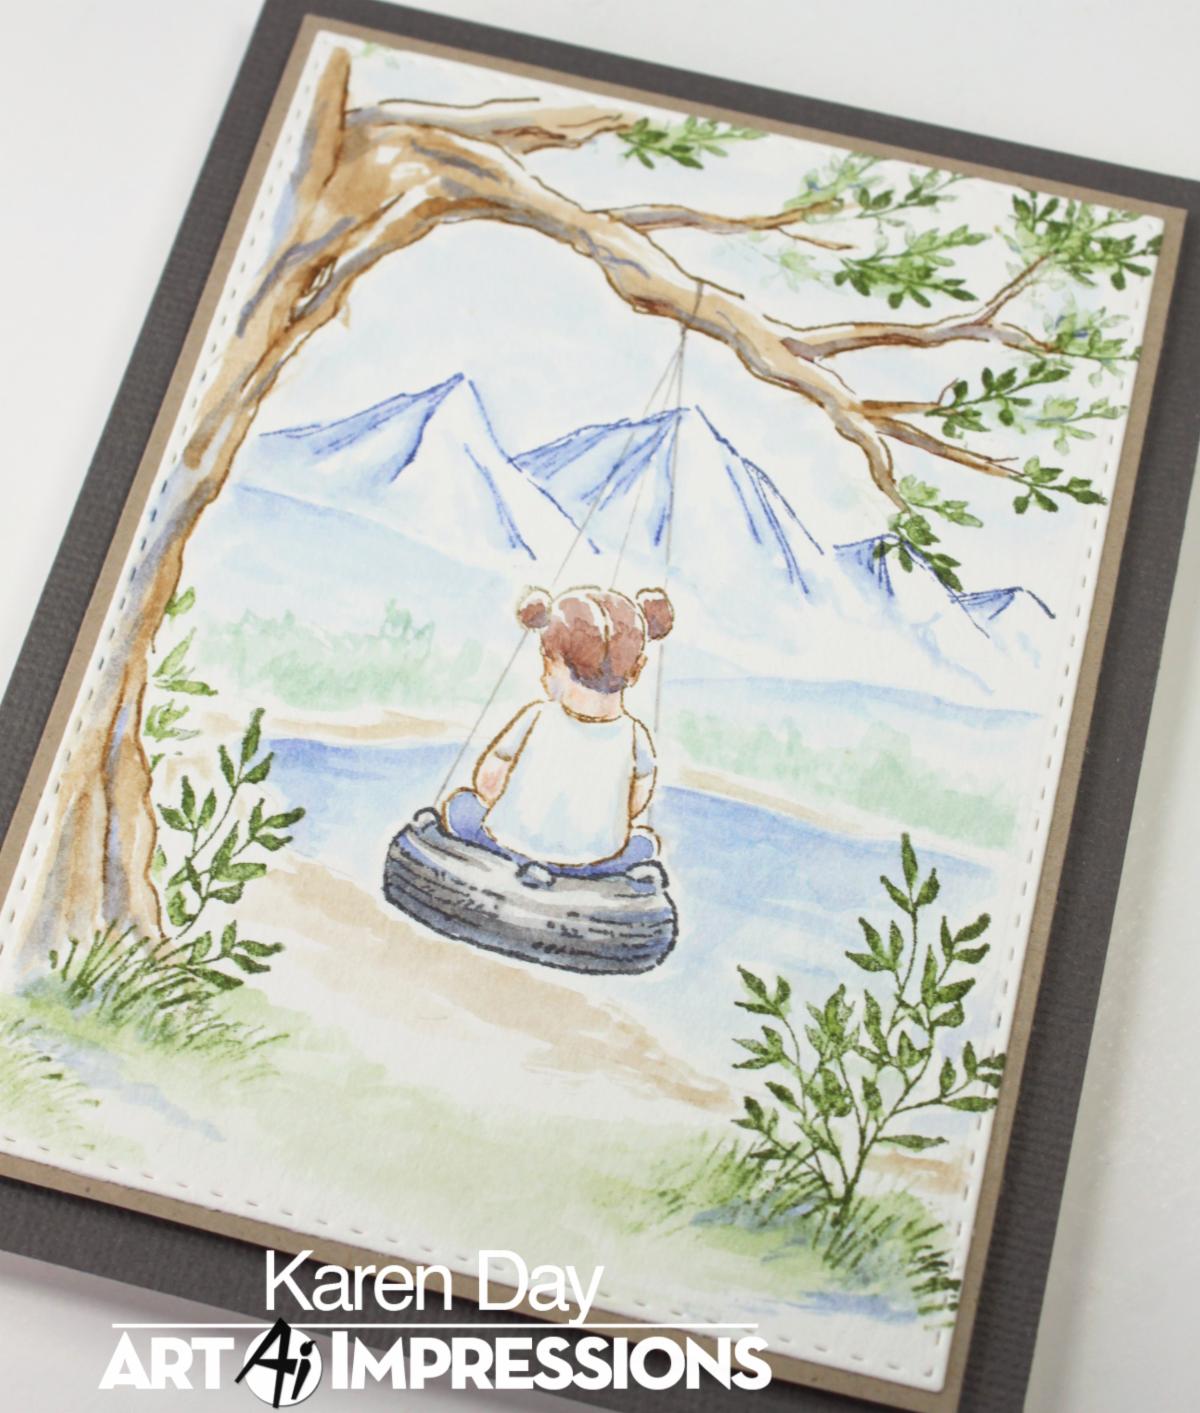
I had the idea to combine these two sets on my projects, so decided to use the tire swing from 5195 WC Swing Set, the mountains from 5198 WC Mountain Set, and created a scene around them. I first sketched out my idea on scrap paper to determine exactly where I wanted things to be - nothing worse than being half way through a scene like this, and stamping your mountains too high! It also helped me determine that my tree swing would be up on a hill overlooking a lake and the mountains beyond. I started by diecutting my Canson XL watercolour paper with the 3 3/4" x 5" Rectangle Double Stitched Die, and I sketched in my tree with a pencil. Using #N45 Cool Grey 10, I coloured and stamped the tire, and then masked it. With my stamp positioner, I placed the little girl from 5053 WC Little Girls Set, coloured in #992 Sand. With my #1 paintbrush, I added #850 Flesh to her skin, and #899 Redwood to her hair. With the fine point of the #992 marker, I added short sleeves to her t-shirt. #565 Deep Blue was painted as her jeans, and after adding more water to it, I used it to add shadows. I added several layers of the N45 to the tire to build up the colour, creating it darker on the underside of it. Next I stamped the mountains, after colouring them with 2nd generation #565, and a layer of #533 Peacock Blue over top. I used my damp #4 paintbrush to soften the lines and pull out the colour to add shading to the mountains. I painted in the hills in front of them, and the lake - pulling the colour from my palette, and used a light wash for the sky. I used my Twintone marker in #41 Chocolate to outline my tree, and added a few texture lines to the trunk. I painted shades of #969 Chocolate over the entire tree, keeping it darker on the undersides of the branches, and added #565 as shadows. With the large leafy image from Foliage Set - 4051 coloured in #158 Dark Olive, I added greenery on either side of the swing, and softened it by dabbing with a damp brush. I also used the Jumbo Grass stamp with #158 stamping it multiple times, then using the colour from them to paint a suggestion of a grassy bank. I picked up #992 from my palette and painted in the shore line around the lake. And finally, to add leaves to the trees, I used the larger leafy image from 4867 - WC Foliage Set 2 New. Oh - and the last step was to use a fine point grey marker to draw in the chain of the tire swing. I matted my image with a light kraft cardstock, and used pop dots to mount it on some textured dark grey cardstock.


Tricia O'Bin - Blog - Instagram - YouTube - Pinterest - Facebook
First I inked up the entire cactus from the NEW Desert Set with 126. I then added some 249 to just the areas I wanted to be a little darker. I stamped it towards the bottom right hand side. Next, I masked it off, re-inked it with the same colors and stamped it to the left of the first one but down a little. I pulled the color out of the lines. 

I inked up the southwest house with 969 and stamped it to the left of the cacti close to the middle of the paper. I masked it off and stamped the Large mountain from the NEW Mountain Set inked with 969. I also used the same smaller mountain inked in 969 and stamped it a little up and to the right. I wanted it to appear to be further back. I pulled the color out of the lines, making sure to leave white highlights. I pulled some additional color underneath the mountains to give them some depth.

I added some 565 to my palette and added it between the mountains for a small river flowing between the mountains. I added 969 to my palette and added some additional ground around the river and darkened beneath the mountains. I added some 969 and 847 to the small grass and stamped it on either side of the house. I pulled the color up and out of the lines. I added water to the house making sure to make the left really dark. I pulled color out of the lines around the house. I continued to add 969 from my palette to create more ground.

I added some 969 to the small rocks and placed them to the left in the white space. I pulled the color out of the lines making sure to leave a highlight. I added some pink to the cactus and added water. I replaced the mask on the cactus, inked up the other cactus in the set with 177 and using my positioner stamped it to the right of the cactus. I pulled the color out of the lines and added some additional 126. I added the small cactus near the rocks and pulled the color from the lines. Using my fine tip, I added some dark shadows beneath the house and softened them with water. I continued to add 969 and 847 to the ground.

Finally I used some 565 watered down to create clouds in the sky. Lastly, I signed it.


Thanks, team! Your projects are so inspiring and fun to see in your unique styles!

For our new challenge, we want to see you try watercoloring stamping! You can watercolor the art impressions way or another watercolor stamping technique, we can't wait to see!

Here are the Challenge Rules...
✻ Please make a new card or creation. You can make any crafty item you wish; this is not limited to cards!
✻ Limit two submissions per person. You will receive extra votes if you use Art Impressions stamps!
✻ The Ai Challenge is open to everyone, international submissions are welcome!
✻ Include a link back to the Ai Blog or grab our button on the top right of our sidebar!
✻ Share the Ai love by clicking and commenting your fellow crafters.
✻ Make sure to get your link up by the deadline to enter your creations.
✻ Good luck and happy stamping!
You are invited to the Inlinkz link party!
Click here to enter

Before we go, let's recognize the winners of last week's Gotta Gingham challenge!

Top Spot goes to...

Reeta!

Congrats, Reeta! We love your Perfect Duet singing on this easel card with pretty pink and red gingham paper! Such a sweet anniversary card! Email annelise@artimpressions.com with your address to claim your prize pack!

Honorable Mentions go to...

Mary Ann!

Helen F!
 Congrast, you two! Mary Ann, we love how you created a nostalgic card with your class WC Truck image! Thanks for joining us in class at Scrapbook Expo! And Helen, we love your blue-toned gingham with this snowy scene with our retired Whoots set! Too cute. Email annelise@artimpressions.com with your address and a stamp set of your choice!

We hope to see your entires and more in our new challenge! Have an awesome weekend!

Happy Stamping!