Showing posts with label WC Rustic Container Set. Show all posts

Sunday, January 28, 2024

Buggy Valentines, Bunnies and Bees by Jami Steiger


Watercolor Weekend January 28, 2024


Hello everyone!  I hope everyone is having a great weekend.  

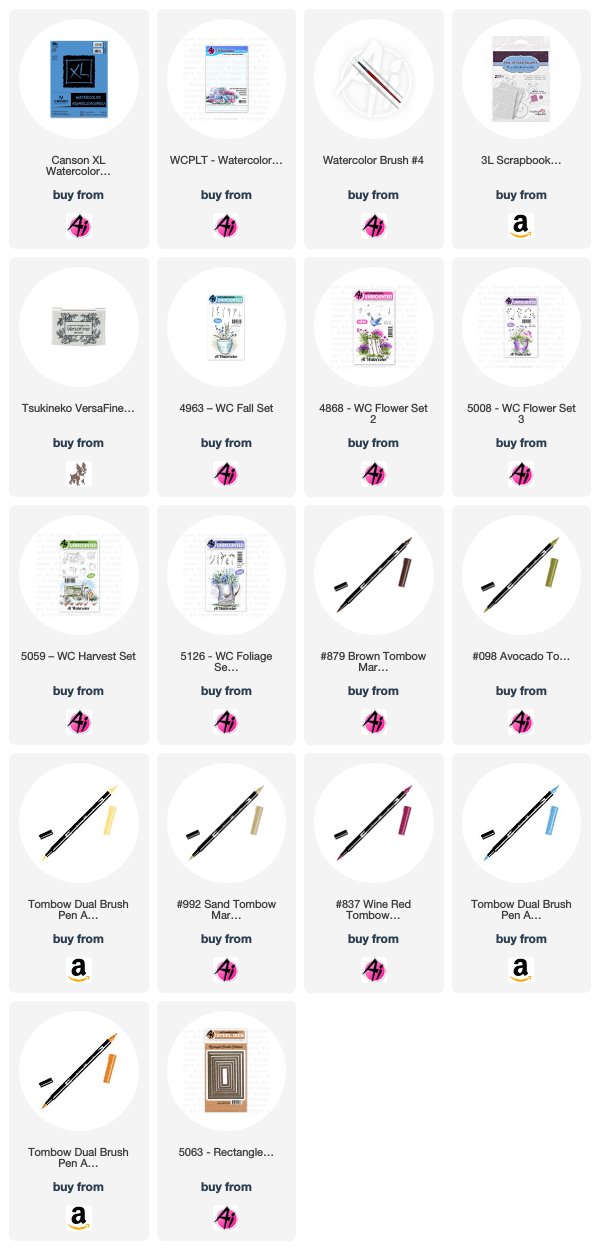
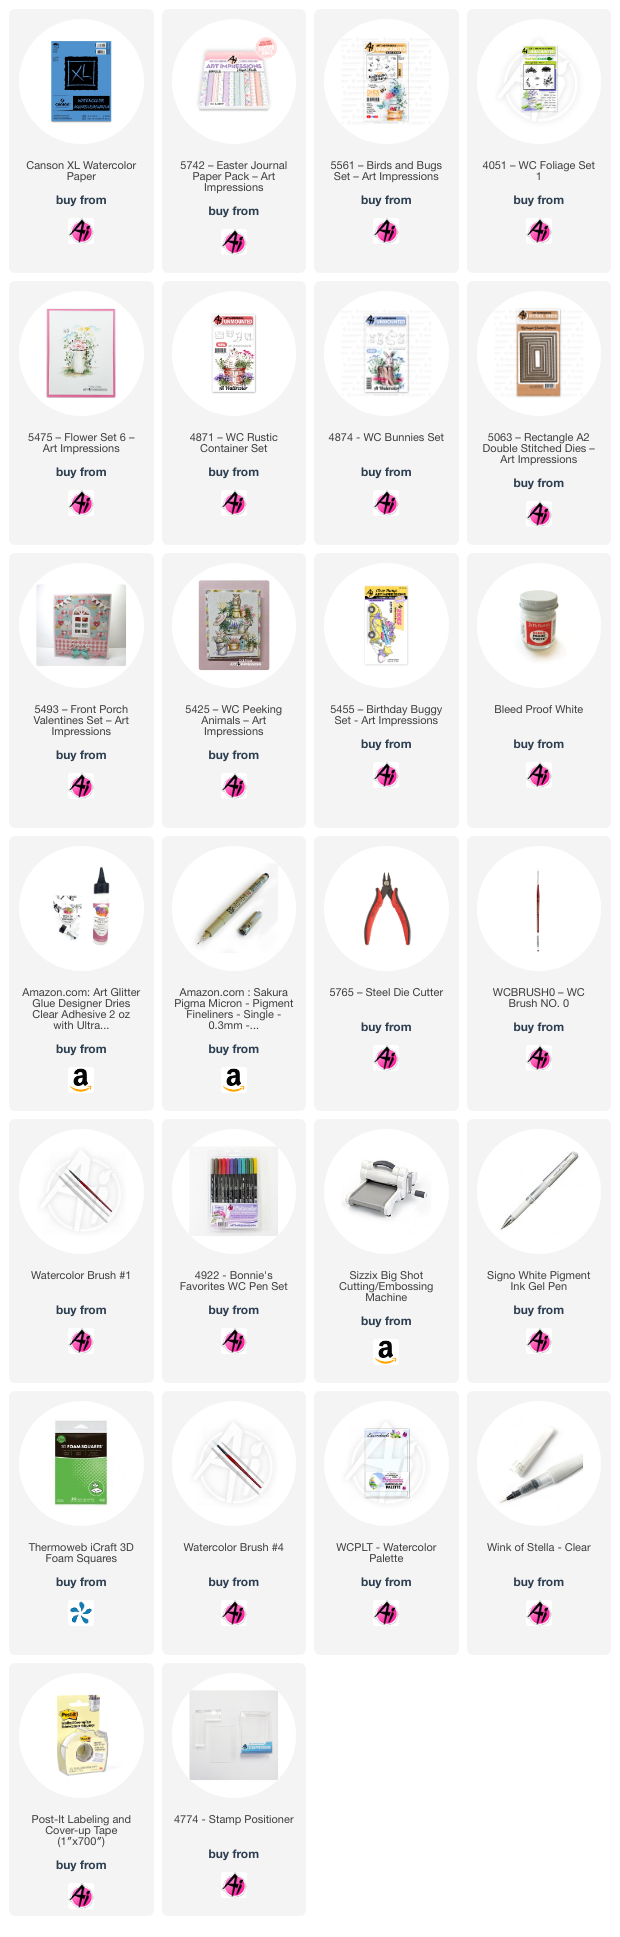
For my first card I wanted to make a Valentine card using the Ai set #5455 Birthday Buggy Set.  I love vintage VW Bug cars so I painted the car using Tombow marker #312 because that would be my dream color.  The balloons were each painted using Tombow marker #835, 817 and 772.  It is hard to see in the photo but I also added Wink of Stella in clear for a pretty shimmer.   For the red balloon I popped it up for added dimension. The heart balloons also came from set #5455.  I added the mouse from set #5425 WC Peeking Animals.  I wanted to add some more heart elements to the design so the heart garland was used from set #5493 Front Porch Valentine Set.  It is always fun to look at your stamp sets and dies to see if an element can be used to add interesting detail and texture to your card designs. The final touch was adding some flowers from set #5475 WC Flower Set 6.  The flowers were painted with Tombow #526, 817 and 177.  When all of the elements were painted I then die cut some clouds and the words "I love you".  To complete the card I used die set #5063 Rectangle Double Stitched to cut out my watercolor paper and then matted onto red cardstock.


 I am thinking ahead to spring!  It has been a cold, wet winter here in Ohio! 
 If you don't know me my favorite color is pink so this card was really fun for me to create.  I first started by painting the bunny in multiple colors.  I used shades of gray and added some rust color for added depth.  The bunny is from set #4874 WC Bunnies Set.  Next it was time to paint the stump from set #4871 WC Rustic Container Set.  I first stamped off the stump twice after coloring the stamp with Tombow markers #969 and 569.  Then I pulled out the color for shading and then I used Dr. PH Martin's to give the stump a more weathered look by brushing on the white using a "dry brush" technique meaning to not have much water on the paint brush and just lightly going over the image with the paint brush.  All of the flowers came from set #5475 WC Flower Set 6 which was perfect because there is a matching left and right directional flower.  I wanted to draw the eye towards the bunny in the center.  For the flowers I used Tombow markers #526, 025, 772 and 177.  The small grass from set #4051 Foliage Set was used to complete the setting.  For the final touch I added a bee from set #5561 Birds and Bugs Set.  I used the gorgeous pink gingham from the #5742 Easter paper pack.  


For the inside of the card I had a piece of paper left over so I took a paper punch and punched the edge of the paper to add design.


  • Thank you for taking the time to read my long posting.  As usual, if anyone has any questions please ask.  I am more than happy to answer any questions.  I hope you all have a wonderful day!


Saturday, November 16, 2019

Watercolor Weekend Roundup - Sparkle & Shine Holiday Cards!

Hello, Ai Fans! We've been looking forward to Watercolor Weekend all week! Today the team is here with some awesome holiday inspiration! Let's take a look, and don't forget to follow these ladies on their social media platforms in pink next to their name for even more inspiration throughout the week!

Dot Freel - Instagram - Blog - Pinterest
Hello Watercolor Friends,

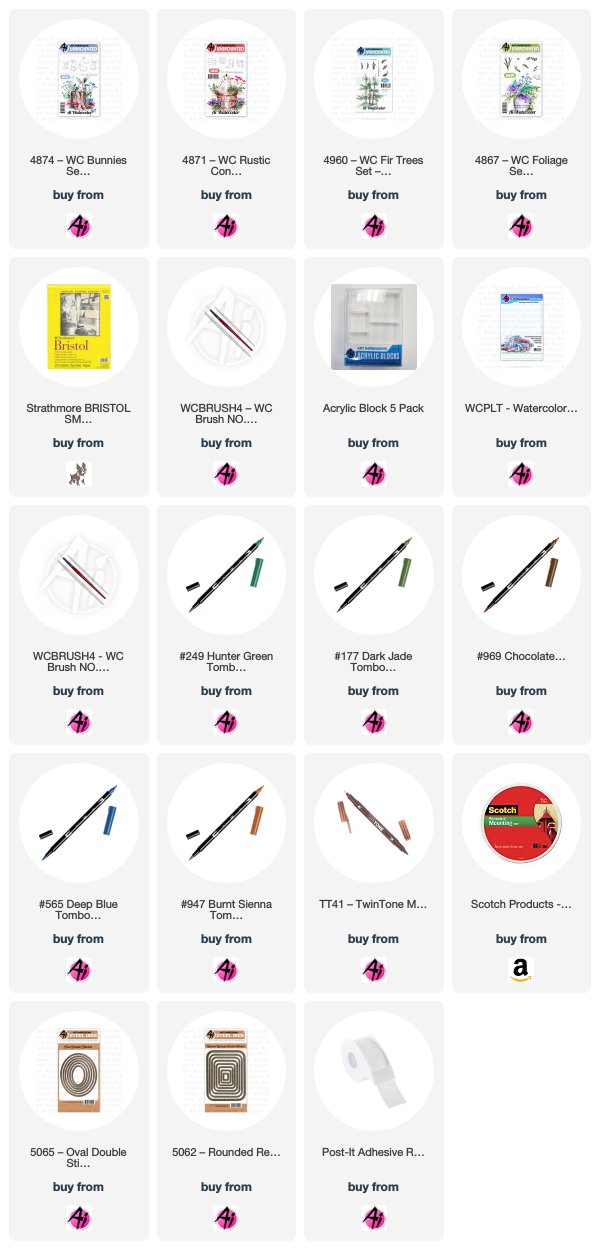
Don't you love Christmas trees? I hope you like my Christmas tree card for the Art Impressions bi-monthly Watercolor Weekend. The first thing I stamped was the bunny in brown 969 from the 4874 - WC Bunny Set and then I stamped it on post-it tape to make a mask. I stamped the barrel from the 4871 - WC Rustic Container Set after inking it in blue 565 and then brown 969. I watercolored the bands with N25 on the palette and the wood parts in 947. I watercolored the inside of the ears of the bunny in 772 and then I took the fine tip of the brown Tombow TwinTone to the eyes, nose and other areas that needed to be darker. I stamped the tree trunk from the 4960 - WC Fir Trees Set in 969 and the branches in two greens, 177 and 249. I dabbed all over the tree with a wet brush and then stamped more branches and repeated my process to really fill in the tree. No Charlie Brown trees for me, I like them fat and full. I stamped a branch from the 4964 - WC Branches Set with the 969 and then added leaves in 177 from the 4867 - WC Foliage Set 2. I dabbed at the leaves with a wet brush and then I took the fine tip of the red 847 to make the berries. I watercolored with 565 for the snow on the ground and the sky. I dabbed circles of glossy accents all over the tree and then I sprinkled red glitter on them. After I used a hot gun to dry the glossy accents, I cut out the scene with the largest die from the 5065 - Oval Double Stitched Die Set. I cut out the background piece of white glitter paper with the largest die from the 5062 Rounded Rectangle Die and then put it all together on an A2 card base.


Karen Day - Blog - Facebook - Pinterest
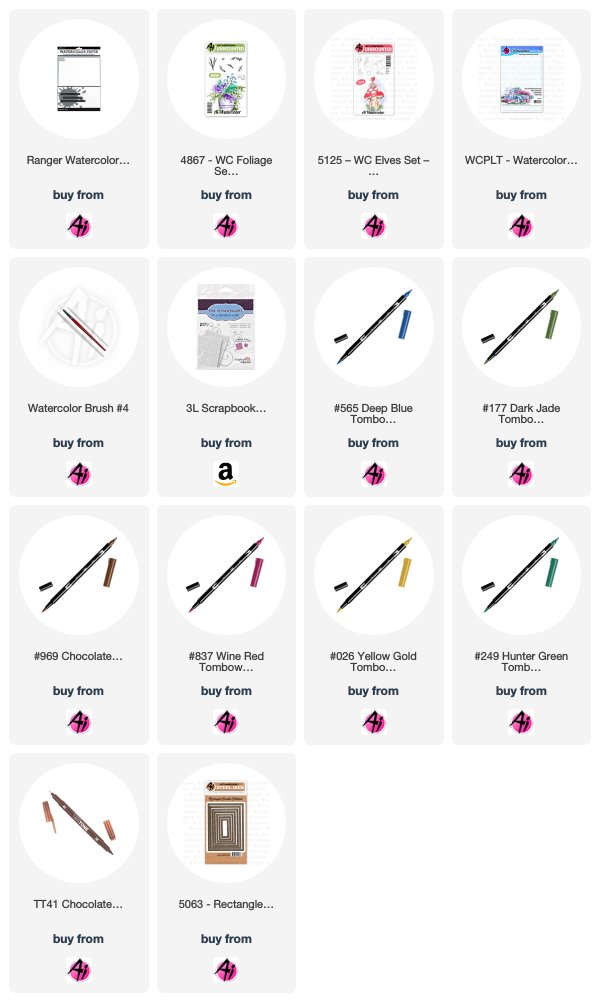
There was a lot of pre-planning on scrap paper for this one! I wanted to use all four elves from the 5125-WC Elves Set, so I played around with positioning based on their poses and the angle of how their heads were tilted, until I got something that I could work with. I also wanted them to be in and around the presents, so had to figure out the shape of the parcels, while still leaving room for the branch to hang down. I positioned all four elves on the same block to ensure they were placed correctly, and coloured them first in Tombow #565 Deep Blue, and then #969 Chocolate - stamped them off on scrap paper and then onto my Ranger Watercolor Paper. With a pencil and ruler, I drew in the presents, and lightly drew a line where I wanted the branch to be. 
The elves are painted with #837 Wine Red, #177 Dark Jade and #969 for their shoes. A touch of #850 Flesh for their skin tone, and #026 Yellow Gold and #969 Chocolate for their hair. The presents are painted with #026, #565, #969 and #N65 Cool Grey. I layered the colour to get the darker shades on some sides of the boxes, and went in with the fine points of the markers to draw the crisp edges of the boxes in. I dove into my Christmas wrap to dig out a bow, and loosely sketched it in on the large present, painting it in with #565 Deep Blue. With the pine bough from 4867 - WC Foliage Set 2 New, and my #249 Hunter Green marker, I repeatedly stamped it to create the tree branch. After dabbing it lightly with my damp #1 paintbrush, I went back in with the fine point to draw in a few needles, and darken a few areas. I picked up #565 from my palette, and painted a faint blue wash in the background, and also used it to add shadows in and around the elves & presents. 
Since this paper has a fair bit of texture, some of the definition of the elves had been lost in the stamping, so I used my TT41 Chocolate TwinTone Marker to redraw the outline of the elves. The image is die cut with one of the 5063 - Rectangle A2 Double Stitched Dies. I wanted a softer edge to my scene, so I used blending brushes with two shades of Distress Oxide Inks (Evergreen Bough & Blueprint Sketch) to shade the outside of my rectangle giving it a bit of a soft focused look. I matted it with some dark blue cardstock and adhere it with pop dots onto my plaid card base, then wrapped it with an organdy bow. A few sparkles liven it up a little!


Tricia O'Bin - Blog - Instagram - YouTube - Pinterest - Facebook
Hey watercolor fans! Welcome to another Watercolor Weekend. With Thanksgiving coming up soon I thought I would do a simple Blessed & Grateful Harp. I love the elegance of the harp. I just love the shine that the Wink of Stella adds. I hope you have a wonderful Thanksgiving and feel as blessed as I do.

Project details

I started out by inking the harp with Yellow. Then, using a light hand, I i
nked it with the Brown sporadically around the stamp. I wanted to create a mixture of color without losing the Yellow. The stamp is pretty delicate, so I decided to use my #1 brush to pull the color out of the lines. I also used it to pull the color slightly out of the strings, making sure to hold my brush vertical to keep the lines thin. I added some additional color from my palette.

Next, I inked the small vine from the Foliage Set 4 with the Green. I wanted it to be more of a Hunter Green so I used 249 but any green will work. I added water to the leaves. I knew that I was going to use red and I didn't want them to mix and make brown. I inked the small dots from the Mini Flower Set with Red. I added water to soften the blooms.

I added some Brown mixed with Blue to the bottom of the harp to ground it. To create some additional depth and interest, I added some blue to the background. To make the harp look like gold, I added some Wink of Stella to it. Lastly, I signed and dated my painting. 

That's it! Amazing right. You can create some quick and easy paintings that come out amazing.

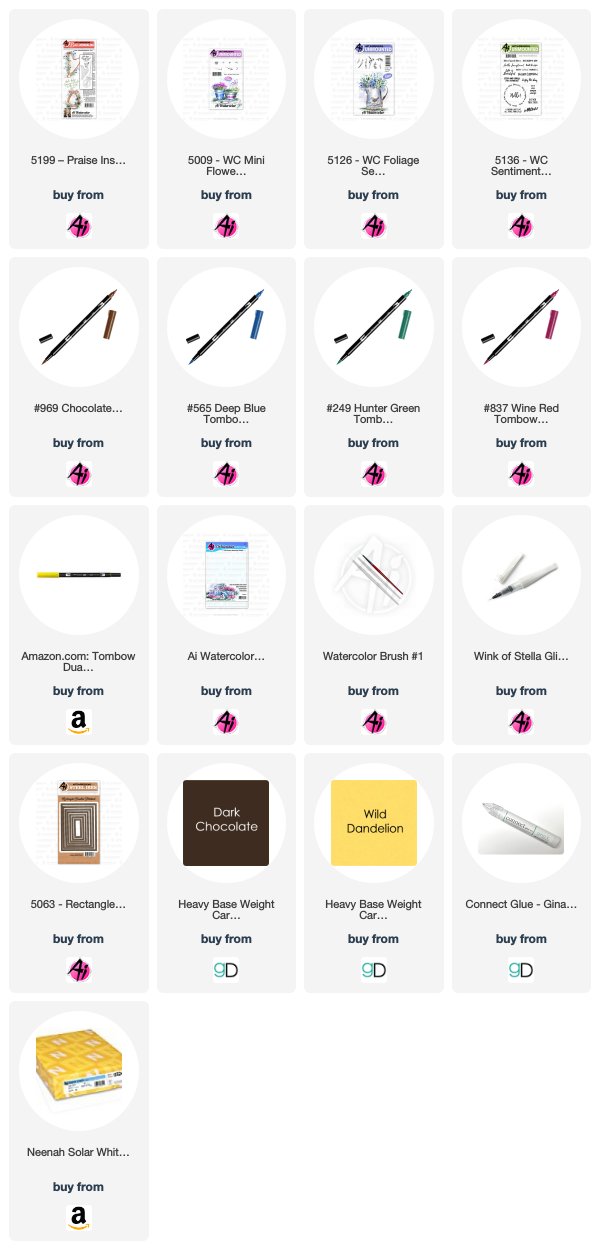
To create the card I cut it out with a rectangle stitched die. I added it to a mat created from Gina K Designs Wild Dandelion cardstock and one created with Dark Chocolate cardstock. I added both of these to a Neenah Solar White card base.

I am so happy you stopped by and I hope you have been inspired by all the awesome projects. Tag us on Instagram so we can check out your fantastic projects.

Have a blessed & crafty day!


Thanks, team! What amazing holiday projects! We love the touches of sparkle added to your projects to make them pop and display more holiday cheer! Did you enjoy these projects? Let us know in the comments below! Thanks for stopping by this Saturday, and have an awesome Watercolor Weekend!

Happy Stamping!

Saturday, September 21, 2019

Watercolor Weekend Roundup - Rustic Fall Projects!

Happy Fall, Ai fans! We're so excited to watercolor with autumn hues, and the team is here to share some lovely rustic projects today! Let's take a look at what the team created today. Remember to follow these ladies on social media by visiting the links next to their names!

Dot Freel - Instagram - Blog - Pinterest
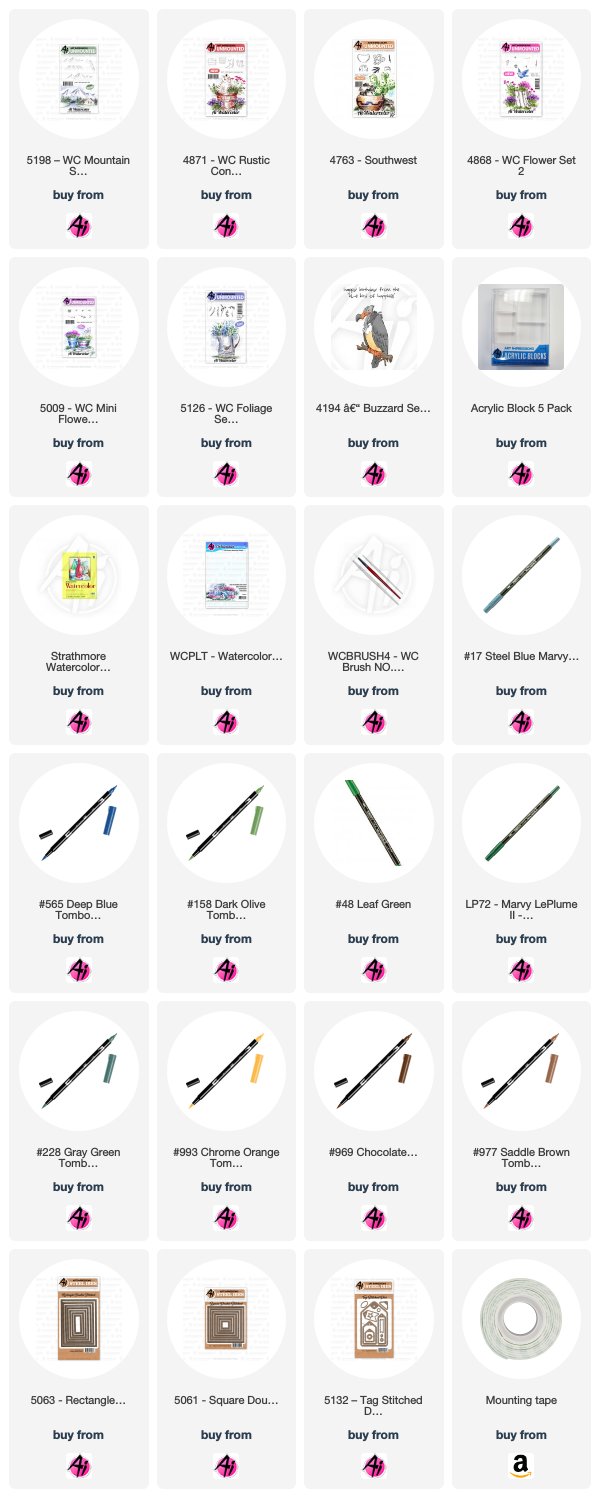
Have you seen Art Impression's new 5198 - WC Mountain Set? I'm in love with it! It comes with two sizes of traditional mountains and two sizes of Southwestern mountains. They are so easy to use yet make a wonderful impact on any scene! This is my card for the bi-monthly Watercolor Weekend on the Art Impression's blog. I stamped the mountain in 969 and pulled the color out of the lines. I watercolored them with four different colors - 977, 757, 969 and 933, trying to get that orange color of the Utah mountains that my adventurous son Brad (with his dog Sgt) always captures in his photos. I used this photo below for inspiration.
Next, I stamped the boot in 969 from the 4871 - WC Rustic Container Set then colored the bottom with 969 and the top with NO. 17 steel blue. I used the flowers from 4868 - WC Flower Set 2 and stamped them in the steel blue and 158. I stamped the cacti in 177 from the 4763 - Southwest Set and then added 228, 155, NO. 48 leaf green and No. 52 yellow green to them. I used the fine tip of the No.72 pine green to draw some of needles back in. I stamped the rocks in both 969 and 565. I stamped the flowers with 933 from the 5009 - WC Mini Flower Set on top of the round cactus. I stamped the grasses in 977 from the 5126 - WC Foliage Set 4 then added that color to the ground from the palette. I added dots with the fine tip of the sepia pen. I used 565 to add the shadows, the sky and to darken the boot heel. I cut out my scene with the largest 5061 - Square Double Stitched Die and used double sided foam tape to adhere it to the base which I cut out using the largest of the 5063 - Rectangle Double Stitched Dies. I stamped the happy birthday from the 4194 - Buzzard stamp and cut it out with the 5132 Tag Stitched Die Set.

Karen Day - Blog - Facebook - Pinterest
I began my wreath by tracing a 2 1/4" circle onto my Canson Watercolor paper with a pencil, to use as a guideline. I picked my colour palette of softer, faded colours of Tombow Markers. Using #098 Avocado, I coloured up the leafy branch from 5126 - WC Foliage Set 4, stamping it in first and second generation in four clusters around the circle. Using both of the vine stamps from the same set, I coloured them both up in #992 Sand and tucked them around the greenery (I love it that there are two vines bending in different directions - they make great filler stamps on a wreath!).
Now I wanted to add in the pumpkin elements before my wreath got too full, so I started with the cluster of tiny flowers from 4868 WC Flower Set 2. Using #533 Peacock Blue I stamped them 3 times in a circle in the lower left corner of my wreath, and then tucked them in three other places around the perimeter. Starting with the smaller pumpkin from 5059 - WC Harvest Set, I coloured the body in #946 Gold Ochre, and the stem in #098 Avocado. I masked it, and stamped the larger pumpkin behind it. I softened the lines with a damp #4 paintbrush, pulling out the colour - leaving the top edges white as the highlight. I picked up some #879 Brown from my palette adding shadows to the lower sections of the pumpkins, and in their crevices. I took the wheat image from 5008 - WC Flower Set 3 (I think it's supposed to be lavender, but today they are wheat stalks!) and colouring it with #991 Light Ochre - I stamped them repeatedly behind the pumpkins, and cascading below them. And finally I used one of the berry images from 4963 - WC Fall Set coloured in #879 Brown and #837 Wine Red for the berries, and tucked them in and around the wreath where I could. I only dabbed lightly with my damp brush, as I don't want the lines of the images to deteriorate with the addition of too much water. I picked up #098 from my palette, and wherever I had white space, I hand painted in a few extra leaves. The sentiment is from the 4205 - Harvest TF Set, stamped in Versafine Onyx Black ink. I die cut my panel with the 5063 Double Stitched Rectangle Die, matted it with black cardstock, and used 3D pop dots to adhere it to my kraft paper base. I added a few amber coloured tiny sparkles to finish it off. 

Tricia O'Bin - Blog - Instagram - YouTube - Pinterest - Facebook
It’s that wonderful time of year again, FALL!! It is my next favorite time of the year, Winter being first LOL. I decided to make a really sweet fall scene. I put one of the little sitting boys on the tire swing.

To start I masked off around my picture using Post-It tape. This gave me a nice clean border around my picture. I inked the tire, from the NEW Swing Set, up with 569 and 969 and stamped it slanted in the middle of the paper. I wanted it to look like it was swinging in the air. Using my #4 paintbrush, I pulled the color from the lines making sure to leave some white space in the middle of the tire. 

I masked off the tire with some Post-It tape and, using my positioner, stamped the sitting boy from the Little Boys set. I stamped him off once and placed him on the tire. I pulled color out of the lines to just the shadowed areas. I didn’t pull any color into the face. I added some 47 to my palette and added it to the face, neck, arm and foot. I added 526 to my palette and added it to his overalls.

I stamped the small leaves from the Foliage Set 4 set in yellow, red and orange randomly around the top of the picture. I added some water to them to create a feeling of trees with their leaves changing into Autumn colors. I added some 569 between the trees and the boy as a sky. I added some 249 to my palette and painted in the field and mountain. I used it to also ink up the pine tree from the Trees set. I stamped these randomly to the left and right of the boy to create some depth. I added water to them. 

I inked the branch from the Desert set in 969 and stamped it along the bottom of the painting. I again used my small leaves stamp inked in 757, 925 and 025. I added water to the leaves. I added some additional color between the trees to extend the grass.

Using a small ruler and my black marker, I drew a line from the trees to the tire swing. Finally, I signed and dated the picture. 

I cut the painting down to 4.75 x 3.5 and mounted it on a piece of Gina K Designs Red Hot cardstock. I added that to a white card base.

I hope you get to do some water coloring this weekend! Be sure to tag us on Instagram with #AIWatercolor so we can see what you are working on.

Thank you so much for stopping by and I hope you have a great weekend!
Thanks, team! We love these projects in lovely fall colors! The reds, oranges, and browns really pop in your cards!

We hope these cards have inspired your weekend creations!

Happy Stamping!

Saturday, November 3, 2018

Watercolor Weekend Roundup - Thankful Fall Cards

Happy November, Ai Watercolor Fans! Today the team is here for the first weekend of the month with rustic fall projects, perfect for sending Thanksgiving greetings! Let's take a look! 

Dot Freel - Instagram - Blog - Pinterest
Hello Watercolor Friends,

I love November! I'm a Thanksgiving baby so it's always been a fun month for me. Thanksgiving is my husband Tad's favorite holiday, and we always enjoy cooking together for our family. I made this Thanksgiving card for the Art Impressions Watercolor Weekend using the chair from the 4876 - Wooden Chair Mini Set, the pumpkin and the grass from the 5059 - WC Harvest Set, the bird from the 4966 - WC Bird Bath Set and a pot from the 4869 - WC Small Container Set. The flowers are from the 4963 - WC Fall Set. Let someone know you are thankful for them and wish them a happy Thanksgiving!

Other Supplies: Canson Watercolor Raper

Tricia Kennedy - Instagram
Can you believe it? It’s already November! I thought it only fitting that my Watercolor Weekend project be filled with brilliant fall colors.

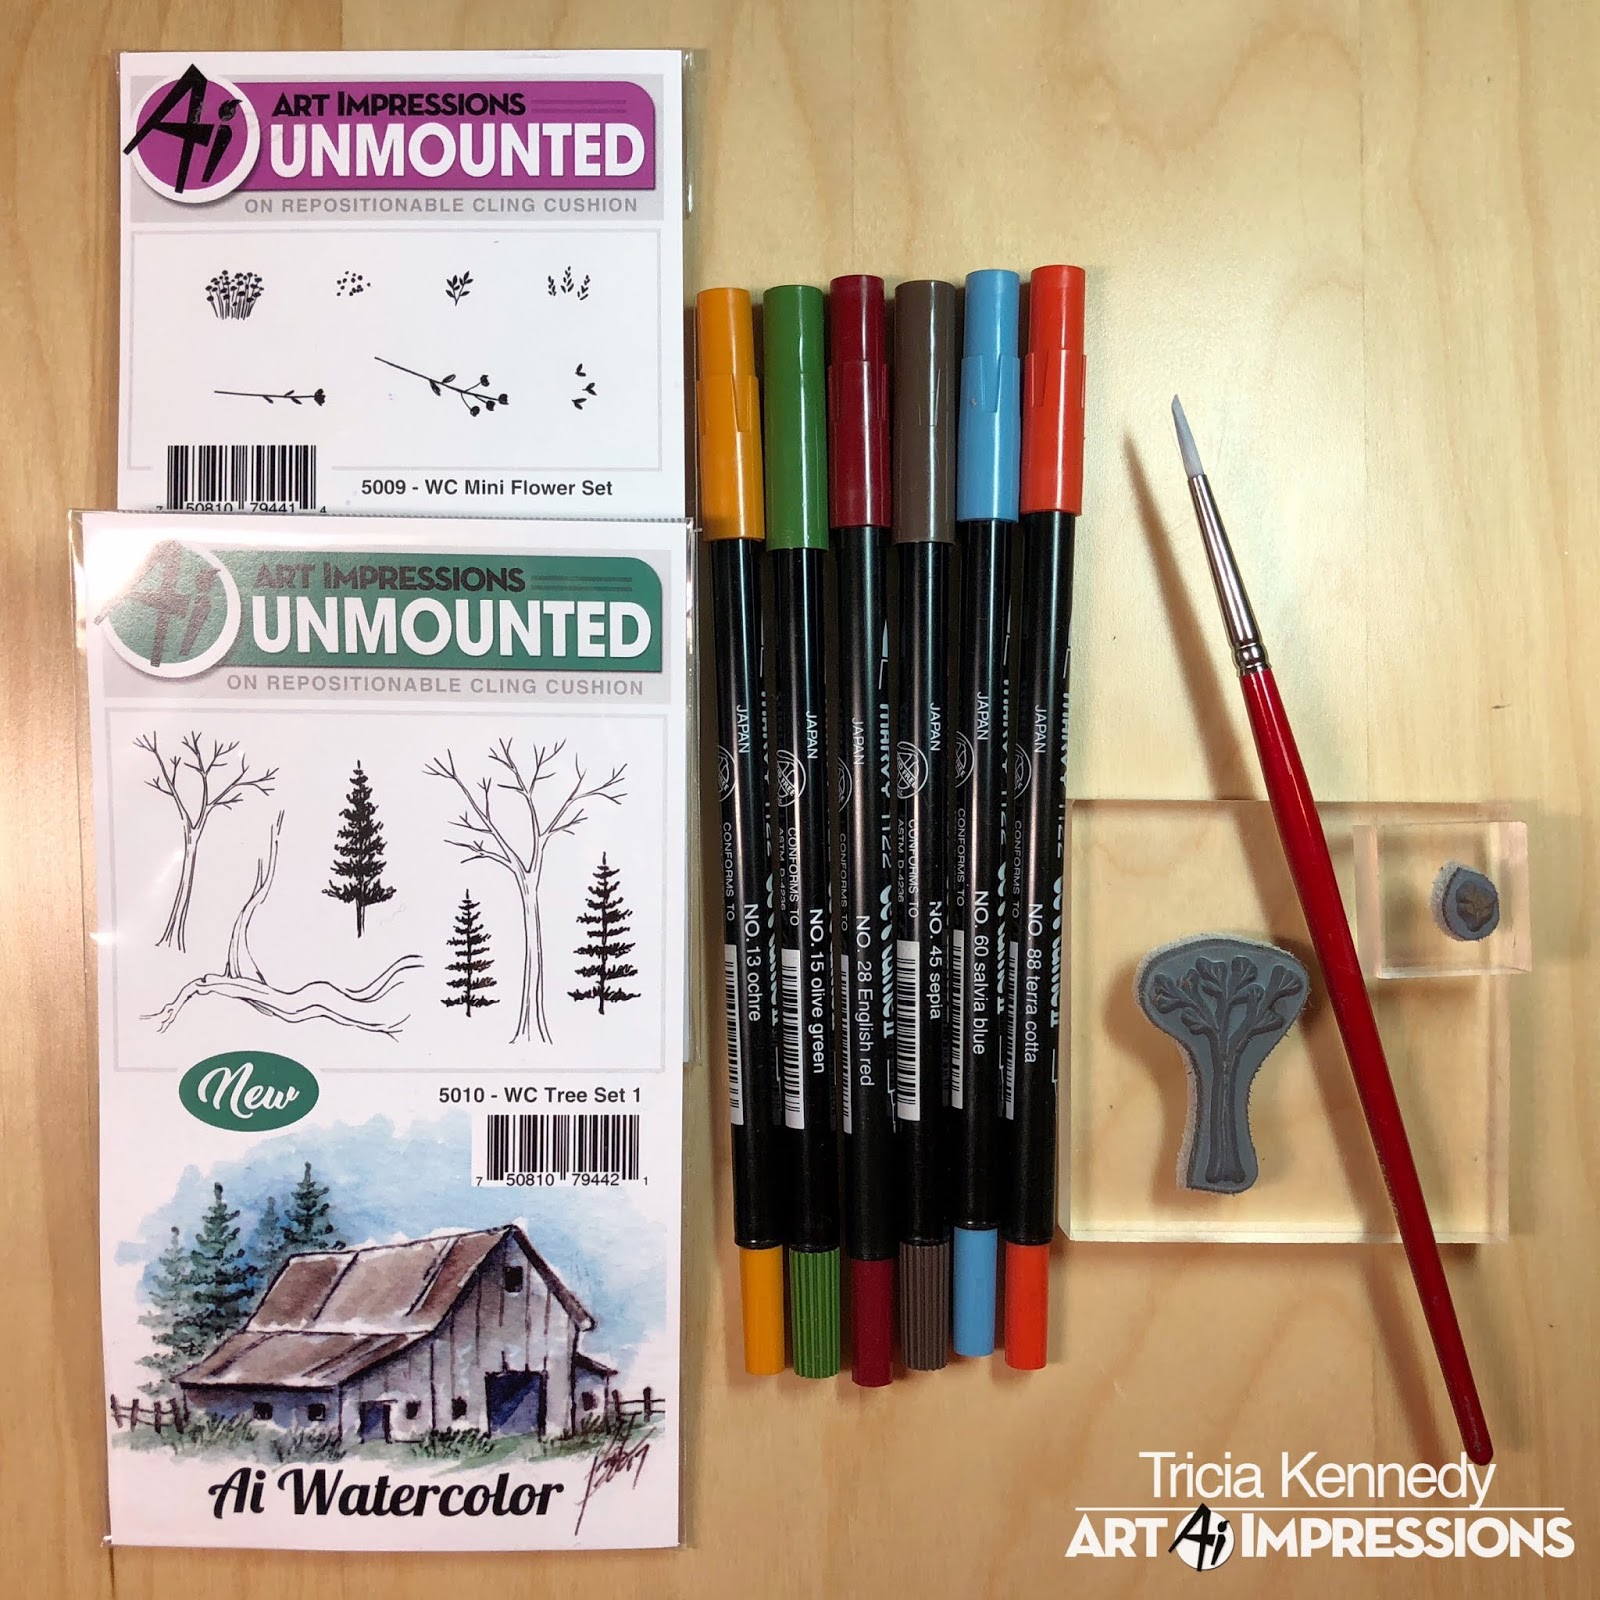
Stamp the small tree from WC Tree Set 1 in 45 Sepia. Next stamp the small leaves from WC Mini Flower Set in 13 Ochre, 15 Olive Green, 28 English Red and 88 Terra Cotta. Watercolor the Art Impressions way by pulling the color from the lines with water and a paint brush. Scribble a little 45 Sepia and 60 Salvia Blue onto your palette brushing in for the ground and sky.

Marvy Le Plume II Markers: 13 Ochre, 15 Olive Green, 28 English Red, 45 Sepia, 60 Salvia Blue, 88 Terra Cotta
Other Products: Spellbinders Lacey Squares Die

Tricia O'Bin - Blog - Instagram - YouTube - Pinterest - Facebook
I started out using my positioner and the square box from the 4871 Rustic Container Set. I used Sepia and stacked the boxes in different orientations. I didn’t ink the wood slats completely in the middle of the box just inked up the outside. This way I could position my items into each box. I inked each of the items in Sepia and again using my positioner stamped them into each box. I added some Olive Green, Brilliant Yellow and Orange to the pumpkins (after I pulled the color out of the lines) and English Red and Olive Green for the apples both from the 5059 WC Harvest Set. I added some of the apples to a small container using some Sepia and a little Steel Blue. Once the objects were dry, I added some details inside the boxes with Sepia and Steel Blue. I masked off the right edge of the boxes and using the small flower from the Mini Flower Set, I stamped leaves randomly using Brilliant Yellow, Olive Green, Orange and English Red. I added some water and softened some of the leaves. 

To finish up, I added some Brilliant Yellow and Violet to the background and some Sepia below the tree and boxes to ground them.

I really love to try to stretch my stamps and use them for unique compositions!

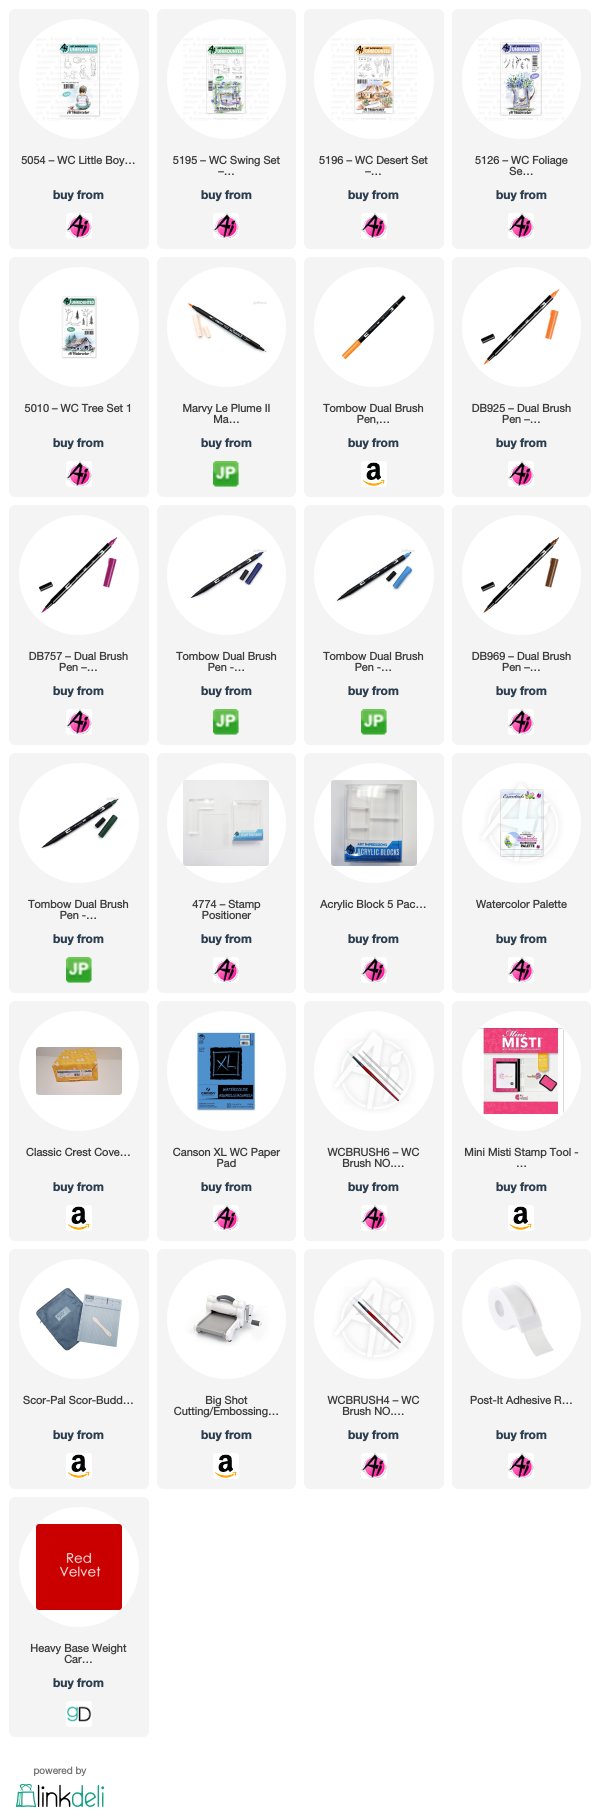
Other Supplies: Classic Crest Cover Solar White 8-1/2x11 110lbScor-Pal Scor-Buddy Mini Scoring Board, 9 by 7.5-Inch, Gina K Designs Heavy Base Weight Card Stock- Edible EggplantConnect Glue- 2 ozGina K Designs Heavy Base Weight Card Stock – Sweet Mango

Thanks, team! These projects are bursting with beautiful oranges, yellows, and greens! We hope these projects inspire you to use your stamps for fall projects this month! If you do, be sure to tag us on social media with #aiwatercolor and #aistamps so we can see! Have a great weekend!

Happy Stamping!

Saturday, July 7, 2018

Watercolor Weekend Roundup - Stretch Your Stamps!

Hello, Ai Watercolor fans! We love finding new ways to use our Ai Watercolor stamps, and our three WC designers have some fantastic ideas for you today! Let's take a look!

Dot Freel - Instagram - Blog - Pinterest
Hello Watercolor Friends,

I had so much fun making this whimsical card for the Watercolor Weekend roundup. I used the stump and the stamp positioner to widen the stamp and make it taller. I used one of the hobbit doors along with that cute little mailbox to make it look like my chipmunks have a home. It's a play off of Watercolor Wednesday (my favorite day of the week!) Art Impression's Owner/Creator Bonnie Krebs tutorial on YouTube, see it here. Create one of these cards yourself using any of the animals and any of the flowers and grasses. I love how they all work together to create whatever scene you can imagine.

Other Supplies: Canson XL Watercolor Paper

Tricia Kennedy - Instagram
My project for today’s Watercolor Weekend features my state – ARIZONA. This idea can be adapted to any state or country – the possibilities are endless. Print out the state onto copy paper. Trace the state onto masking paper and cut out with an X-Acto knife. Using the negative cut out, adhere to watercolor paper. Watercolor the Art Impressions Way by inking up the cacti from the Southwest Set in Olive Green and Pine Green using masks from Post-It Notes as you go. Stamp the long stem from Flower Set 2 in Terra Cotta and Olive Green. Add dried grass to the bottom from Foliage Set 1 in Sepia. Scribble a little Olive GreenPine Green and Salvia Blue to your palette. Brush Olive Green and Pine Green onto the cacti to add depth and dimension and Salvia Blue for the sky. Be sure to get the color all the way to the mask edge to create a definite outline. Remove the mask for that WOW moment!
Marvy Le Plume II Markers: 15 Olive Green45 Sepia, 60 Salvia Blue, 72 Pine Green88 Terra Cotta
Other Products: Masking Paper, Post-It Notes, X-Acto Knife, state outline printed from www.50states.com

Tricia O'Bin - Blog - Instagram - YouTube - Pinterest - Facebook
I am still obsessed with card quilting. I wanted to create my own patterned paper to use on my quilt card. I thought red, white and blue would be fitting for the 4th of July holiday! I used a retired quilt die from Stampin Up! I created watercolor background using only 2 stamps. 

First, I created a template with the quilt die so I could do a bunch of watercoloring at one time. I backed the watercolor sheet with Stick it adhesive. Using Crimson Lake and Prussian Blue, I created watercolor flowers all over the watercolor paper using the daisy bunch. I added vines using Olive Green. Once the page was full, I die cut the quilt pieces out. I also cut quilt pieces out of another piece of white watercolor paper. I pieced it all together and adhered it to a piece of Black Onyx cardstock. I ran this through my machine using a quilt top textured embossing folder. I adhered the piece to a folded notecard. I die cut the 4th from a retired number die from Stampin Up! I embossed the “TH” and “Happy” from the Gina K Designs stamp set “Peony Wishes”. 

I hope you will join us and share your projects with us! 

Marvy Le Plume II Markers: 15 Olive Green29 Prussian BlueCrimson Lake

Thanks, team! What FUN ideas! From chipmunk mailboxes and lengthening a tree stump, to creating an interesting border mask, to fabulous floral quilts, there are just so many ways you can use your stamps! We hope this inspires you to take another look at your stamps and find more creative uses for them. Be sure to share your creations with us with Happy Stamping!

Wednesday, June 6, 2018

NEW VIDEO! Stump Hobbit Door Watercolor!

Hello Ai Fans!

We have a cute Watercolor Wednesday for you this week! Watch Bonnie extend our rustic stump to add an adorable hobbit door and resting robin on top. Bonnie simply stamps the doorway first, then adds a post-it mask over the door, using her positioner to stamp the stump twice on either side to give the tree a wider base. Add the cute little robin, your flower and foliage, and voila! We always love to hear your comments, hop over to the video and leave a little feedback!

Happy Watercolor Wednesday!


View on YouTube: https://youtu.be/2qlPa05uGZs


Saturday, June 2, 2018

Watercolor Weekend Roundup - Happy June!

Happy June, Ai Watercolor Fans! With summer on the way, we are dreaming of blooming flowers and sunshine! Today we have three gorgeous projects from the Watercolor Guest Design Team that we hope will inspire some summery cards! Perhaps you'll find a few ideas to use your stamps a little differently!

Dot Freel Instagram - Blog - Pinterest
Hello Watercolor Friends,

I made this card during the Memorial weekend for this week's roundup and I guess I was feeling patriotic. I needed to make the log base bigger than it was so I used the stamp positioner to make it wider which made the larger birdhouse fit better. I used eight stamp sets and nine markers to create it, and a white gelly pen for stars on the flag. See my list of supplies below:

Other Supplies: Sakura Gelly Roll, Tim Holtz Distress Watercolor Cardstock

Tricia Kennedy - Instagram
Take a look “Through the Porthole” for today’s Watercolor Weekend project. Watercolor the Art Impressions Way by inking up the round door from the WC Hobbit Door Set (omitting the cobblestones and the little window) in Sepia. Draw in the bottom of the circle with the fine tip of Sepia to achieve the porthole. Stamp the same round door onto a post-it note and cut out a mask. Next stamp the siding from the WC Wall Texture Set in Sepia on both sides of the porthole. To get the wooden plank look, draw in lines, squiggles and knots with the fine tip of Sepia. Scribble a little Manganese Blue, African Violet, Olive Green and Salvia Blue onto your Watercolor Palette. Mix Manganese Blue with African Violet and brush into the porthole for the sea. Take Olive Green and brush in for the land and finally Salvia Blue for the sky.


Marvy Le Plume II Markers: 15 Olive Green, 36 Manganese Blue, 45 Sepia, 60 Salvia Blue, 86 African Violet
Other Supplies: Darice Wave Embossing Folder, Post-It Notes

Tricia O'Bin - Blog - Instagram - YouTube - Pinterest - Facebook
I really loved using this bird bath as a container for some spring flowers. I was inspired by one of my neighbor’s bird bath that was turned into a flower pot. I love using the AI Stamps in unique ways. I am hooked on the flowers in the Flower Set 3 along with the original foliage set. We would love for you to join us for Watercolor Weekend. Tag us on Instagram with #AIWatercolor!!

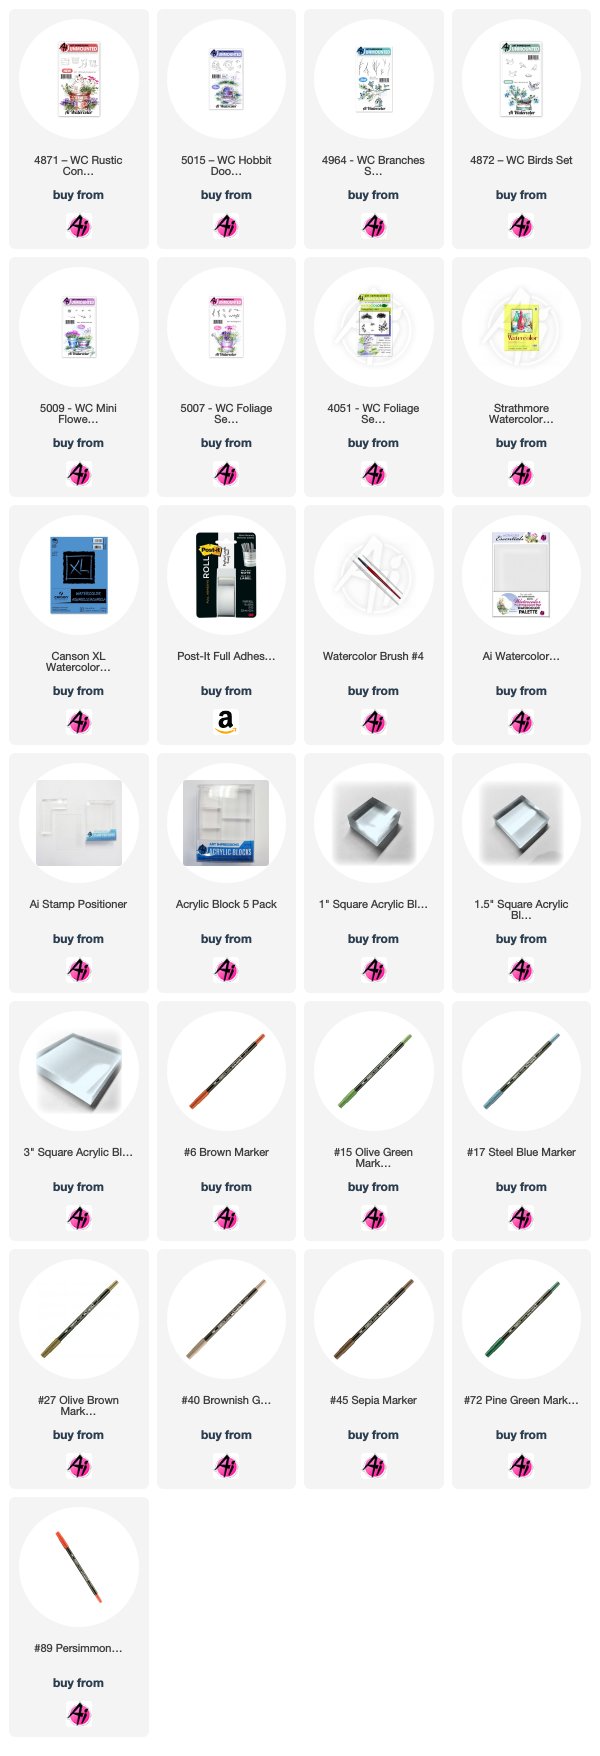
Marvy Le Plume II Markers: 15 Olive Green7 Orange8 Violet3 Blue20 Magenta45 Sepia

Aren't these projects so fun? Each projects offers ideas on how to stretch your stamps! Whether you are "extending" a stamp like Dot's larger tree stump, transforming a door into a porthole like Tricia K, or filling your bird bath with lovely flowers, there is something for everyone!

Do you ever save these projects to your Pinterest board? Every single one of our blog posts has a small Pinterest icon at the bottom so you can easily pin your favorite posts! While you're at it, be sure to visit our Wonderful Watercolor board on Pinterest to find more of your favorites! Also, check out Dot and Tricia O's boards while you're at it! They are seriously jam-packed with beautiful cards!

Dot Freel - 
Pinterest
Tricia O'Bin - Pinterest

Happy Stamping!