
Hello Ai Watercolor fans!

Happy December! Today we have a trio of tags from Karen and two beautiful Christmas cards from Tricia and Dot! So much holiday inspiration from our talented Watercolor Design Team. Karen starts us off this week.
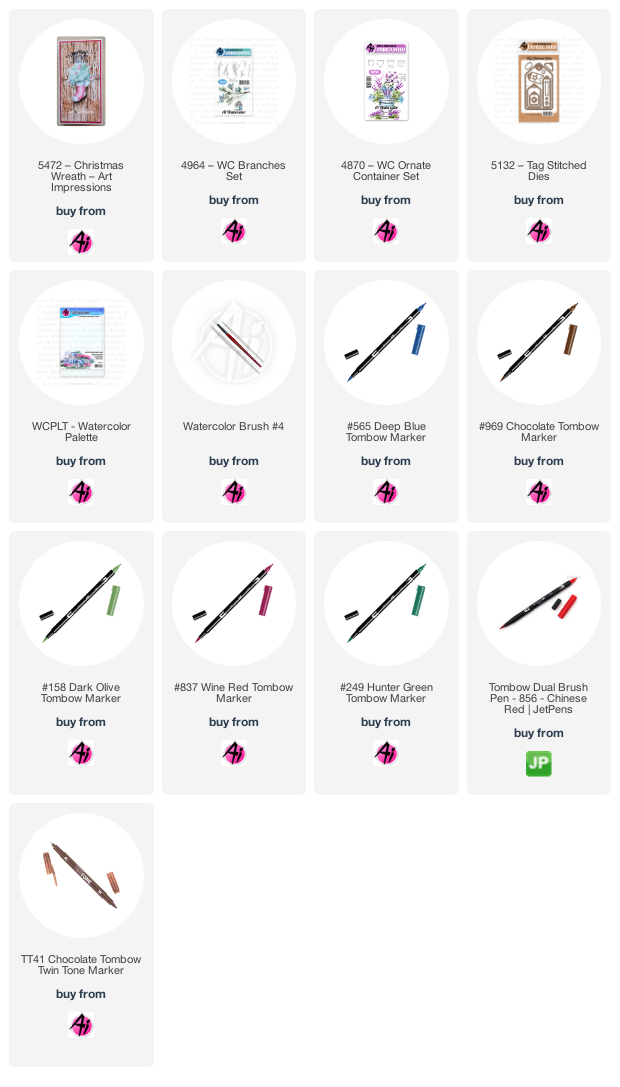
I love making a few special gift tags to attach to holiday parcels every year. I made a trio of greenery themed tags, but will just focus on the urn one today - you can see the others on my blog here!

I cut out the 5132 - Tag Stitched Die from my Bristol Smooth cardstock, and cut another one out of coordinating patterned paper to layer behind it. I coloured up the urn from 4870 - WC Ornate Container Set in #969/565, stamped it and pulled out the colour from the lines, concentrating it where the shadows would be. Then, using the new 5472 - WC Christmas Wreath Set, I began to build my image from the bottom up. I coloured and stamped the two cedar fronds in #158 several times across the top of the urn, then stamped the two pinecone images several times in #969, masking some of them to create a cluster. I filled in around them with the two pine branches in #249, and added two of the 4964 - WC Branches stamps in #969, and one in #837. I filled in the middle with the berry image stamped in #856, and then using my Twintone Chocolate marker, I drew in the branches of the berries by hand. To soften the stark white background, I blended some pale green Distress Oxide ink around the urn, then added a matching bow & twine to finish it off. These are keepsake tags that can be reused for many years to come.


SUPPLIES:
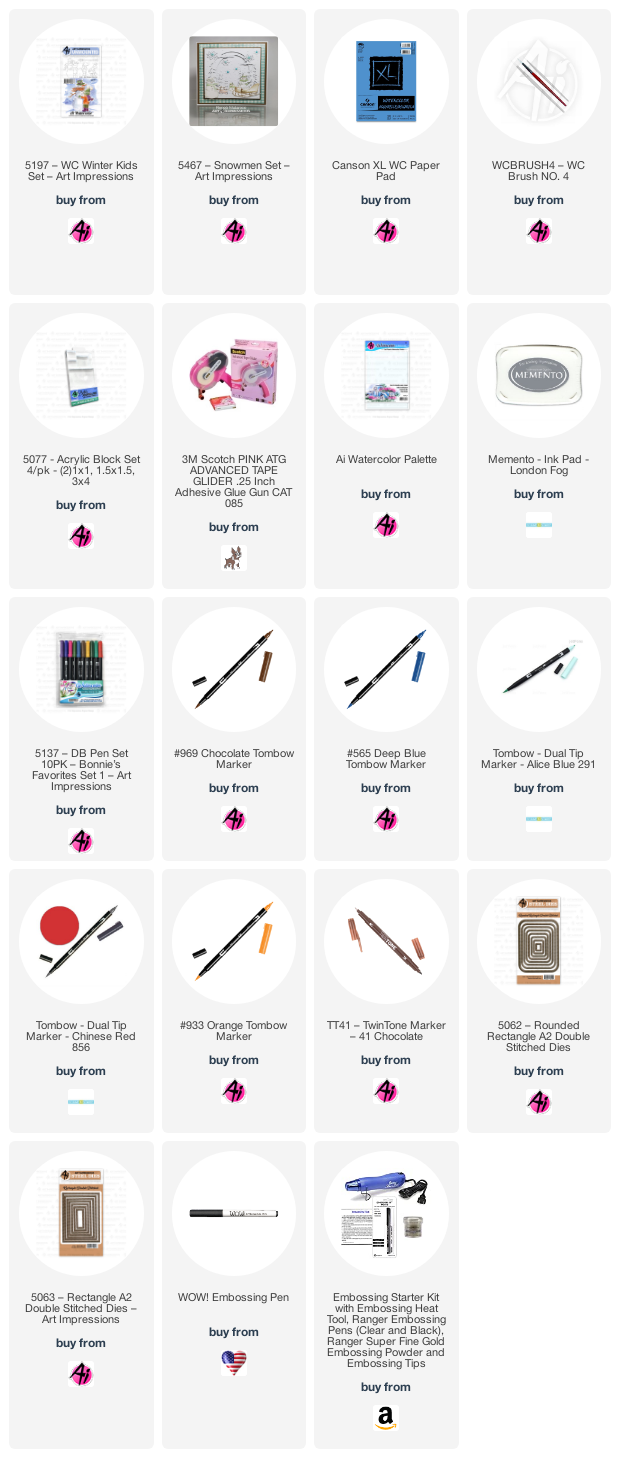
Hello, This card was quick and easy and looks better than the picture because I added glittery embossing powder with an embossing pen to the shadows in the snow. I've been doing it on my Christmas cards and it really is so pretty. Give it a try.

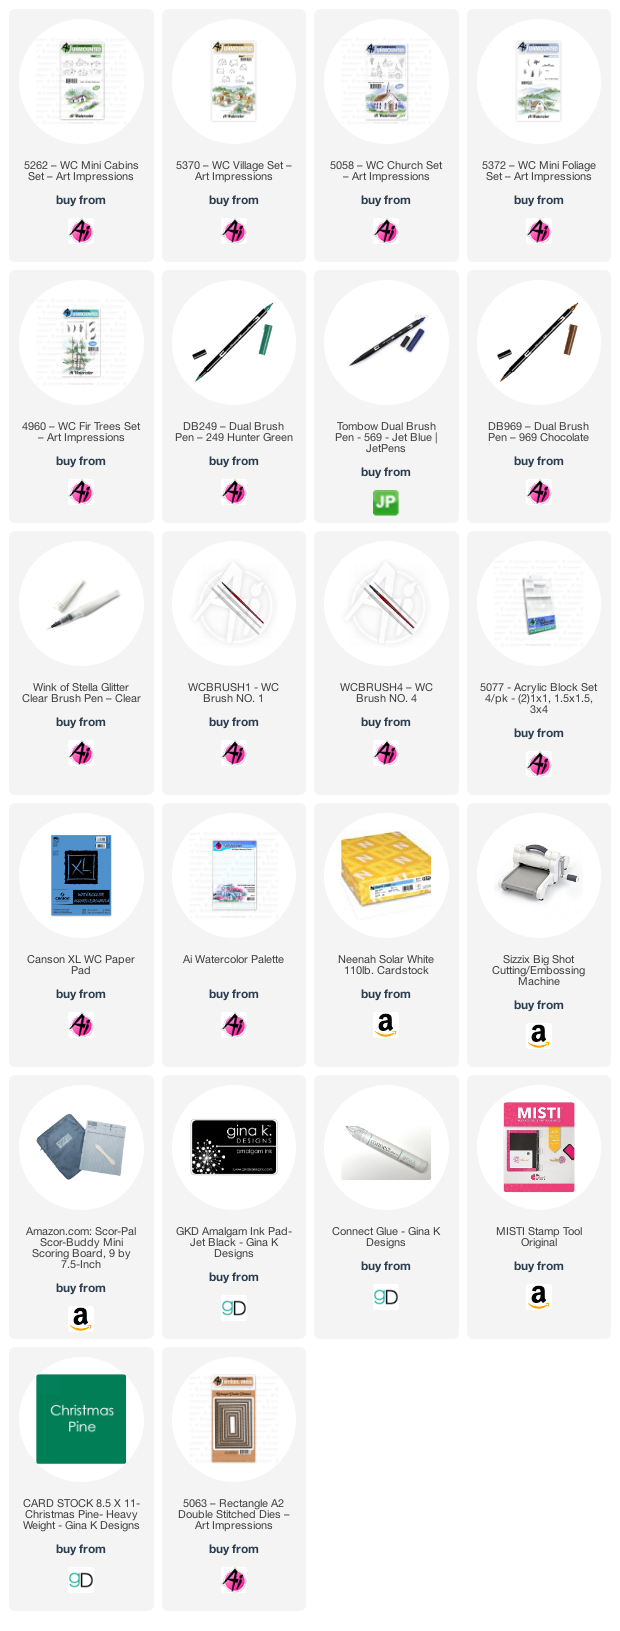
To make this card, stamp the sled from the 5467 Snowmen Set inked in Memento London Fog ink. Use Tombow 291 to color in the sled. Make a mask for the sled and cover it, then stamp the snowman from the 5467 set inked in 969 and 565. Stamp his arms inked in 969. Color his hat and buttons in 969. His nose is colored with 933. His cheeks, hat band and scarf are colored in Marvy #28 or Tombow 856 but mine is empty. Use the fine tip of the Tombow TwinTone brown pen to draw the plaid on his scarf. Stamp the girl from the 5197 Winter Kids Set inked in 969. Color her face in with a tiny bit of the 933. Her cheek, hat, glove, and boots are colored in with the Marvy #28. Use the fine tip to add the dots and plaid to her pocket and scarf. Color her jacked with 291. Her pants are 969. Use 565 to add the shadow under the snowman's hat and under the sled and then make footprints. Use the 5063 Rectangle Die set to cut it out. Use the 5062 Rounded Corner Rectangle die to cut out the background piece of paper.

1 comment:
Each card is great. Nice job ladies. I can't wait to try some of them.
Post a Comment