Showing posts with label gift tags. Show all posts

Saturday, December 4, 2021

Watercolor Weekend Roundup 12-4-2021

 Hello Ai Watercolor fans!


Happy December!  Today we have a trio of tags from Karen and two beautiful Christmas cards from Tricia and Dot!  So much holiday inspiration from our talented Watercolor Design Team.  Karen starts us off this week.

 I love making a few special gift tags to attach to holiday parcels every year.  I made a trio of greenery themed tags, but will just focus on the urn one today - you can see the others on my blog here!

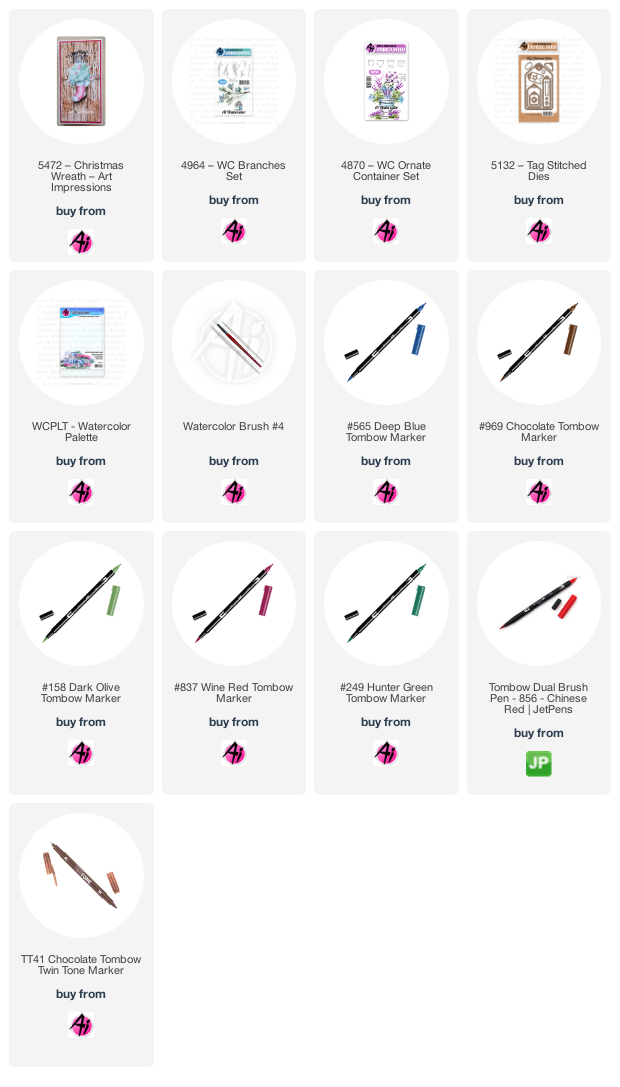
I cut out the 5132 - Tag Stitched Die from my Bristol Smooth cardstock, and cut another one out of coordinating patterned paper to layer behind it.  I coloured up the urn from 4870 - WC Ornate Container Set in #969/565, stamped it and pulled out the colour from the lines, concentrating it where the shadows would be.  Then, using the new 5472 - WC Christmas Wreath Set, I began to build my image from the bottom up.  I coloured and stamped the two cedar fronds in #158 several times across the top of the urn, then stamped the two pinecone images several times in #969, masking some of them to create a cluster.  I filled in around them with the two pine branches in #249, and added two of the 4964 - WC Branches stamps in #969, and one in #837.  I filled in the middle with the berry image stamped in #856, and then using my Twintone Chocolate marker, I drew in the branches of the berries by hand.  To soften the stark white background, I blended some pale green Distress Oxide ink around the urn, then added a matching bow & twine to finish it off.  These are keepsake tags that can be reused for many years to come.


Hi Watercolor Fans!  It's that time again.  We have lots of Christmas inspiration for you.  I created a Christmas Wishes scene.  It reminds me of a snowy town settling in for the night.

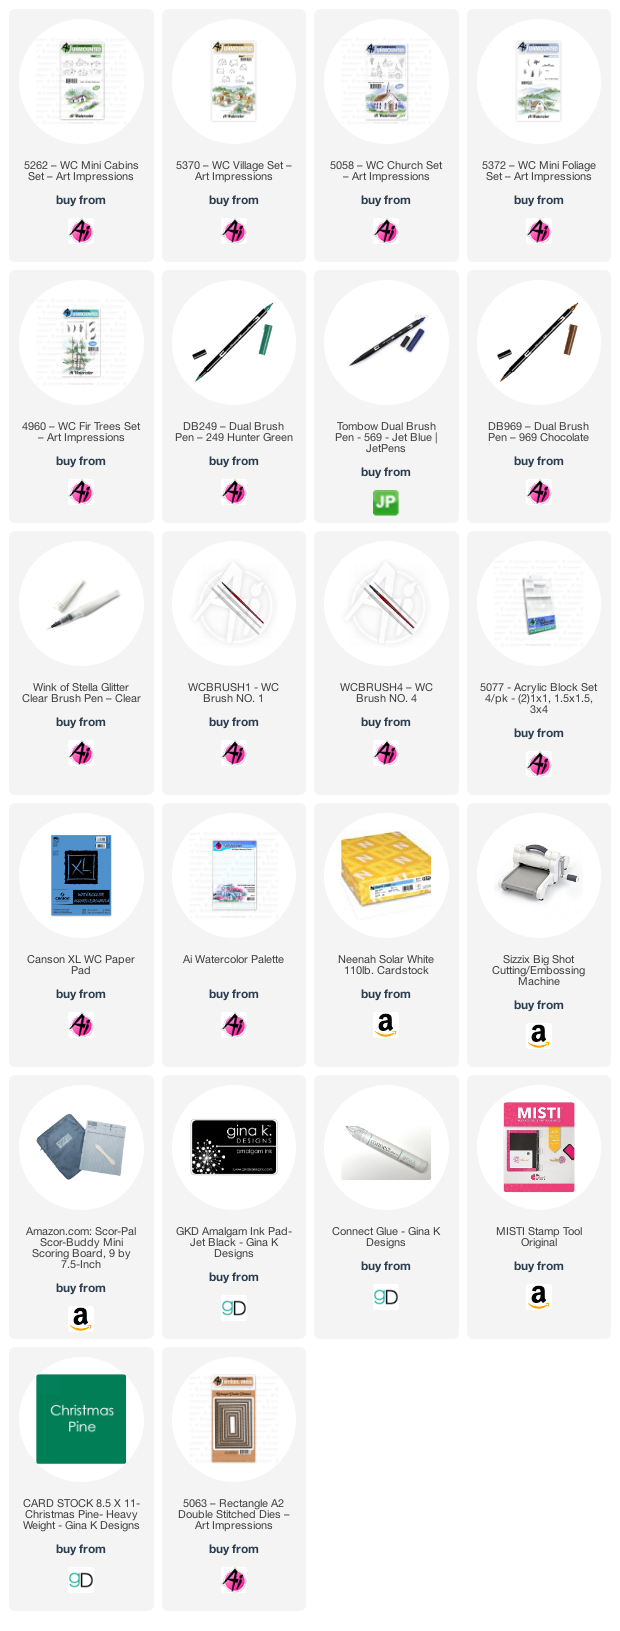
 Step 1: The Church I started off by inking the church with 569 and stamping it to the left middle of the paper. I pulled the color out of the lines. To create the snowy roof, I dragged the color from the bottom of the roof. Add shadows along the bottom to create the snow drifts. I also added some Yellow to the windows. Step 2: The Houses To create the houses, I stamped a mask for each one. These were great because I used them for placement as well as when I needed them as an actual mask. I inked some with 969, some with 569 and some with a mixture of both. I stamped the houses that would be in the foreground, masked them off and stamped the additional houses. I pulled the color out of the lines and added some additional color and lights to some of the houses. Add water to all of the trees. Step 3: The Trees I used the tree topper from the Fir Trees set to do all of the trees. To create smaller trees, I only inked up the very top of the stamp. I also used some scrap masking paper to make sure I protected the houses so the trees appeared to be behind the houses. I also added some bare trees using the tiny trees from the mini foliage set. From that same set, I used the small tree line inked with 249 and stamped it several times in the background. This will create depth in the scene. Step 4: The Snow and sky I added 569 from my palette to areas below the houses to create shadows. Add additional color where snow shadows would be. Drag the color to create a snowy street. For a bit of shimmer, I added Wink of Stella to the white areas. Lastly, I signed and dated my work! Thank you so much for spending some time with me. I hope you all have a great weekend! Don’t forget to tag us on Instagram and use the #AIWatercolor.


 SUPPLIES: 
 

Hello, This card was quick and easy and looks better than the picture because I added glittery embossing powder with an embossing pen to the shadows in the snow. I've been doing it on my Christmas cards and it really is so pretty. Give it a try.

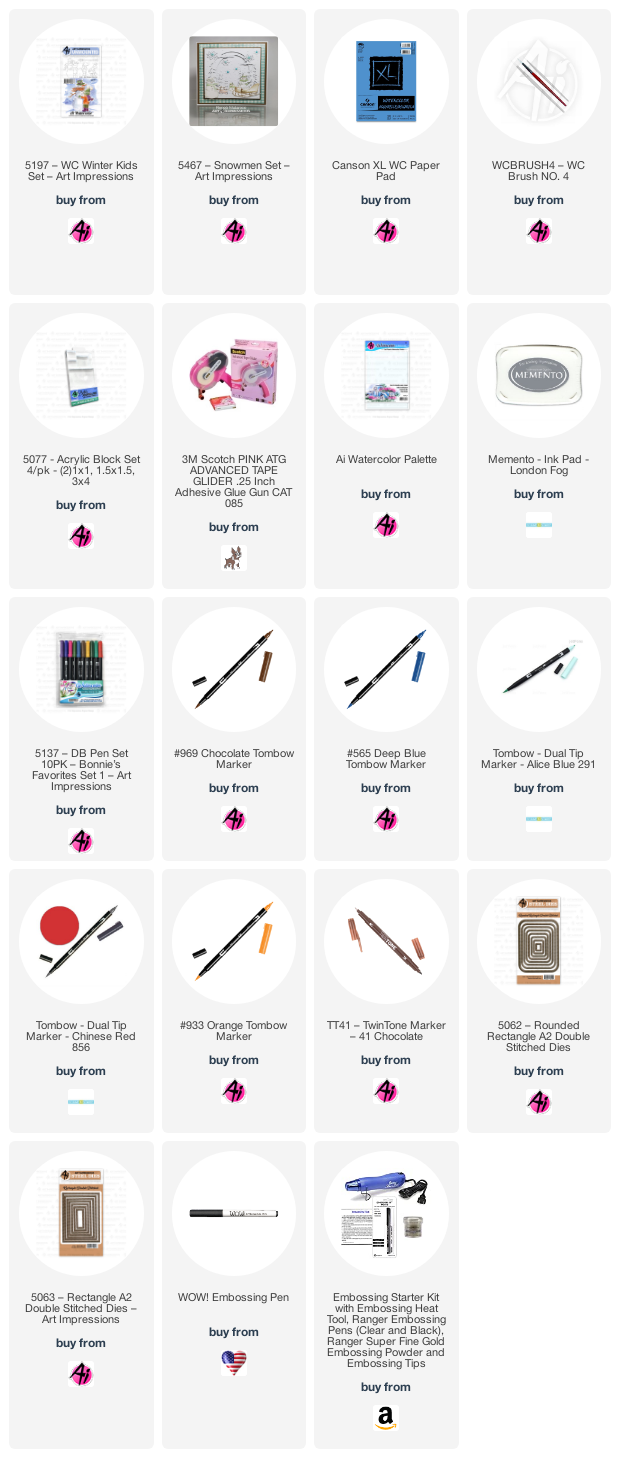
To make this card, stamp the sled from the 5467 Snowmen Set inked in Memento London Fog ink. Use Tombow 291 to color in the sled. Make a mask for the sled and cover it, then stamp the snowman from the 5467 set inked in 969 and 565. Stamp his arms inked in 969. Color his hat and buttons in 969. His nose is colored with 933. His cheeks, hat band and scarf are colored in Marvy #28 or Tombow 856 but mine is empty. Use the fine tip of the Tombow TwinTone brown pen to draw the plaid on his scarf. Stamp the girl from the 5197 Winter Kids Set inked in 969. Color her face in with a tiny bit of the 933. Her cheek, hat, glove, and boots are colored in with the Marvy #28. Use the fine tip to add the dots and plaid to her pocket and scarf. Color her jacked with 291. Her pants are 969. Use 565 to add the shadow under the snowman's hat and under the sled and then make footprints. Use the 5063 Rectangle Die set to cut it out. Use the 5062 Rounded Corner Rectangle die to cut out the background piece of paper.


Supplies used: 


We hope you're all busy making your Christmas cards and tags! If you have time for a few more, give these a try! Your friends and family will LOVE them! Happy Holidays! Enjoy your weekend and relax with some crafting.

Saturday, July 31, 2021

A Visit to Fall and a Reverse Stencil Technique by Janet Axtman


Good morning everyone! It's the last day of July and the very beginning of the dog days of summer. My mind turns to thoughts of cooler weeks ahead and yes, you guessed it - Pumpkin Spiced coffee! Being in a fall kind of mood, I decided it would be fun to make some tags to put on upcoming fall birthday presents and bags.

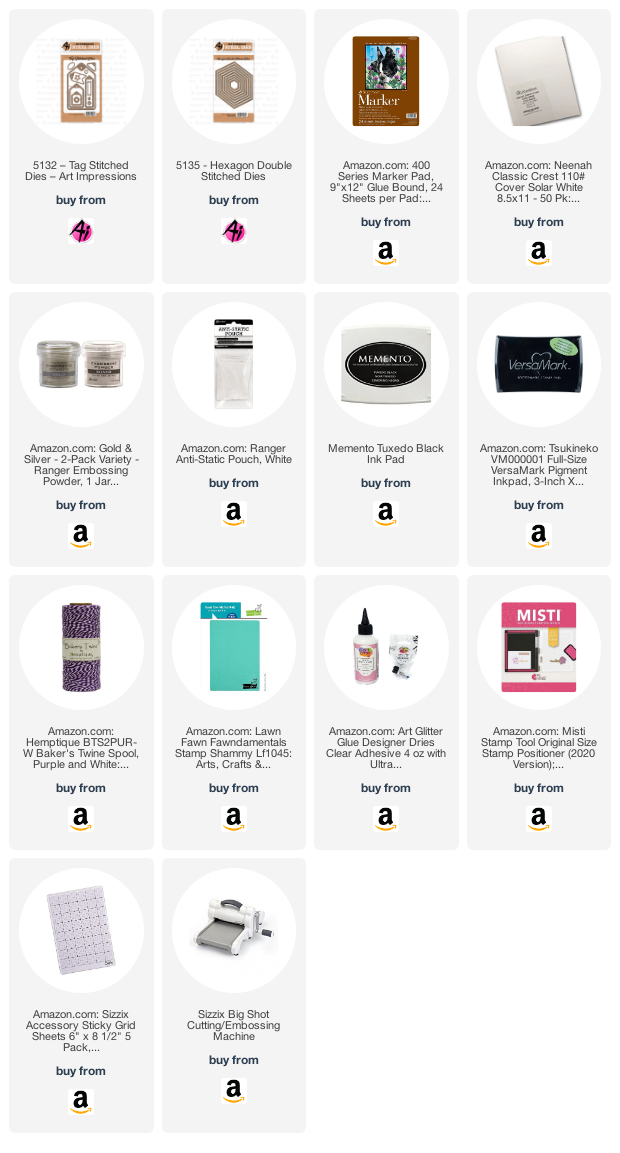
These tags were cut using the Tag Stitched dies set. It's is a great set with the large tag and several other smaller tags and decorative shapes. I also cut tag hole reinforcement donuts from the set.   

Before cutting these tags, I inked up two A2 sized white cardstock panels using a stencil and a multi-striped colored ink pad. In the tag on the left I swiped the ink pad vertically so that the ink would deposit in the blank areas of the stencil in color stripes. Then I flipped the inked up stencil on another blank piece of white cardstock and ran my brayer over the top to get a sort of letter press image from the stencil. This resulted is a reverse and lighter imprint you see on the right tag. Doing it this way made the most of the stencil and the ink I had used.

For these tags, I selected images from the Feast Mode Set. I stamped the fox, squirrel and flower sprays on marker paper and colored them with Copic markers. I fussy cut all the images except the squirrel and arranged the fox on a tag, placing foam tape behind the main fox image. I glued the loose leaves around the fox similar to how the leaves are shown in the stamped image. Last, two of the flower sprays were arranged together at the top.


I stamped and heat embossed two sentiment strips in gold using stamps in the set. I placed these at the bottom of the tags. I also cut a hexagon out of white cardstock using the Hexagon Double Stitched Die Set to use as a mat for the squirrel.

I cut the squirrel image out using a hexagon die and attached it with foam tape to the tag. Then one single flower spray was added to the top. After I did all this, I thought it would also have been cute to stencil golden rays coming out from behind him. If I do this again, I'm going to try that. He'd look a little like a squirrel super hero that way!


Once all this was complete, I added the hole reinforcement donuts in the same cardstock as the sentiment strips. I found a perfect orange ribbon piece in my stash, pulled it through each tag's hole and secured it with a piece of cream and dark purple bakers twine. 

I hope you enjoyed this quick visit to fall themes. It's around the corner and I'm looking forward to the cooler weather, beautiful fall colors, and most of all Pumpkin Spiced coffee! As always, I invite an additional stop at my blog for more details on all the products used for this project.

Happy Creating!

Janet YouTube - Blog - Facebook - Instagram - Pinterest

Wednesday, April 3, 2019

It Takes A Village by Niccole Kulig

Hello Ai fans!

I am stopping by today to share a group of gift tags using the stamp set Mail Delivery by The Stamping Village.


Who is The Stamping Village you ask?  The 9 founding members of The Stamp Village came together to create a stamp set. They believe in community over competition. Art Impressions was one one the companies adding an image to the stamp set.  Can you tell which one they designed?  I will show you at the end of this post. They created this stamp set to be envelop seals but I thought they would make adorable gift tags or note cards. I used all of the images except one but that one I am using on the back of my gift tags; it says Hand Stamped With Love.  Perfect for the back, right??


I started by cutting my paper into a 2 3/4 x 2 3/4 card.  I embossed another sheet and cut those to       2 1/4 x 2 1/4.


I attached my embossed background to my card base. 


I had a older piece of glossy card stock I used alcohol ink on.  I though it would go perfect with my scheme. I cut them so I had a piece for every note card.


I glued them to the from of my note card. and from there started planning my stamped images.


Here is a little trick (plus you get to see every stamp in the set) I taped the whole set to my Misti so I didn't have to remove every one I wanted to stamp. You can see on the right side, my stamped images, I am using all nine images. I chose not to use the three sentiments for this card set. But aren't those adorable as well?


Here is a close up of  four of the note cards, or gift tags ... which ever you prefer to call them.  😊 I added enamel dots in three different colors to finish them off. The circles were popped up with foam tape. A string was tied to finish off the tag.


Here are the other four cards.  Don't you think the color scheme turned out well?  I had the background done already so that was really my starting point, and from there I just ran with it.


Here are all eight again ... Do you have a favorite?  Can you tell which one was created by Art Impressions?


Here he is ... isn't he just the cutest??? Art Impressions and all of the other designers outdid themselves with this stamp set!  Run over to Art Impressions and  pick yourself up this awesome stamp set, Mail Delivery by the Stamping Village; which supports the crafting industry.  Nothing better than crafters supporting crafters. Have a great Wednesday everyone.

Copics used:
BG000, BG01, BG02
C0, C1, C3, C5
E25, E55, E57, E59
N0, N2, N4, N6
R00, R20, R43
W1, W3, W5
Y00, Y02
YG61, YG63, YG67

Thank you so much for stopping by and spending some time with me.
Until next time ...