
Hello Ai fans!
It's time for Watercolor Weekend Roundup!

This week all of the Watercolor Design Team went with warmer weather cards.

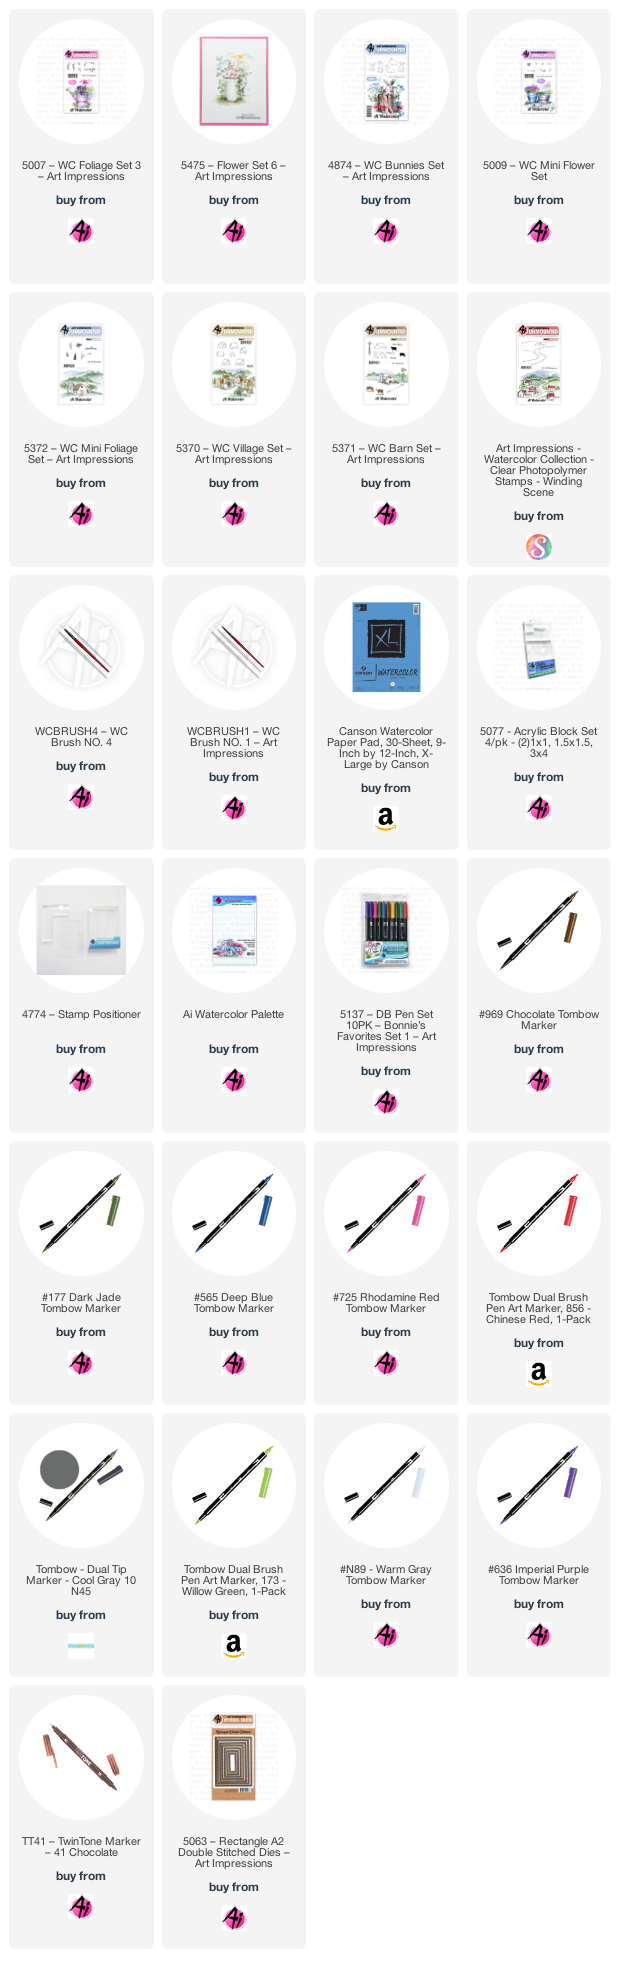
If you would like to make it, start by stamping the 5379 Winding Scene inked in 969 for the road and N89 for the hills. Stamp the barn from the 5371 Barn Set inked in 565 then 969. Stamp the other buildings from the 5370 Village Set also inked in 565 then 969. Paint all the roofs and doors in 969. The barn is painted in with 856. Use the fine tip Tombow Twintone in brown for the windows. The silo is N45. Use the tree stamps from the 5372 Mini Foliage Set inked in 969 to add all of the trees. Use the foliage from the same set inked in 177 on four of the trees and use pink 725 for two of the trees. Dab at them with a wet brush, then stamp them again inked in 173 this time to add that bright Spring green color. Stamp the row of bushes from that same set inked in 177 on the back hills. Then stamp the row of bushes again but inked in 173. Stamp the grass inked in 177 from that same set and use it to add flower stems. Then ink the mini-dots from the 5009 Mini Flowers Set in the 856, some in the 725 and some in 636 to add the flowers on the stems. Ink the fence from the 5372 Mini Foliage Set in 969 and add all the fences. Stamp the windmill from the 5371 Barn Set inked in 969. Use a wash of 177 on the palette to add some grass all over. Use 565 to add the shadows on the fences, houses, windmill and road. Stamp a bunny from the 4874 Bunnies Set inked in 969. Color him with N45. His ears and cheeks are 725. Darken his eyes and nose with the fine tip of the brown Tombow TwinTone pen and draw some whiskers. Stamp the flowers from the 5475 Flower Set 6 inked in 177 and 725. Stamp the other flowers with 177 and 856. Then stamp the grass from the 5007 Foliage Set 3 inked in 177 and 636. The sky is 526. Use the 5063 Rectangle Double Stitched Dies to cut it out and the background piece.

Hello Ai Watercolor fans!
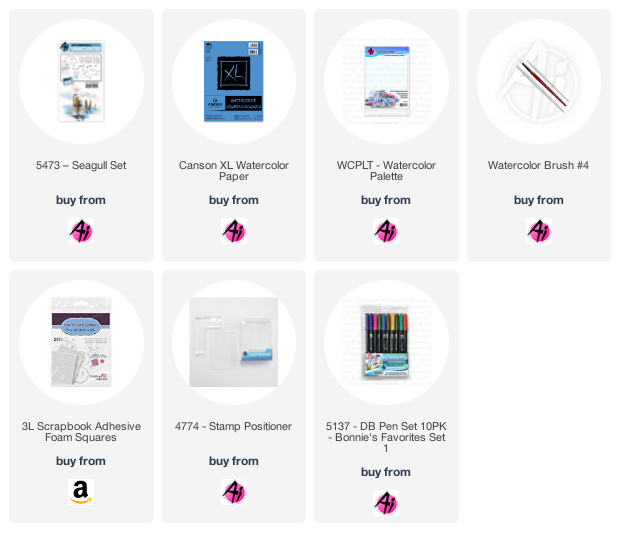
I have a scene using just one stamp set today. I'm using 5473 - WC Seagull Set that was released last fall:


This would be gorgeous in bolder colours to be more of a sunset look, too.

Finally, we have an adorable spring raccoon card from Tricia.
Hi Watercolor Fans,
We are so excited for another watercolor weekend. This weekend I have a cute Peeking Racoon for you. I love how cute all the little animals in this set are.

Here is how I put this project together.
Step 1: Bucket
To start off, I inked the bucket from the Vintage Car set with 969 not inking the left corner or lower right corner to allow the flowers and foliage to appear like they are spilling out of the bucket. To make sure it was really light, I stamped it off and then placed it on the left side of the paper. Next, I pulled the color out of the lines keeping the sides really dark and fading the color into the center. I added some additional 947 from my palette to add a little rusty look to the bucket.
Step 2: Raccoon
To make sure I protected my bucket, I used a small piece of post it tape over the top of the bucket. Using my stamp positioner, I inked up the peeking racoon with 969 and placed him into bucket. I pulled the color out of the lines and added some additional color to him from the palette. In order to get some really dark color, I let each layer dry before adding more color. To darken him eyes, use a twin tone or the bullet point nib of your N25.
Step 3: Foliage and Flowers
First, I cut a mask to protect the peeking racoon while I stamped in the flowers and foliage. I inked up the mini vine from the Foliage Set with 249 and stamped it around the racoon. For an accent, I stamped the vine in the bottom right as well. To create the flowers, I inked the daisy bush from the original flowers set with 606 and stamped them several times into the foliage. I added water to all the blooms and leaves.
Step 4: Shadow
Using a mixture of N25 and 969 on my palette, I created a shadow to the left of the bucket by pulling the color to the left. Add some additional darker color at the base to give additional depth.
I wrote “Hi!” as my sentiment with a fine liner and signed and dated my painting.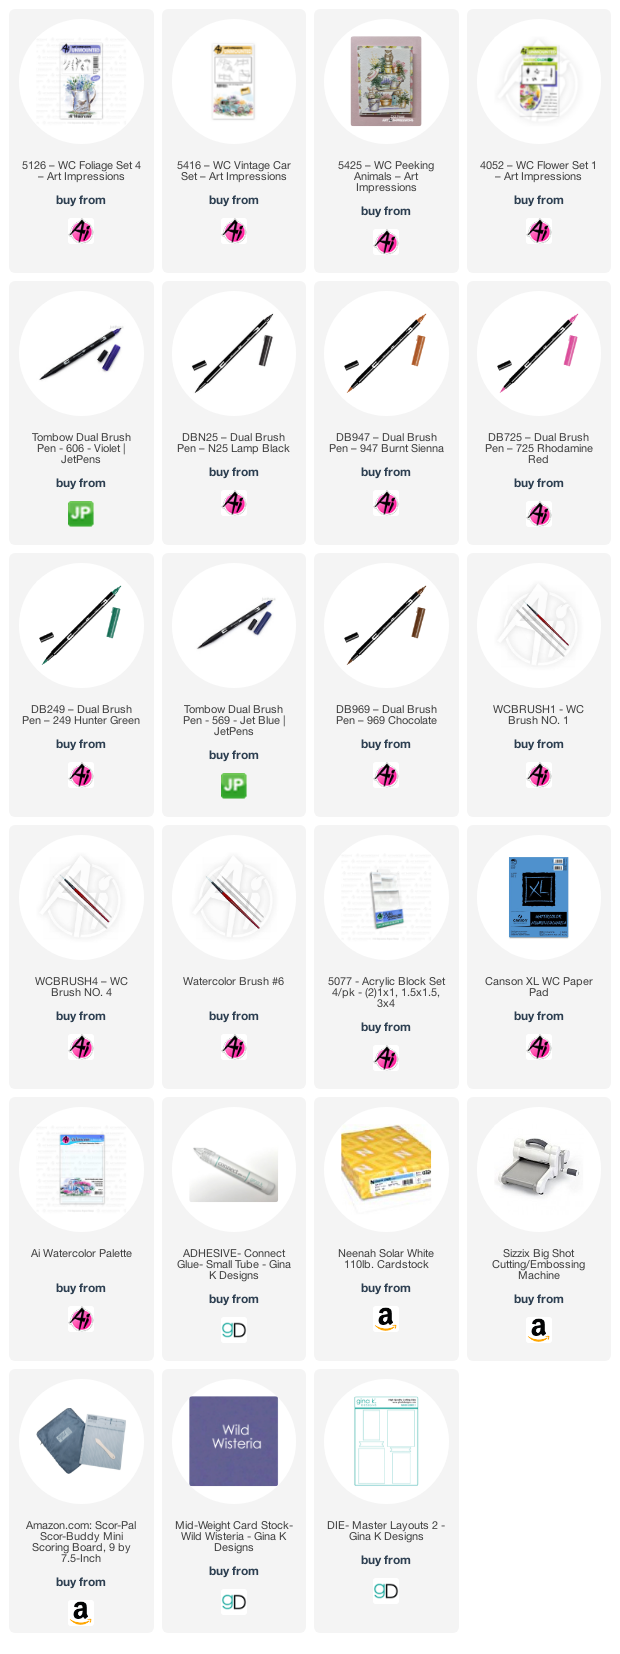
If you're here, it probably means you're a fan of watercolor. Be sure to check out Bonnie's Camper Challenge for your chance to enter a card and win a $25 Gift Certificate to the Art Impressions online store.

Upload your version of her beautiful scene HERE.

Stay tuned this Tuesday for the latest Watercolor Throwback. This currently retired set will be released for 3 days and then will be gone forever!

No comments:
Post a Comment