Hello Ai fans!
Welcome to our Watercolor Weekend where you'll be inspired by our 3 Watercolor Design Team artists.
They'll talk you through how they created their paintings and then we hope you'll give it a try!
This week we have Dot up first.
She created a beautiful winter front door scene.
Hello,
I made this Christmas card using the new 5013 Doors and Stockings Set from Art Impressions for my project for the Watercolor Weekend. I got the idea to add the lighted window above the door from a Christmas Card I saw on Pinterest so I used a ruler and drew the top part in with a pencil.

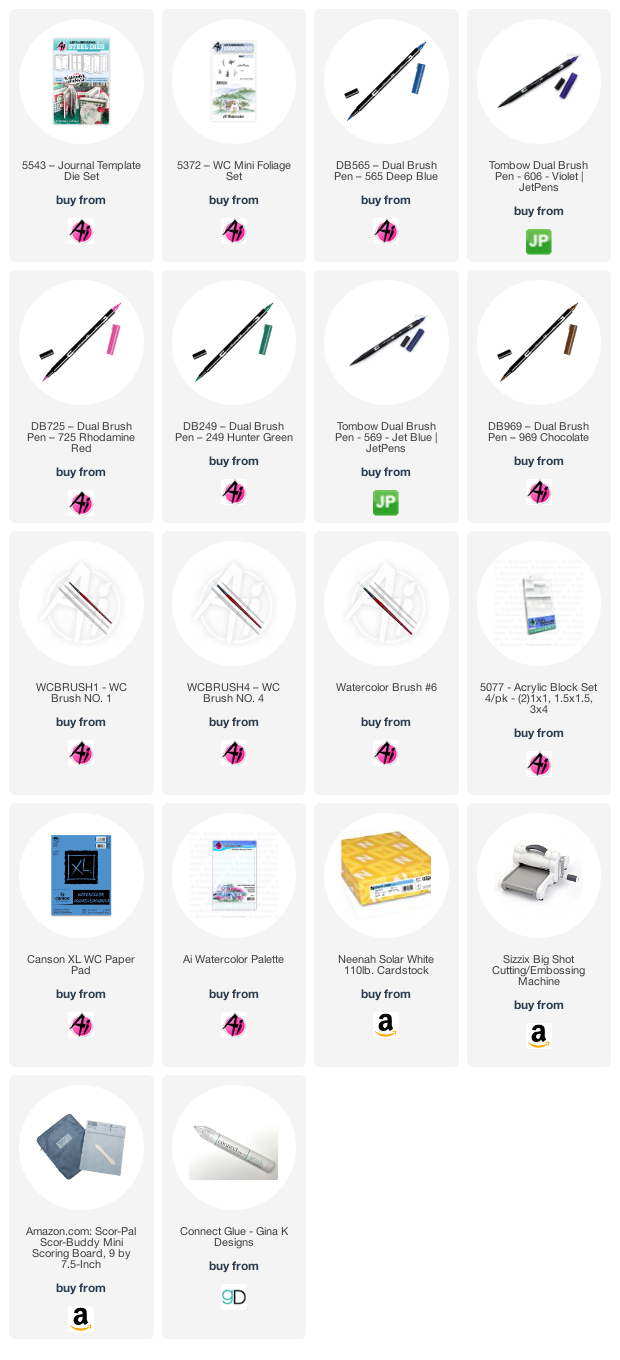
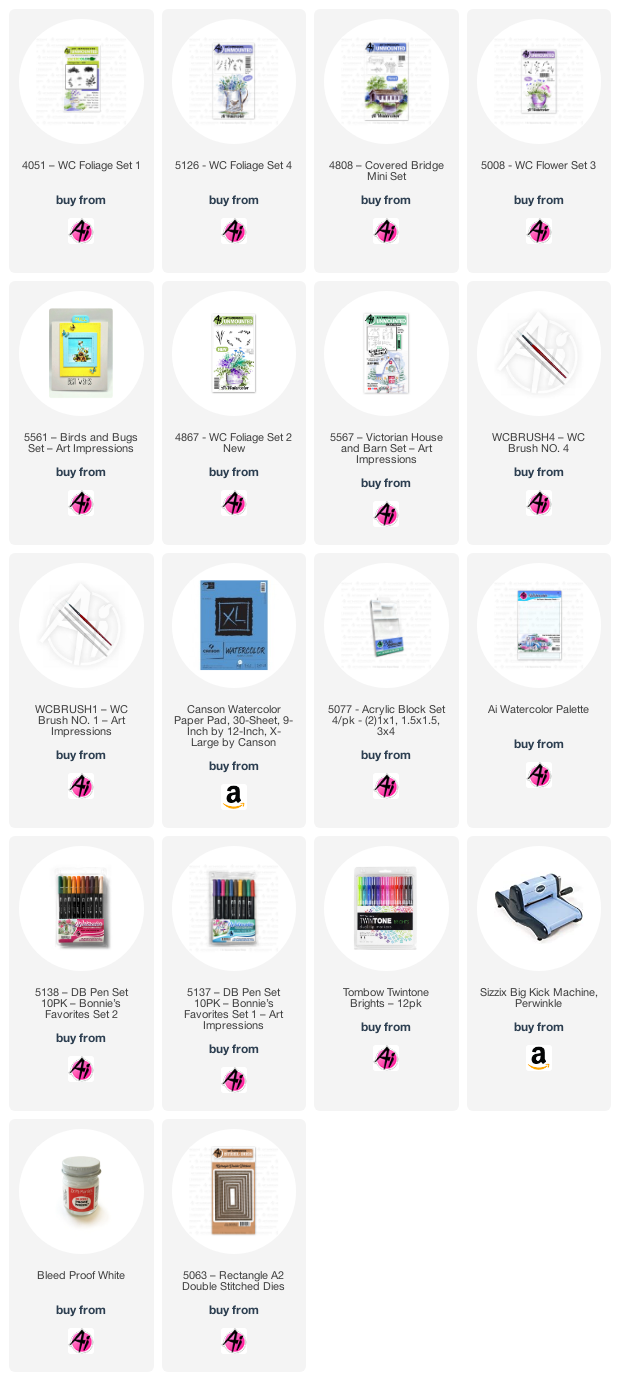
So if you want to try this one, first ink the door using Tombow 969 then 565, stamp it off on scrap paper first, then stamp it on your watercolor paper. I wanted a light on both sides so I cleaned off the stamp, then used a positioner, inked up just the light and put it on the left side of the door. I used the siding from the 5019 Wall Texture Set inked in 565 but stamped it off first. The trees are from the 4960 Fir Trees Set. Ink up the trunks in the 969 and stamp them on either side. Use the branches inked in 249. Use a ruler to add lines to the door with 565. Color the portico with 158. Color the windows and lights with 055 and 993. Color the light housings with N25. Color the door handle with 969. Use the foliage from the 5009 Mini Flower Set inked in 249 to create the wreath and garland. Use the 856 fine tip point to make the red berries. Use 856 to create the wreath bow. Use Dr Ph Martin's bleed proof paint to add the snow on the roof, trees and garland. Use 565 to create the shadows. The bunny from the 4874 Bunnies Set is inked with 565 and then colored with a little mix of 969 and 565. The ear and cheek are 803. Darken the eye and nose of the bunny with a black or grey fine tip pen. Cut it out with the 5063 A2 Double Stitched Dies.

So if you want to try this one, first ink the door using Tombow 969 then 565, stamp it off on scrap paper first, then stamp it on your watercolor paper. I wanted a light on both sides so I cleaned off the stamp, then used a positioner, inked up just the light and put it on the left side of the door. I used the siding from the 5019 Wall Texture Set inked in 565 but stamped it off first. The trees are from the 4960 Fir Trees Set. Ink up the trunks in the 969 and stamp them on either side. Use the branches inked in 249. Use a ruler to add lines to the door with 565. Color the portico with 158. Color the windows and lights with 055 and 993. Color the light housings with N25. Color the door handle with 969. Use the foliage from the 5009 Mini Flower Set inked in 249 to create the wreath and garland. Use the 856 fine tip point to make the red berries. Use 856 to create the wreath bow. Use Dr Ph Martin's bleed proof paint to add the snow on the roof, trees and garland. Use 565 to create the shadows. The bunny from the 4874 Bunnies Set is inked with 565 and then colored with a little mix of 969 and 565. The ear and cheek are 803. Darken the eye and nose of the bunny with a black or grey fine tip pen. Cut it out with the 5063 A2 Double Stitched Dies.
Hello Watercolor Fans! This weekend I have a different type of project for you. I am using only 2 stamps (the NEW stone bridge simple scene and the mini foliage trees).
I started out with the NEW window frame from the new Journaling dies. I traced out the windows on my watercolor paper so I could position the stamp where I wanted it. I ended up inking up the bottom half (from the bridge down) and stamped it so you could see almost all of the bridge. I inked up the top half and moved it up a bit and stamped it into the top two panes.
I pulled the color out of the lines, added some additional color. I used the small tree line to create some additional trees and bushes. I signed and dated my project.
Next, I used the die to cut out the painting as well as 2 more out of white paper and 1 out of the background I wanted for the wood. This allows you to stack the dies to create a raised look that is very sturdy. I glued all the frames together and inlayed the watercolor squares into the window frame. I glued the entire window to a piece of patterned paper and then added it to the card.


Now we have a sweet Christmas ornament card from Karen.
Hello Ai fans!
I am using the 5573 - Church and Ornament Set this week! A fairly quick and easy card using only 2 stamp sets:
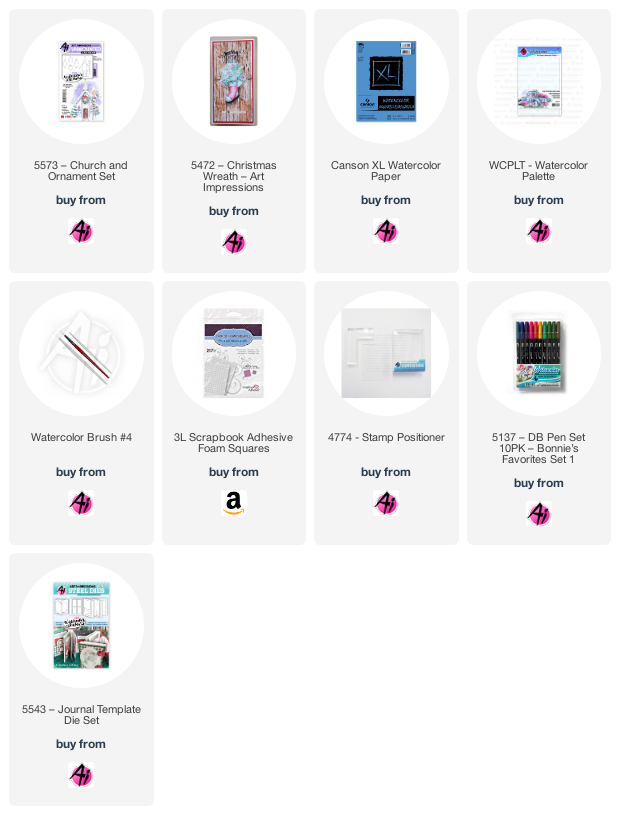
I began by painting a wash of #493 on my background, then placed the three ornaments in this set onto a block, keeping in mind the size of my dies. I then stamped them onto my Canson XL Watercolour Paper after colouring them with #N65. I also stamped them onto masking paper, then cut them out to create little ornament masks. With the masks in place, I used the two pine bough images from 5472 - WC Christmas Wreath Set - and colouring them with #177, I stamped them repeatedly creating Christmas tree branches for the ornaments to hang from. With a damp brush, I dabbed the branches to soften the lines a little. After removing the masks, I painted the ornaments in #312/346/725/993/761 - which I chose to match my background paper. I added metallic silver paint to the tops of the ornaments, and splattered it around the entire card. I used the new frame from the 5543 Journal Template die to cut the frame in patterned paper, and layered it with 3 pieces of cardstock to create a substantial frame. I used another rectangle die from the set to cut out my image to be larger than the frame.
I glued everything together, matting the image on some coordinating cardstock. The spattered silver paint adds a nice bit of sparkle to the card.
Thank you for joining us for our Watercolor Weekend!

And...a lucky little bonus. I know it wasn't planned because they probably didn't know when they made their lovely cards. All three of these cards qualify for the most recent challenge here on the blog.
Have a great weekend everyone!

And...a lucky little bonus. I know it wasn't planned because they probably didn't know when they made their lovely cards. All three of these cards qualify for the most recent challenge here on the blog.
Woodn't it be Nice! Dot has a wood door, Tricia has a wood window frame and Karen has tree branches. Be sure to enter your card for a chance to win a free stamp set of your choice.
New girlfriends are in stock now and waiting for you to bring them home and start creating!
Have a great weekend everyone!


No comments:
Post a Comment