Showing posts with label Girlfriends. Show all posts

Thursday, April 30, 2026

Feeling Crafty Challenge #426 Week #2

Hello Ai fans and welcome to week #2 of our

"Feeling Crafty" challenge.

This one couldn't be simpler.
Use kraft paper on your project somewhere.

Our Featured Designer last week was Tasha. 

Next we have Lynn with a beautiful graduation card.

Janet created a lovely spiritual card using

I made a Floral Shop Box.


(also the current freebie bear that can't be linked)


Sharon's fun retirement card can be found HERE.


Dori created a fabulous "hidden pocket" card. Visit her post to see what's hiding inside!


Diane's stunning masculine card used


Jami's first card used


Her second card used


We hope you've enjoyed our Design Team projects.
So many different styles to choose from.
Now, let's see what YOU come up with!
 ✻ Please make a new card or handmade crafty creation using either stamps, dies and or designer paper from Art Impressions. You can make any item you wish; this is not limited to cards! (unless specified)

✻ Limit two submissions per person.
✻Top Spot Winner and Lucky Random Winner each receive a free stamp set from Art Impressions
 ✻Please include your first name and last initial on your submission. You may include your entire last name, but it's not necessary.
✻We love to comment on your entries, but keep in mind if you use a private group or a platform that you need to sign up for, we probably won't be able to.
✻ The Ai Challenge is open to everyone, international submissions are welcome!
✻ Include a link back to the Ai Blog or grab our button on the top right of our sidebar!
✻ Share the Ai love if you can, by clicking and commenting on your fellow crafters.
✻ Make sure to get your link up by the deadline to enter your creations.
✻ Good luck and happy stamping! 

You are invited to the Inlinkz link party!

Click here to enter

Saturday, August 24, 2024

Beach Babes Rule by Janet


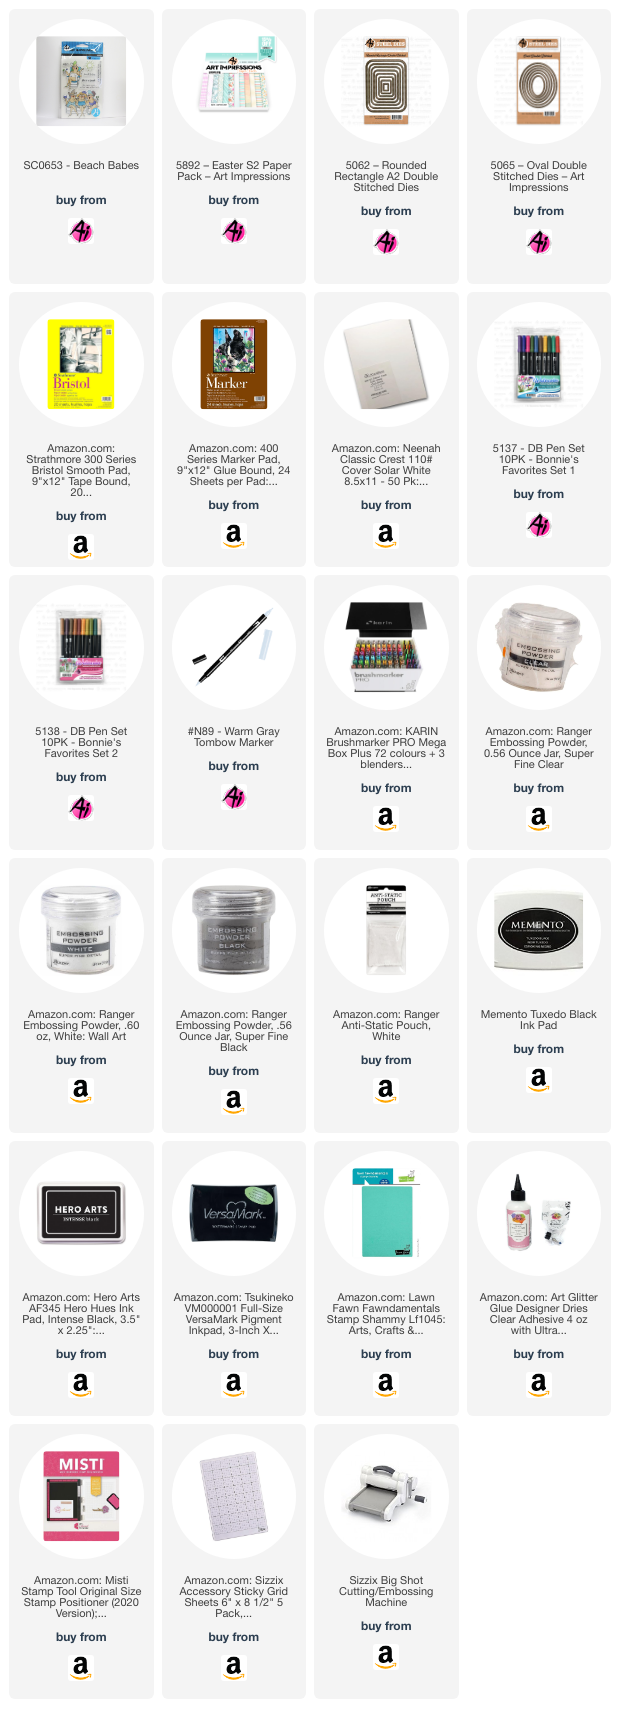
Greeting! Today I'm here with a summer card that I hope will give you grin. I do love Ai's people and the Girlfriend's line is always good for a laugh. This set is called Beach Babes SC0653. As a lady of a certain age, I can easily image myself in these girls although I don't particularly look like any of them. Rather, they reflect my attitude and way of looking at life and this set doesn't disappoint! After stamping it, I loosely drew and colored a sidewalk or cement deck for the chairs to rest on. It's pretty basic but it works for a cartoon style of card that this is.

I colored the three ladies and then used a die from the 5062 Rounded Rectangle A2 Double Stitched Dies to cut it out. I cut out an oval out of orange cardstock using 5065 Oval Double Stitched Dies. Then I cut another rounded rectangle out in blue cardstock. I cut a rectangle with my paper cutter out of 5892 Easter S2 PP. The pattern of loose stripes and colors reminds me of the beach. 

I made an A2 side-folding card out of Kraft cardstock. Next came the patterned paper, then the largest rounded rectangle and the oval on top of that. I adhered the ladies slightly high on the card front, leaving enough room for the sentiment. I added round pale blue and clear jewels to each corner to finish it off. I don't know about you, but it makes me want to grab a couple friends and visit a pool deck!

Thanks so much for joining me here today. Please visit the Ai store for the sets I used and all the things you need for your card, journal, and tag making projects. Have a great weekend!

Janet - YouTube - Blog - Facebook - Instagram - Pinterest


Sunday, May 26, 2024

French Door and Big Birthday Wishes


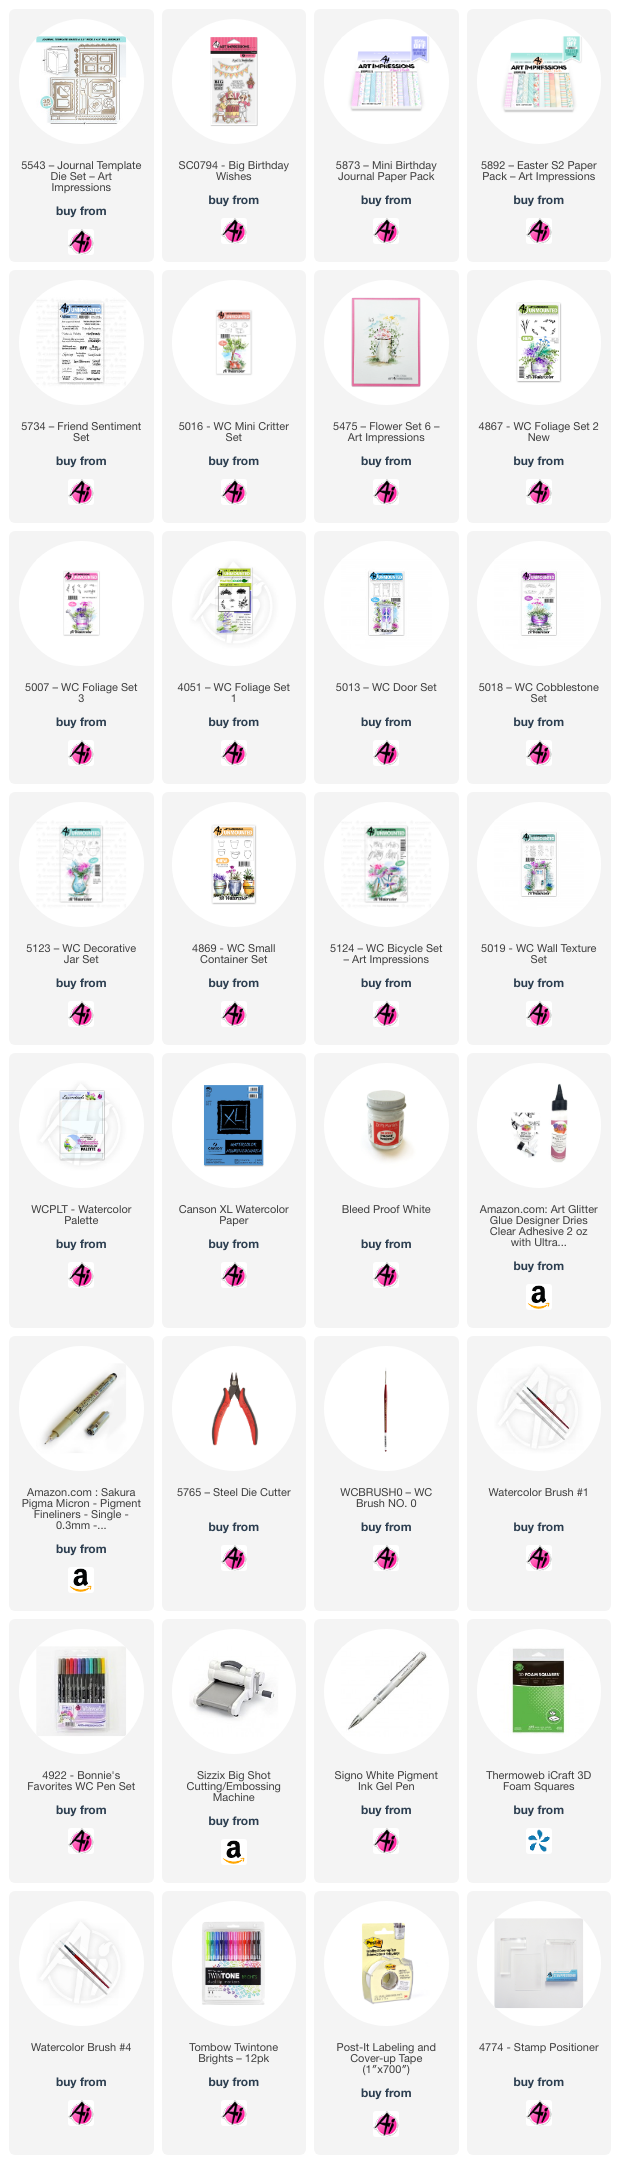
Hi Watercolor Friends!  I hope everyone is having a nice weekend.  I am loving this spring weather.  It makes me dream of going to Paris, France.  I love the vintage French doors.  Those doors are what inspired my first card.  I enjoyed figuring out my layout.  There was a lot of masking done using Post-it Tape and Post-it Notes.  I stamped the bicycle first and then the blue door.  I used Tombow 403 to paint the door.  It's my new favorite color!  Next I stamped the pot with Tombow 565 and 969 stamping off twice first.  I did all of the stamping for this card using this method.  Next I added the wall texture and the cobblestones.  After I had painted all of the foliage and flowers I added in a quiet, gray kitten using the WC Mini Critter Set 5016.  For the decorative element on the door windows I used a stamp from set 5123 WC Decorative Jar set.  I have to be honest, I thought this was pretty clever!  The decorative paper is from 5873 Mini Birthday PP.  I stamped the sentiment and die cut the words out using a die from the 5543 Journal Template Die set.  The last remaining step was to add white highlights using Dr. Ph Martin's Bleed Proof White.


I used the following Tombow markers on both of these cards:  565, 977, 177, 969, 026, 992, 817, 636, 526, 403, 569, N55 and N75.


For my second card I stamped a Happy Birthday card.  This card was simple in comparison to the French door card.  I stamped this image on Arches hot press watercolor paper using Tombow 565 and 969 for a smoother picture.  I did not stamp off this image as I wanted all of the details to be more predominant.  Then I painted the image using Tombow markers.  Afterwards to add some confetti I masked off the entire image and splattered marker paint onto the card.  I used various dies to cutout the image and add details.


I hope you all enjoy my cards as much as I enjoyed creating them!  If you have any questions, please ask on the blog, Facebook or Instagram.  Thank you.


Saturday, September 3, 2022

Watercolor Weekend 9-3-2022

 Hello Ai fans!

Welcome to our Watercolor Weekend where you'll be inspired by our 3 Watercolor Design Team artists.

They'll talk you through how they created their paintings and then we hope you'll give it a try!


This week we have Dot up first.
She created a beautiful winter front door scene.

Hello,
I made this Christmas card using the new 5013 Doors and Stockings Set from Art Impressions for my project for the Watercolor Weekend. I got the idea to add the lighted window above the door from a Christmas Card I saw on Pinterest so I used a ruler and drew the top part in with a pencil.

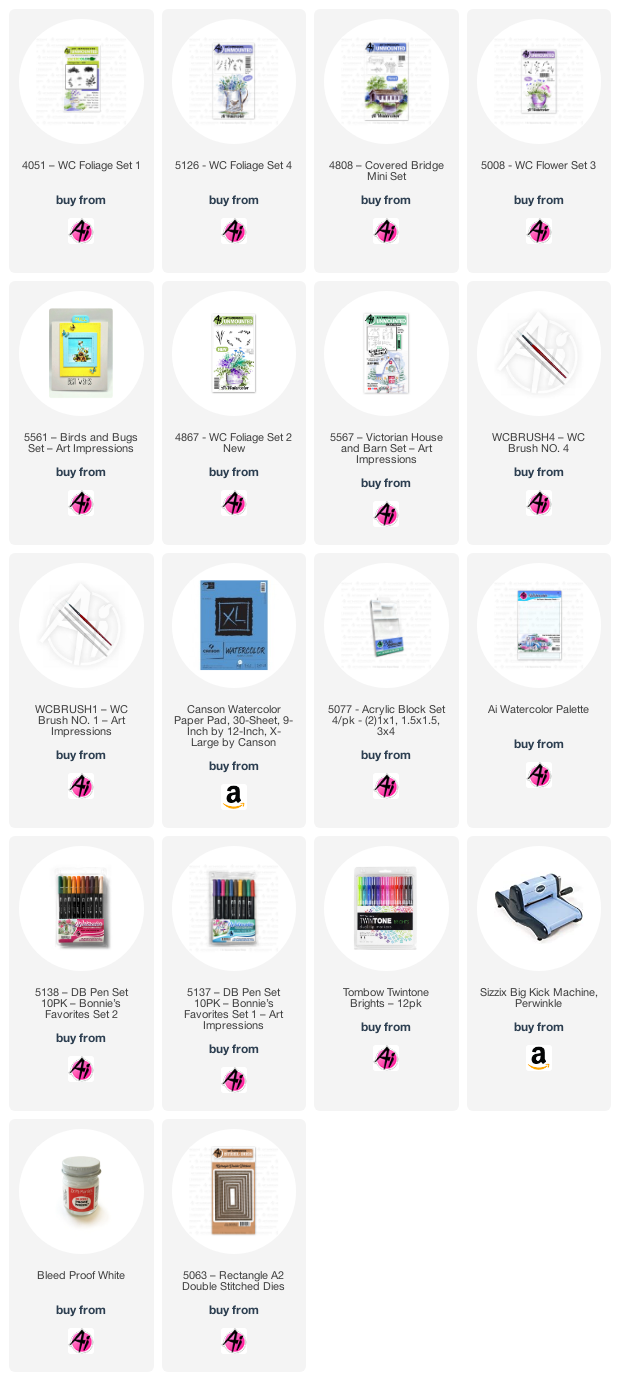
So if you want to try this one, first ink the door using Tombow 969 then 565, stamp it off on scrap paper first, then stamp it on your watercolor paper. I wanted a light on both sides so I cleaned off the stamp, then used a positioner, inked up just the light and put it on the left side of the door. I used the siding from the 5019 Wall Texture Set inked in 565 but stamped it off first. The trees are from the 4960 Fir Trees Set. Ink up the trunks in the 969 and stamp them on either side. Use the branches inked in 249. Use a ruler to add lines to the door with 565. Color the portico with 158.  Color the windows and lights with 055 and 993. Color the light housings with N25. Color the door handle with 969. Use the foliage from the 5009 Mini Flower Set inked in 249 to create the wreath and garland. Use the 856 fine tip point to make the red berries. Use 856 to create the wreath bow. Use Dr Ph Martin's bleed proof paint to add the snow on the roof, trees and garland. Use 565 to create the shadows. The bunny from the 4874 Bunnies Set is inked with 565 and then colored with a little mix of 969 and 565. The ear and cheek are 803. Darken the eye and nose of the bunny with a black or grey fine tip pen. Cut it out with the 5063 A2 Double Stitched Dies.


Next up is Tricia with her beautiful window scene.

Hello Watercolor Fans!  This weekend I have a different type of project for you.  I am using only 2 stamps (the NEW stone bridge simple scene and the mini foliage trees). 


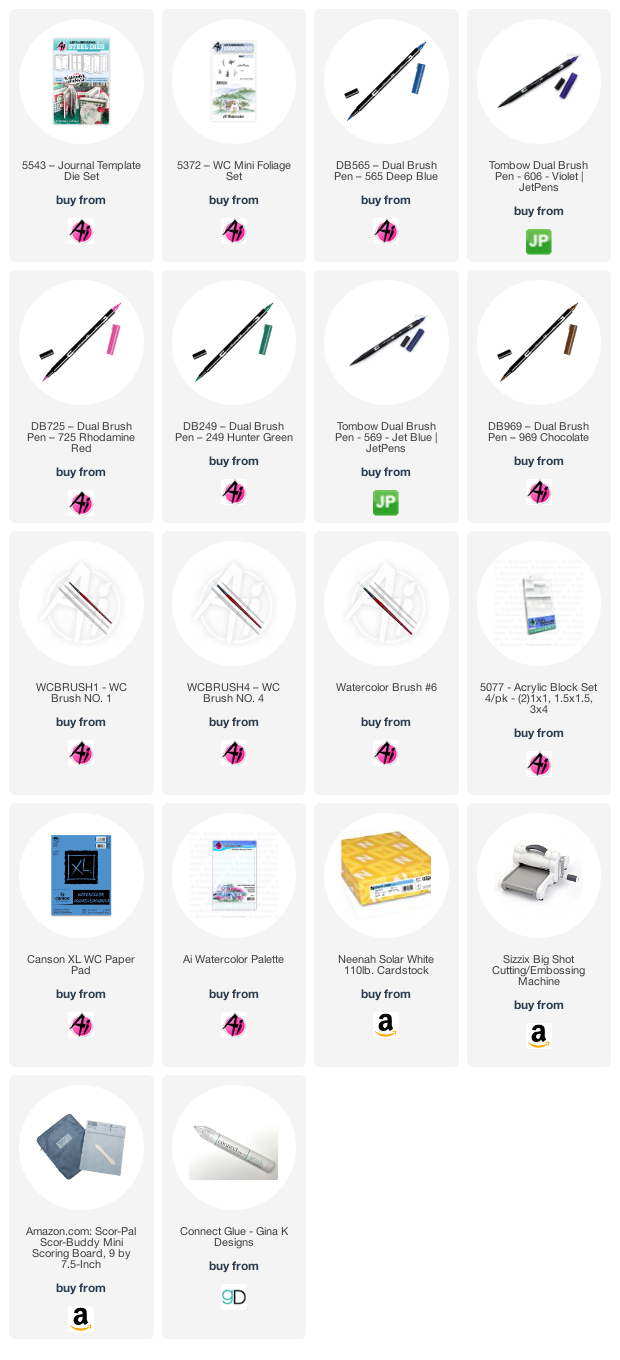
I started out with the NEW window frame from the new Journaling dies.  I traced out the windows on my watercolor paper so I could position the stamp where I wanted it.  I ended up inking up the bottom half (from the bridge down) and stamped it so you could see almost all of the bridge.  I inked up the top half and moved it up a bit and stamped it into the top two panes.


I pulled the color out of the lines, added some additional color.  I used the small tree line to create some additional trees and bushes.  I signed and dated my project. 

Next, I used the die to cut out the painting as well as 2 more out of white paper and 1 out of the background I wanted for the wood. This allows you to stack the dies to create a raised look that is very sturdy.  I glued all the frames together and inlayed the watercolor squares into the window frame.  I glued the entire window to a piece of patterned paper and then added it to the card.


Now we have a sweet Christmas ornament card from Karen.

 Hello Ai fans!

I am using the 5573 - Church and Ornament Set this week!  A fairly quick and easy card using only 2 stamp sets:


I began by painting a wash of #493 on my background, then placed the three ornaments in this set onto a block, keeping in mind the size of my dies.  I  then stamped them onto my Canson XL Watercolour Paper after colouring them with #N65.  I also stamped them onto masking paper, then cut them out to create little ornament masks.  With the masks in place, I used the two pine bough images from 5472 - WC Christmas Wreath Set - and colouring them with #177, I stamped them repeatedly creating Christmas tree branches for the ornaments to hang from.  With a damp brush, I dabbed the branches to soften the lines a little.  After removing the masks, I painted the ornaments in #312/346/725/993/761 - which I chose to match my background paper.  I added metallic silver paint to the tops of the ornaments, and splattered it around the entire card.  I used the new frame from the 5543 Journal Template die to cut the frame in patterned paper, and layered it with 3 pieces of cardstock to create a substantial frame.  I used another rectangle die from the set to cut out my image to be larger than the frame.


I glued everything together, matting the image on some coordinating cardstock.  The spattered silver paint adds a nice bit of sparkle to the card.


Thank you for joining us for our Watercolor Weekend!


And...a lucky little bonus.  I know it wasn't planned because they probably didn't know when they made their lovely cards.  All three of these cards qualify for the most recent challenge here on the blog.
Woodn't it be Nice!  Dot has a wood door,  Tricia has a wood window frame and Karen has tree branches.  Be sure to enter your card for a chance to win a free stamp set of your choice.


Also, be sure to check out the adorable new releases on the Art Impressions website!
New girlfriends are in stock now and waiting for you to bring them home and start creating!


Have a great weekend everyone!

Friday, February 4, 2022

Life of the Party Card by Tasha

 Hi Ai Fans!

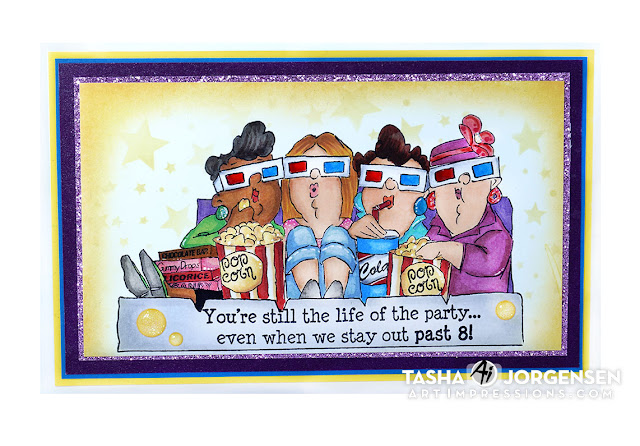
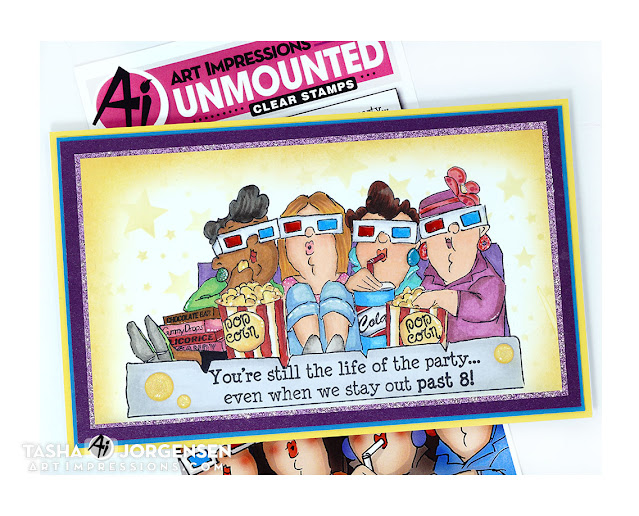
Tasha here sharing a mini slimline card created with the super fun 4237-At the Movies Set! I love going to the movies and these friends look like they are having a blast enjoying a movie together!

The image was stamped with black ink and colored with Copic Markers. I love the 3D glasses and the movie snacks. Who doesn't love eating popcorn and treats while watching a film on the big screen?


This set includes three sentiments to allow you more options when creating your project. The greeting I selected fit perfectly within the framed area and is great for a birthday card! I also added some yellow glitter enamel dots for extra sparkle!


Lastly, I used yellow Distress Oxide Ink around the edges of the card and used the same ink color to stencil stars in the background. The yellow pops and the star design worked great with the movie theme. To complete the card, I added several layers of colored cardstock to coordinate with the colors used on the clothing before attaching it to a white mini slimline card base.
I hope you enjoyed the card and are inspired to create a movie themed project with the fun At The Movies Set from Art Impressions!


Saturday, November 14, 2020

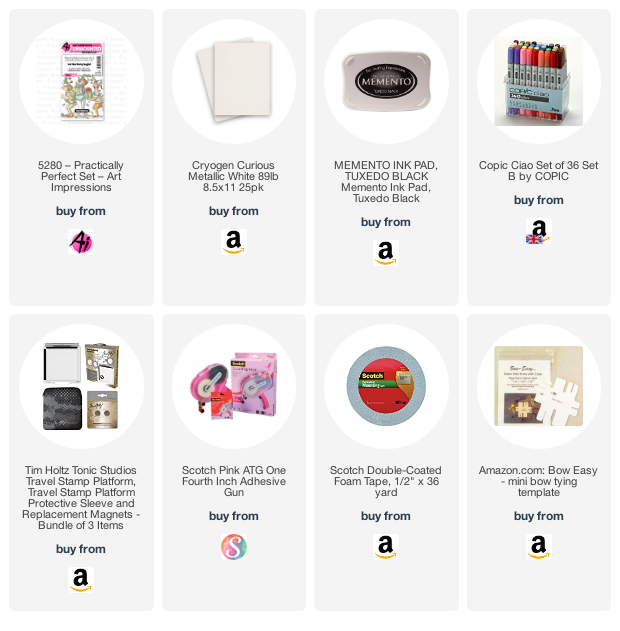
Practically Perfect Set by Sharon Caudle

 Hello AI Fans!


There are soooo many different stamp lines at Art Impressions that I love, but none so much as Bonnie's Girlfriends!!  I love, love, LOVE them!!  So today I'm featuring Practically Perfect! SOOOOO much FUN!!! I stamped them onto Cryogen white paper and colored them with Copic markers which are listed below. What a fun loving bunch!!! 


So that's it for me today!  Thanks so much for stopping by for a visit today and until next time - stay crafty!!

hugs


Copic markers used:

E000, E00, E11, E21, E23, E33, E35, E37, E39, E51, E53, E95, E97, E99

Y28, Y32

R20, R24, R32, R35, R37

BV00, BV01, BV04

YR01, YR02, YR07

V000, V91, V93, V95

RV00, RV04

T1


Thursday, September 10, 2020

Strong Coffee Sweet Friendships

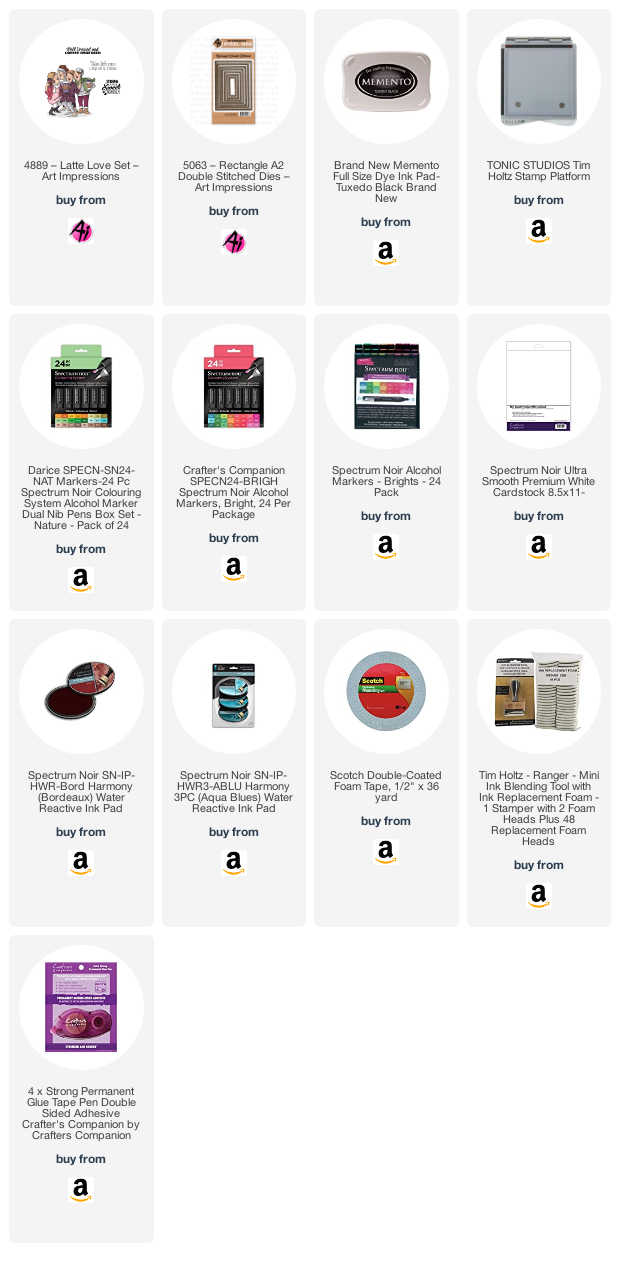
Hi AI fans! We are getting into September so it should start feeling like fall soon if it hasn't already. I love fall cozy sweaters and warm coffee. I thought it was time to start making some fall looking cards so I pulled this Girlfriends stamp set out Latte Love.


I stamped the image onto a piece of smooth white cards stock that I had die cut with a double stitched rectangle die. I then colored the image in. 


I stamped the sentiment "Strong coffee sweet friendships"in red ink.  I added some blue in to the white card stock darker on the edge blending lighter closer I got to the image.


Spectrum Noir Markers: Dg1, DG3, DG4, CG1, CG2, CG4, TN1, TN7, TN8, BO1, BO3, BO4, GY1, GY3, GY5, GT1, GT2, GT3, IG2, GT7, TB1, TB4, TB8, GB1, GB5, GB10, DR1, EB1, EB4, EB7, FS6, FS7, FS8

Happy Stamping!